


![]()
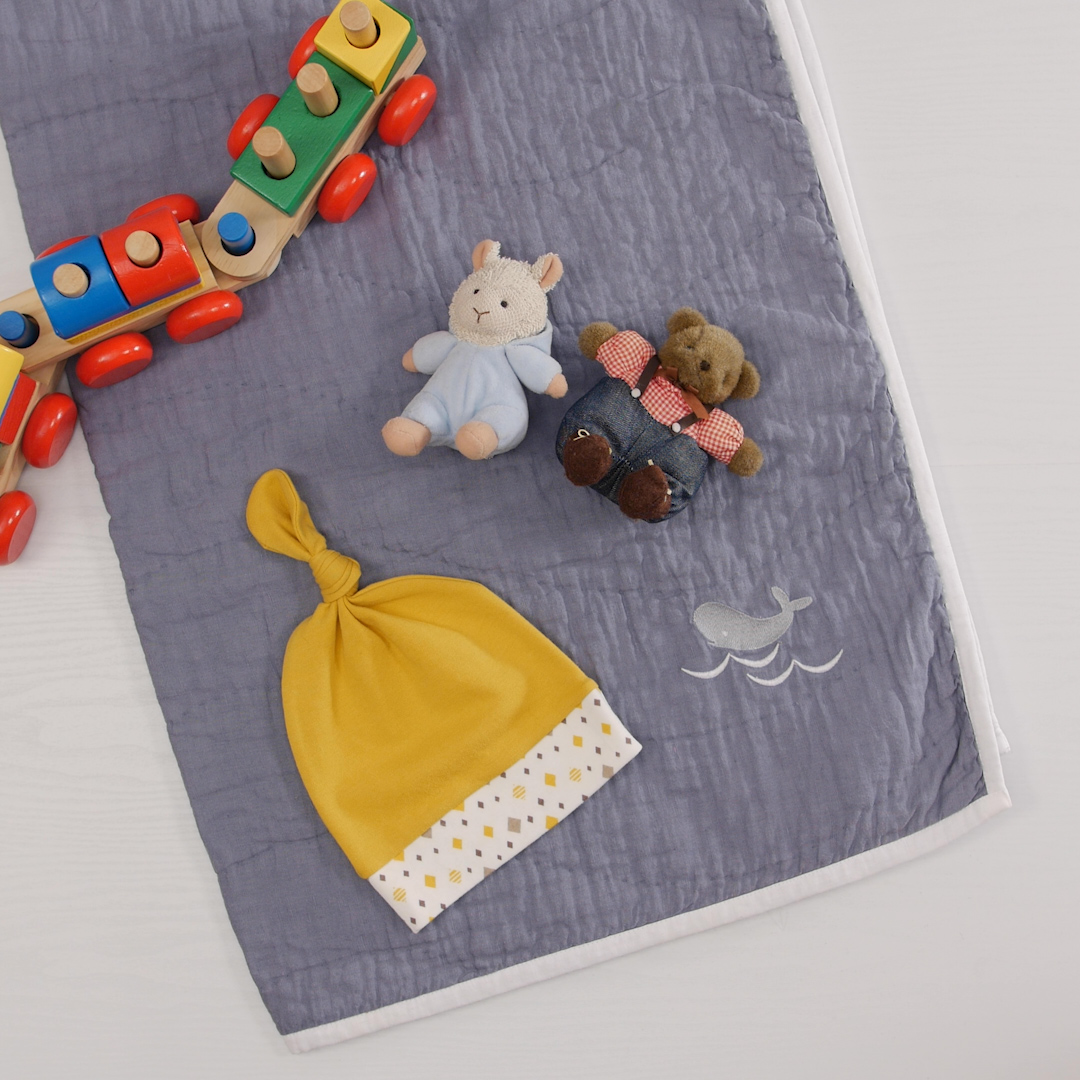
A basic beanie for a baby is a simple and quick project to make using your overlocker. This project is also a great use for those little bits of knit scraps that come from making other clothing projects. Get ready to whip these beanies up by the dozen—and have a beanie for every outfit!
Materials for Sewing a Baby Beanie
- BERNINA L 850
- Download Beanie Pattern
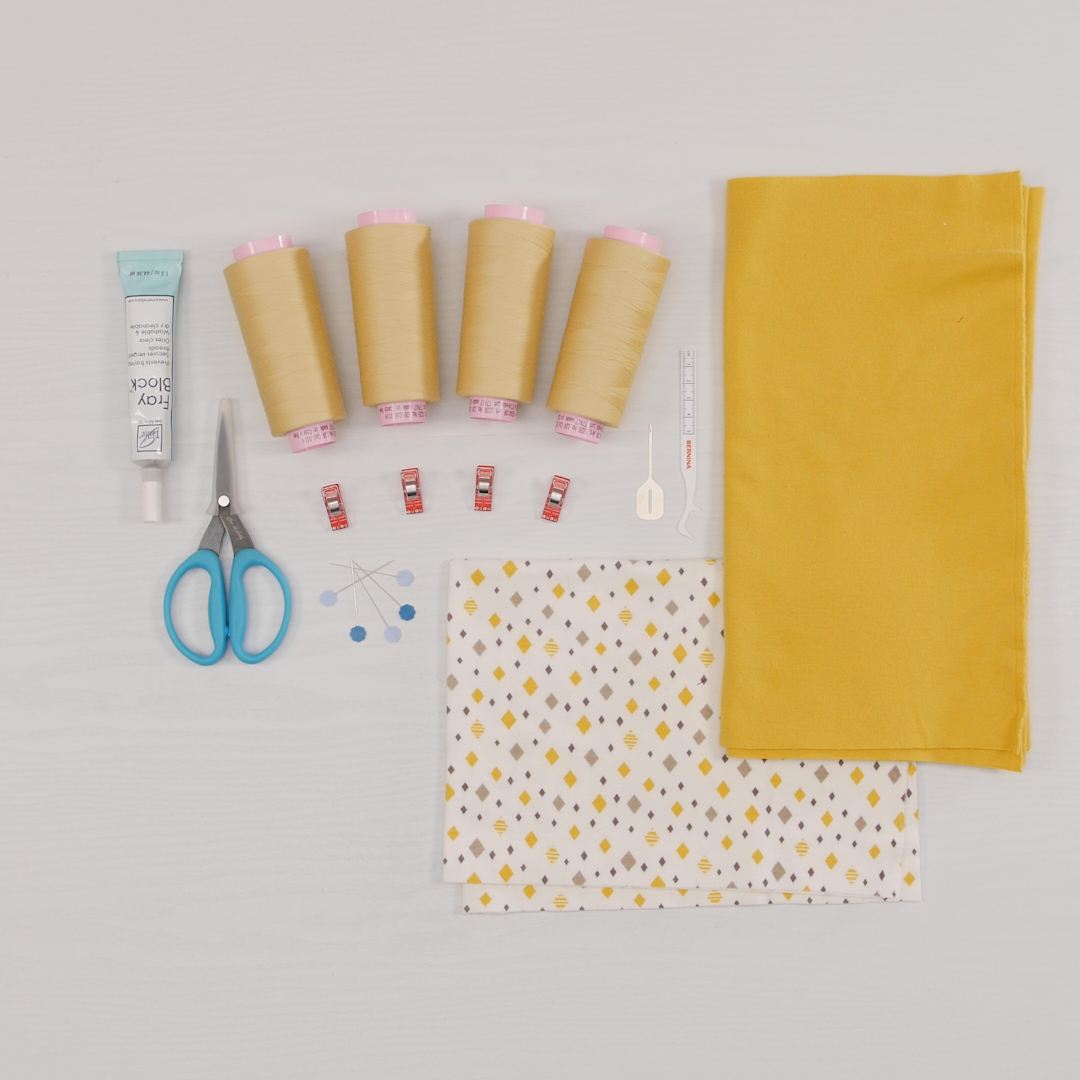
- Knit fabric
- ¼ yard for Body
- 4” x 15” for Band
- Seracor serger thread- 4 spools
- Clover Wonder Clips
- Clover Flathead Flower Pins
- Scissor
- Fray Block
- Hookey Serger Thread Hook
- CS Lock Tool (Standard accessory with machine)
- Laurastar Iron
Steps to Sew a Baby Beanie
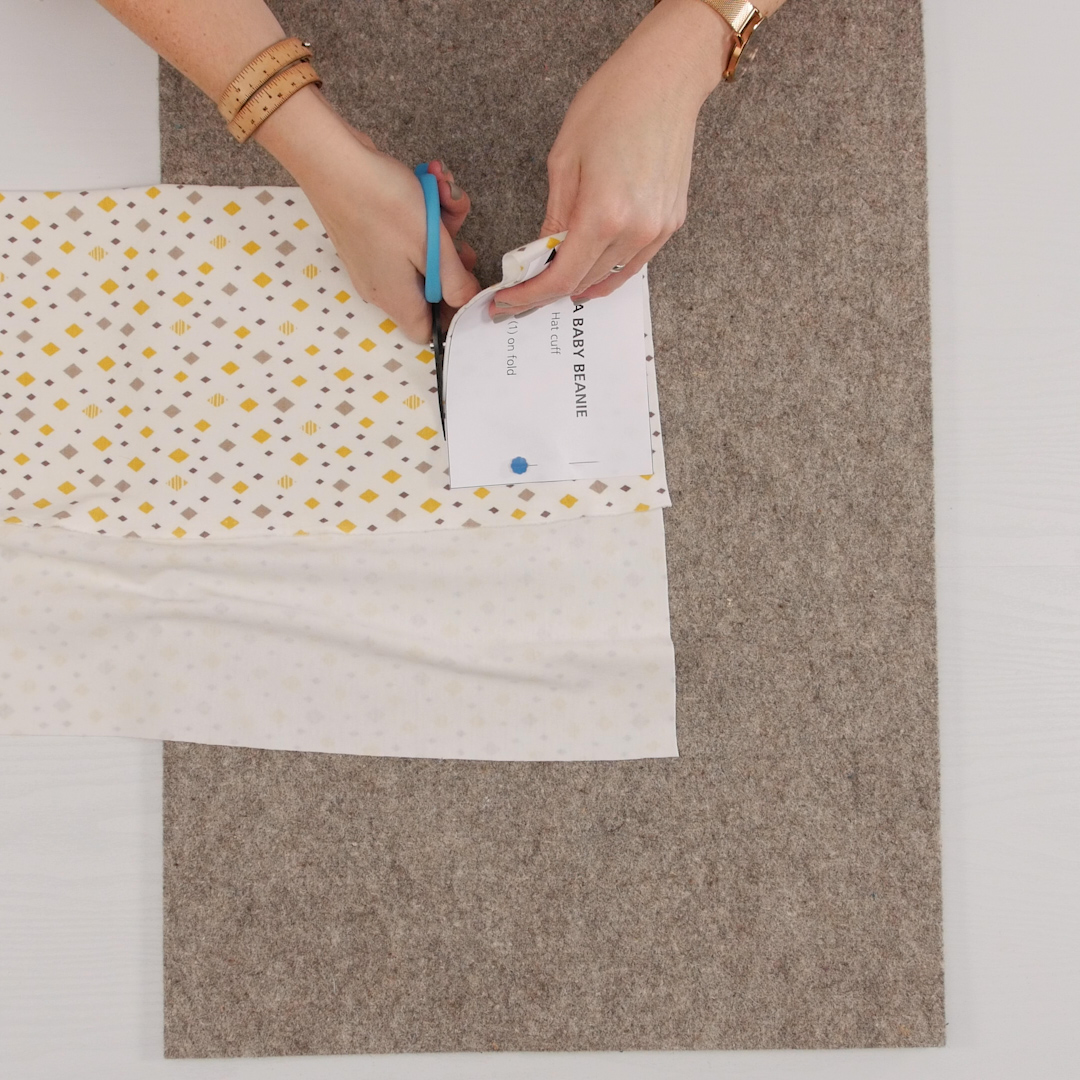
Step 1. Prep Pattern & Cut Fabric
Begin by printing the downloadable Baby Beanie Pattern, making sure that the pattern prints to scale. You will need to join the two pieces together for the beanie body part of the pattern. This pattern is designed to be cut along to folded edge for both parts of beanie. The pattern size is flexible and the knit used will affect the overall stretchiness of the finished beanie, but it will fit most babies from newborn to one year.

Once the pattern is prepared, cut out the beanie body and the band along the folded fabric edge. If you are using scrap fabrics and need to cut the pattern in two halves (a front and back), the pattern will still work with the perimeter of the finished beanie being slightly smaller.

and
Step 2. L 850: 4-thread Overlock Stitch
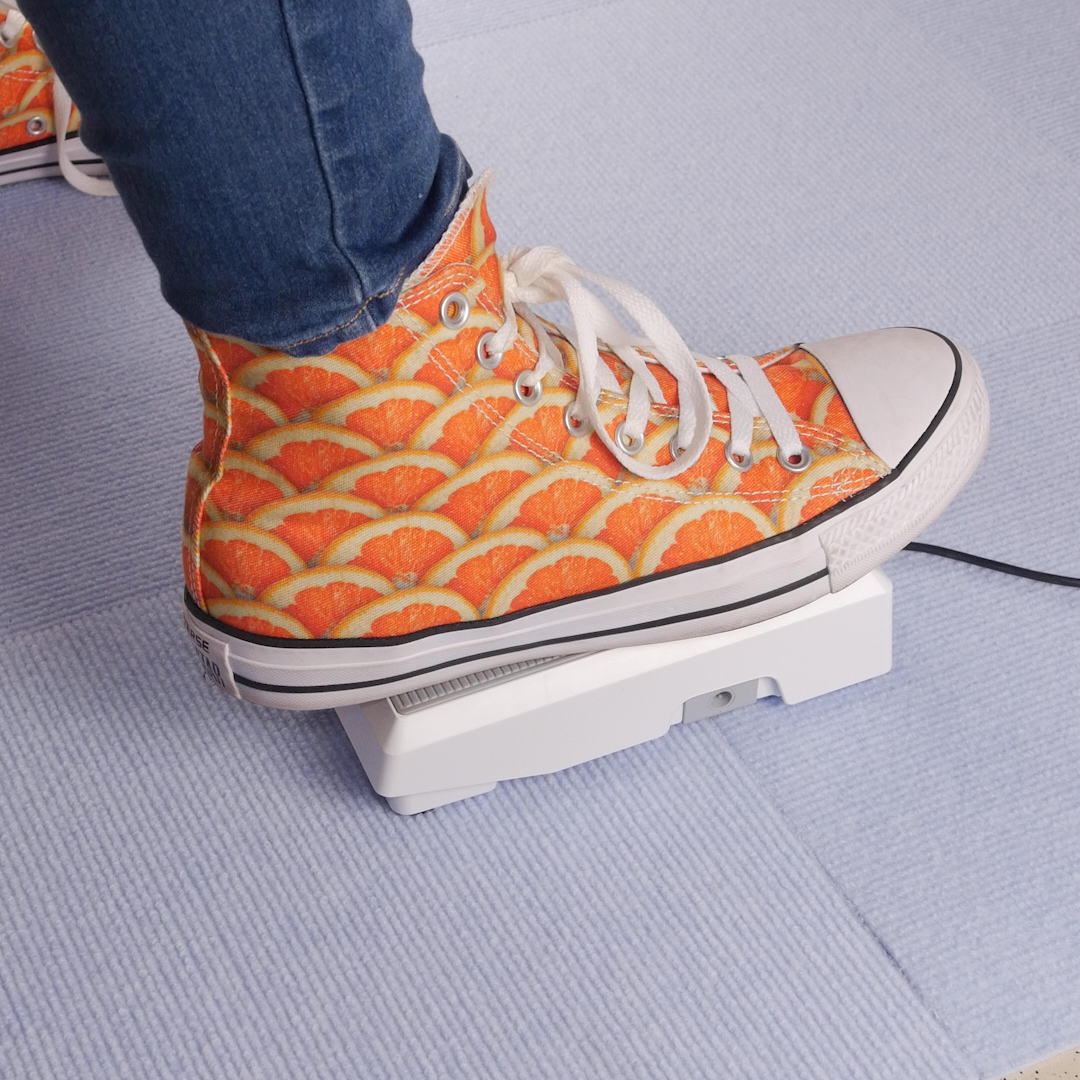
Threading the new BERNINA L 850 with the BERNINA one-step air threader is simple and fun. The air threader nozzles will pull the thread ends into the nozzles and out the looper eye by simply stepping on the BERNINA Foot Control. You can thread in any order and can even thread both loopers at the same time.
and
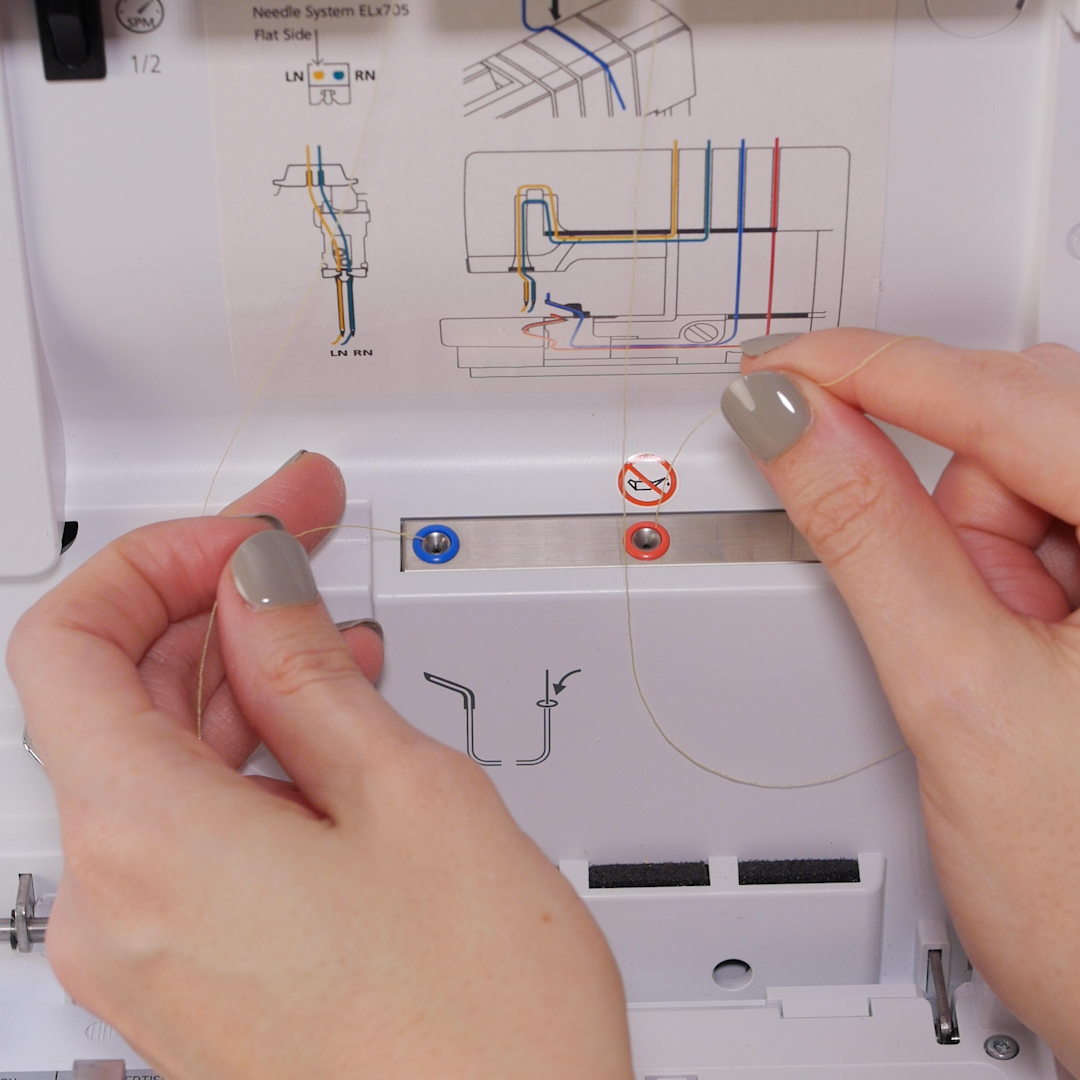
This machine is also equipped with a built-in needle threader that is similar to the one on BERNINA sewing machines. There is a toggle on the threader that allows you to switch from the left needle to the right needle for easy threading.
Tip: Use the swing out presser foot and lower the cutting knife to easily place all threads under the presser foot before beginning to sew.
For the 4-thread overlock—thread both loopers and both needles.
Then adjust the machine settings to the default settings indicated on the quick reference chart shown below.

CW- Cutting Width
R/O- Rolled Hem Selection Lever
SL- Stitch Length
DF- Differential Feed
ULC- Upper Looper Converter
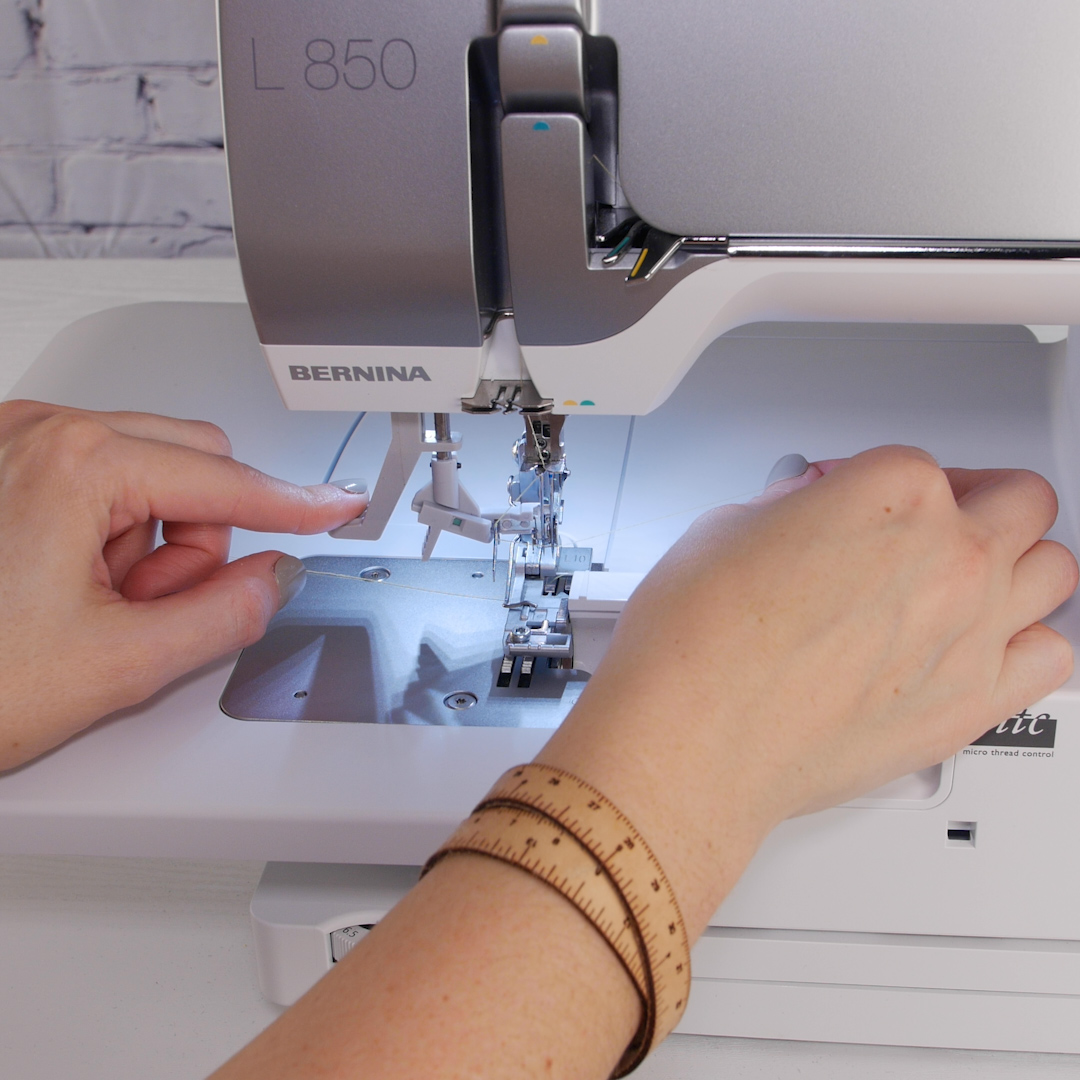
Step 3. Sew Beanie
With rights sides together, sew the perimeter of the beanie, moving slowly around the curve at the top.
Sew the beanie band on the short end.

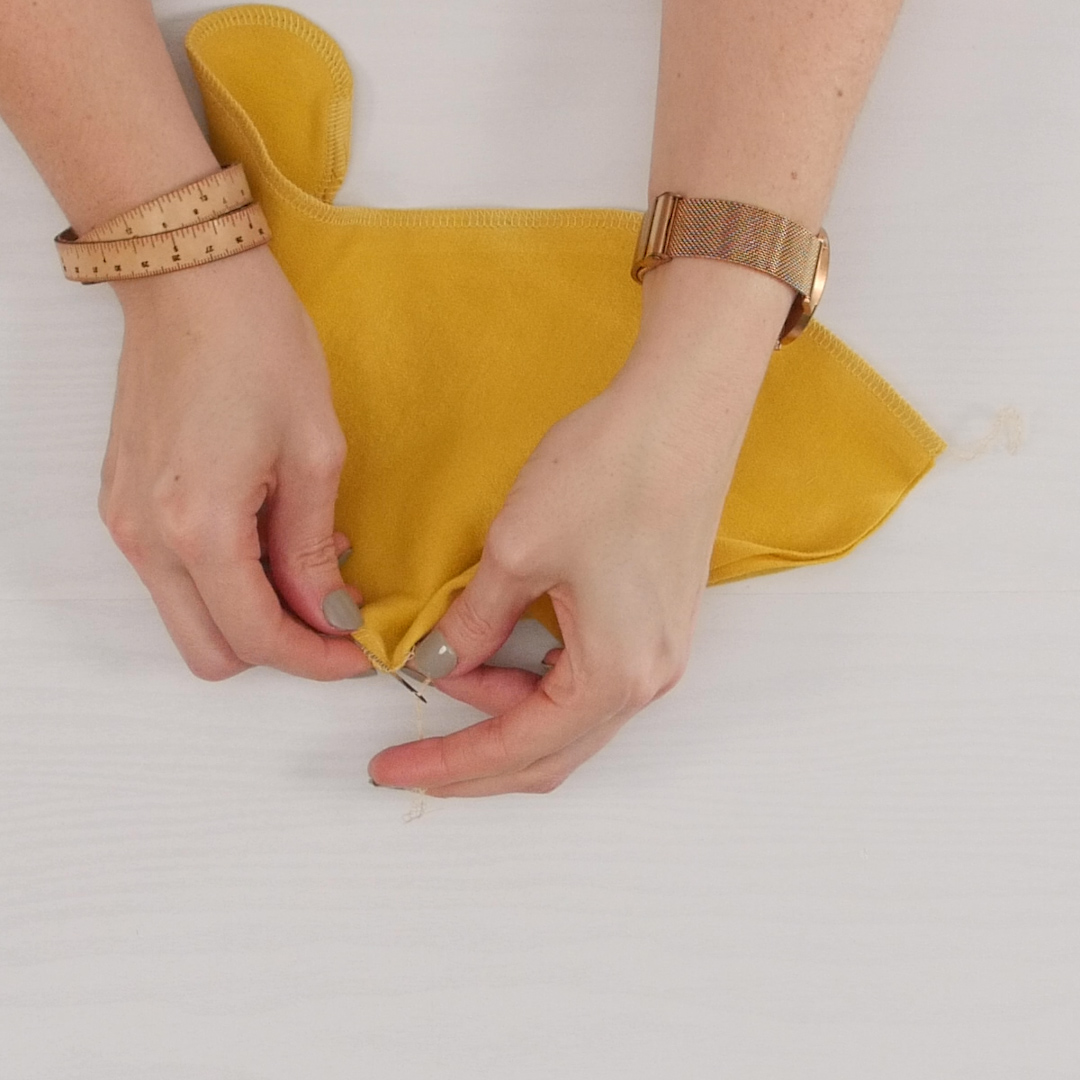
Use the Hookey tool to pull the thread tails from the beanie body under the stitches and seal the seam with Fray Block. This is the only seam that needs finished, as the others will be sewn into another seam.

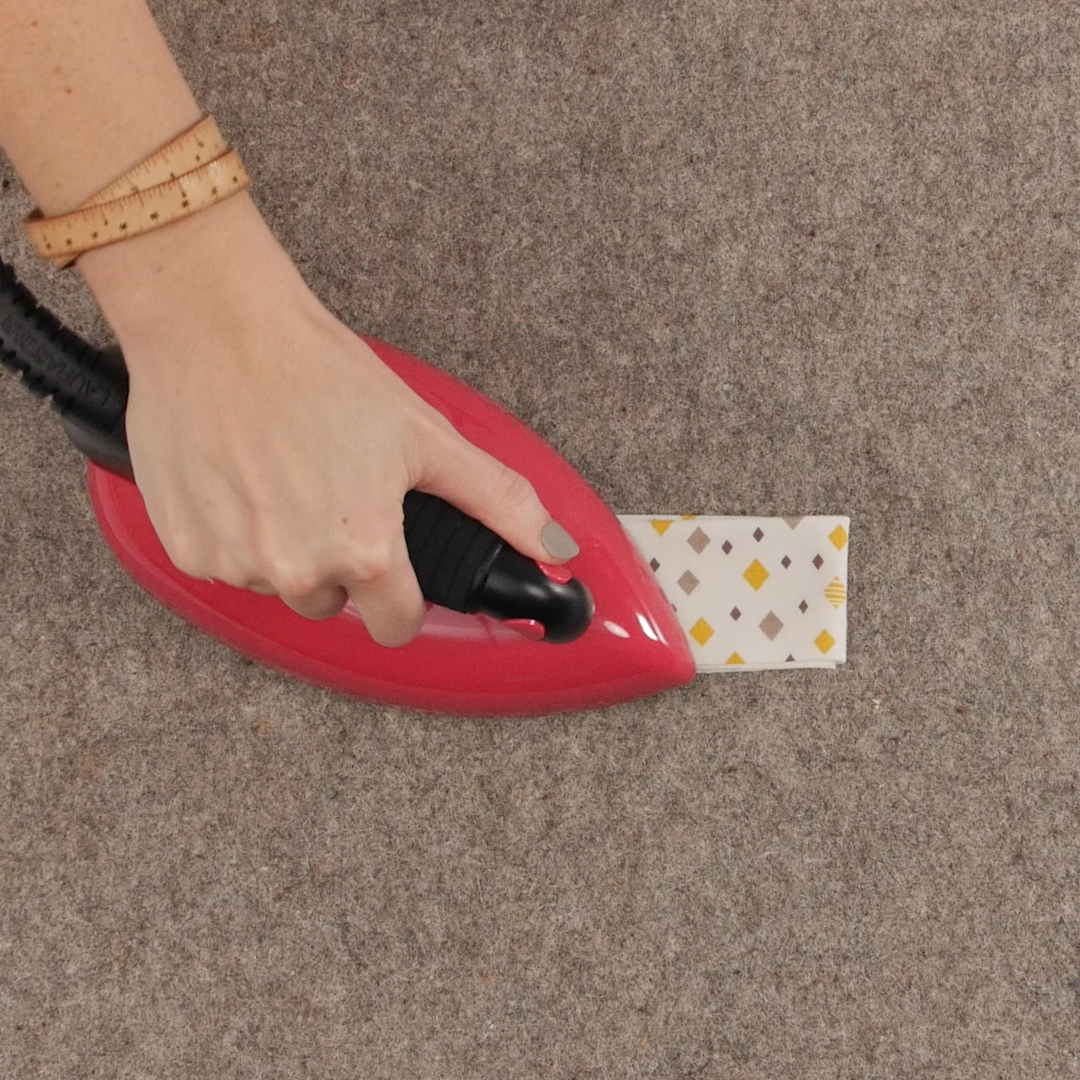
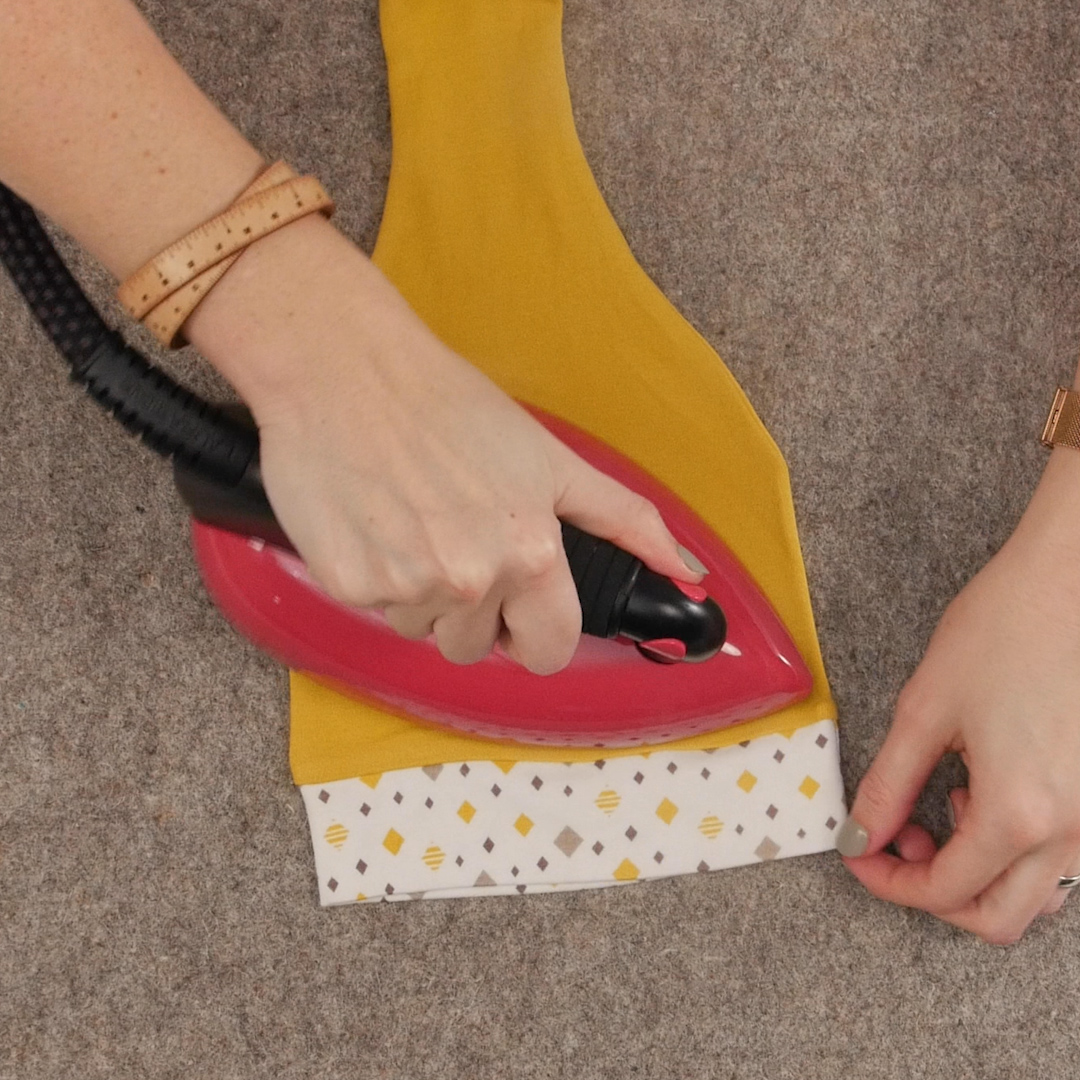
Press the beanie band in half and turn the beanie body right side out.
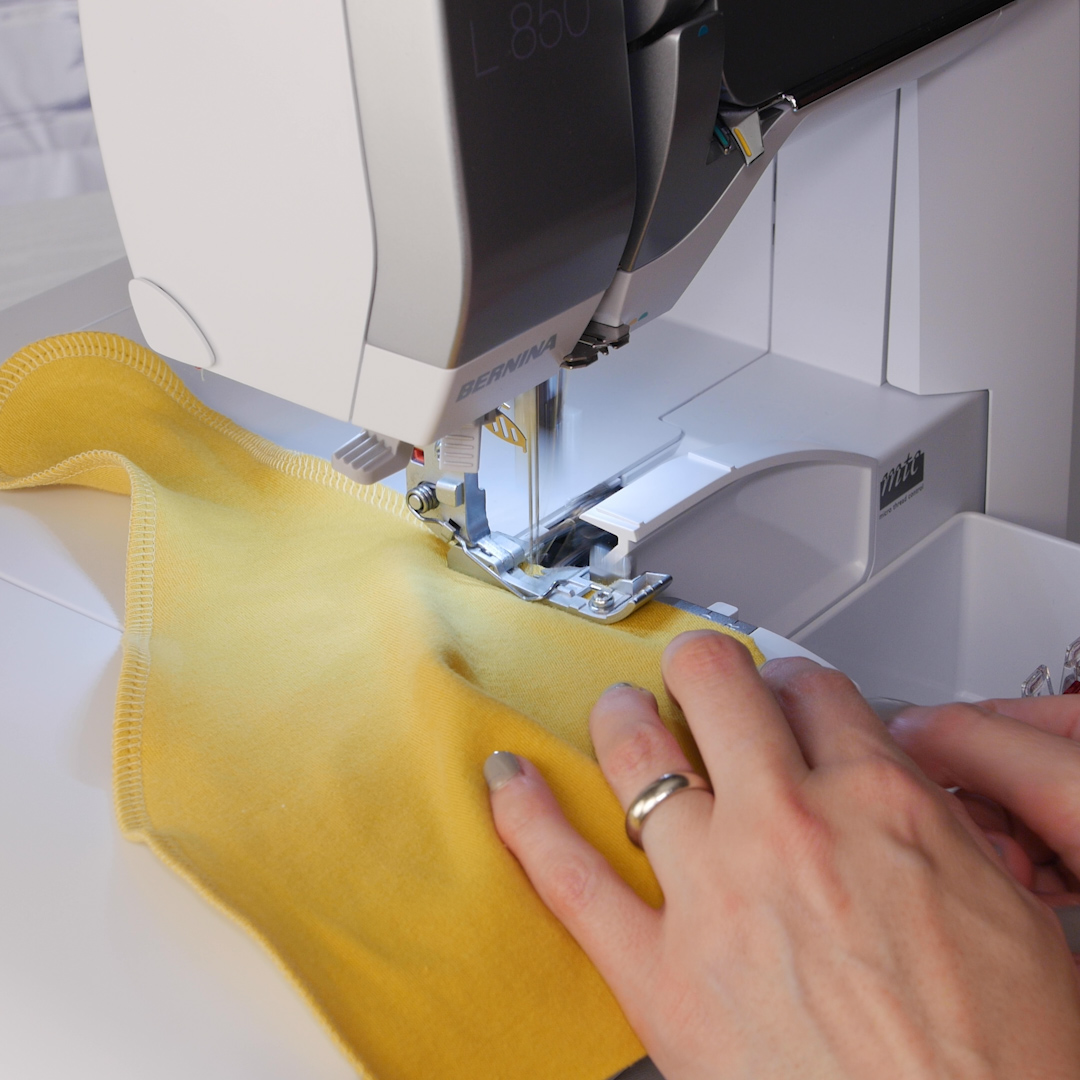
Step 4. Add the Band to the Beanie

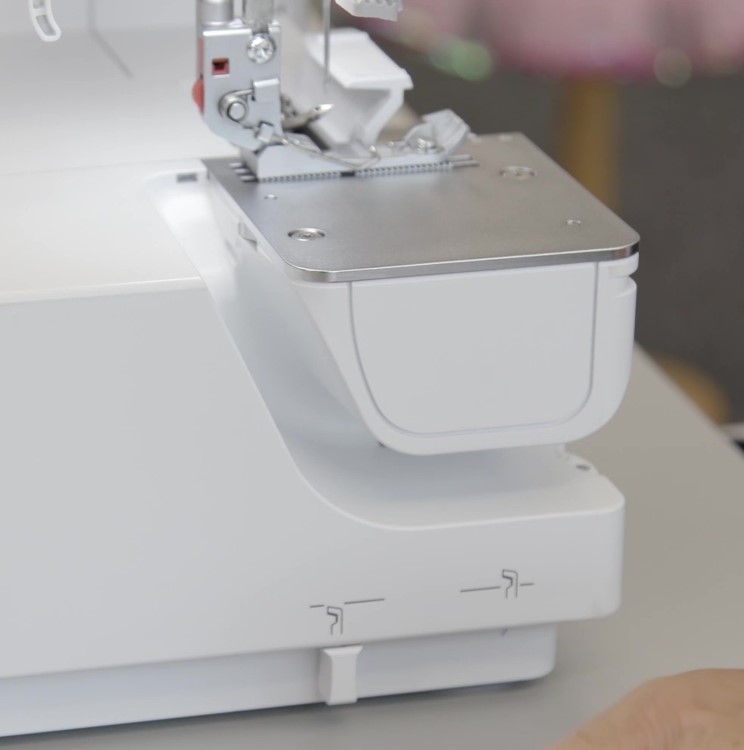
The BERNINA L 850 comes standard with a slide-on table for an extended work space. When removed the machine reveals a free arm feature. This makes sewing things in the round so much more accessible and easy to do. It is just perfect for this beanie.
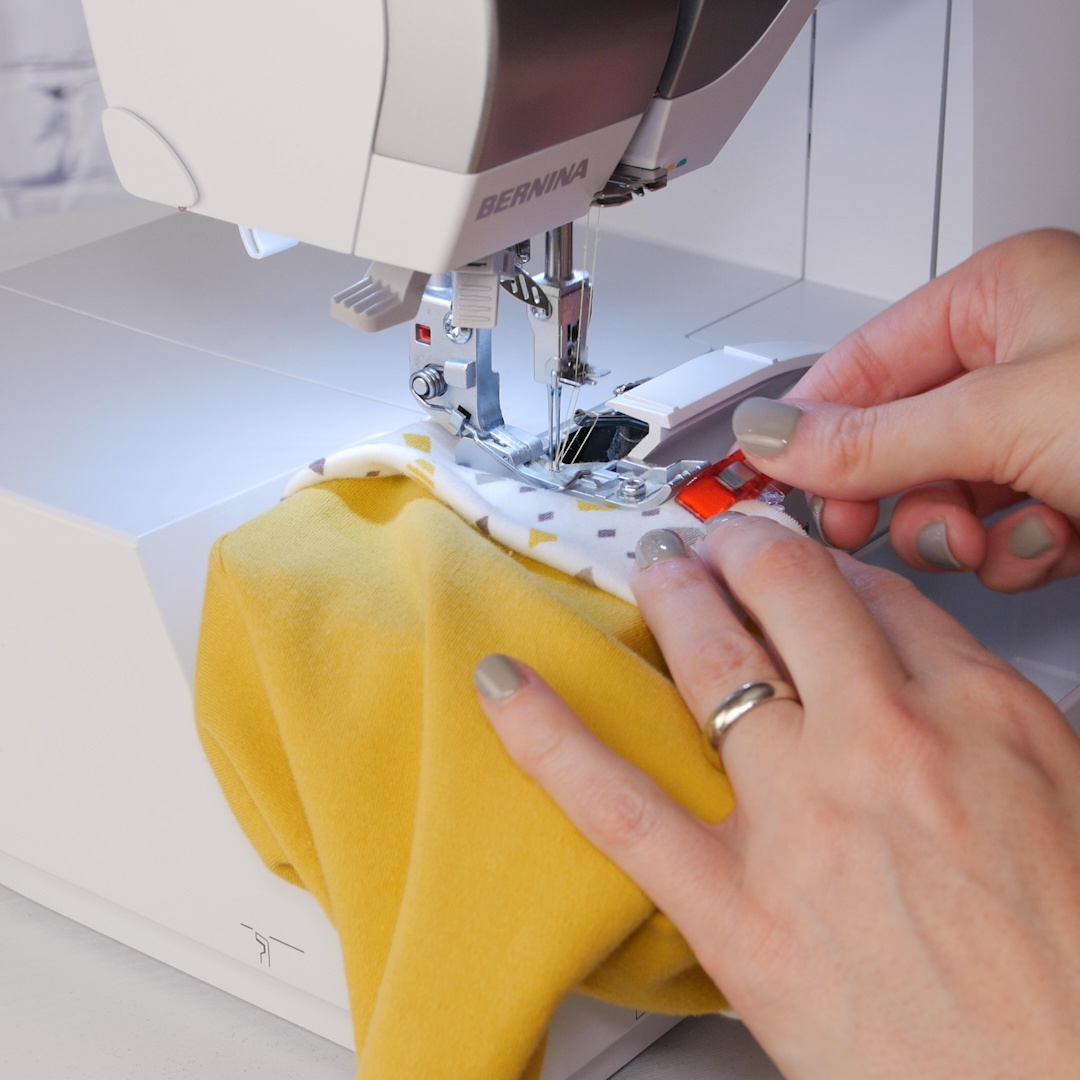
Use Wonder Clips to attach the band to the beanie with right sides together. I recommend nesting the seams along the back so that the seam allowances are pressed in opposite direction. Begin sewing just before this seam. Using the freearm, sew the band and beanie together with a 4-thread overlock stitch.
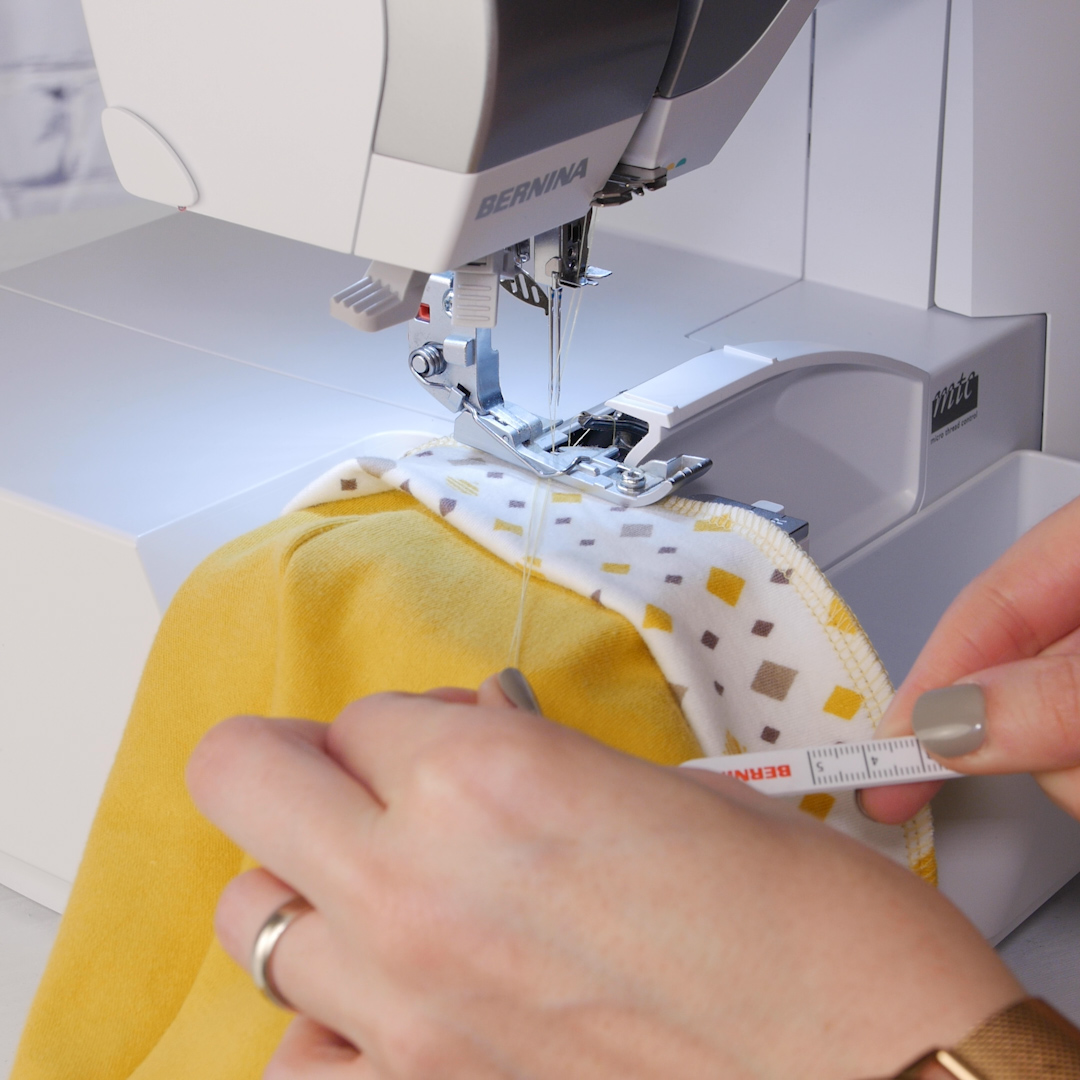
When you come back around to the starting point, you can easily lower the cutting knife from the left side of the machine. This allows you to sew over the beginning stitches in a tidy way without cutting into the stitch. Stop sewing when you have sewn over about 1” of the beginning stitches, then raise the foot and release the threads using the CS lock tool. This will leave you with a nice even stitch finish and you only need to trim the thread ends to finish.
Press the seam allowance of the band and tie a knot in the top—and you’re done!


