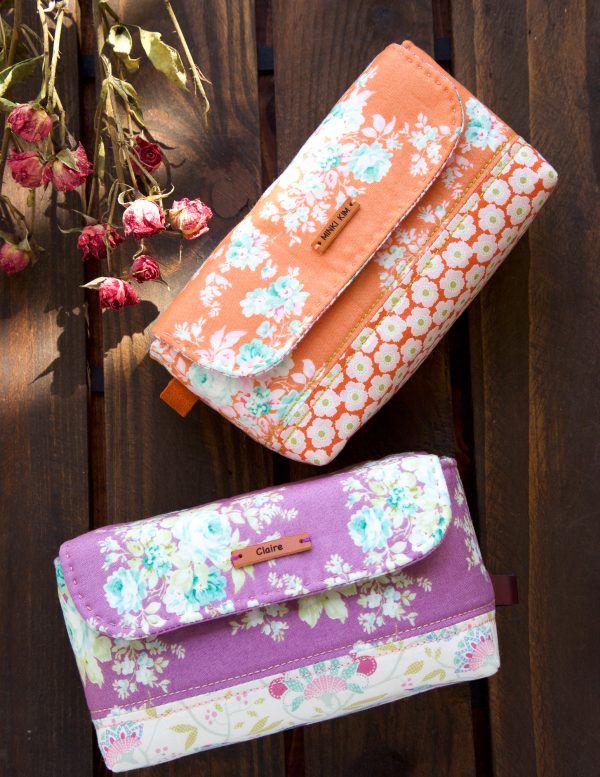
Hello, it’s Minki from Minki’s Worktable. The first day of school is almost here! Get into the back-to-school spirit and enjoy your last few days of summer with my Stationery Pouch project.
When my daughter started Kindergarten I saw my Japanese friend’s cute stationery pouch from her mother in Japan. That night I tried and tried to make one-of-a-kind stationery pouch for my daughter. Because we are a crafty mamas, right? After many drawings, I came up with this simple stationery pouch idea.
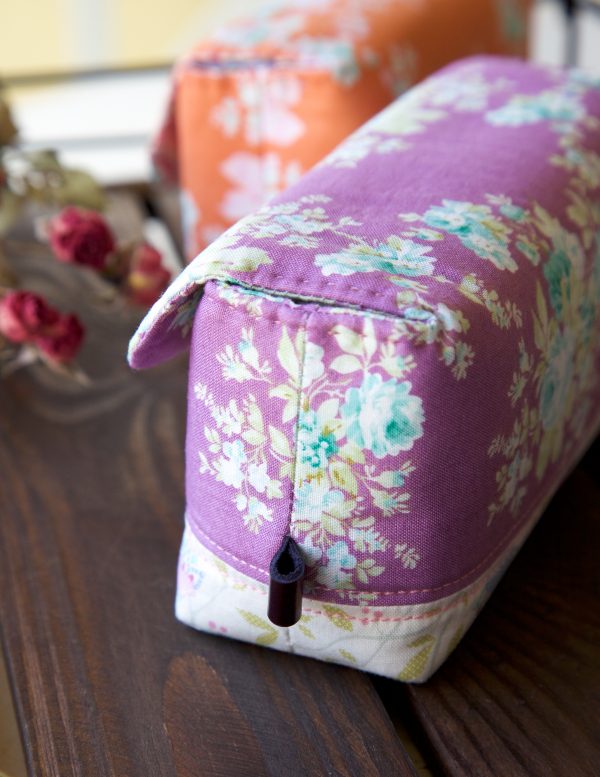
I stitched my girl’s name on the flap so she won’t lose it! I am more excited than my girl for the first day school now. I wish I could sit next her and see how she take out scissors and glue stick and see her smile on her face.
I love to add cotton or leather tags on almost all of my pouches so I can add key rings or attach the pouch to a big bag. I buy a bag of leather scraps at Michaels craft store or online.
This little pouch is good for adults too. I often make one for my friends’ birthday and they use it as their glasses case, and thank me whenever we meet each other.
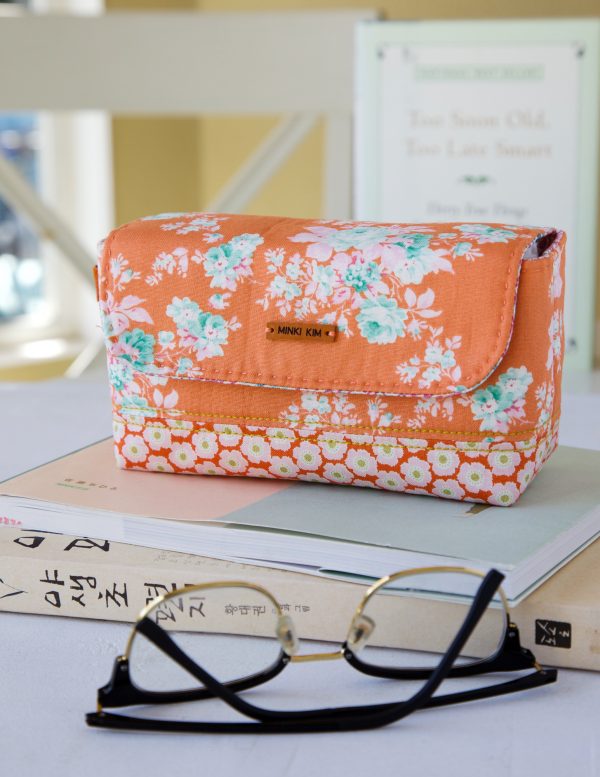
Finished Stationery Pouch size: 6 1/4” x 3 1/4” x 2 1/2”
Add 1/4 inch seam allowance to all the pieces
Materials to Make a Stationary Pouch
- Cotton Print 1 : 9” x 4” and 9” x 7”
- Cotton Print 2: 9” x 4 1/2”
- Cotton Print 3: 9” x 13 1/2”
- Fusible fleece: 9” x 13 1/2”
- Matching color thread (I used 12 weight Aurifil thread), neutral thread
- Matching embroidery thread, Cosmo
- 1/2″ x 4″ leather scrap
- Iron (I use a Reliable)
- Rotary cutter and rotating rotary mat
- Magnetic button
- Leather name tag
- Download the Stationary Pouch Template
*Fabric used: Tilda, Harvest collection
Instructions to Make a Stationary Pouch
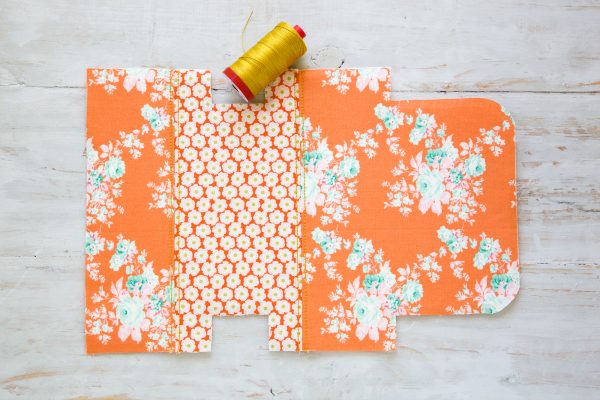
1. Cut Print 1, Print 2 using rotating rotary mat and sew Print1 – Print 2- Print 1 together matching long edges.
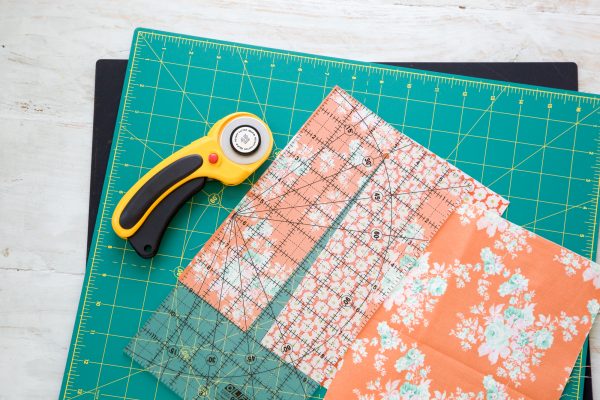
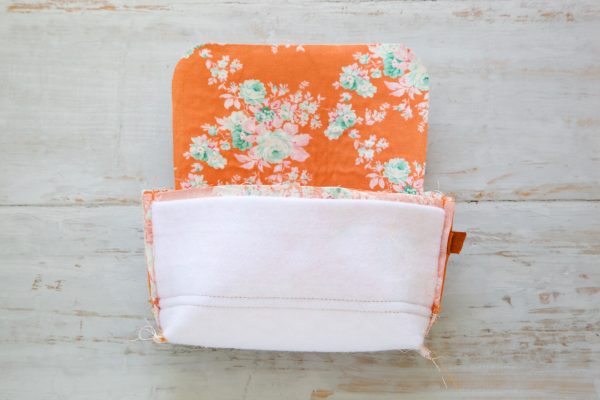
2. Fuse the cut-out fusible fleece on the wrong side of pouch body and trim the excess fabric.
3. Topstitch along each seam using 12-weight matching thread.
4. With right sides together, fold the bottom part in half, matching up the side and corner raw edges. Sew sides together.
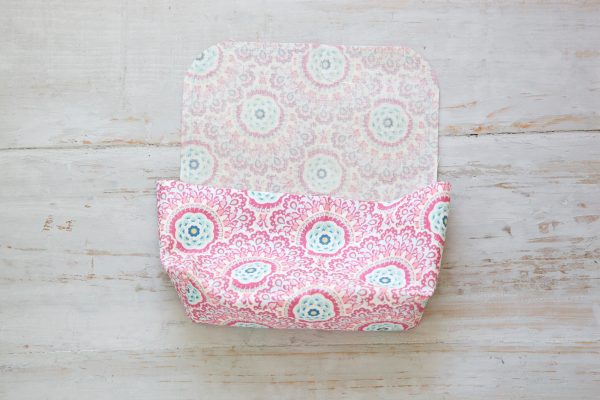
5. With Print 3, Repeat steps 4 to make the pouch lining.
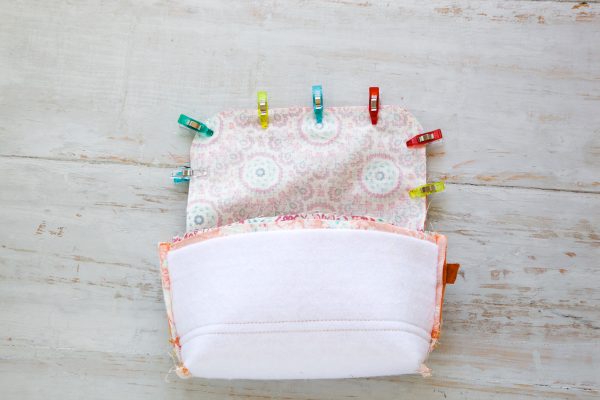
6. Turn pouch lining to right side and place inside main pouch (right sides together), and pin together along flap and front edge. Sew in place.
7. Clip each flap ends to help easy open & close.
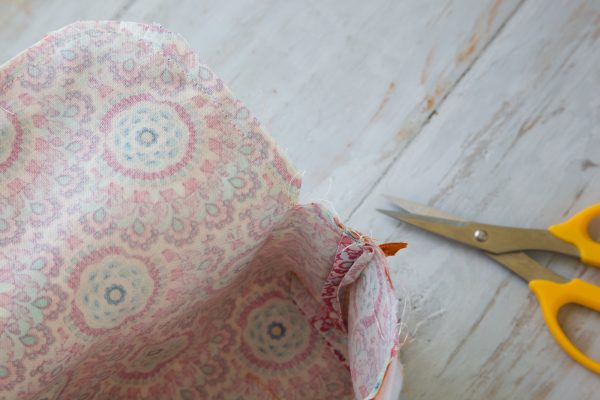
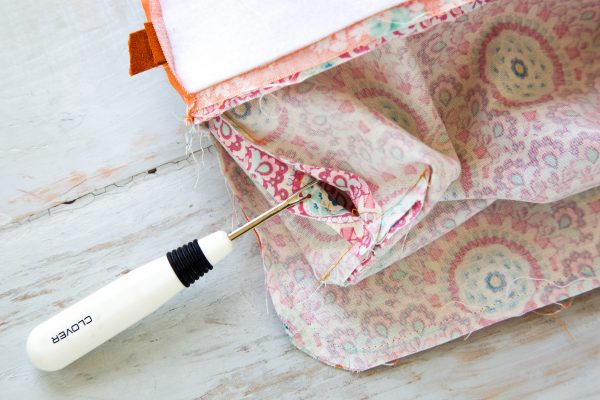
8. Pick open one side of lining to make a opening. Turn right side out.
9. Hand sew gap closed. Finger press front pouch seam and topstitch by sewing a running stitch along this top front edge using 3 strands of embroidery floss. Attach magnet button to front edge and inside flap.
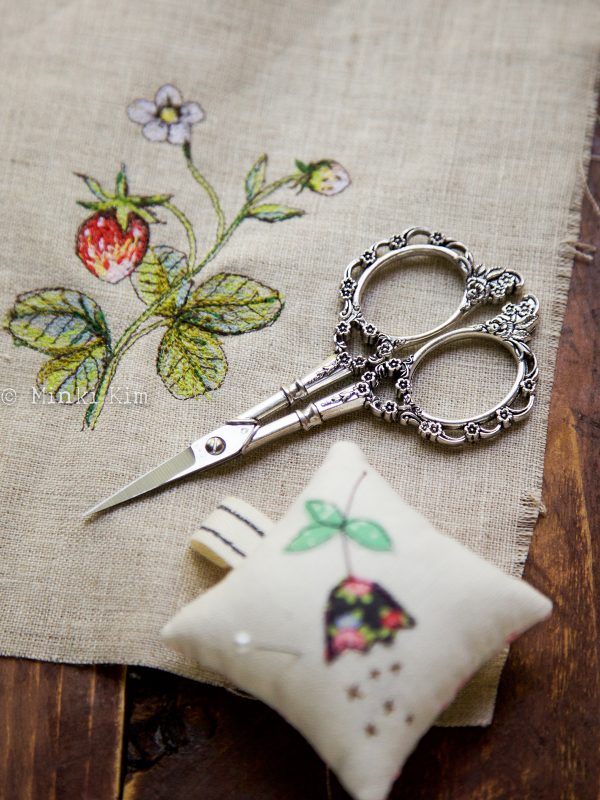
Warm Chrochet offers a special giveaway for four lucky WeAllSew winners!
For a chance to win one of four pair of scissors, please add a comment below and answer the following question:
What are your favorite sewing scissors?
A winner will be drawn from the comments on Friday, August 4, 2017 and announced about a week after the contest is closed!
The giveaway is open to all WeAllSew readers. One comment per fan. Comment must be submitted to the WeAllSew.com blog by August 3, 11.59 p.m. Central Time. Winner will be chosen randomly. Winner will be notified by email and will have 48 hours to contact to claim the prize. Good luck!
If you would like to purchase the scissors, please add the coupon code BERNINA to receive a 10% discount.


