


![]()
One of my favorite things to do is decorate for the holidays! We celebrate both Christmas and Kwanzaa so our holiday decor is a mix of both which is why I absolutely love making it. This is a super easy and fast sew that will add some special details around your home (or office!).
DIY Embroidered Holiday Trees
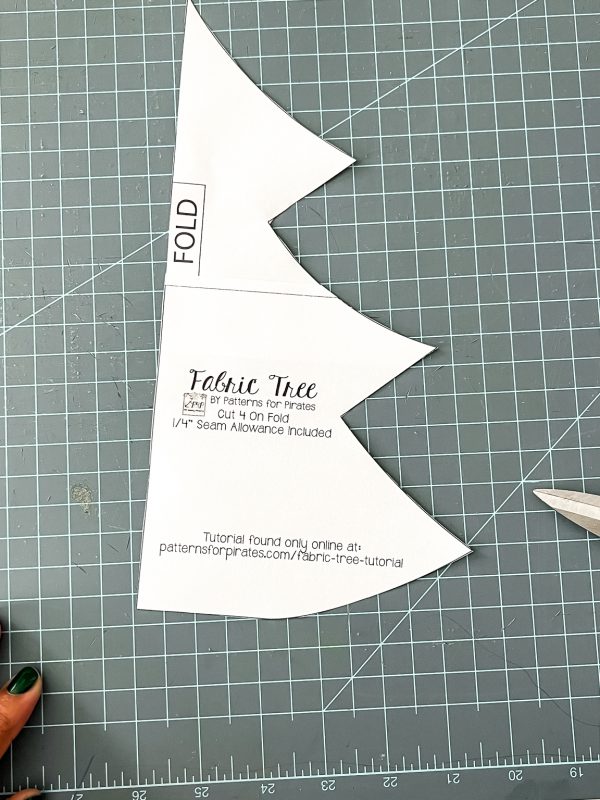
For this project, I’m using a free pattern from one of my favorite indie pattern companies Patterns for Pirates. It’s called the Festive Fabric Tree and it’s an excellent scrap buster for all my quilting friends. If you’re artsy, you can absolutely draw out this pattern yourself.
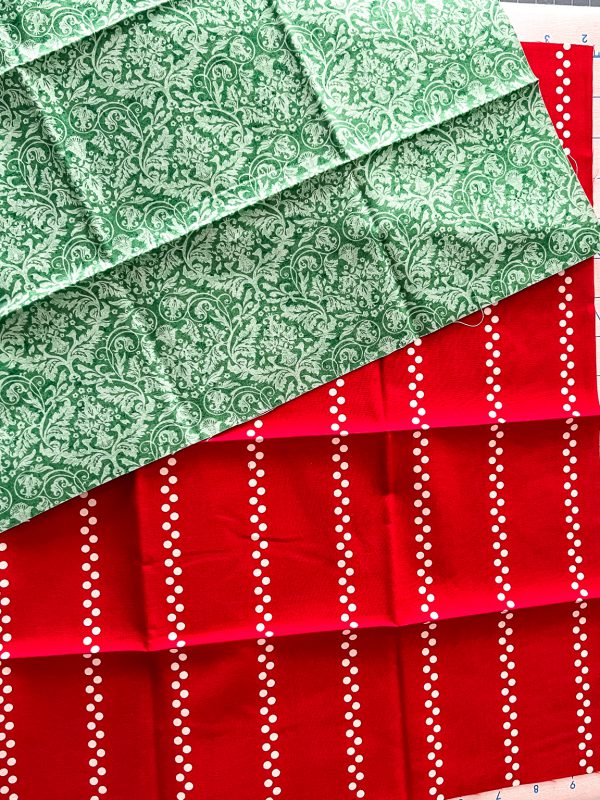
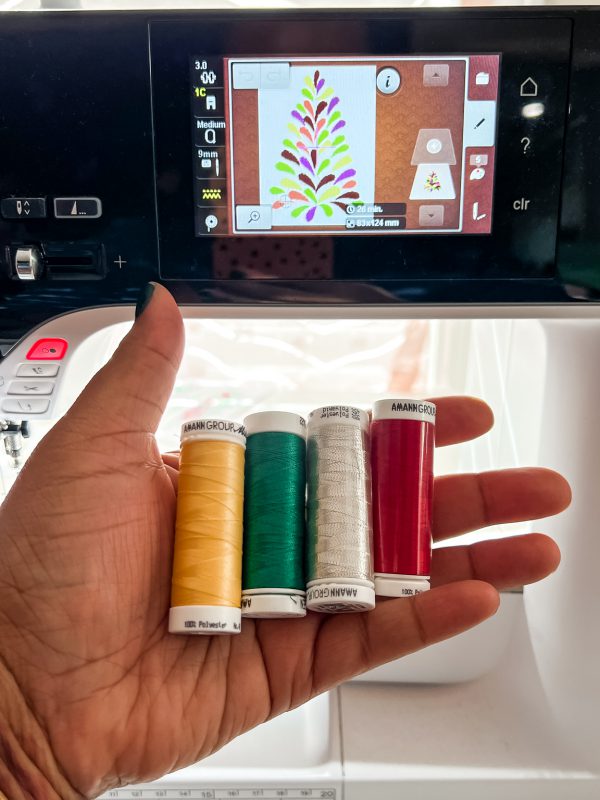
For this project, I used my favorite Mettler Threads. The polysheen gives this project the amount of sparkle it needs to catch the eye and light to stand out. I used fat quarters from Moda Fabric and 2 of them left me with some pieces to use on my next paper piecing quilt square. If you’re into upcycling and being more sustainable, you can stuff these trees with small scraps from other projects. These little trees last long so they are quite the sustainable scrap buster!
Materials to Create the Embroidered Holiday Tree
- Tree Pattern Piece
- 2 Fat Halves minimum
- Coordinating thread
- Embroidery Module
- Oval Hoop
- Tear Away Stabilizer
- Scissors
- Rotary cutter (optional)
- Hand sewing needle
- Fiber Fill
- Holiday Cheer!
Directions to Create the Embroidered Holiday Tree
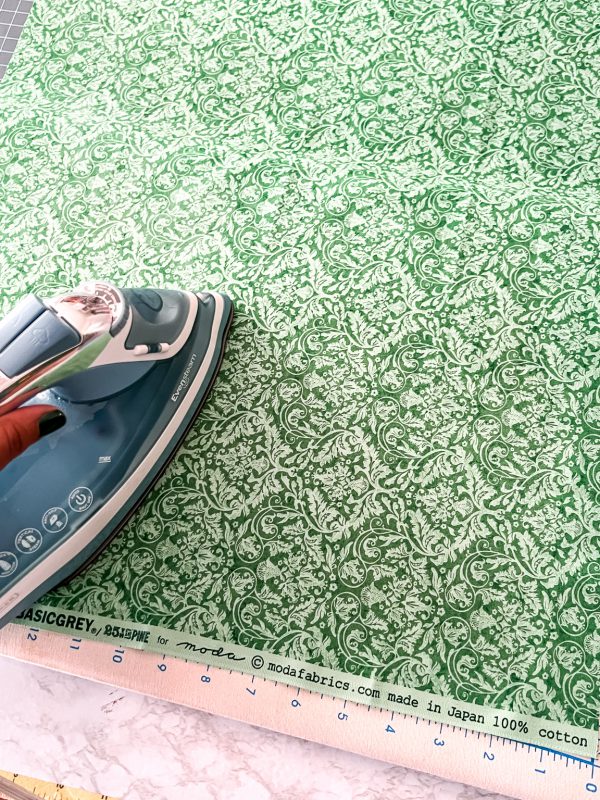
- Iron fabric to make sure that there are no wrinkles or folds.
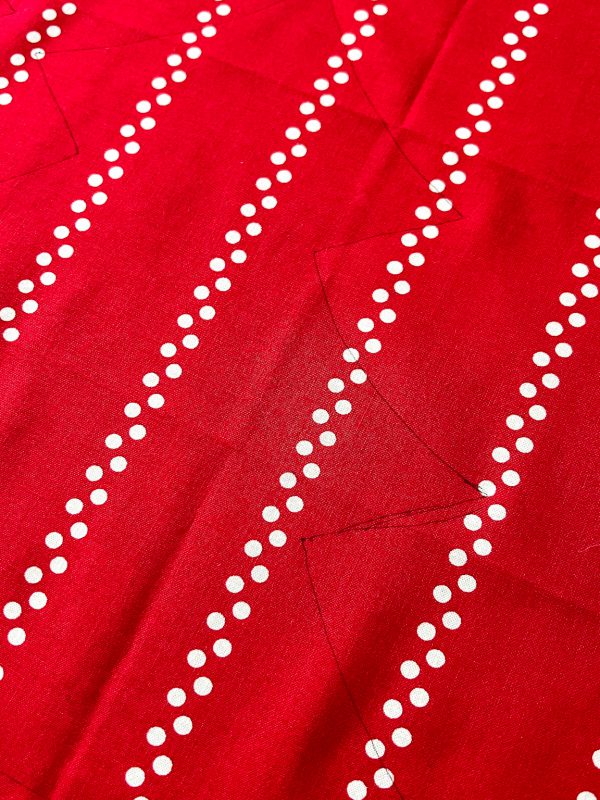
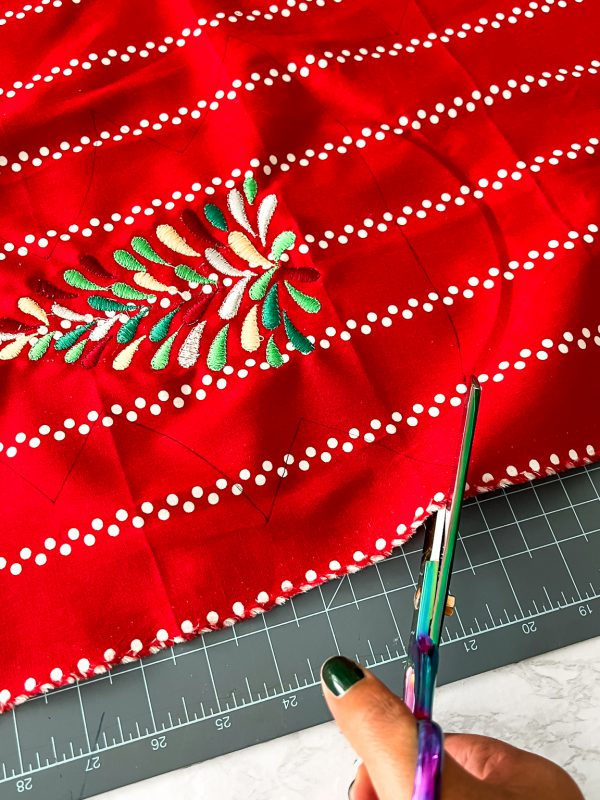
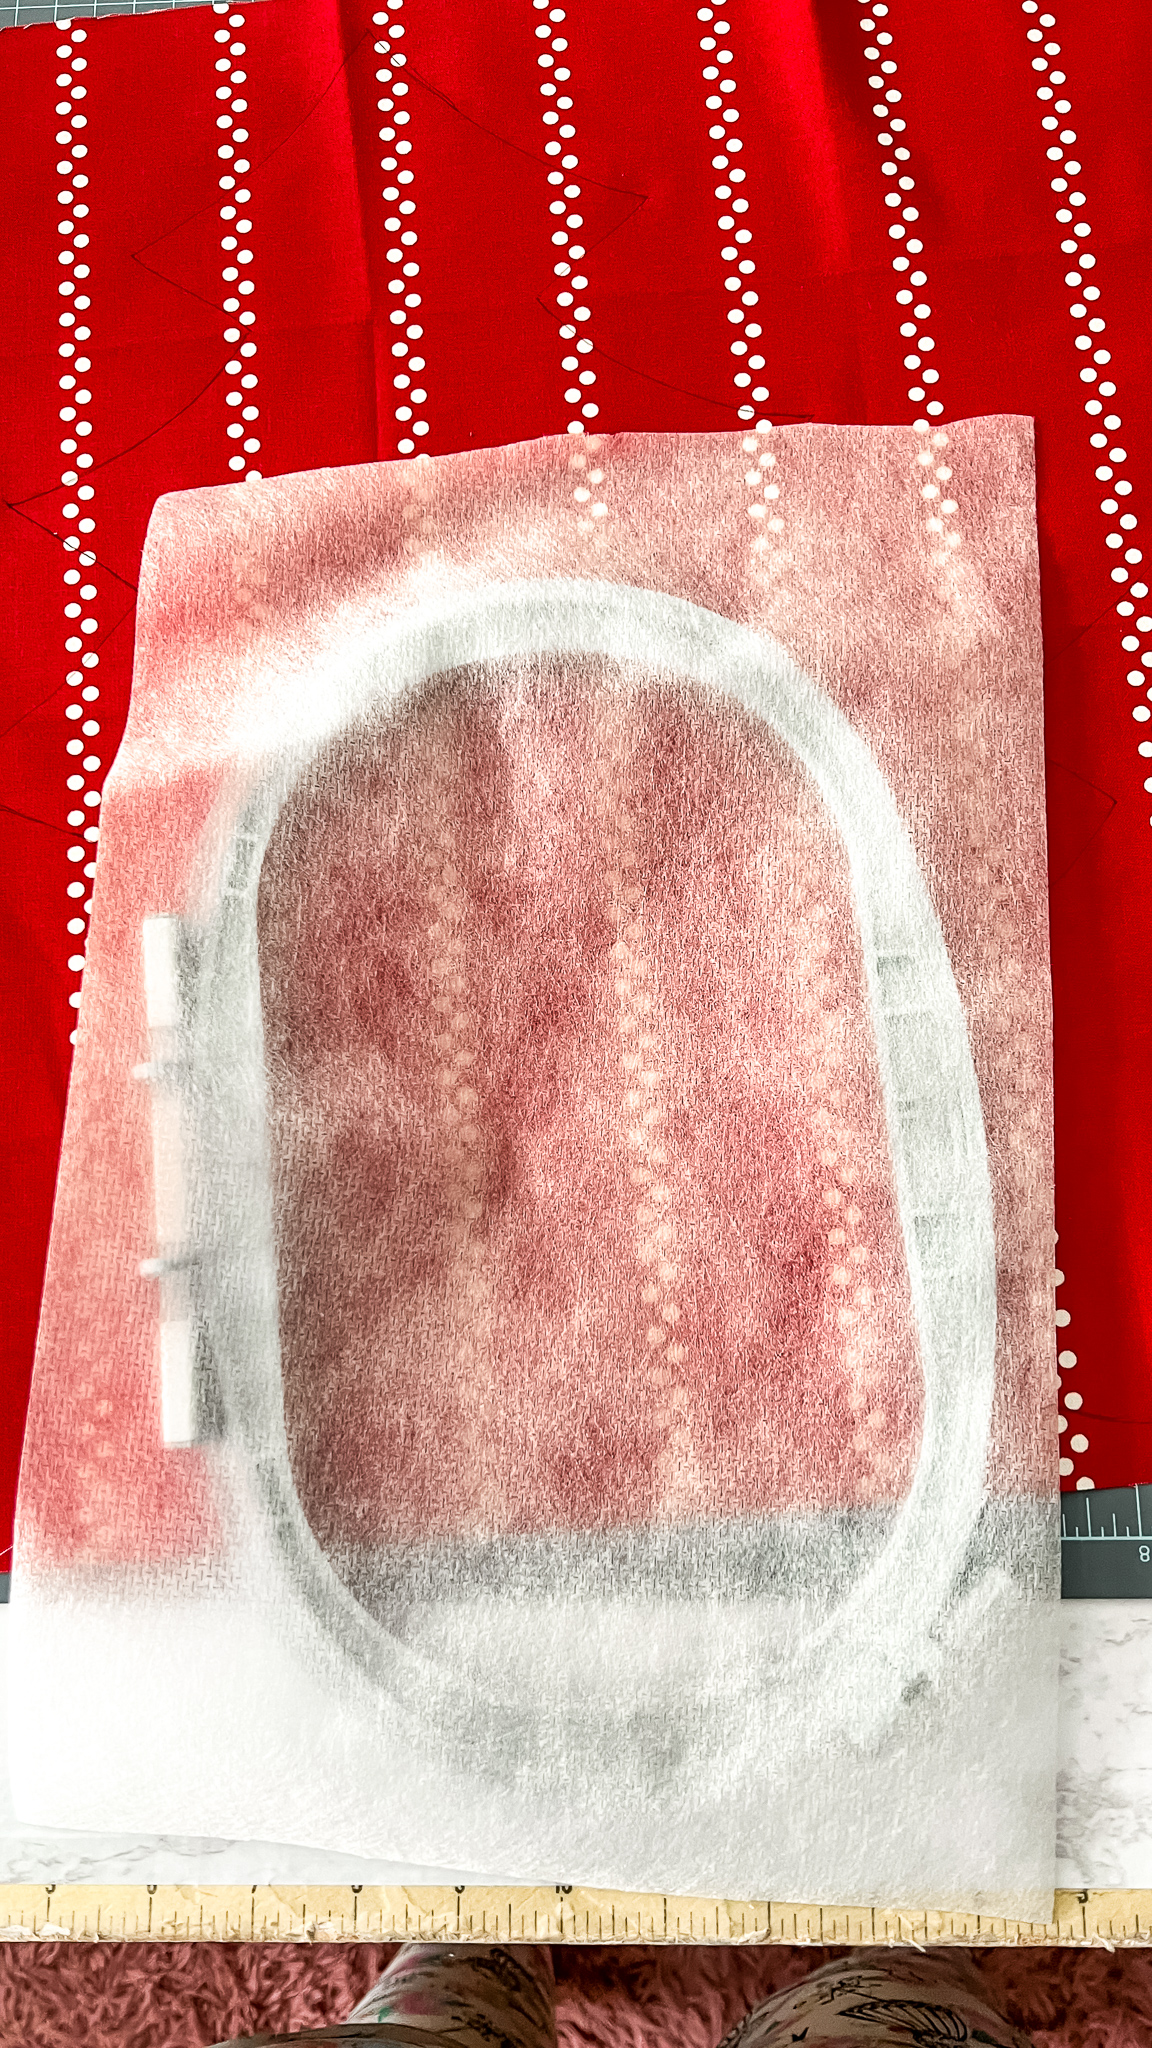
- Trace 4 trees onto your fabric. This will serve as a guide for your embroidery.
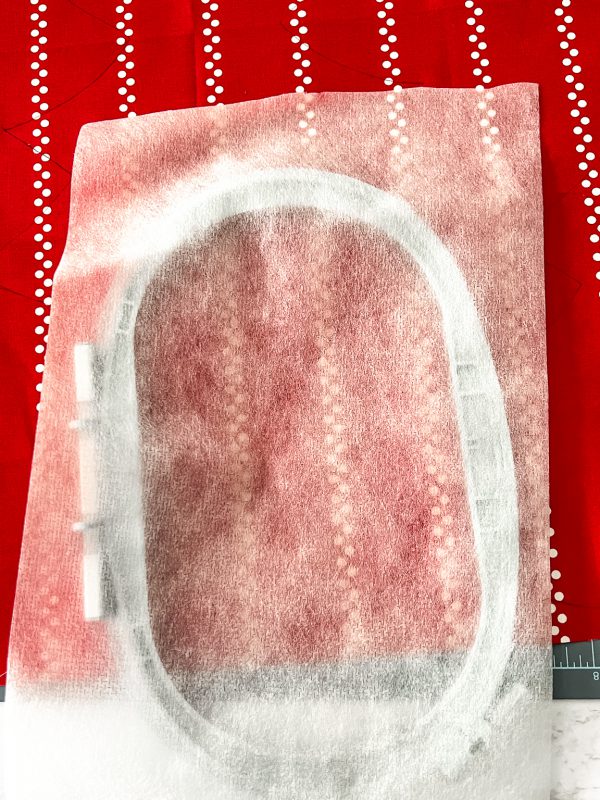
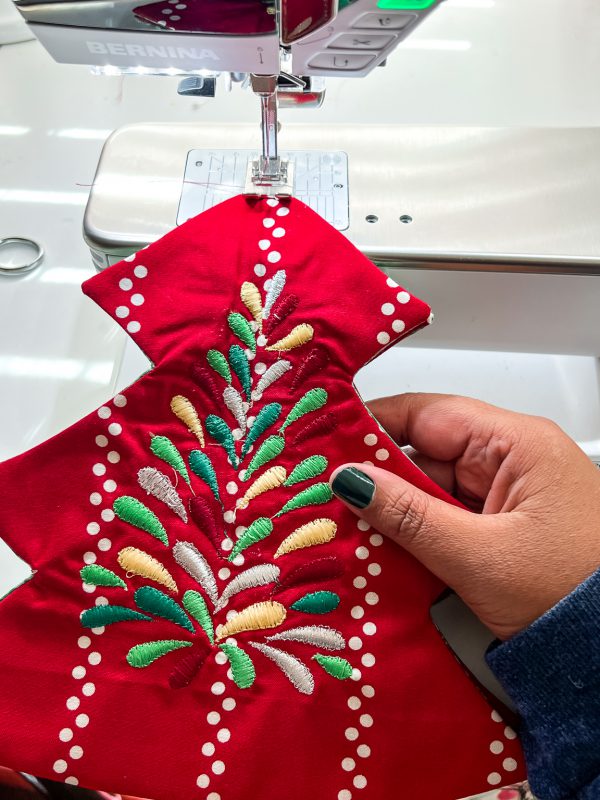
- Cut stabilizer and put in the embroidery hoop. Cover with the fabric of choice centering the tree.
- Choose your embroidery design. I used designs that were pre-loaded on my BERNINA 590 E.
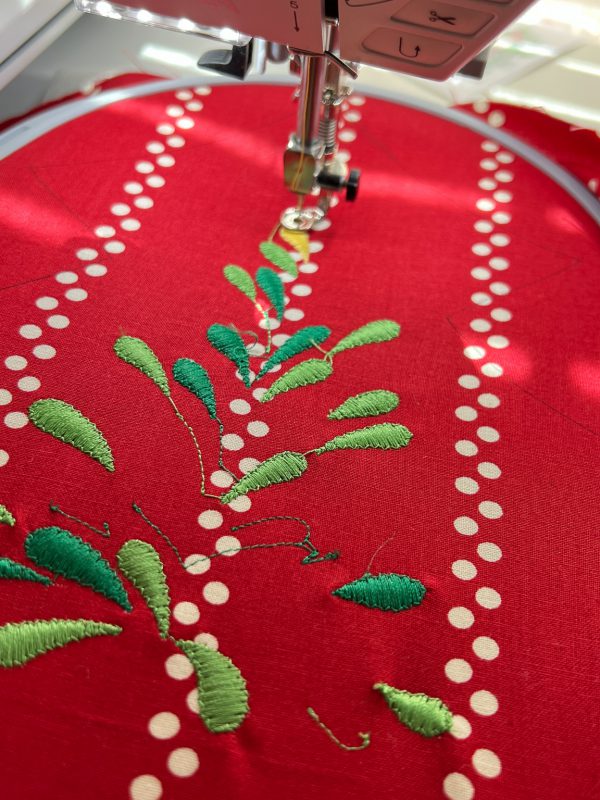
- Embroider.
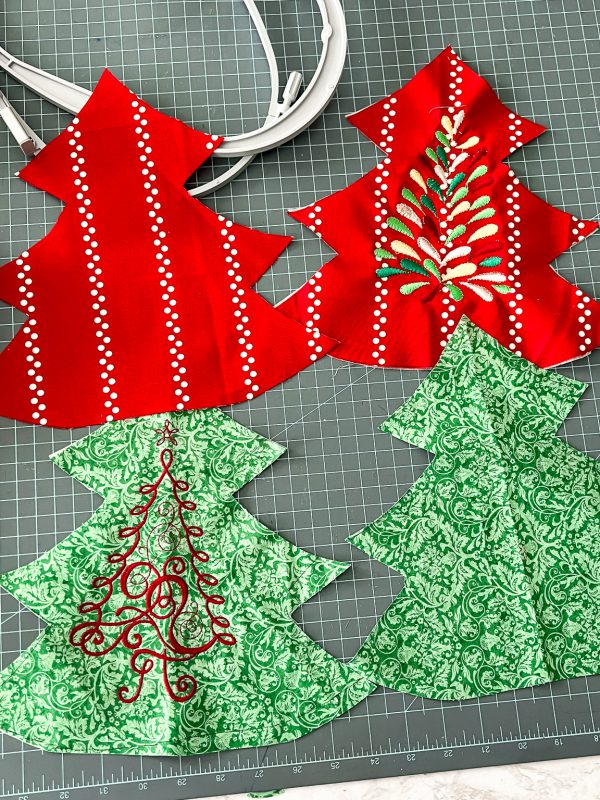
- Cut out trees from fabric. **If your design is off-center, fold the design in half and then cut out using the pattern piece.
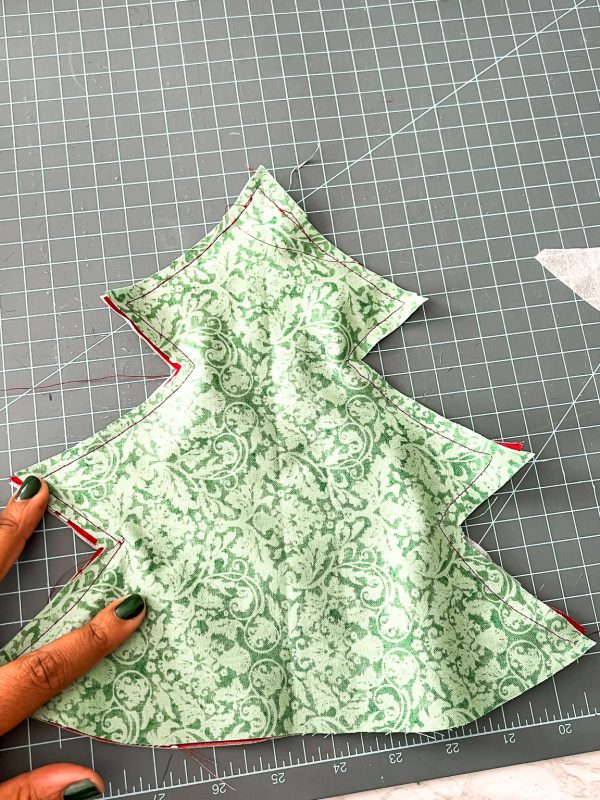
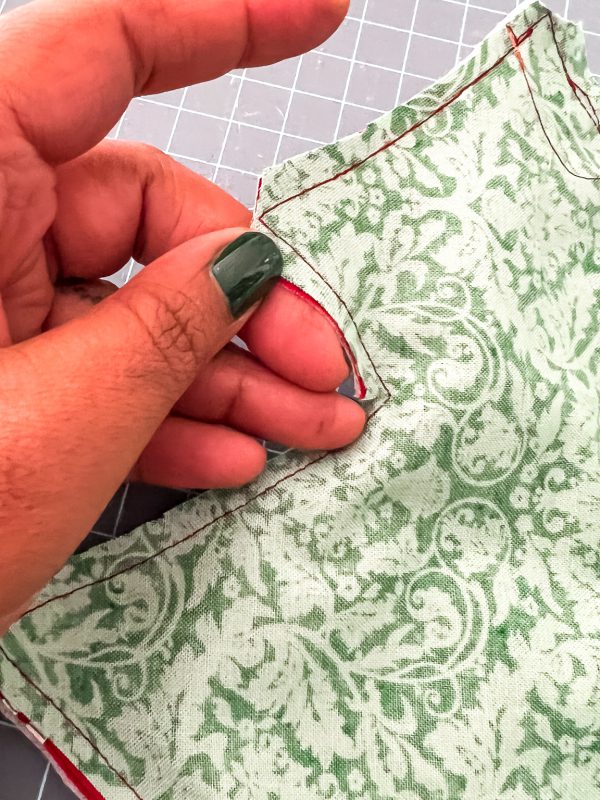
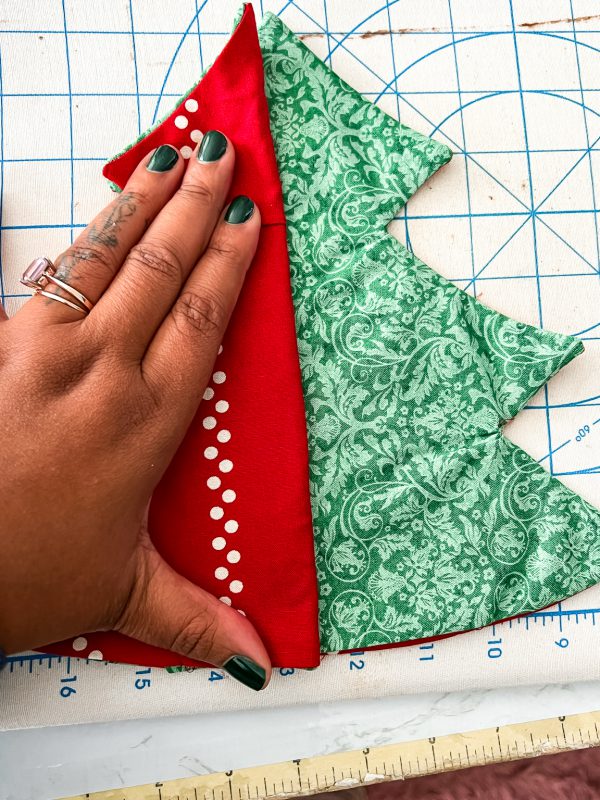
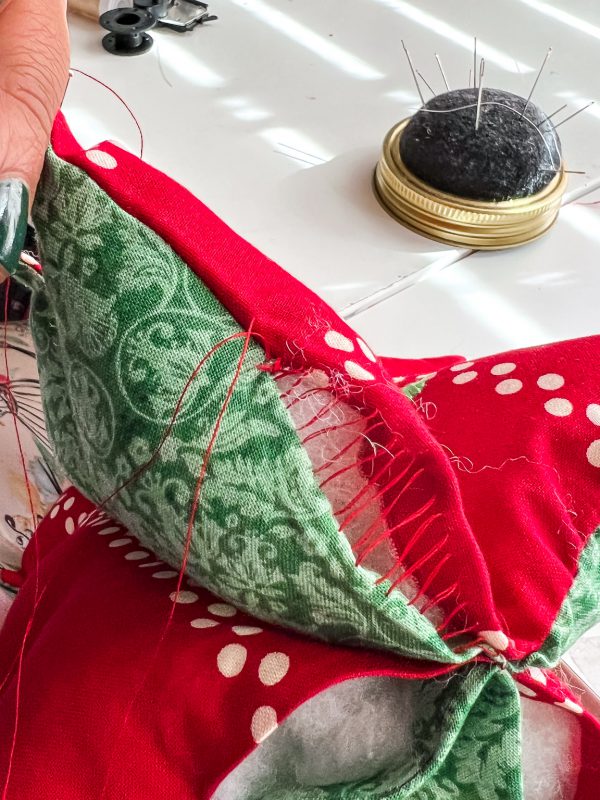
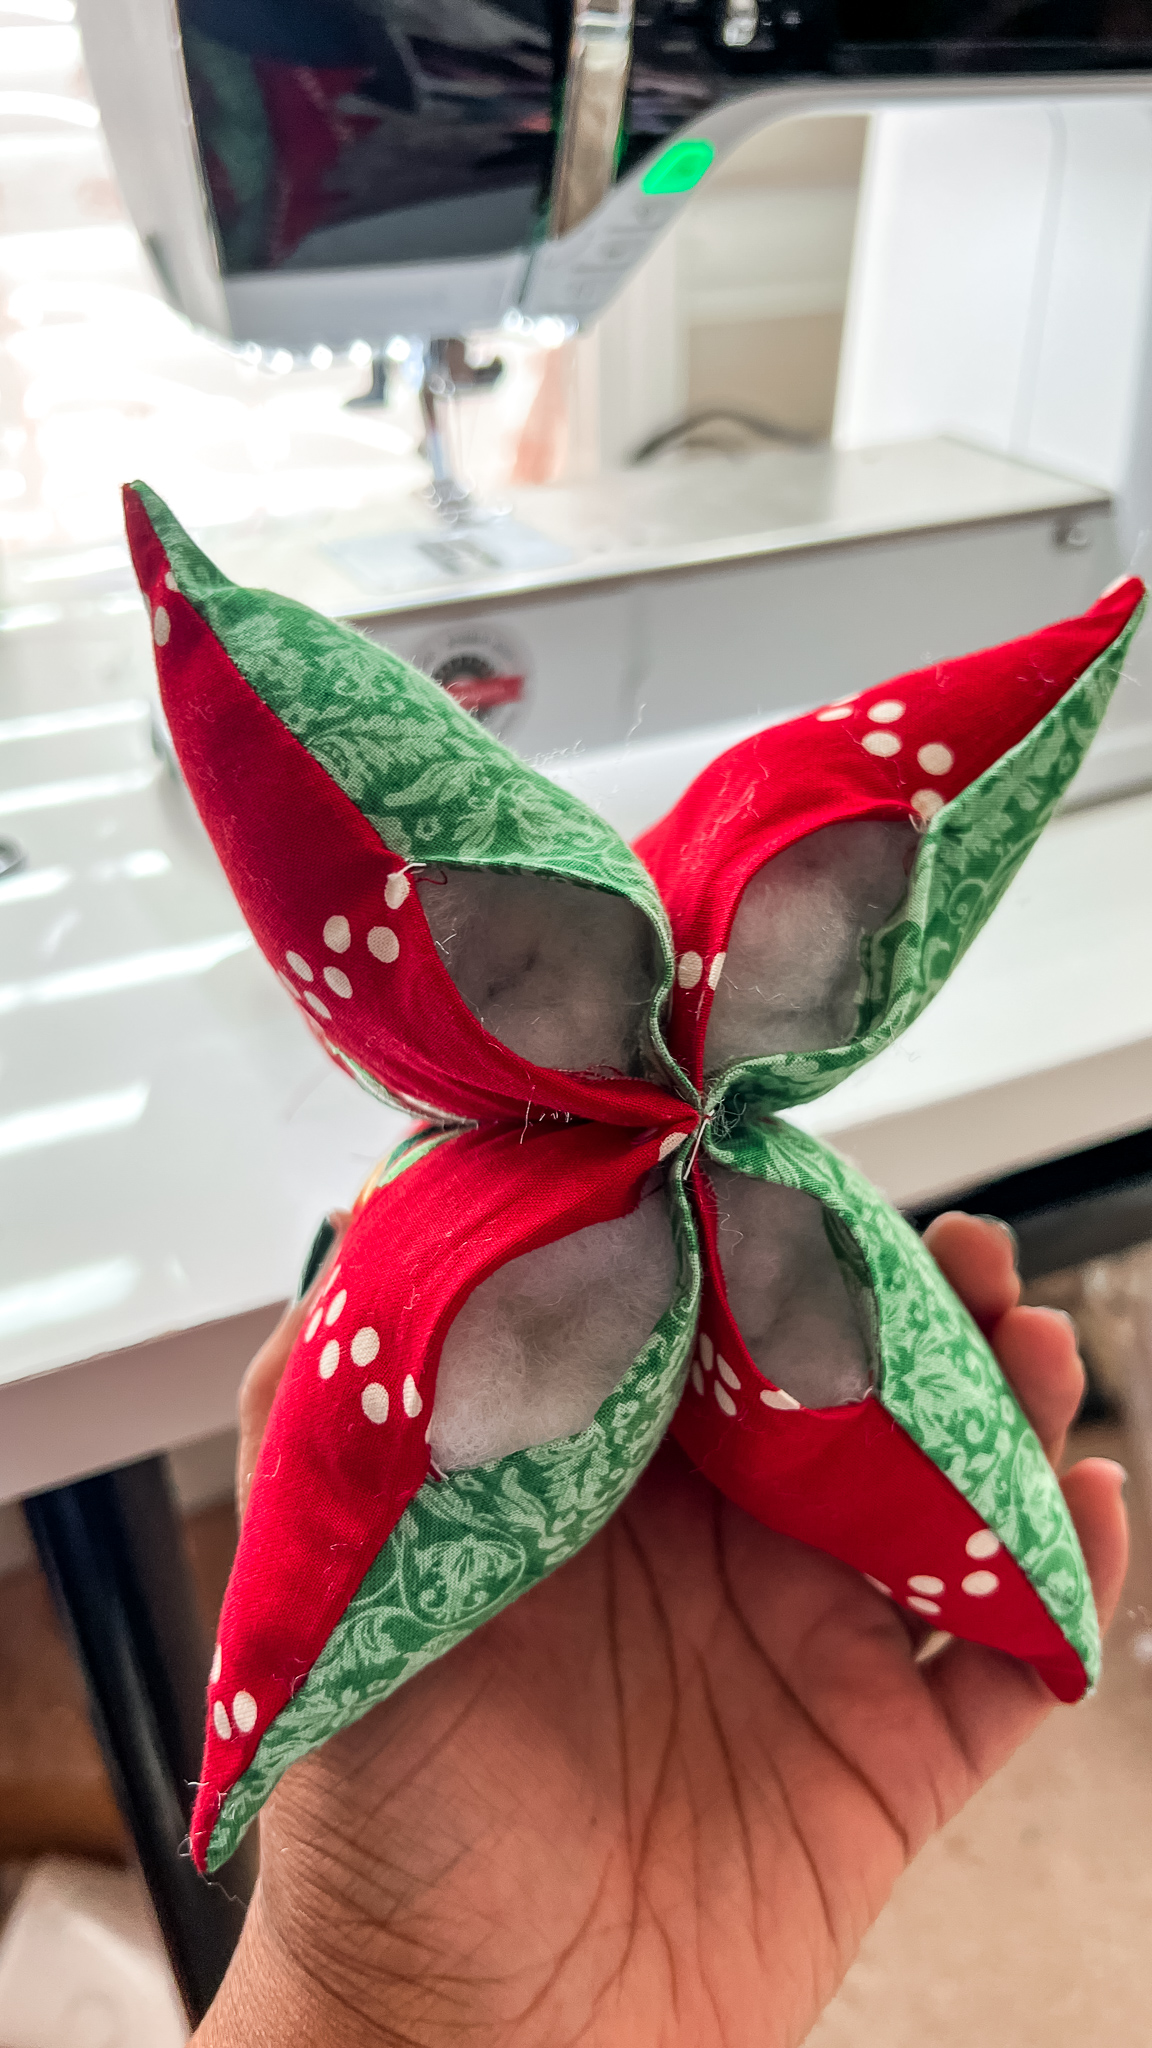
- With right sides together, sew around the tree beginning 1.5 inches in from the bottom and continuing around the tree. Repeat with the remaining two tree pieces.

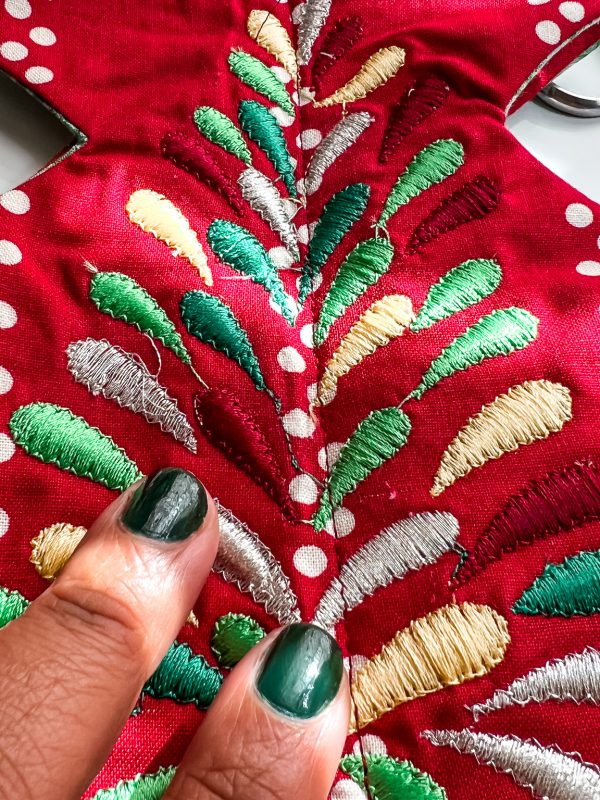
- Fold the top tree and press creating a line.
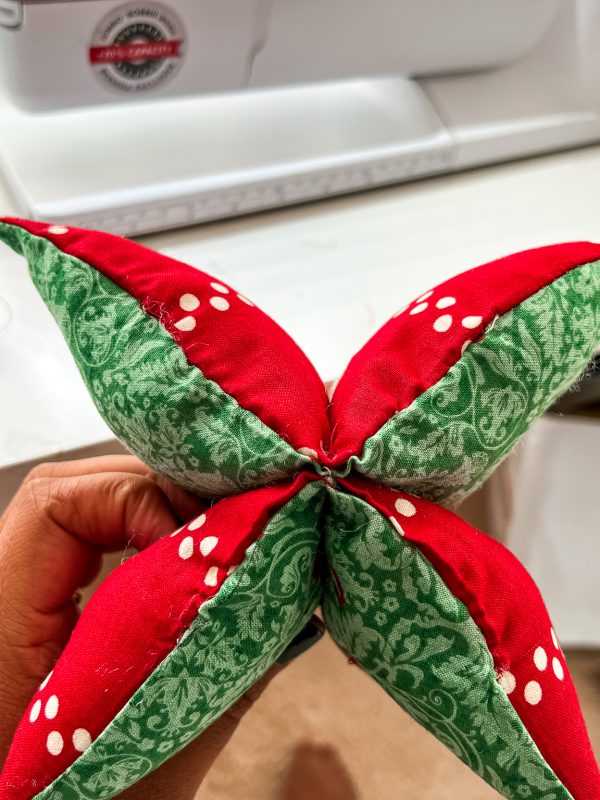
- Layer one tree on top of the other with embroidered sides facing out. Sew straight down the middle.
- Stuff each section of the tree with fiberfill. **Start by stuffing the tops of all 4 sections so to make sure that they get filled out before stuffing the entire section. This makes it way easier.**
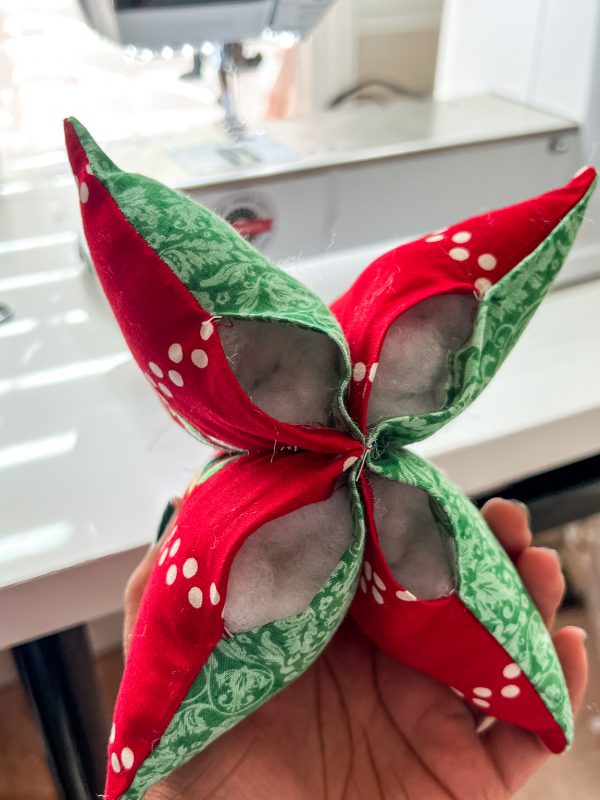
- Hand sew a ladder stitch to close each section.
- Place in an area that adds holiday cheer!
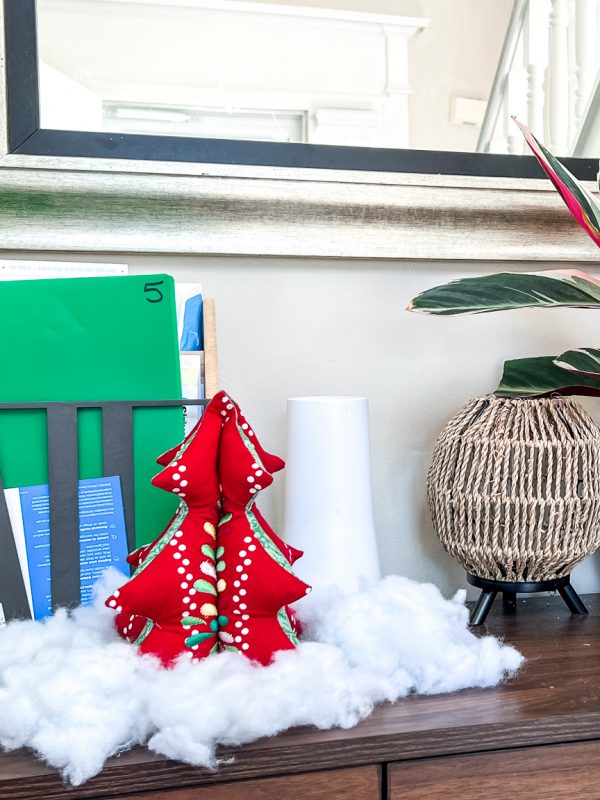

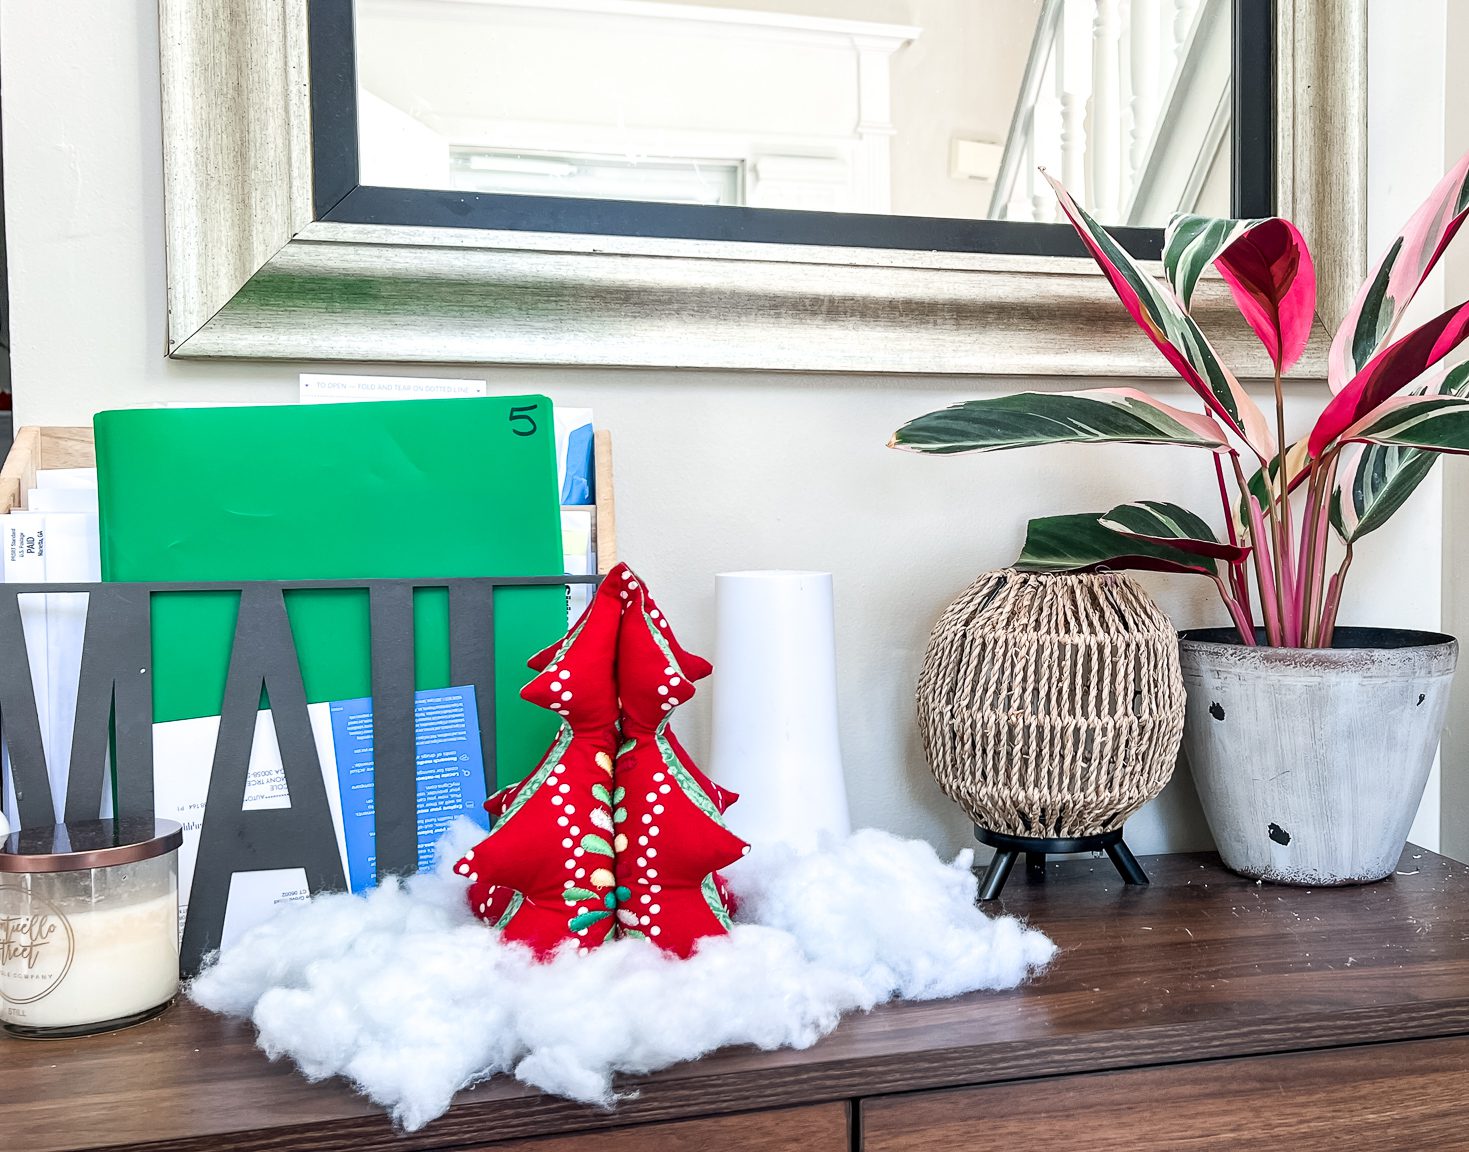
The beauty of these trees is that they can be customized to the holidays you celebrate based on your fabric and embroidery choices.
Happy sewing!

