Easy On, Easy Off BERNINA Presser Feet
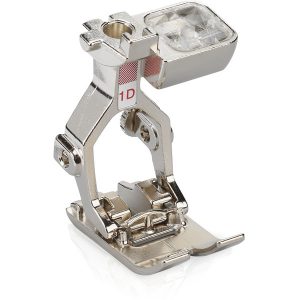
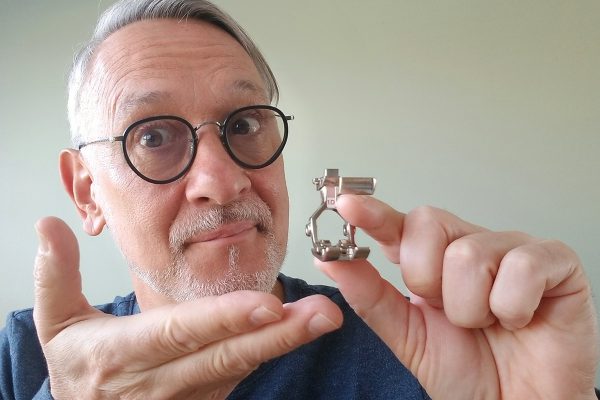
The BERNINA exclusive one-piece presser feet are the easiest to attach to and remove from the machine. This makes it simple to always have the right foot for the technique you’re working with. No need for a screwdriver when you want to change presser foot.
Note: attaching and removing presser feet is easier when done with the right hand, given that the fastening clamp is located on the left of the presser foot bar.
To attach a BERNINA presser foot to your machine, with the presser foot in the UP position:
- Start by holding the foot between your thumb and middle finger of the right hand.
- Angle the foot toward the presser foot bar and engage the cone at the tip of the presser foot bar into the matching conical receptacle at the top of the foot.
- Push the foot up with your thumb and it will align itself thanks to the square prongs at the front of the foot.
- Clamp the foot with the middle finger of your right hand and squeeze until the clamp is securely engageIf the foot is a D foot (for Dual Feed), engage the Dual Feed bracket immediately so you don’t forget.
 To remove a BERNINA presser foot from your machine, with the presser foot in the UP position:
- Position your thumb in front of the presser foot, pressing upward slightly.
- Slide your middle finger against the back of the foot and push backward to open up the clamp.
- Once the clamp is released, the foot is free to be removed. Pull it down slightly and to the right, at an angle. It’s basically the opposite motion you use to attach the foot.
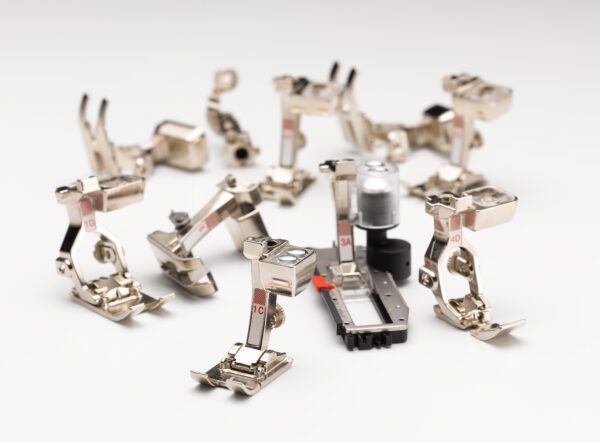
BERNINA presser feet are assembled as one piece, which makes them easy to attach and remove while being more stable. That combined with the wide assortment of presser feet tailored to a wide variety of sewing and embroidery techniques means that you always have the right foot for the job.


