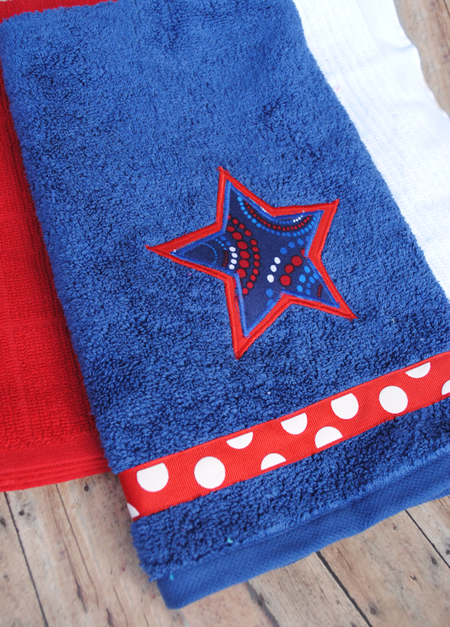
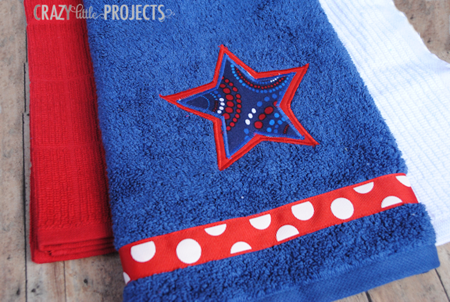
Hello there, WeAllSew friends! This is Amber from the blog Crazy Little Projects popping over to teach you a new skill or two and have some fun sewing with you! One of the things I love to do on my blog is to teach people to sew or to teach sewing techniques. Today I am going to show you how to appliqué on a towel. I do this often on the animal-hooded towels that I make each month. Once I teach you to do this you’ll be able to join me in sewing those hooded towels! Appliqué is the type of sewing skill that can seem a little intimidating but isn’t really all that hard and can open the door to you for lots of fun projects. This fun 4th of July hand towel is made by appliquéing fabric stars to the towel.
Want to learn how? Let’s do it!
Supplies Needed
Hand towel or dish towel
Fabric for appliqués
HeatnBond®
Ribbon (optional)
Instructions
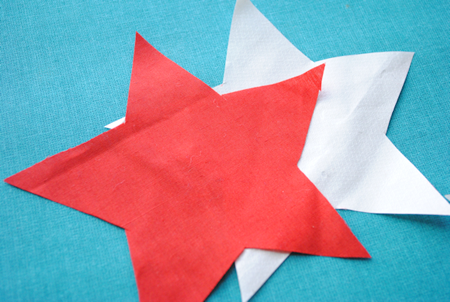
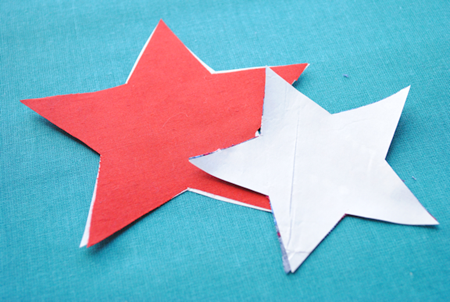
Start by cutting out your stars from your fabric. I just cut these by hand with scissors. Once you have them cut out you need to cut out pieces of your Heat ‘n’ Bond that are the same sizes as your stars.
Iron the Heat ‘n’ Bond to the backs of your stars.
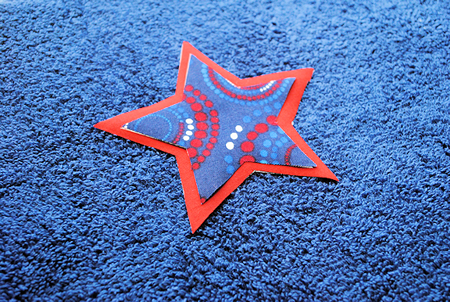
Now, place the stars where you want them on your hand towel…
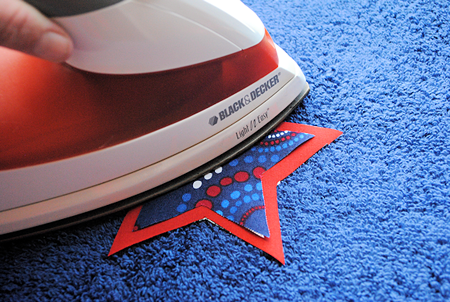
… and fuse them in place. Having these stars fused in place makes the applique process so much easier!
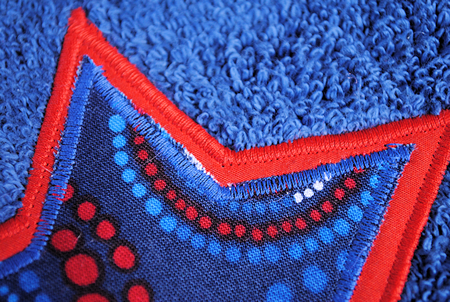
Set your sewing machine to a zigzag stitch that is very short so that the stitches are very close together and fairly narrow. Begin to sew around your star, stitching so that you are sewing right along the edge of the star. I started with the outer star first, then did the inner star. Go all the way around making sure to turn very carefully at the corners with the needle down. You may have to gently pull your towel a little as you are doing this to propel it forward. Don’t yank, just gently guide it. You should have something that looks like this when you are done:
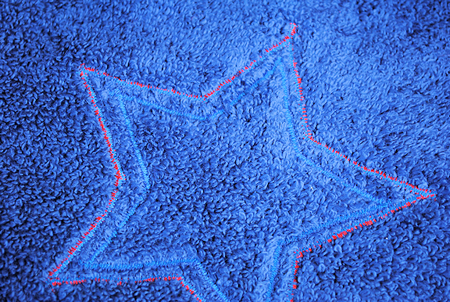
I use bobbin thread that matches the towel color so that the back looks like this:
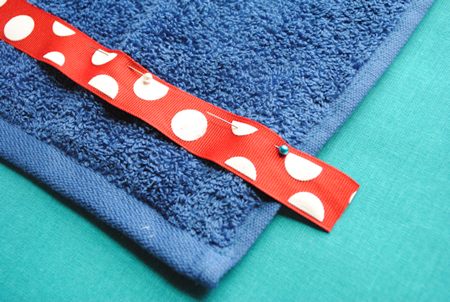
Now, if you would like to add a ribbon accent, simply pin the ribbon in place where you want it. Leave a little hanging over the end on each side.
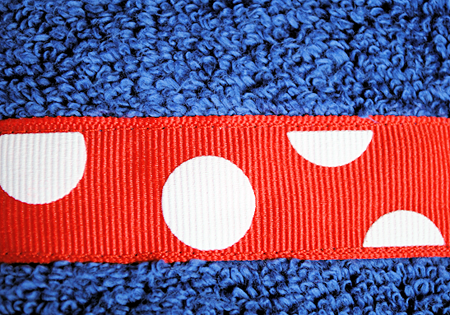
Fold the end of the ribbon under and begin to stitch (straight stitch) along the top edge of the ribbon. As you reach the far end, fold that part of the ribbon under as well. Stitch down the side, and then back across, this time along the bottom edge of the ribbon.
Quick and easy!


