


![]()
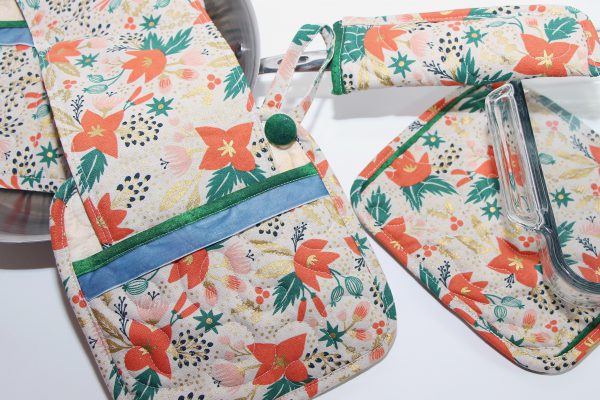
A double-pocket oven mitt is perfect for any time of the year! Create one to bring an extra pop of color to your kitchen, or give it as a hostess gift at the next gathering you attend.
This project can make a simple yet impactful gift to any loved one. They are so easy but often overlooked. Think about it. We use pot holders daily, yet rarely replace them and, if we are being honest, let them get dirtier than we should.
Make a double-pocket oven mitt for all your loved ones!
If you saw my How to Make a Convertible Hip Sack post, then you know I LOVE, LOVE, LOVE options, and multifunctional pieces. This double-pocket oven mitt is no different!
I’ve given you three options to choose from:
- Two 8×8 pocket oven mitts
- One double-pocket oven mitt
- A pocket oven mitt set with two 8×8 oven mitts, a 7.5 x 2.5 pot handle sleeve and an 8.5 x 7.5 hot pad or trivet
If you have never made a quilt panel, you can check out my post all about them and the one I use for most of my quilted projects. Note: On this project, I omitted the Pellon Stabilizer. I wanted a fluffy look and the Pellon would have made it too stiff. But as always, the choice is yours!
A Few Tips Before We Get Started
As always if you follow me at all Honymfin.com or @honymfin on Instagram, you know I’m a fly by the seat of my pants kinda lady. I often make five of the same thing until I get it just right . . . Basically when I have an idea, I make it up as I go! So a few tips I learned along the way that will hopefully help you:
- A thinner pot holder is fine for a quick grab but if you want to do any type of “holding” make it thick—four layers of batting minimum.
- If you are a more advanced quilter, you can choose to sandwich all your layers before quilting separate panels. Just know the more batting you choose to use, the SLOWER you will need to quilt. If you don’t, you’ll bend and snap needles. Don’t ask me how I know it. I just do.
- Quilt on the side you want facing out, it will give your oven mitts a more luxurious look!!!
- Place the loops for hanging your potholder where your thumbs will be (shooting up and not down into food).
Time:
- Depending on your life this could take an evening or a weekend . . . I have four small children so it took me a week. A little bit every night after bedtime . . . I’ve broken it down into steps to help you with your timetable.
Stitching:
- Length 3.00
- 1/4 Seam Allowance (unless specified)
Terms:
- WOF= Width of Fabric
Tools Needed to Make a Double-pocket Oven Mitt
- Rotary Cutter
- Quilting Ruler
- Cutting Mat
- Clips
- Thread
- MicroTex Needles
Materials Needed to Make a Double-Pocket Oven Mitt
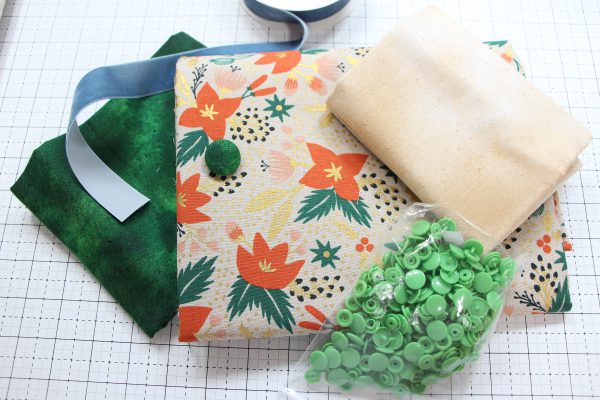
Fabric
I purchased Canvas Fabric by Riflepaper from MonogramsForMakers and I partnered with Benartex Fabrics for the lining, bias tape and button inner fabric. They have a huge selection of wonderful fabrics. The line I used, New Hue, is great on its own or as a complimenting fabric! On these oven mitts, I used the Hunter and Beige.
Option 1: Two 8×8 Pocket Oven Mitts
- Two quilted panels for oven mitt (only) 8in x 27in
- Insul- Bright 8in x 27in (optional) — Read step one
- Extra batting 7.5in x 27in (optional)
- Three bias tape strips 2in x WOF (can be cut on the straight)
- Note: I used two different fabrics: one for the pocket and one for the body.
- Two buttons (I made some using these from Amazon)
- 16in ribbon or trim (I used 1in Velvet Ribbon)
Option 2: One Double-pocket Oven Mitt
- Same as Option 1
- Six snaps or buttons
- One additional quilt pattern material (not made)
- Matching 6in WOF
- Batting 6in WOF (41 inches)
- 9in bias tape (for extra loop)
- One additional button
Option 3: Full Matching Set (Double Oven Mitt, Pot Handle Mitt, and Trivet)
- 2 quilted panels 8in x WOF
- One additional quilt pattern material (not made)
- Matching 6in WOF
- Batting 6in WOF (41 inches)
- Insul- Bright 8in x 27in (optional) — Read step one
- Extra batting 7.5in x 27in (optional)
- Four bias tape strips 2in x WOF (can be cut on the straight)
- Note: I used two different fabrics: one for the pocket and one for the body.
- Three buttons (I made some using these from Amazon)
- Six snaps or buttons
- 16in ribbon or trim (I used 1in Velvet Ribbon)
Machine
- My machine is the BERNINA 530 (She is 7 years old)
Presser Feet
These four happen to be my top GO-TO presser feet for almost all my sewing projects.
- Roller Foot #51 (This one is super good for really thick projects)
- Binder Attachment #87
- Edgestitch Foot #10
- Patchwork Foot #37
Note: As always, you CAN make this project with your standard Presser Foot #1, but you will need to take a slower approach and make adjustments as you go. The different presser feet will make this project faster and easier.
Let’s Get Sewing!!!
Steps to Make a Double-pocket Oven Mitt
Step 1: Cut Materials
Cut everything you need to make the double-pocket oven mitt.
Lay it all out before starting. This will be based on the option you choose to do.
Quilted Panel
Bias Tape
Cut and iron bias (straight) strips
- I used two different Fabrics for this
-
- Binding pocket (Green)
- Binding oven mitt and hanging loop (Matching canvas)
Trim
I used blue 1in Velvet Ribbon
- Two pieces, 9in
Connecting Piece
- Cut the extra fabric and batting in half so that now you have two pieces of each, roughly 6 x 20.5 inches
- These will be sewn in the very last step
Optional
- Make buttons for hanging loop
- Set aside snaps for connecting band
Step 2: Making the Quilt Sandwich
A: Layer It Up
- Thin or thick, you do you. I like thick, so my quilt sandwich looks like this:
-
- Quilt panel
- Two layers of extra batting
- One layer Insul Bright
- Quilt panel

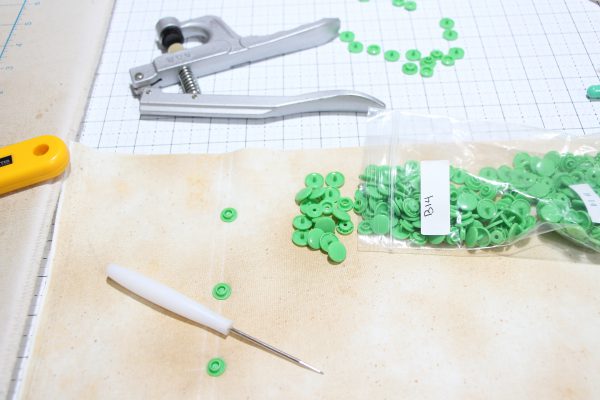
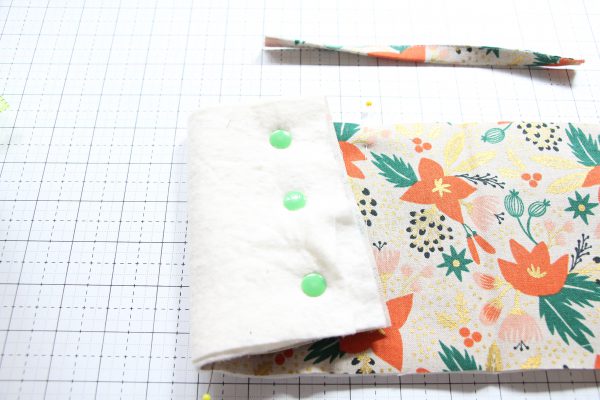
Note: If you are doing the options with the double-pocket oven mitt (which I hope you are), add your snaps in before you sew up the ends. This is where I added my snaps. I used KAM Snaps which are plastic, so I wanted that plastic protected from oven hot things.
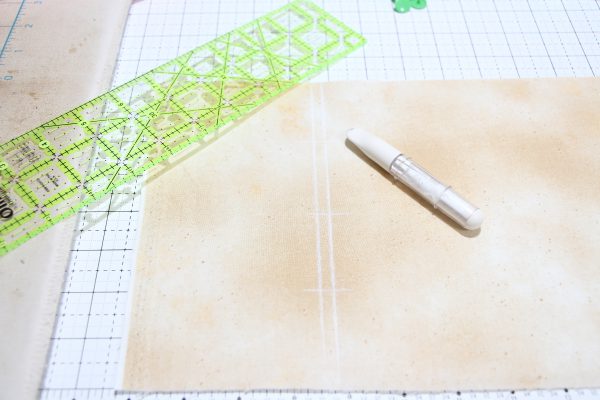
- Take a chalk marker or disappearing ink pen and mark 3 inches down, then another 1/4 inch . . . make sure your button or snap isn’t past the 3 inch mark or it will show.
- Then Mark every 2in across those lines
- Add your three snaps (male sides) at the intersection points
B: Sew It Up
I used the BERNINA Patchwork Foot #37 for this step
- Clip or pin down the sides
- Kick your stitch length up to 5.00
- Sew all four sides together with a seam allowance of 1/8
Step 3: Cut Out Oven Mitt Pieces
Option 1 & 2:
- Cut two 8in x 8in Squares (Oven mitt)
- Cut two 5.75in x 8in (Oven mitt)
Option 3:
- Cut two (Oven mitt)
- 8in x 8in Squares
- Cut two (Oven mitt)
- 5.75in x 8in
- Cut one (Pot handle mitt)
- 5in x 8
- Reminder piece for trivet
- Mine was 8.5in x8in
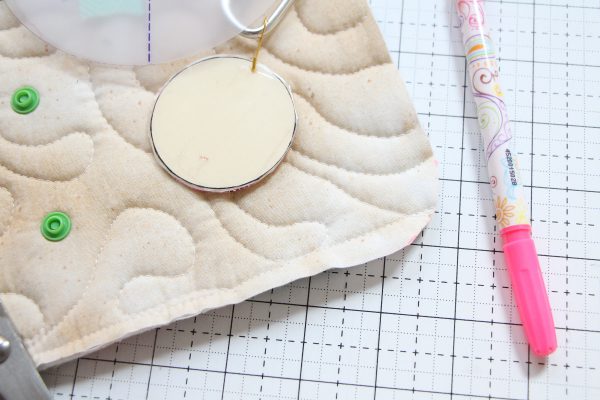
Step 4: Trim Corners
Use a small 2in across round item from your home or a template. To make sure all your corners are the same, mark one corner with a template then line up that corner and use it to match the rest.
- Round all four corners of:
- 8in x 8in Squares
- 5.75in x 8in
- Reminder piece for trivet
- Fold long ways in half and round two corners of
- 5in x 8 (Pot handle mitt)
Step 5: Trim and Loops
Keep that #37 on for the Loops but Switch to the #10 for the Ribbon and the Switched again for the Binder Attachment when adding the Bias
A. Loop
Option 1 = 2=Two loops
Option 2 & 3 = Three loops
- Grab the 8x8in squares
- To make the loops, take 12in of the already ironed 2in binding strip and feed it through the BERNINA Binder Attachment #87
- I made my loop big enough to wrap around the handle of my oven, 19in for me.
- (OPTIONAL) Make the extra loop for the double-pocket oven mitt
- Attach the loops to the canvas side of the 8×8 squares—one corner loop should be facing towards the opposite corner.
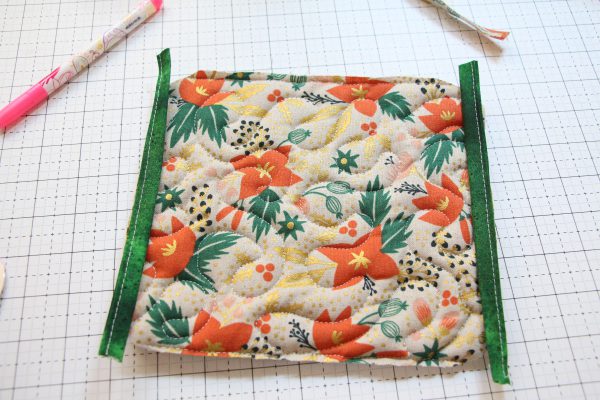
B: Decorative Trim
- Grab the 5.75in x 8in pieces
- Cut your choice trim an inch bigger than it needed to be and sew it on with a 1/16 seam (real close to the edge)
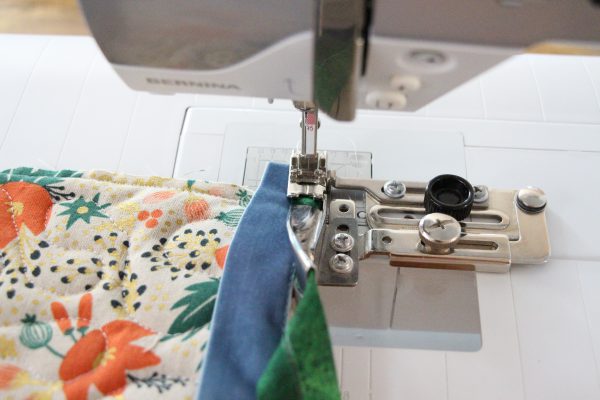
C: Binding
- Grab the 5.75in x 8in pieces that you just added trim to and the 5in x 8in piece (Pot handle mitt)
- Use the Binder Attachment to add the bias binding over the trim and (Option 3 ) to the straight edge of the 5in x 8in piece. Leave about 1/2 inch extra binding on each end.
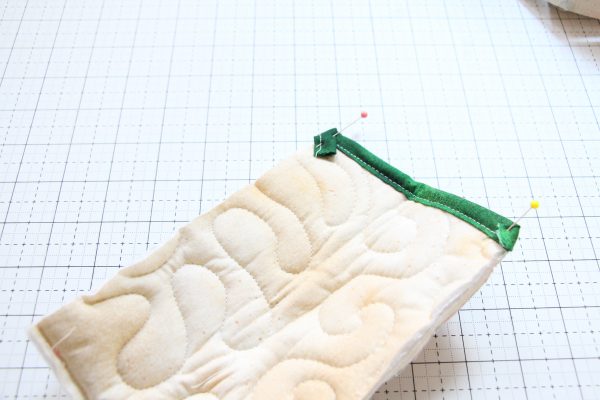
- Trim off the extra on the 5.75in pieces but NOT the 5in x 8in piece (Pot handle mitt)
- On the 5in x 8in piece (Pot handle mitt) you need to stitch down the tails of the binding to the inside (see picture)
Note: I had some extra green binding leftover, which I fed through the Binder Attachment the same way we did to make the loops, and sewed that as decorative trim on the trivet piece (optional).
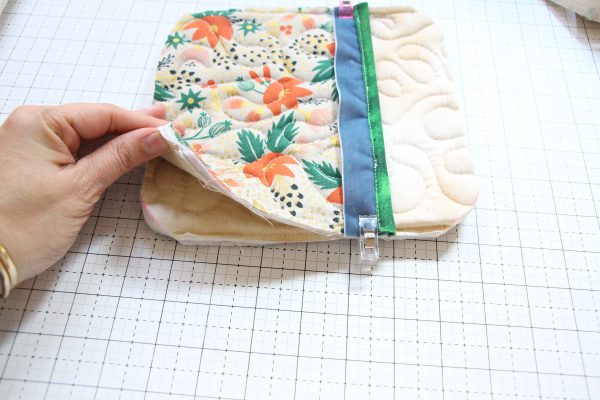
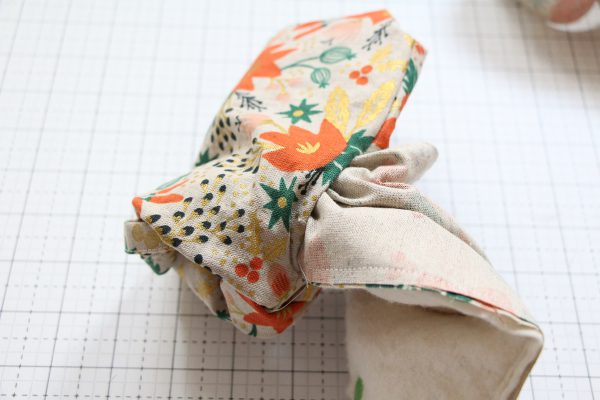
Step 6: Combine
- Grab both pieces for the oven mitts. Line up the bottom edges and clip together.
- 8×8 squares with loops
- 5.75in x 8in pieces with rrim
- Fold over the 5in x 8in piece (Pot handle mitt). Clip together.
- Sew!
You’re almost there! Can you smell the cookies you will take out of the oven when you’re done???
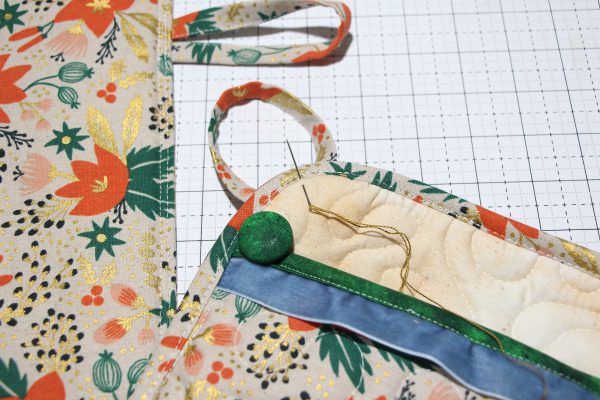
Step 7: Bind
Because I used matching canvas fabric for this part of the oven mitts, I didn’t need to iron in the bias tape folds. The canvas holds its shape wonderfully by just tucking it in and under using my hands. If you are using regular quilting cotton you may need to since it is thinner.
Oven Mitts
- Start in the middle of the bottom of the outer fabric leaving about a 2in tail before starting your stitching. Using a 1/4 to 1/2in seam allowance, work all the way stopping 2in from your starting tail.
- Trim your end tail so that it overlaps your start tail by 1/8 inch.
- Attach both tails using a 1/4 inch straight stitch.
- Finish the stitching on the front.
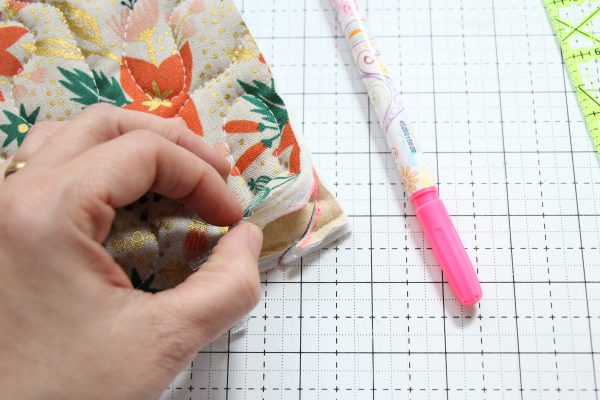
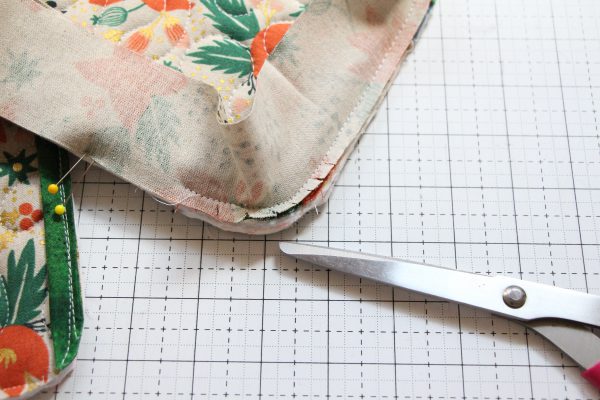
- Knotch out your corners with a pair of snips or scissors.
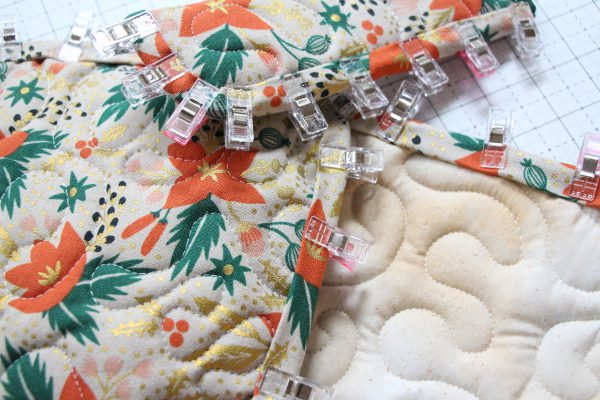
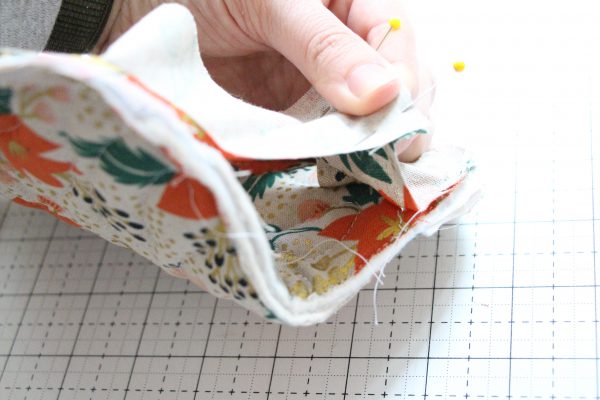
- Fold your fabric over to the back, tuck in the raw edges creating a fold into itself (like bias tape) making sure the fold covers the original stitching from the front by 1/8in.
- Clip down all the way around. Be sure to now clip your loops up over your binding (see picture).
- Stitch on the front once more removing clips as you go. When you get to the loop section, do a double or triple backstitch here, it’s a pressure point. Doing this will strengthen those babies for the constant hanging and pulling they may endure.
Repeat all of that for all your trivet and your Ppot handle mitt
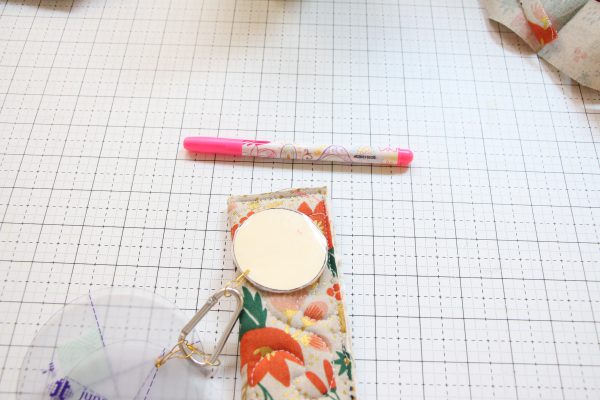
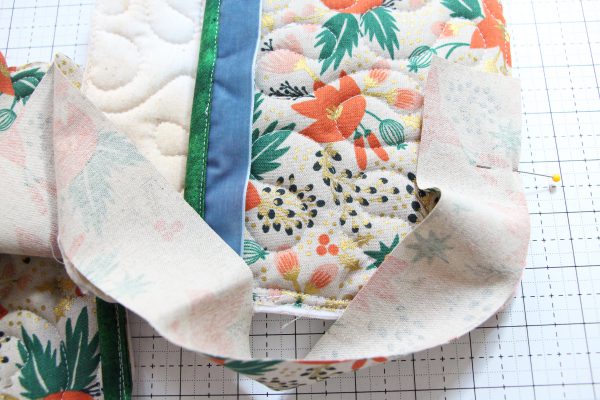
Pot Handle Mitt
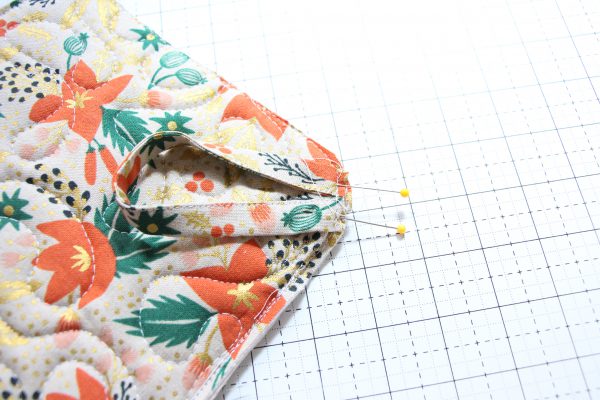
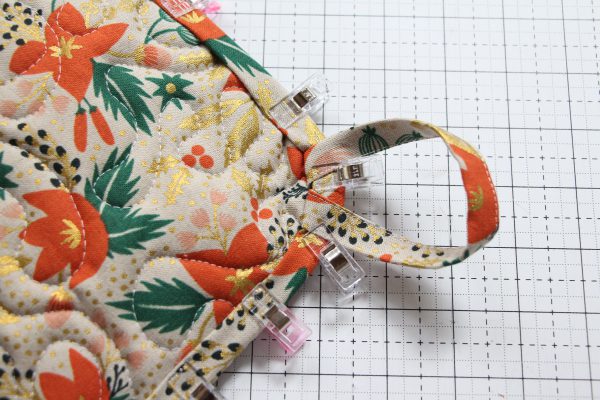
- Fold your binding over on one end about 1/4in.
- Take that end and wrap it around the straight corner on the rounded side (see picture) about 1/2 in.
- Then sew as you normally would for binding, stopping 1/4in before the top opening, leaving a 1/4in tail to fold into the binding itself.
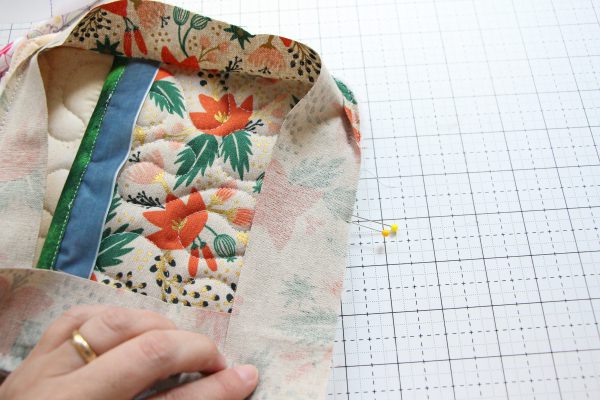
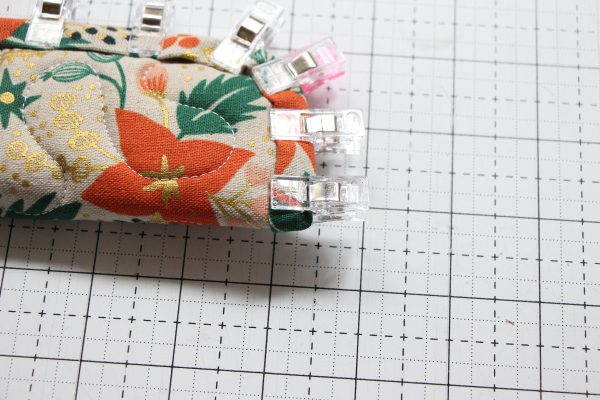
- Fold the binding over STARTING at the top opening and working your way down to the rounded corner and that weird fold-over start. Clip all the way down. When you get to that weird corner edge, fold it into itself like wrapping a present, in and then over. Use a clip to hold it.
- Stitch it all up starting at the weird corner, removing clips as you go.
Step 7: The Connecting Piece
This is the last piece and your double-pocket oven mitt set is complete!!!!
- Take one fabric with both battings and pin them together.
- Add the remainder of your snaps (female sides) on both ends through all three layers the same way you did earlier. This time, because you are working with a 6in piece (previously you did an 8in piece), you will measure at 1in-2in-1in for your placement. This should make your snaps line up perfectly.
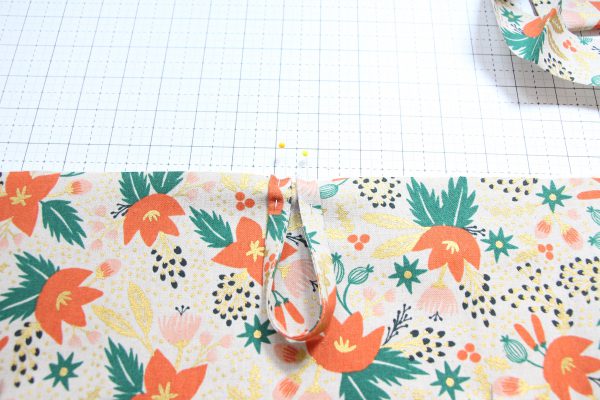
- Next, pin your loop to the middle of this panel pointing towards the middle of the fabric.
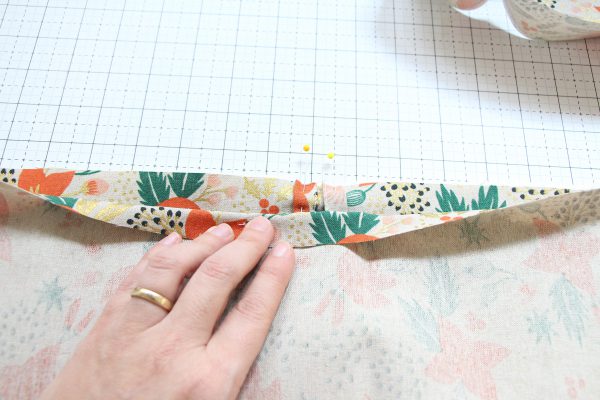
- Place the second piece of fabric on top of this panel with right-side fabrics together.
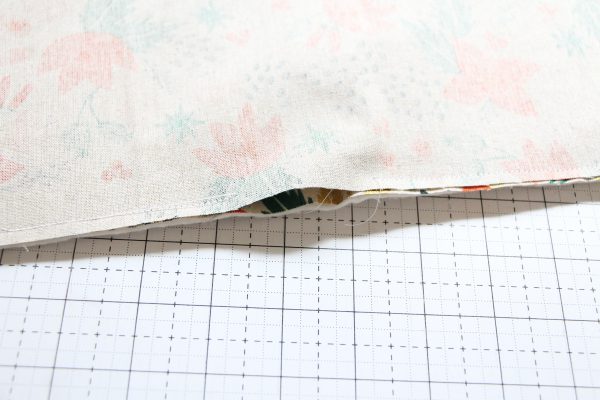
- Stitch all the way around leaving a 2-3in opening that will allow you to pull the right sides of fabric out of.
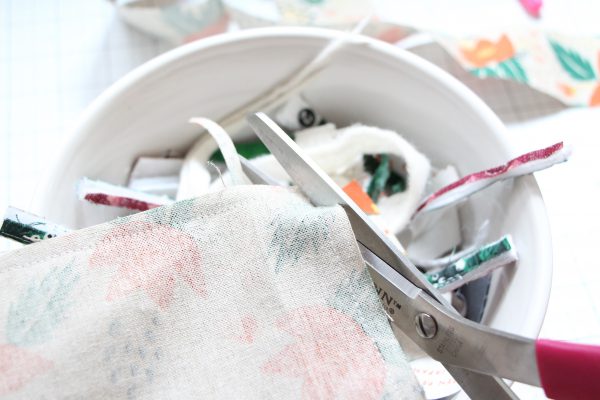
- Trim corners.
- Iron it all down, pin down the opening and stitch all the way around.
- You can quilt this as well. I did not, but I did add some stitching next to my snaps to add some extra straight points.
- Then add the optional button for fun or function to hang from your oven doors!!!
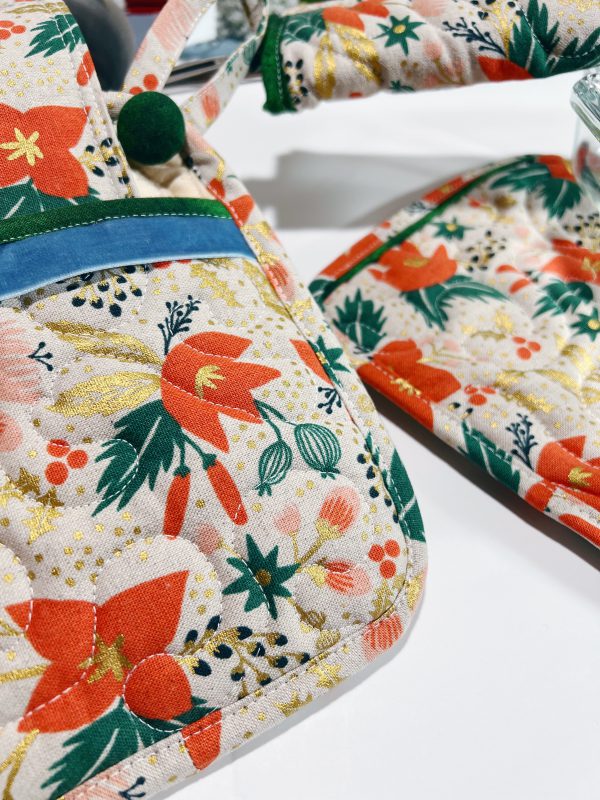
And that is it! You are done with your double-pocket oven mitt!!!
Now you are ready to rock with your homemade double-pocket oven mitt. Be sure to remember if you get compliments, go ahead and give it away. It will make someone’s day. You can always make more!!!
Happy sewing, and thanks for being here! Don’t forget to tag me (@honymfin) and BERNINA on Instagram so we can see all the wonderful things you’ve made with this step-by-step tutorial!
If you like this post, be sure to check out more of my posts on WeAllSew and Honymfin.com
Aynsley Campbell – @Honymfin

