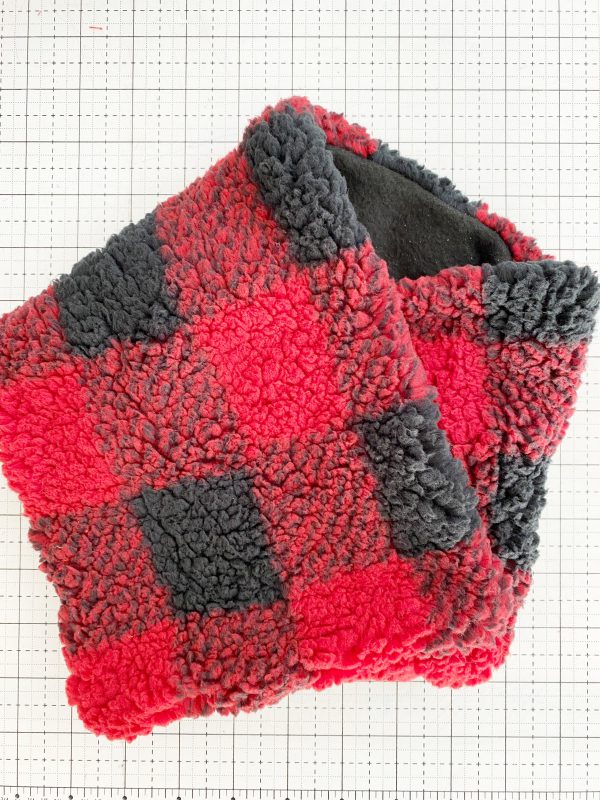
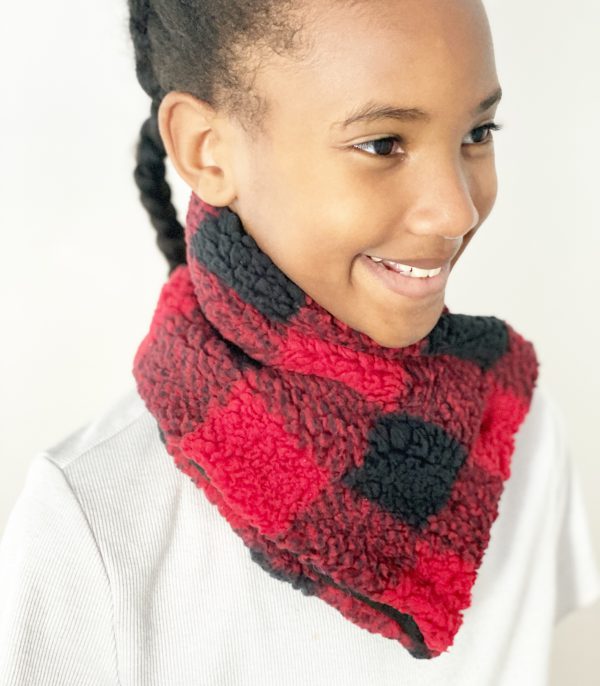
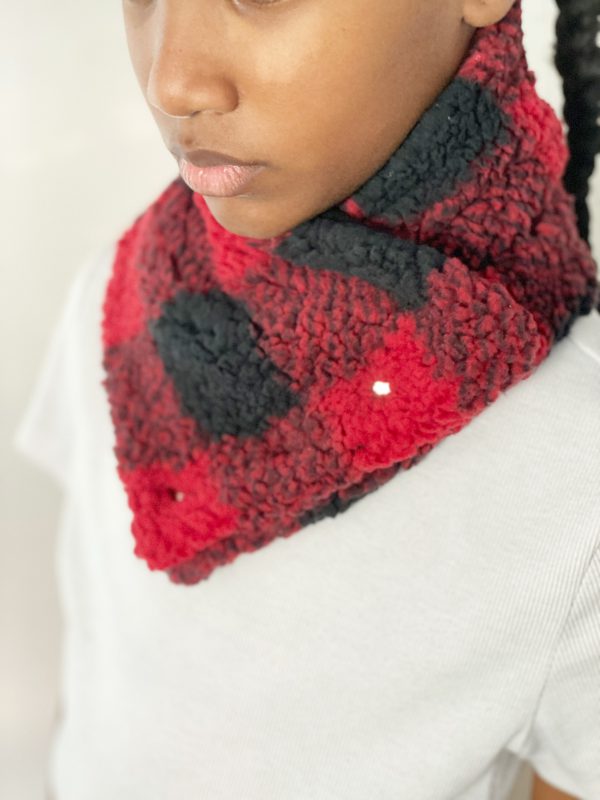
Scarves are everywhere, but neck warmers aren’t so much. So today, I will show you how to make one for yourself, your family, and your friends.
Let me show you a Sherpa neck warmer!
Fantastic right! Now it’s your turn. Let’s sew!
Materials to Make a Sherpa Neck Warmer
- 1/2 yard of sherpa fabric
- 1/2 yard of fleece fabric
- Coordinating Polyester Thread
- Button/Snaps
- Quilting Ruler
- Pins/Clips
- Cutting Mat
- Rotary Cutter
- Sewing Needle
- BERNINA 570 QE
- Reverse Pattern Foot with Clear Sole #34D
- Button Sew-on Foot #18
Optional Materials
- Elastic cording (if using a button)
Instructions for Sewing a Sherpa Neck Warmer
Step 1: Cut the Fabric
Cut one piece of sherpa fabric to 8 inches x 25 inches.
Cut one piece of fleece fabric to 8 inches x 25 inches.
Optional: Trim the elastic cording (if using a button).
Step 2: Prepare to Sew
Optional: If using a button, place the elastic cording on the right side of either fabric on the 8 inches side raw edges together—pin in place.
Place the two pieces of fabrics right sides together and pin.
Step 3: Sew the Pieces Together
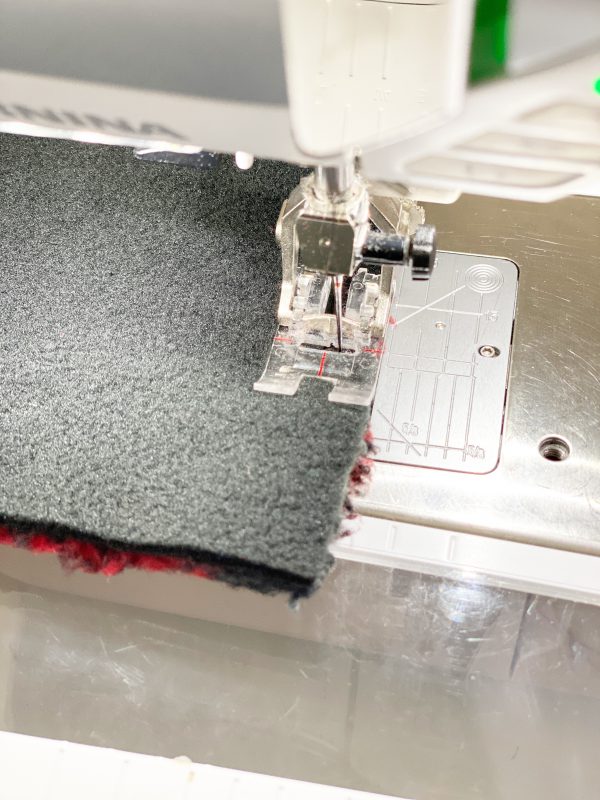
Using a 3/8 seam allowance, sew the two pieces of fabric together, using a tight zig-zag stitch, backstitch over the cording. Leave a 3 inch opening for turning.
Step 4: Trim and Turn
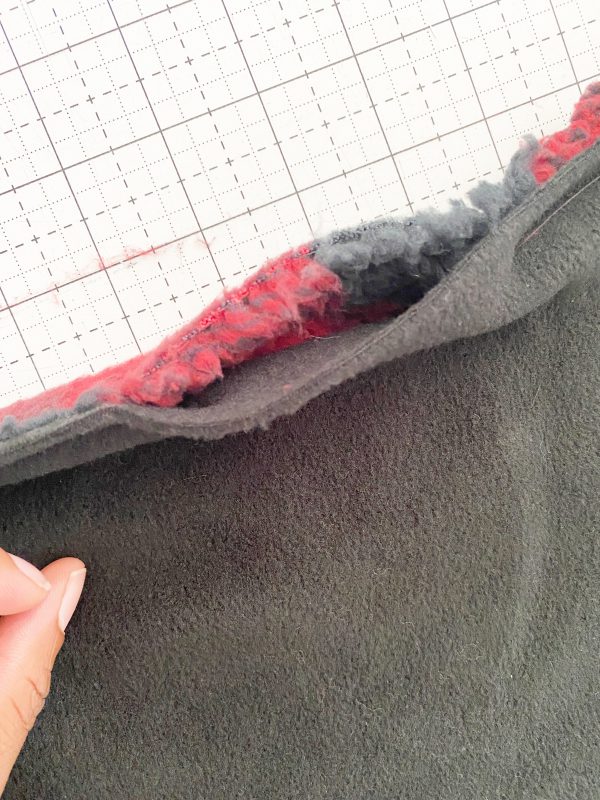
Trim all of the corners and turn the piece inside out.
Step 5: Hand Stitch the Opening Closed
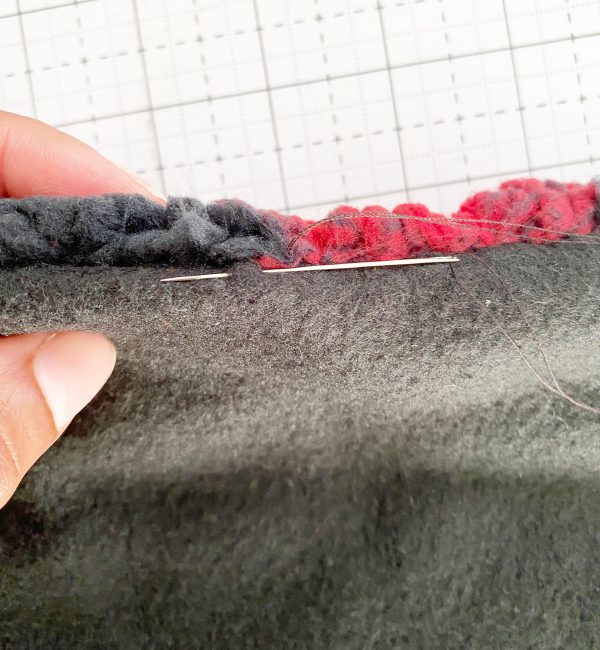
Using a sewing needle and thread, stitch the opening closed.
Step 6: Sew on a Button or Attach Some Snaps to the Neck Warmer
Using the Button Sew-on Foot #18, stitch a button on the opposite side of the elastic cording.
How easy and fun was that?
Now you can make some gifts!


