![]() DANIELA GUTIERREZ-DIAZ JULY 22, 2016
DANIELA GUTIERREZ-DIAZ JULY 22, 2016
Hello everyone, this is Daniela, from On the Cutting Floor.
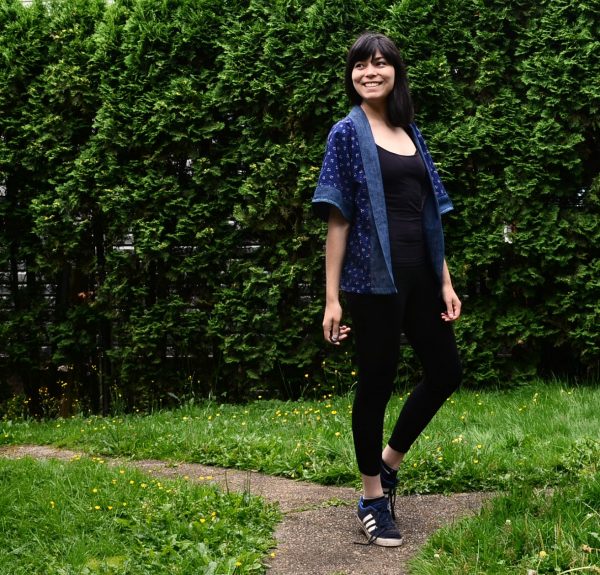
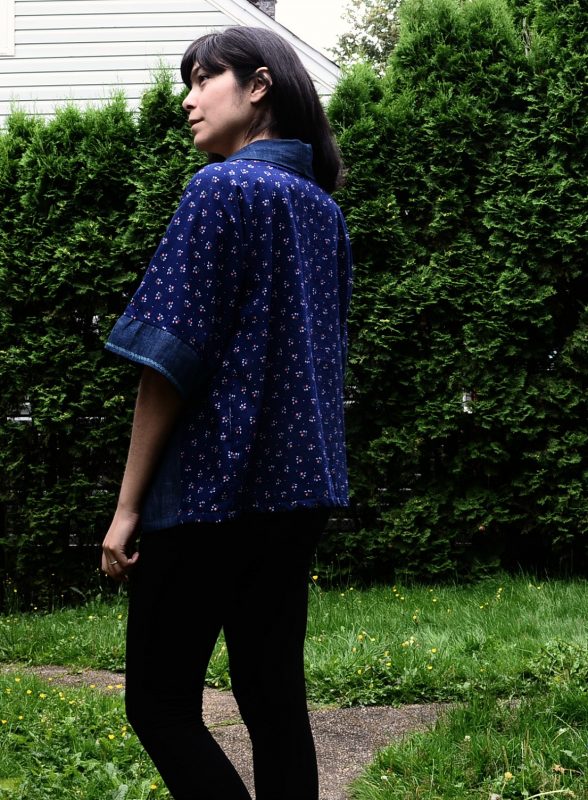
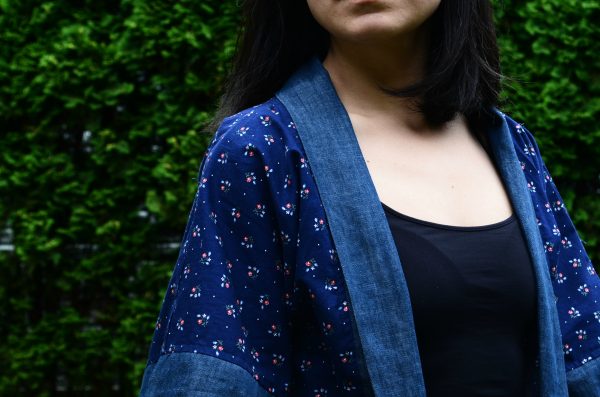
Today, I have an easy summer project to make. It is a basic open, casual top that can be adapted to different weather seasons by using the right fabric.
For this project, I work with 1 3/4 yard of cotton lawn and 1 yard of a light weight denim piece from my stash.
Materials to make an Easy Casual Top
- Sewing Machine (I use a BERNINA 350 PE)
- Regular needle
- Denim needle
- Contrasting color thread
- Coordinating color thread
- 1 3/4 yard of cotton lawn
- 1 yard of contrasting fabric for the cuffs and collar
- Easy Kimono Top Pattern
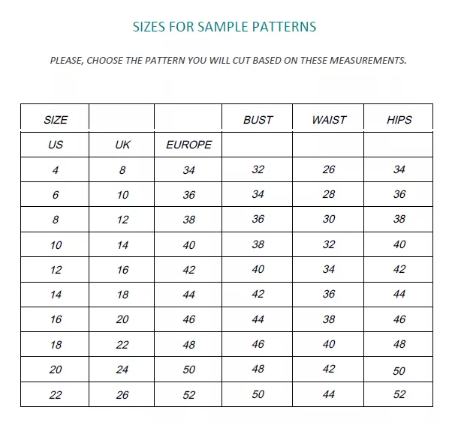
Measurement Chart
Printing Instructions
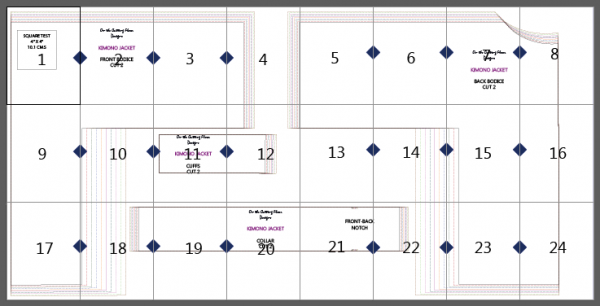
Here is an image of the pattern and how it should be assembled. You will print 24 pages that will each overlap by 1 inch. Make sure the blue diamonds on the pages are matching correctly.
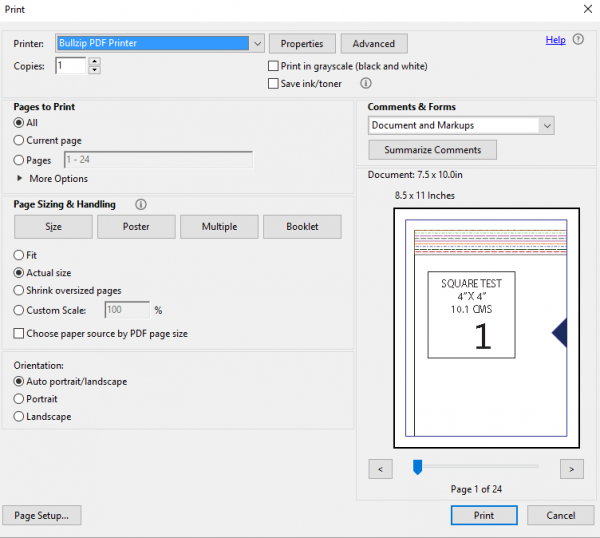
In addition, remember to select ”actual size” when printing the pattern. If you are in doubt, the pattern comes with a 4” x 4” square test on the first page.
Fabric Layout
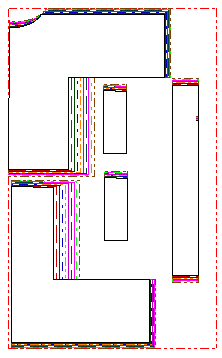
1. If you want to use the same fabric on the collar and cuffs (60” folded fabric):
Notice that the amount of fabric will be the same since the collar and cuff pieces are placed between the front and back top pieces.
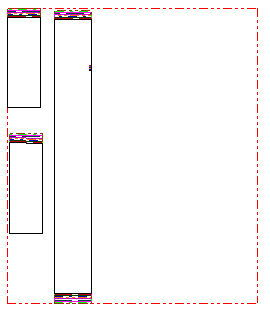
2. If you would like to use a contrasting fabric for the cuffs and the collar:
Sewing the Easy Casual Top
Please notice, this pattern has 3/8 seam allowance.
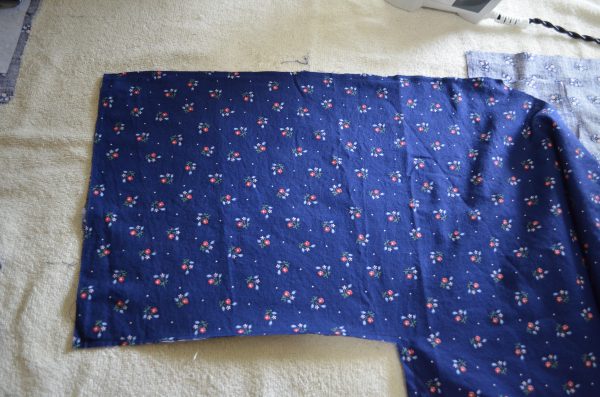
1. Place front and back bodice pieces together, wrong sides facing.
2. Sew along the sleeves and side seams 2/8 inch from the edge.
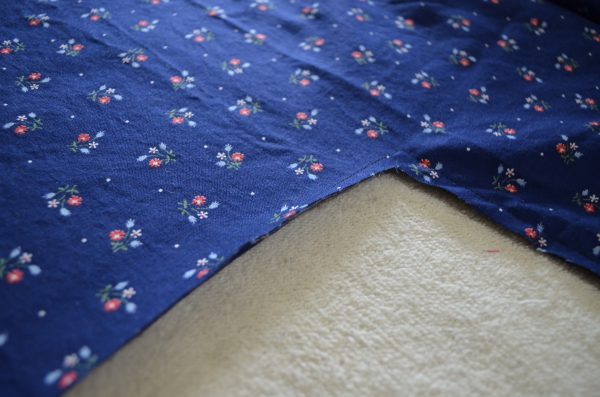
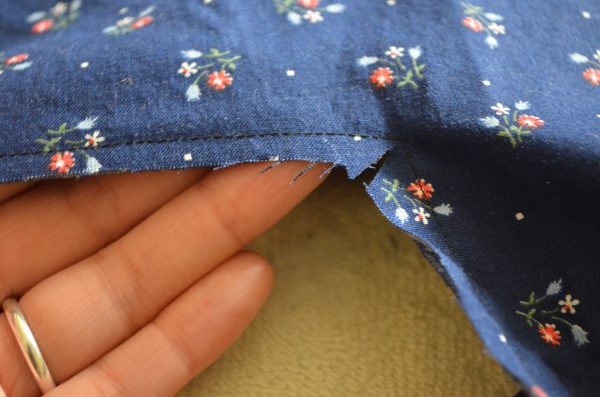
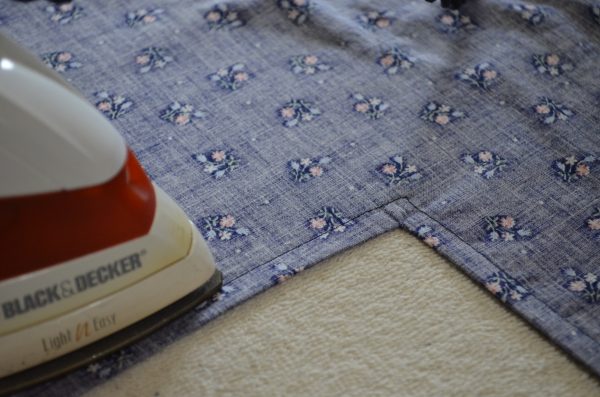
3. Make a diagonal cut on the corner of the sleeves and side seams.
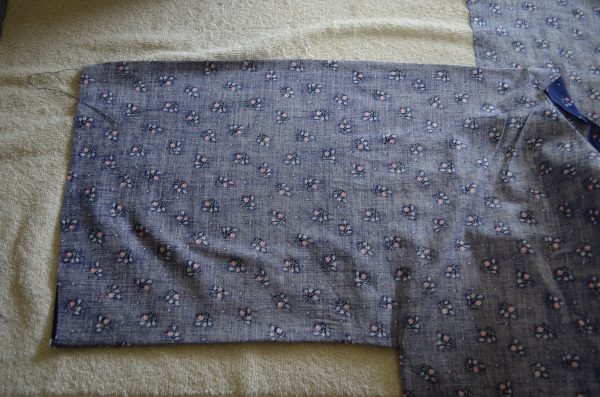
4. Turn the top to the wrong side and press.
5. Now, sew the sleeves and side seams on the wrong side 3/8 inch from the edge.
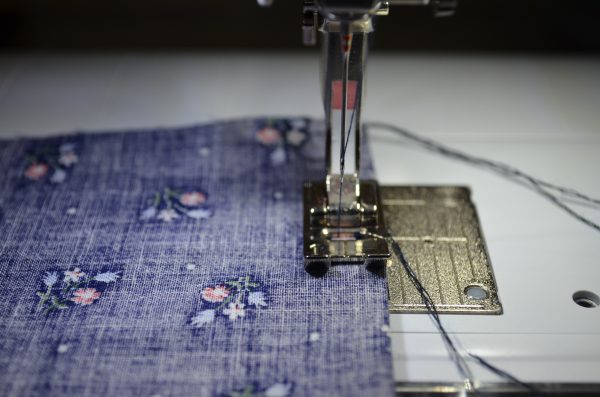
6. Press the seams again.
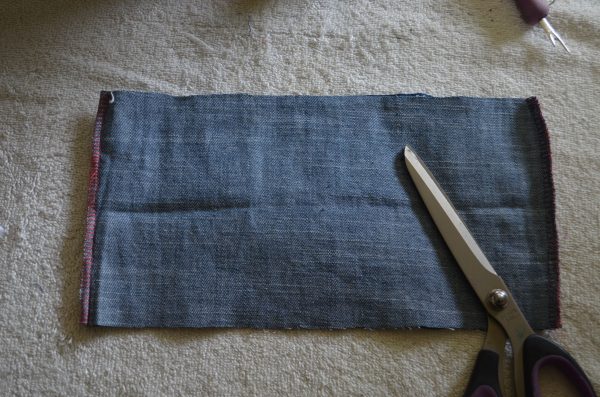
7. Cuffs: place the two pieces of the cuffs together, right sides facing and sew along the sides.
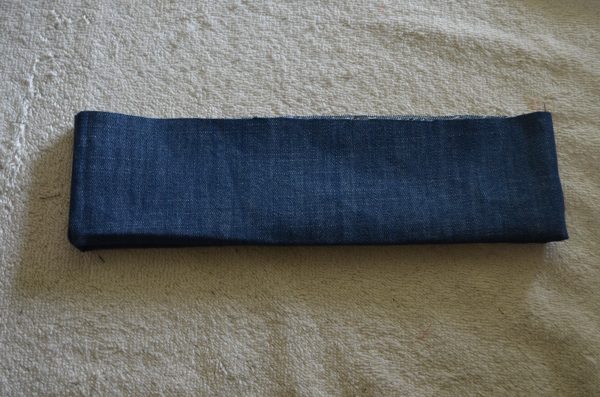
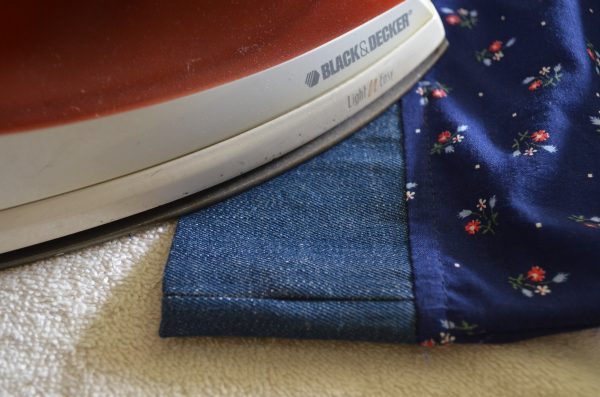
8. Then, fold the cuff horizontally and press it.
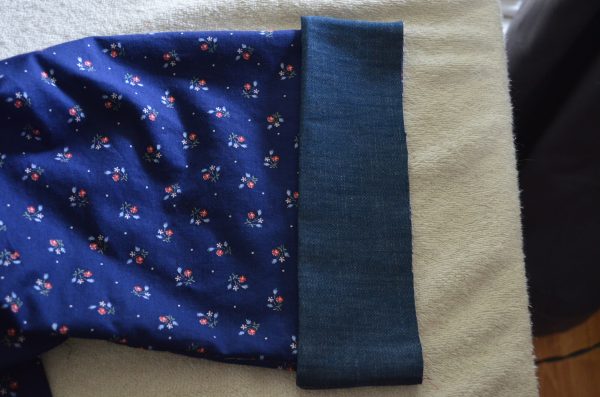
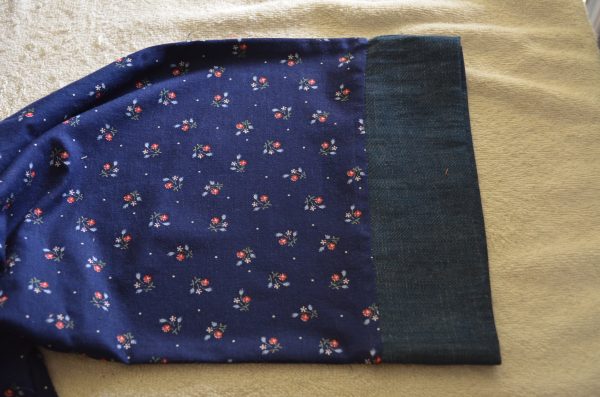
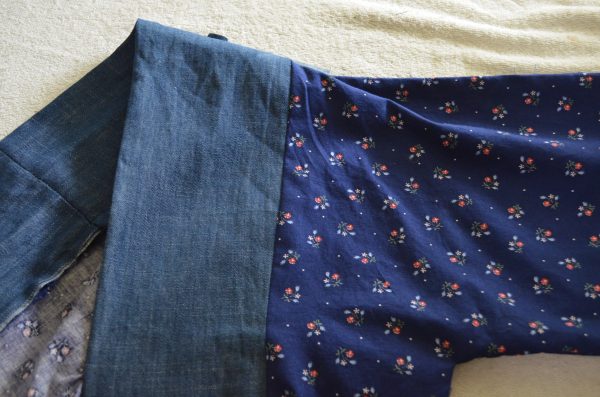
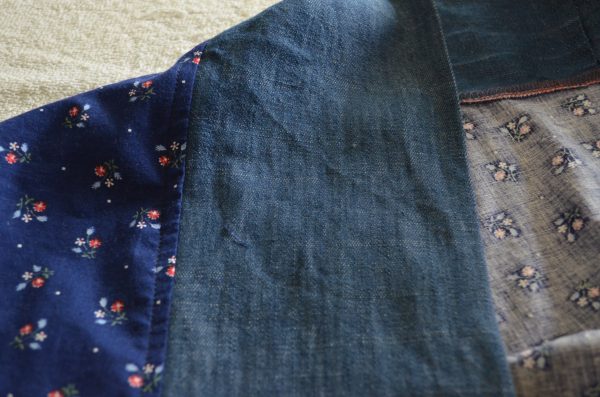
9. Add the cuff to the simple sleeves as shown below.
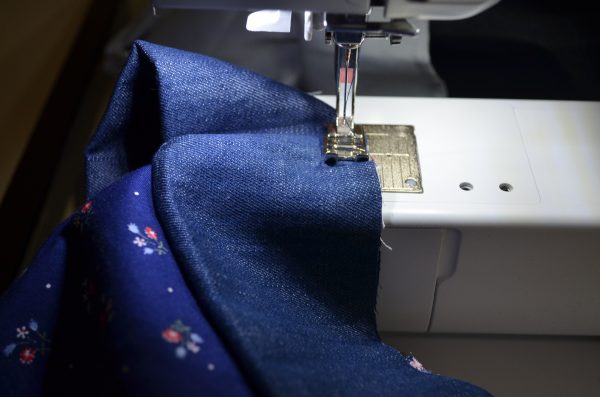
10. Then, attach the cuff to the sleeve. For my top I machine basted the sleeve first.
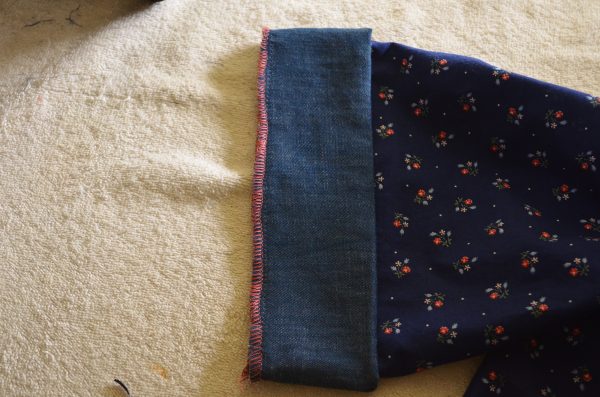
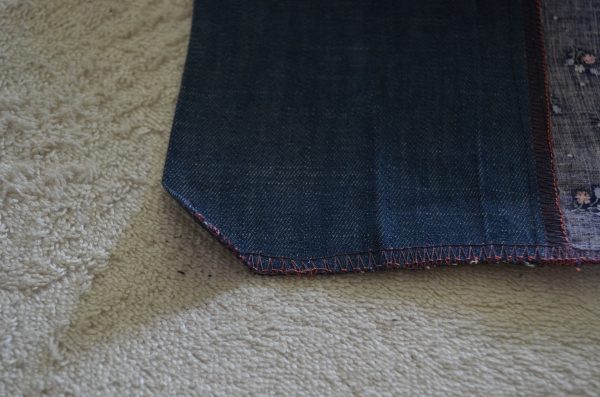
And then, serge it to the top. You can also use an overlocking stitch from your sewing machine or a zigzag stitch.
11. Press the cuff flat, making sure that the inside seams are facing the neckline.
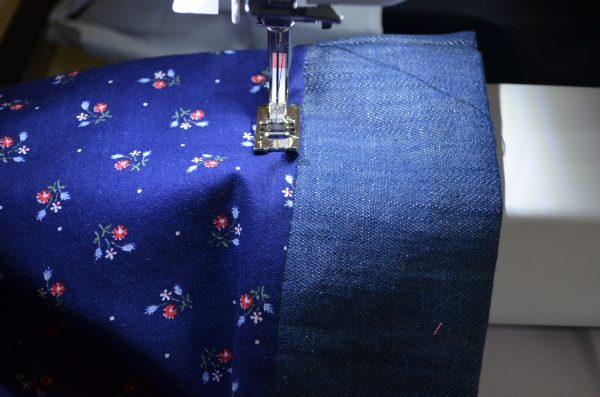
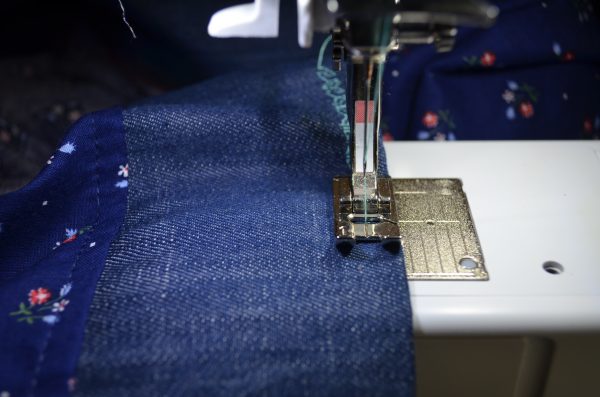
12. After that, you will be able to topstitch the seams 1/4 inch from the seam.
13. Press and repeat with the other side of the top.
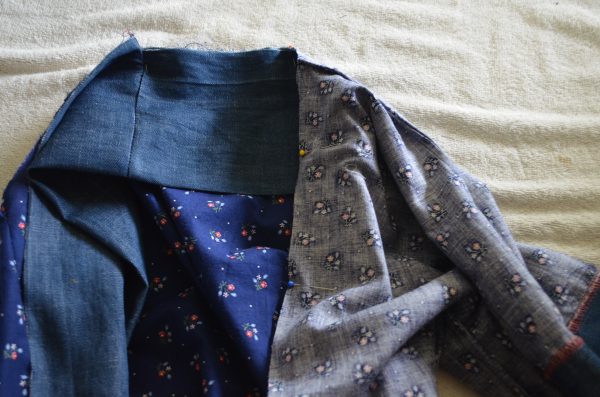
14. Now, you can do the same process with the collar. First, sew the collar pieces together, right sides facing, and fold it in half.
15. Then, attach to the back neckline and front sides. On this picture, I pin the collar to the top making sure that the collar seams matched the middle back neckline. Use a 3/8 inch seam allowance.
Machine or hand baste the collar to the top to secure. Then, you can use an overlocking stitch from your sewing machine to do so.
16. After that, I machine basted it, press and serge. You can also use an overlocking or a zigzag stitch from your sewing machine.
I finally top-stitched the collar 1/4 from the seams.
17. Hemline:
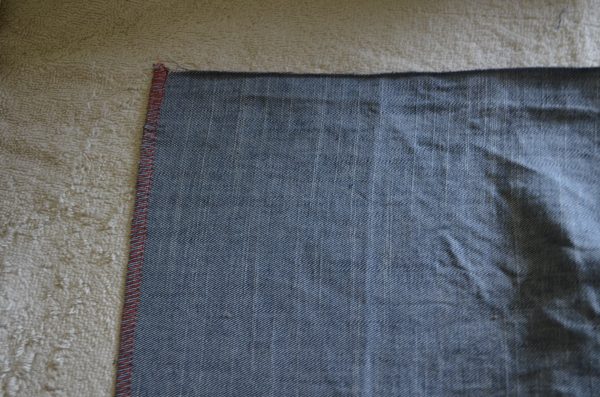
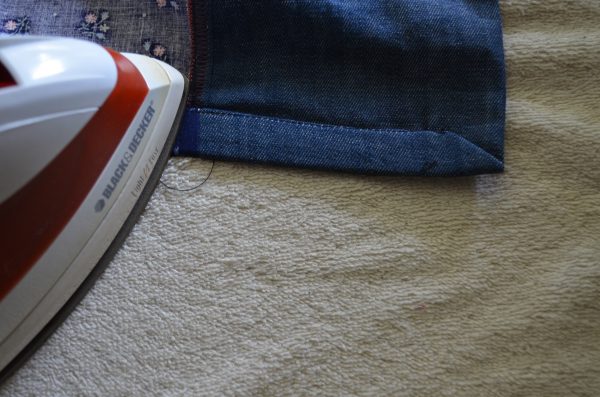
First, I finished the edges using my serger. You can always use the overlocking stitch on your sewing machine to do so or a zigzag stitch. I folded the bottom hemline 1/2 inch and press.
18. Then, sew along the bottom 1/8 inch from the seam.
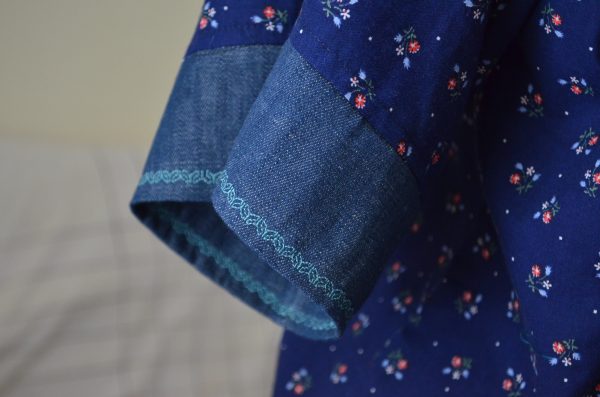
19. You can also add some decorative stitches with a contrasting thread to the cuffs, collar or hemline to make it unique.
19. In my case, I use the decorative stitch from BERNINA 350 PE number 58 on the cuffs. I am in love with the look


