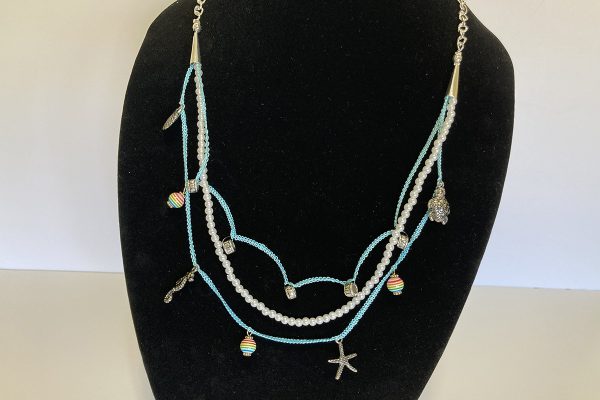
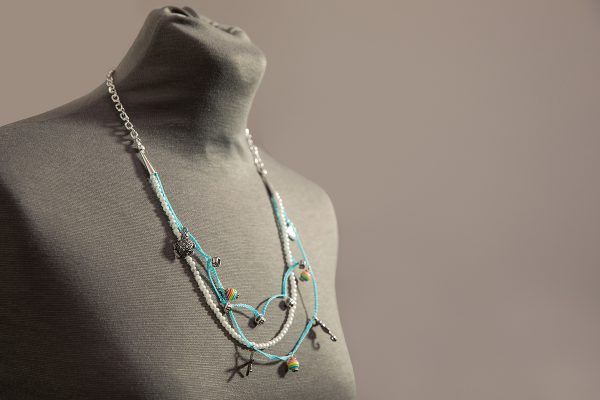
I love my BERNINA L 890 overlocker because it’s so easy to use, takes the guesswork out of threading and stitch selection, and gives a professional look to my projects. I also love all of the creative serging possibilities! Give me some accessory feet and assorted decorative threads and I’m happily on my way to stitching outside the box. And that’s where I’m taking you today . . . we are going to serge some beaded strands to turn into jewelry!
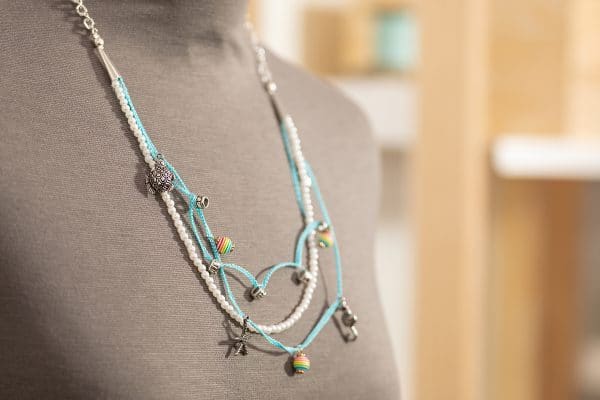
Now don’t fret if an L 890 does not live in your sewing space. The technique I’m going to show you can be done on any overlocker/serger that can stitch a 3-thread rolled hem. If you have a cording foot, it makes it that much easier.
Machine and Accessories Used to Make Overlocker Jewelry
Materials for Making Overlocker Jewelry
- 12# wt. Fishing Line
- 1 spool of Wonderfil Spagetti 12 wt.
- 2 spools of coordinating 40 or 50 wt. threads
- Assorted beads and charms
- Assorted jewelry findings
- Small needle-nose pliers
- Glue, such as E6000 (optional)
Instructions to Make Overlocker Jewelry
Step 1. Setup Overlocker
Thread your machine for a 3-thread Rolled Hem Stitch #8. Thread the Upper Looper with the 12 wt thread and the right needle and lower looper with coordinating threads. Disengage the knife. Attach the cording foot.
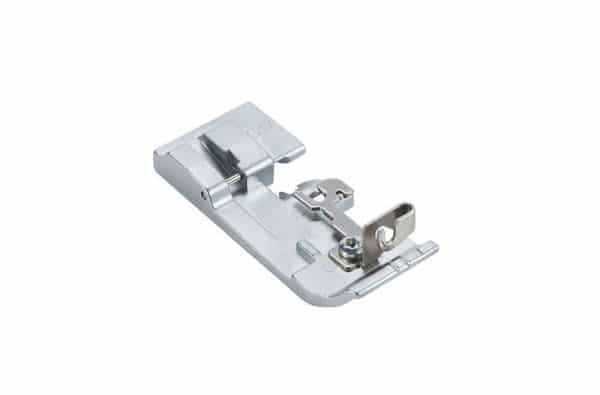
The Cording Foot #C17 is the perfect foot for this technique. The front and rear guides will keep the fishing line feeding straight and to the right of the needle. Cords and wire up to 2 mm work very nicely for other decorative techniques, as well.
Take a few stitches to make sure everything is sewing correctly. I left my tension settings at the default.
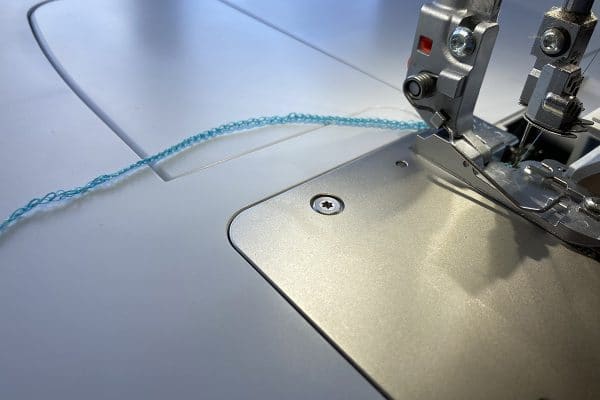
On the L 8 Series Overlocker machines, you can swing the foot out, which makes it super-easy to thread the fishing line. Take an 18” piece of fishing line and place it into the central guide first and then into the front guide. Have a couple of inches extend behind the foot. For the purpose of the photo, I used red cord so that you could see where it goes.
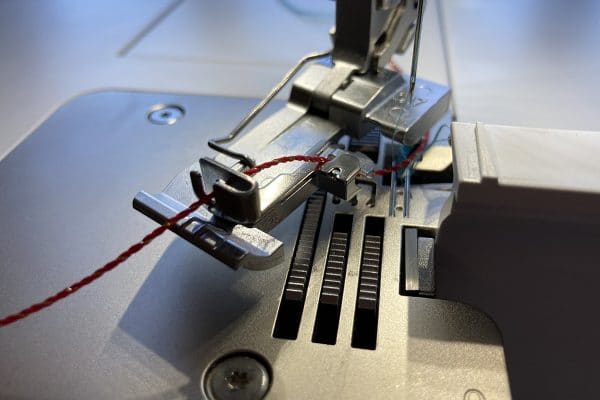
Swing the foot back into place and lower. Check that the line is moving without resistance. Sew an inch or so to make sure everything is feeding nicely and the thread is covering the fishing line.
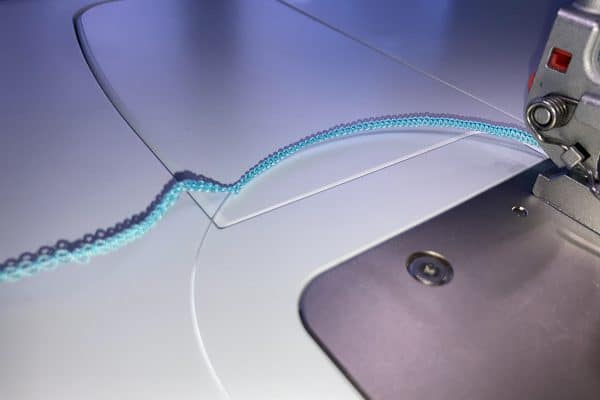
You might have to help everything move through the foot since there isn’t any fabric on the feed dog to move it along. All you need to do is put a slight tension on the covered line as it exits the foot. You want the stitches to be close together, so don’t pull too hard. Also, watch the fishing line so that is feeding freely and not getting caught up on anything. Go ahead and sew at an even speed to the end and cut the thread.
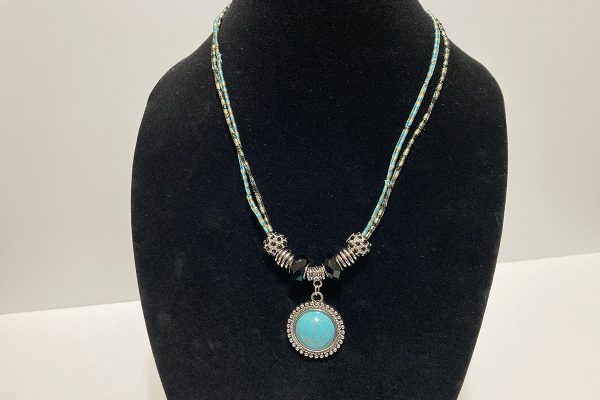
You can sew lengths of cord just like this and then string large beads or charms to make a pendant. On the necklace pictured below, I stitched with variegated embroidery thread over some fine crochet yarn.
Step 2. Add Beads to Cord
Now let’s do it again, but this time we are going to add some beads as we go along. Cut another 18” length of fishing line and insert it into the foot with a couple of inches extending behind. Serge a couple of inches and stop with the needle down and raise the foot. By placing the needle in the down position, you are less likely to have the stitches pull back, which can cause a gap on the fishing line.
Carefully remove the fishing line from the guides in the foot.
Slide a bead onto the unsewn end of the fishing line.
Note: I put the foot down to hold the fishing line in place while I snapped the photo.
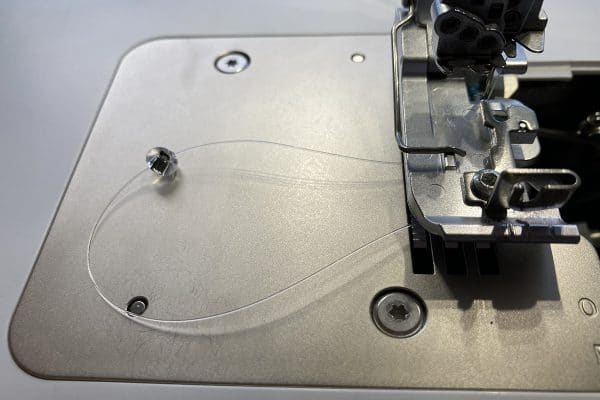
Make a loop with the fishing line and bead and take behind the foot. You don’t want the foot to land on the bead. Place the fishing line back into the guides in the foot. Because the foot does not swing out when the needle is in the down position, I found it helpful to open the front covers when repositioning the fishing line into the foot.
This is where the Free Hand System Lever comes in very handy! Both hands are hanging on to the fishing line and you can use your knee to lower the presser foot.
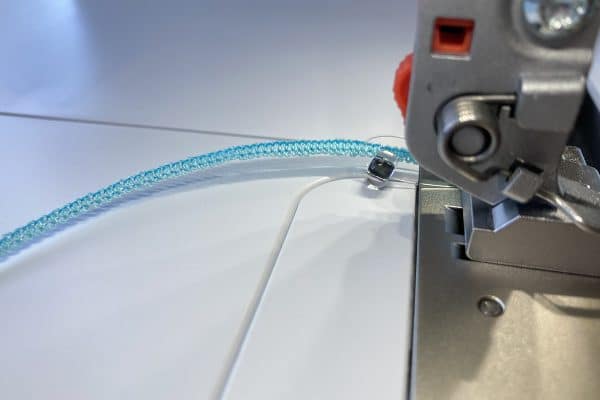
Once you understand the rhythm of the technique, you can use the Free Hand System to raise the foot slightly to thread the bead and position it. This speeds up the process a little bit.
Tip: As you start sewing again, make sure the fishing line is on the right-hand side of the needle. Sew until the loop of fishing line is clear of the foot, about an inch.
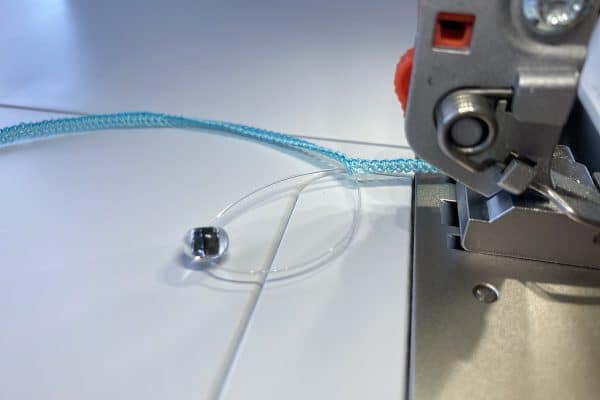
Gently pull on the fishing line in the front until the bead is snug against the cord. Be sure you hold on to the other end so you don’t accidentally pull the fishing line out! Now add another bead in the same way. I placed my beads about 1 1/2” apart. You don’t need a ruler to measure, just sew a distance that looks nice to you. When you get to the end of the fishing line, sew off and cut the thread.
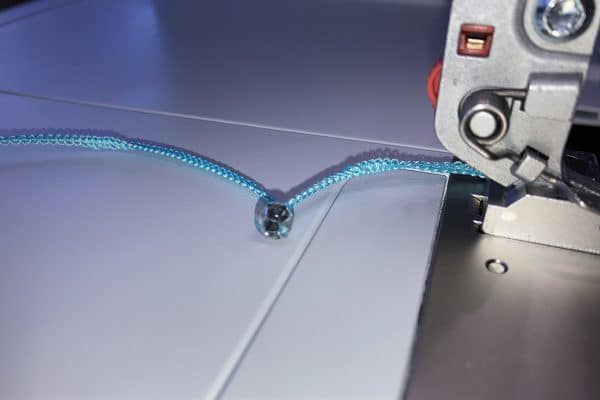
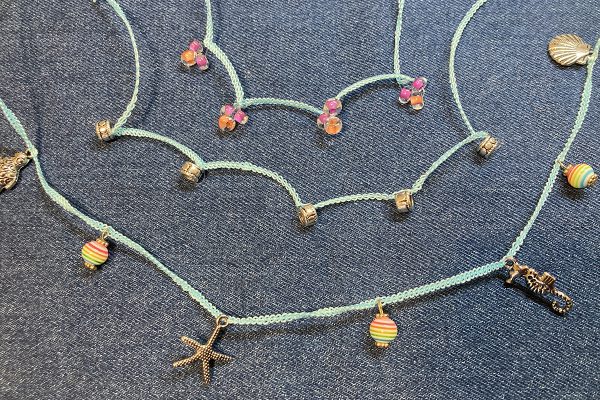
Have some fun experimenting with different beads and charms. Maybe add several at a time. And if you don’t like a finished strand, all you have to do is cut the fishing line to release the beads and try again. Here are some strands that I made.
Step 3. Assemble Necklace
When you have a nice collection of serged cords, it’s time to put them together into a necklace, bracelet or other embellishment. I found jewelry findings at my local craft store in the jewelry making section. I used an assortment of jump rings, crimp beads, spacer beads, bead cones, lengths of chain and a lobster clasp. You will also want a small pair of pliers. If these jewelry terms sound strange to you, an internet search or helpful store clerk will guide you.
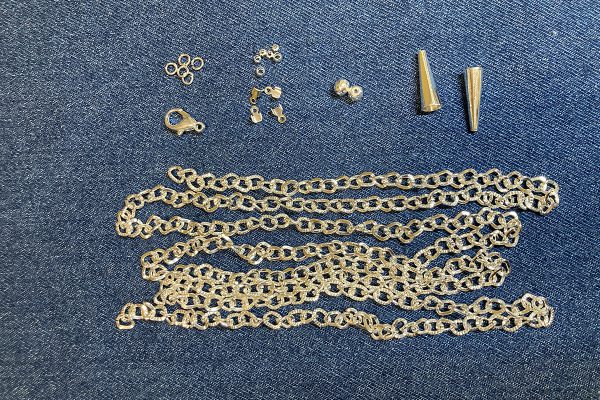
This is how I made my 20” necklace. Feel free to adjust yours to how YOU like it. First, I made two 13” serged and beaded strands. Then I threaded 12” of pearl beads centered on 20” of fishing line. I left 4” tails of exposed fishing line on the pearl bead strand.
Tip: Place a crimp bead on either end of the pearls so that the beads don’t go flying!
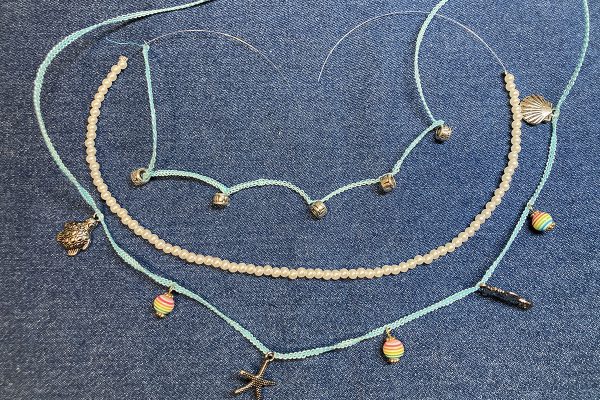
On the serged strands, I attached a crimp bead that had a ring on it to each end and crimped with pliers. If you want, you can add a drop of glue before applying the crimp bead.
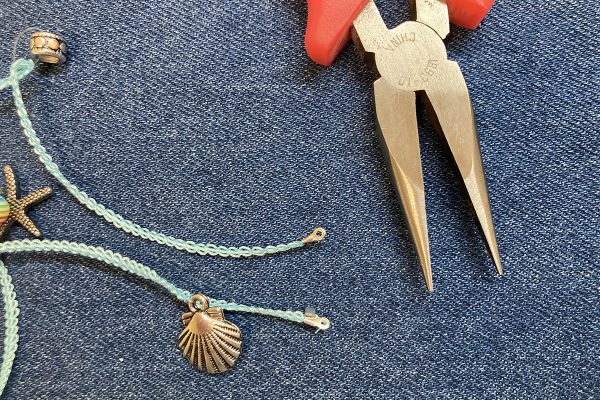
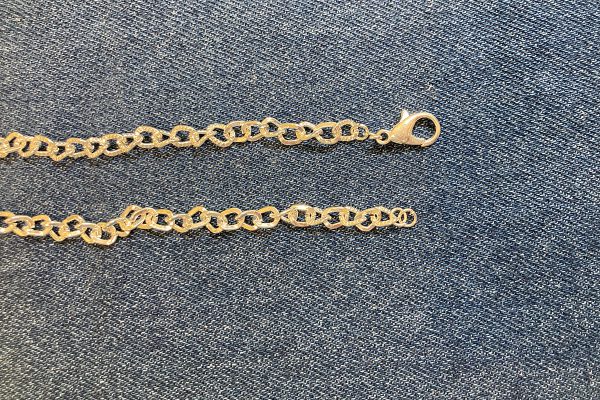
Next, I prepared two 6” chains to attach to the beaded parts. I put a couple of jump rings on the end of one chain and a lobster claw on the end of the other.
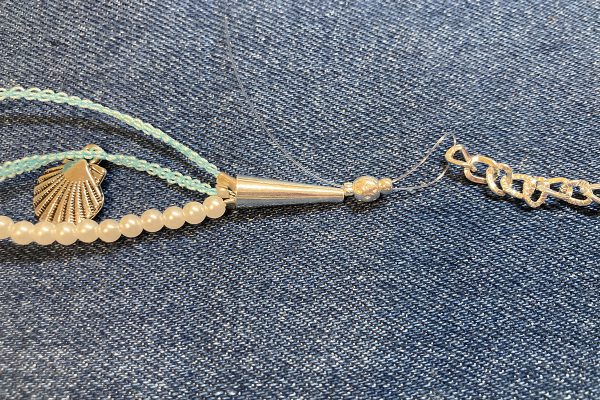
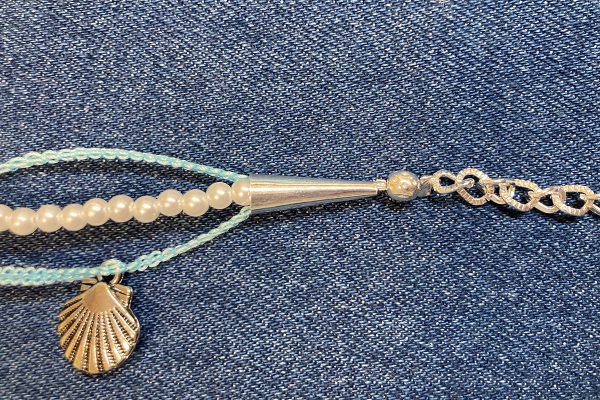
To make a tidy ending for the beaded parts, I used beading cones. I threaded the fishing line tail on the end of the pearl strand through the rings on one end of each serged chain. Then I threaded through the wide end of the cone, through a crimping bead, spacer bead, crimping bead and the end of one of my chains. Then back through the crimping bead, spacer bead, crimping bead and narrow part of the cone. With everything snug in the cone, I crimped the two crimping beads with my small pliers. This process is repeated on the other side. The first picture below shows the threading before I crimped. The second photo is when everything is set and crimped. Notice how I pulled the serged cords and strung beads snug into the cone.
And that’s it! I hope you have fun exploring the creative possibilities of your overlocker!
