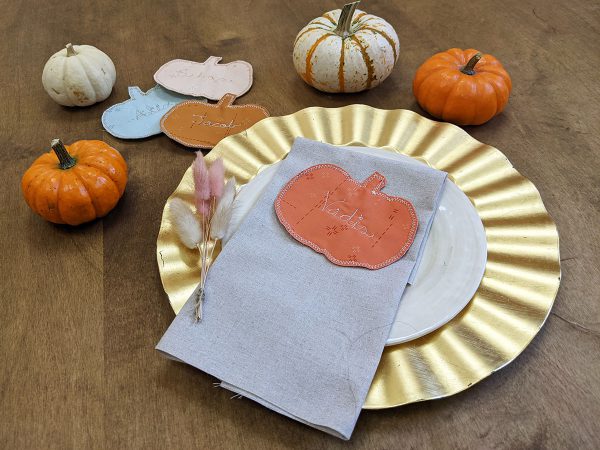
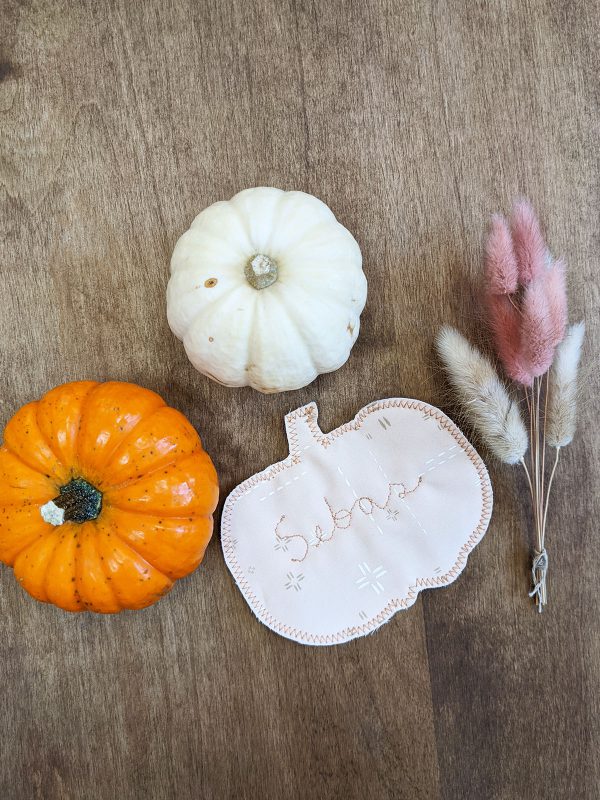
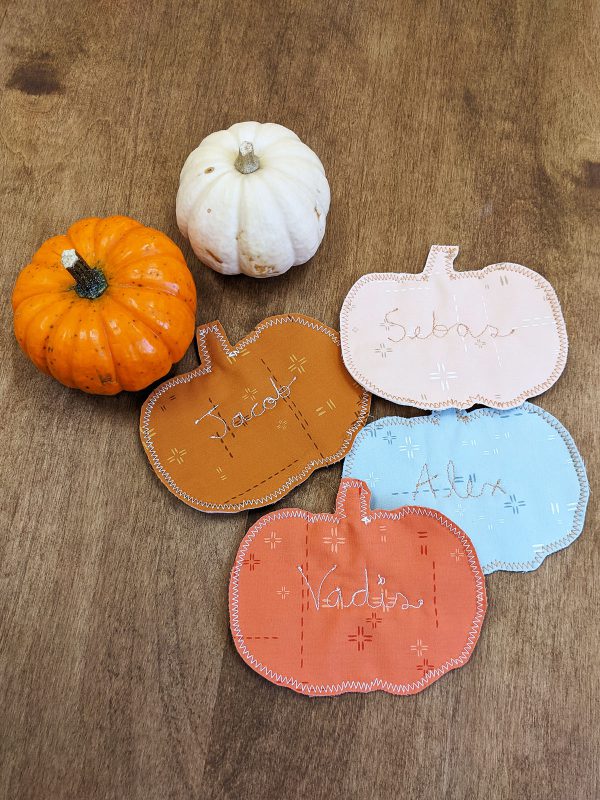
Have fun making these quick and easy Thanksgiving name tags!
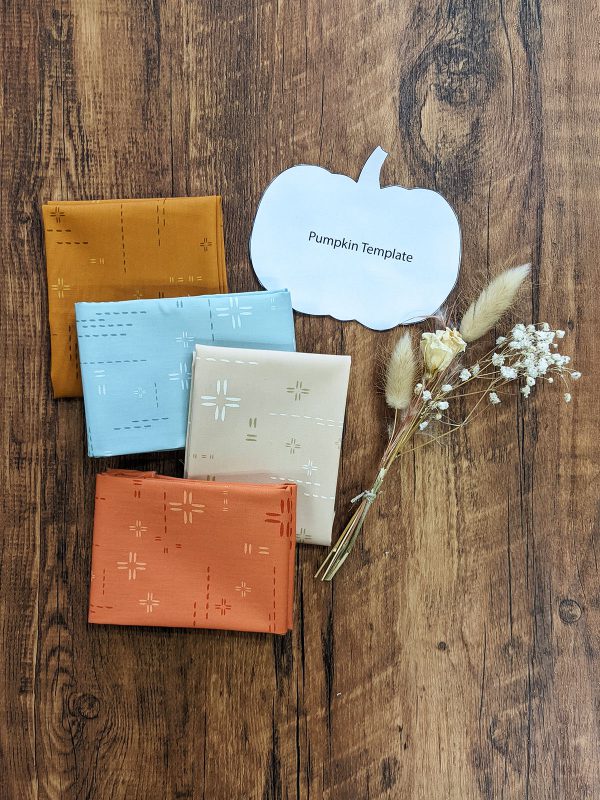
Materials to Make Thanksgiving Name Tags
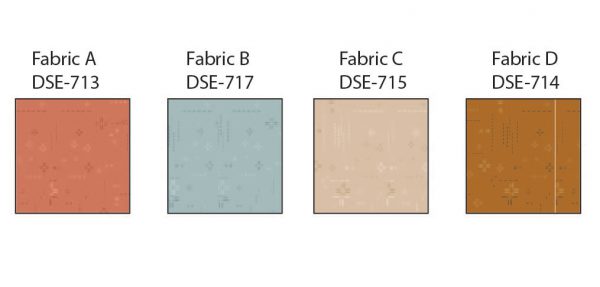
Fabric Requirements
- Fabric A DSE-713 F8
- Fabric B DSE-717 F8
- Fabric C DSE-715 F8
- Fabric D DSE-714 F8
Additional Materials Needed
- Four (4) 6” x 5” rectangles of batting
- Coordinating quilting thread
- Reverse Pattern Foot #1D
- Free-motion Quilting Foot
- Pumpkin Template
Steps to Make a Thanksgiving Name Tag
Step 1:
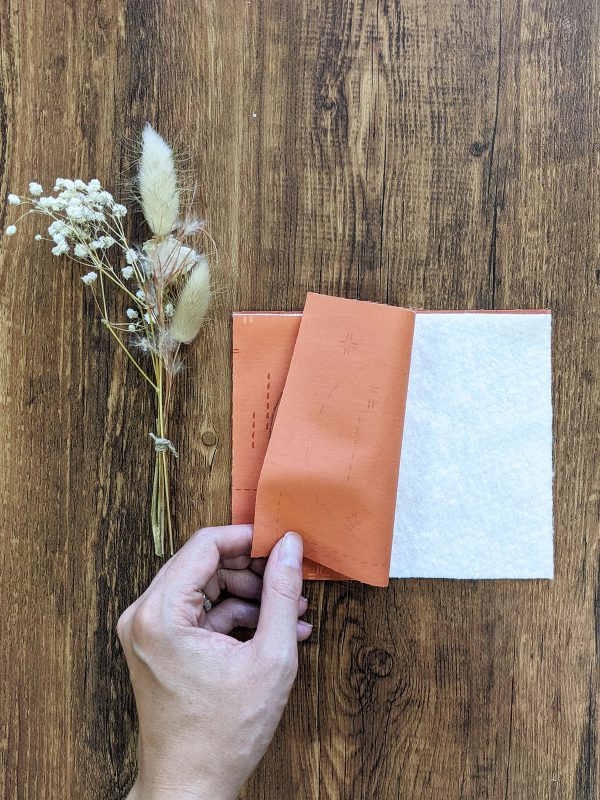
Take two (2) 6’’ x 5’’ rectangles from fabric A and one (1) 6’’ x 5’’ rectangle of batting.
Sandwich the three pieces making sure your fabric A pieces are wrong side facing down.
Step 2:
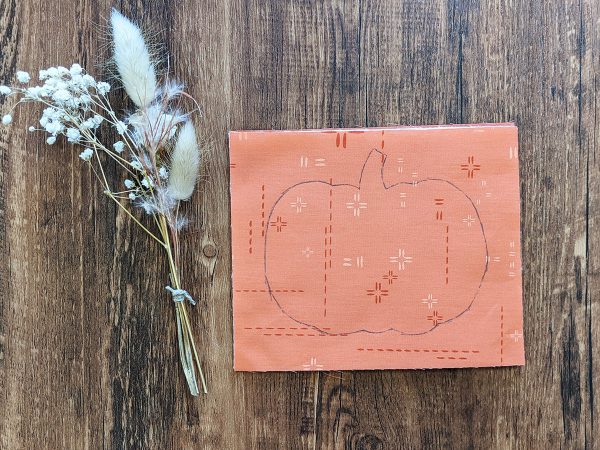
Take the Pumpkin template and trace it with a water-soluble pen.
Pin your pieces.
Step 3:
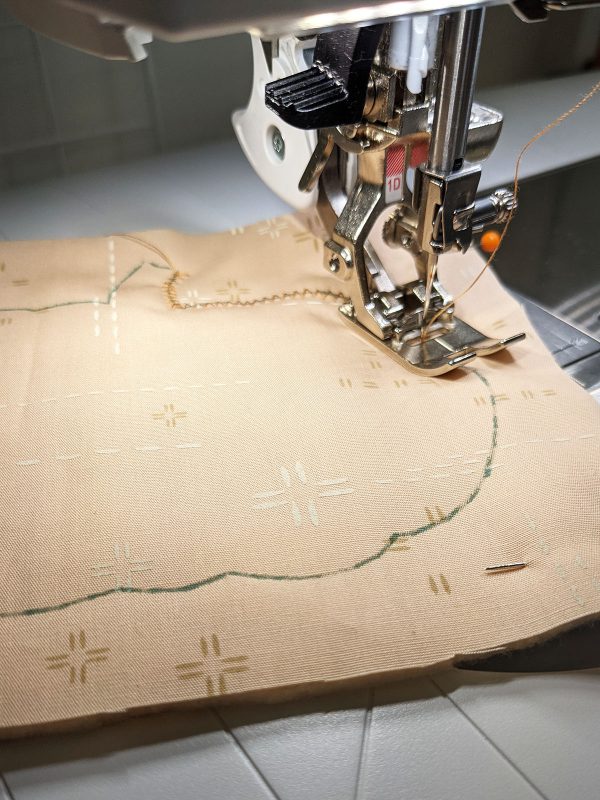
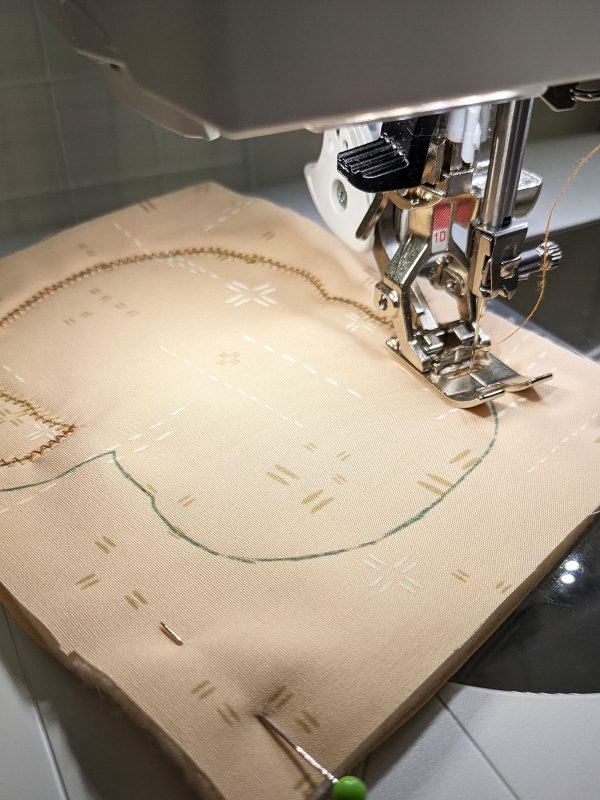
Switch your machine setting to a zig-zag stitch and start sewing following the marked line.
Step 4:
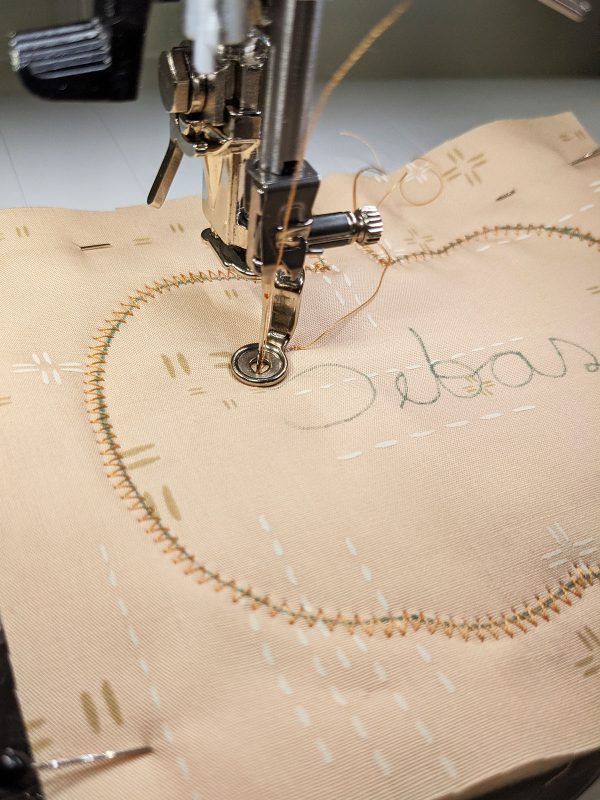
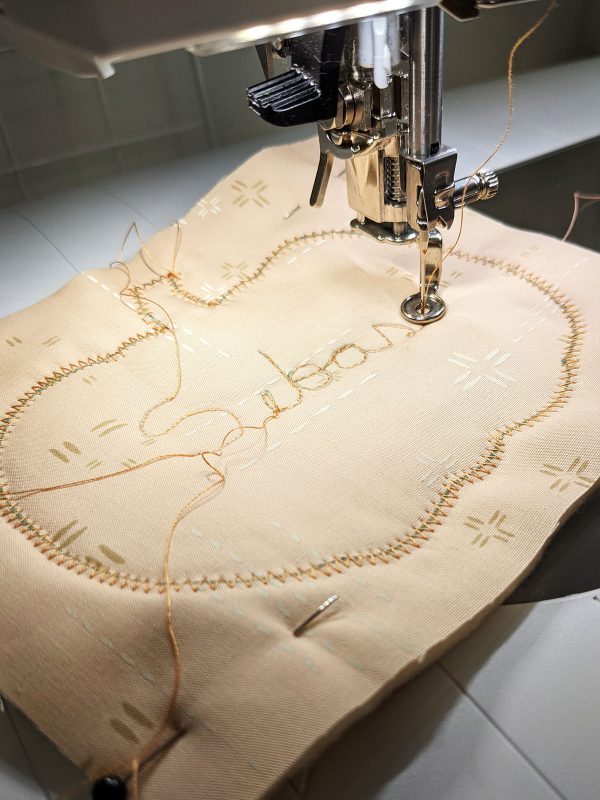
Now, write the name of the person with a water-soluble pen and switch your machine foot to the free-motion quilting foot.
Start sewing carefully, I like to go back and forth at the beginning to secure my stitch and the same for the end.
Step 5:
Lastly, take a pair of scissors and cut the excess fabric.
Repeat the same for the rest of the fabric name tags and tada! You’re ready for your Thanksgiving dinner.
Happy Thanksgiving everyone!


