


![]() JAIME DAVID OCTOBER 20, 2021
JAIME DAVID OCTOBER 20, 2021
Seam finishes come in all kinds of varieties and developing your repertoire of techniques can keep your sewing skills sharp and versatile.
A favorite seam finish of mine is a Hong Kong seam—or a bound seam. I always feel a little extra fancy when I add a seam finish like this to one of my projects. It is the perfect seam finish for unlined projects like jackets and some dresses or pants.

Materials for Sewing a Bound Seam
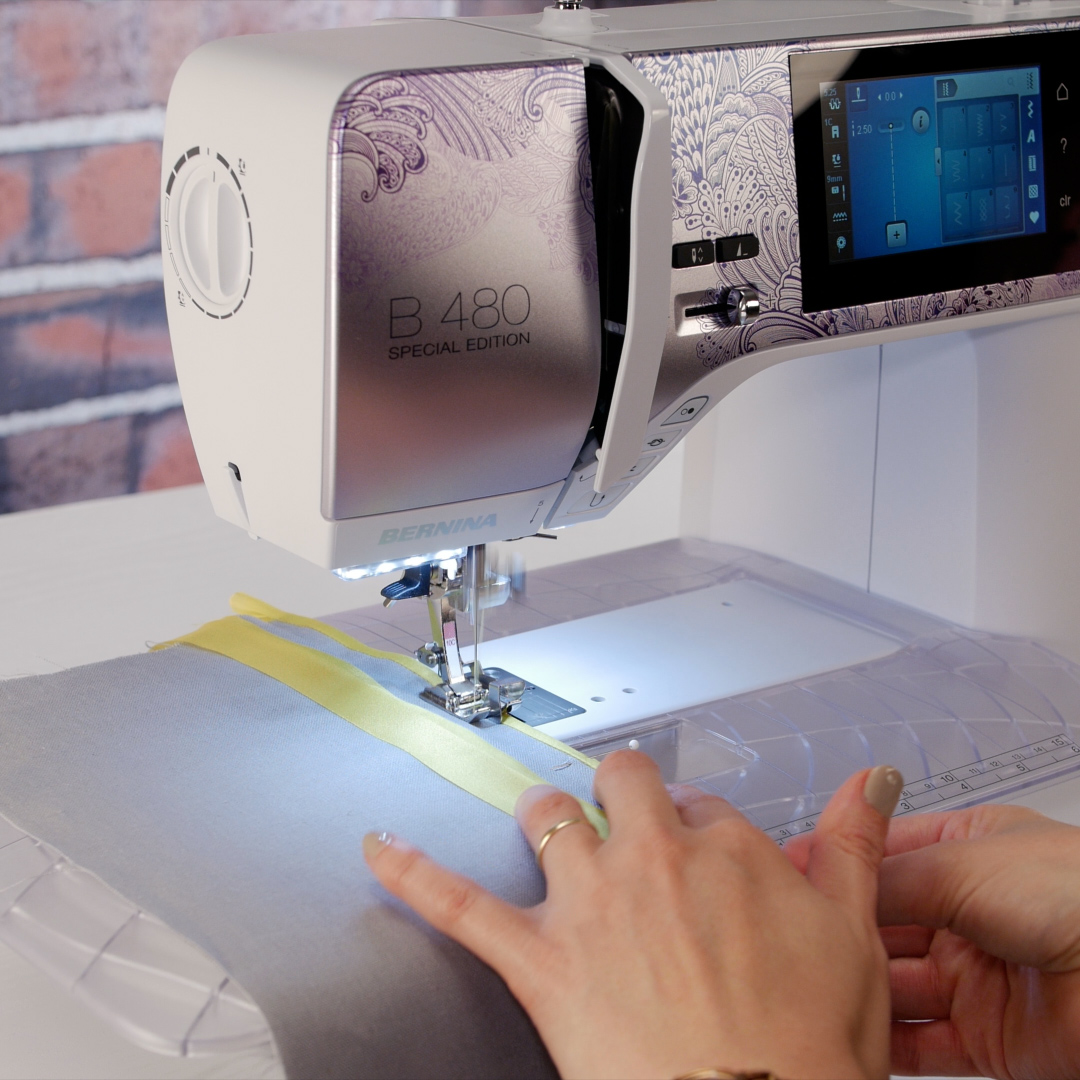
- BERNINA Sewing Machine (I used the BERNINA 480)
- Patchwork Foot #97 (with guide)
- Edgestitch Foot #10C
- Silk, cut on bias
- All-purpose Thread
- Microtex Needle 80/12
- Iron (we love Laurastar)
- Silk glass head pins
- Duckbilled scissors
Steps to Sew a Bound Seam
Step 1. Sew Standard 5/8” Seam
Practice makes perfect, so trying this technique out ahead of making your final garment will be helpful. A bound seam works great on a single layer of seams sewn with a 5/8” seam allowance (standard for most US pattern companies—but many Indie Patterns will have varying seam allowances—so plan your math accordingly). Use the seam allowance guides found on your BERNINA stitch plate.
Press the seam open, using a good steam iron like Laurastar.

Step 2. Cut the Bias Strip
Prepare your bias binding from silk fabric for a traditional and luxurious look and feel. I begin by cutting and piecing several yards of 1” bias cut binding. Make sure to estimate your needs based on the project you applying this to—as piecing the lengths may or may not be necessary.
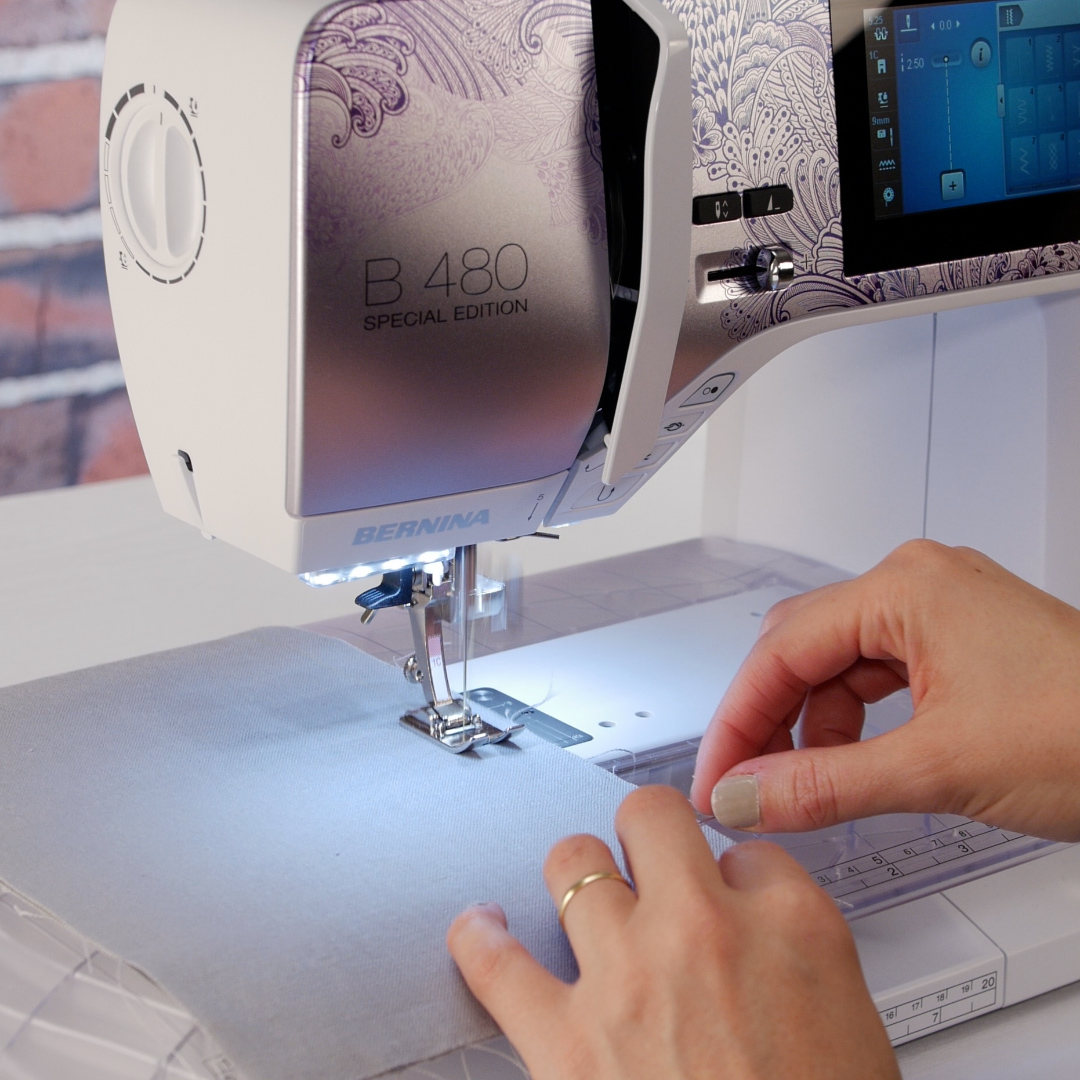
Step 3. Add Binding with 1/4″ Seam Allowance
BERNINA makes several different Patchwork Feet for achieving the perfect 1/4″ seam. Depending on your machine—choose your favorite version for this technique. I used the Patchwork Foot #97 with Guide for this lesson. This foot is perfect for a 9 mm machine like the B 480. I prefer this foot over the Dual Feed version of the foot because the silk is delicate and cut on the bias edge—so the addition of Dual Feed is overkill and may cause more shifting of the fabric at the edge. The guide is totally optional.
Learn about all the Patchwork Feet in this post by Sylvain Bergeron.
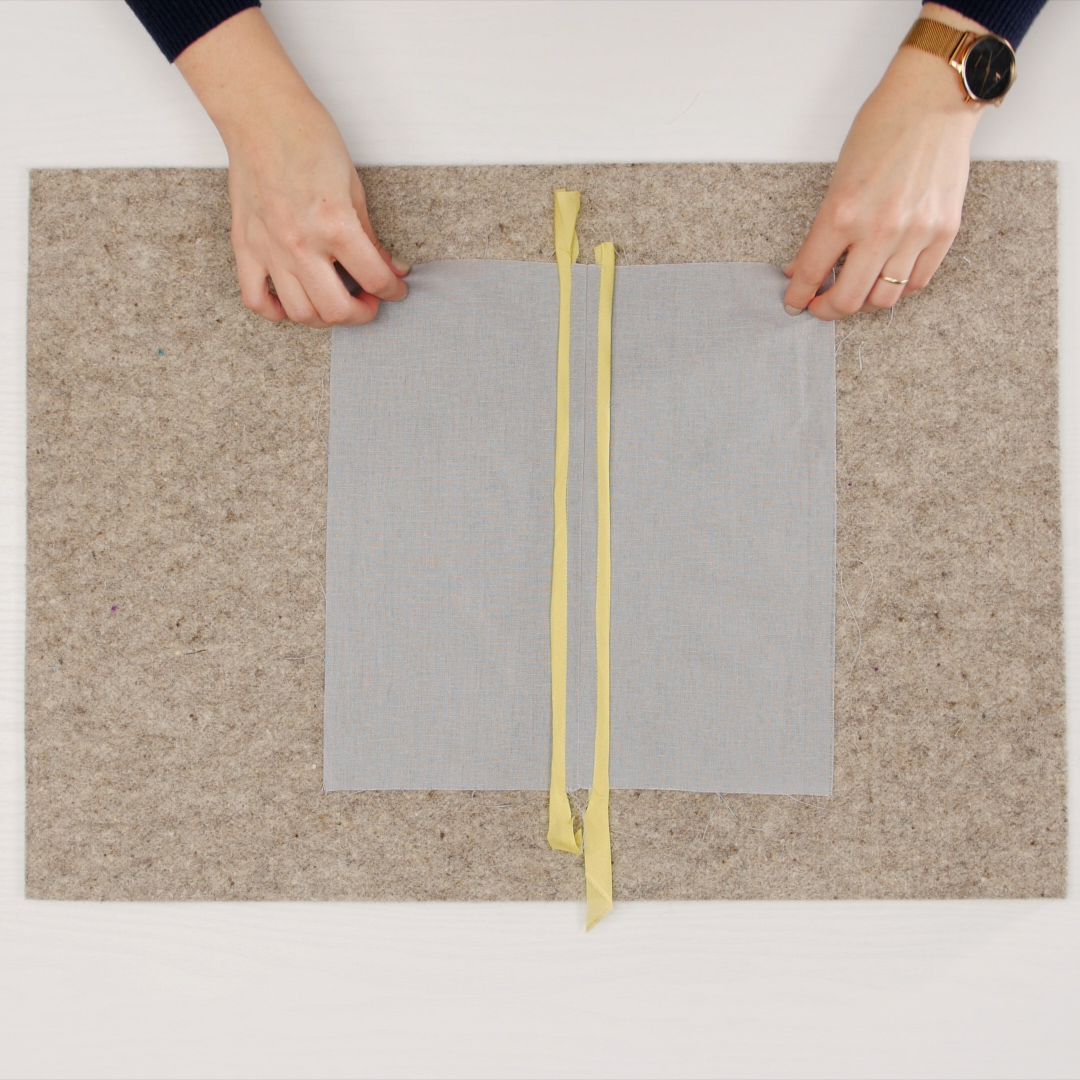
Using glass head pins, attach the binding to the top edge of one side of the seam allowance. Sew the silk to the top edge with a ¼” seam allowance.

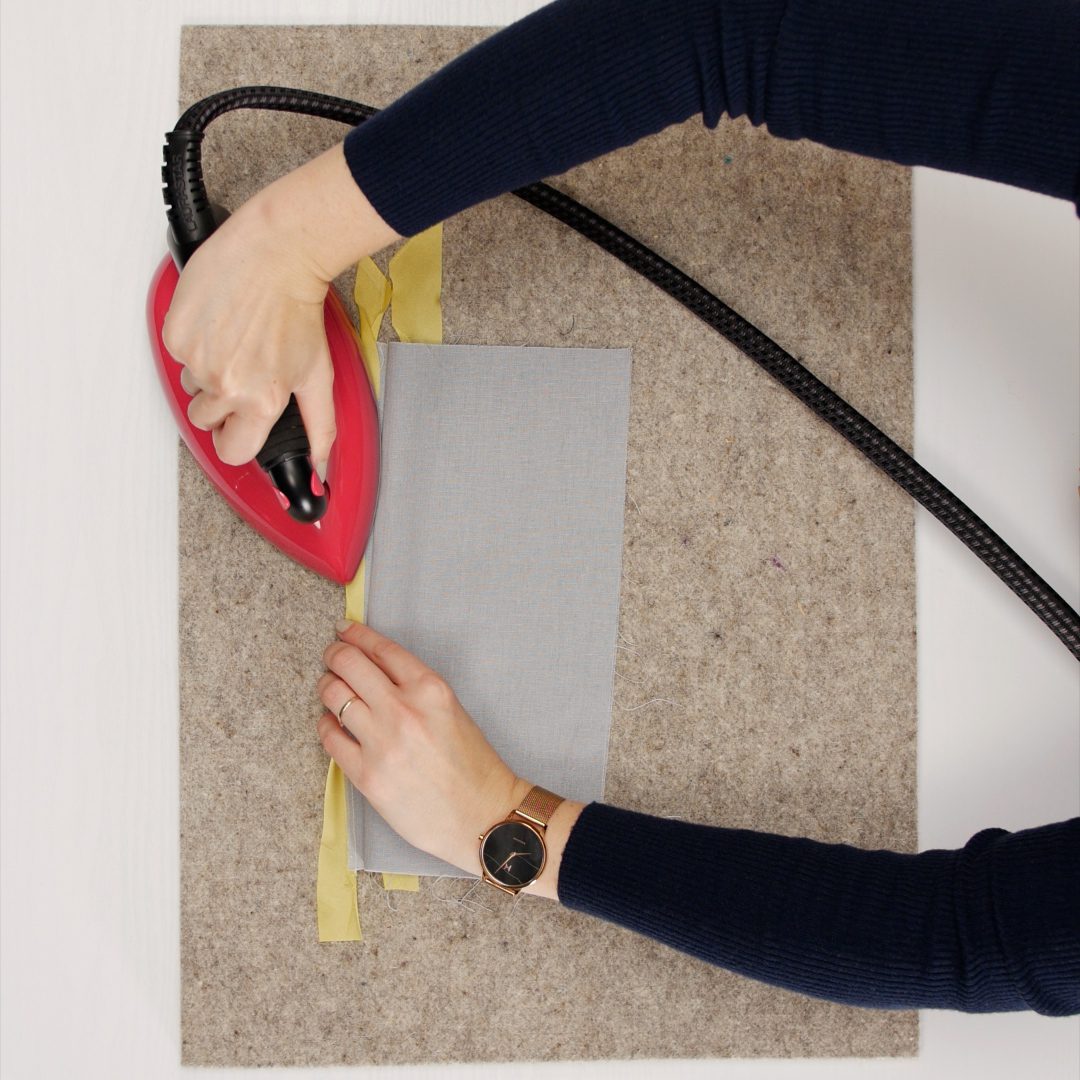
After sewing, press the bias tape away from the seam allowance. Then repeat for the opposite side.

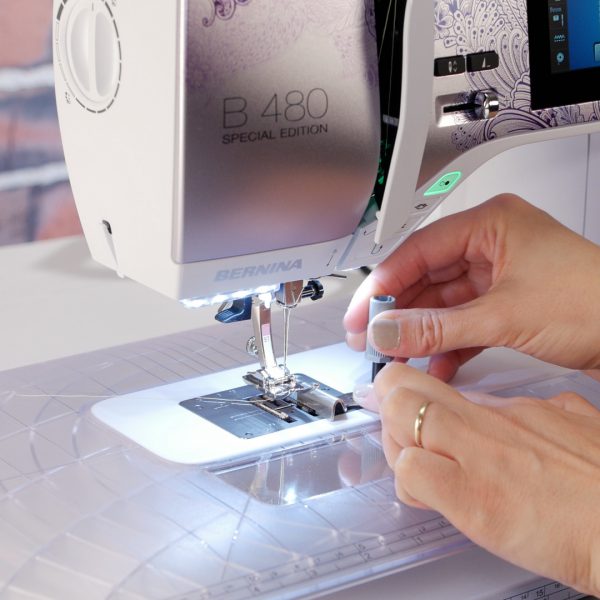
Step 4. Wrap the Binding and Stitch in the Ditch
The last step left is to wrap the bias binding around the seam edge and press to the back neatly. This is similar to binding a quilt—with the exception that the underside of the bias binding is not folded under and is left raw.
The best stitch in the ditch sewing can be achieved with the BERNINA Edgestitch Foot #10/10C/10D. For this technique I chose foot #10C—the 9 mm version without Dual Feed. This foot gave me great control and with the needle in the middle position, and the guide on the foot aligned with the bias edge on top allowed the stitches to fall exactly in the “ditch” of my seam. This creates a truly professional look.
Give the binding and seam a nice press.
Step 5. Trim Excess Fabric
Finally, the last step is to trim away the excess fabric on the back of the seam. Surprise—bias cut fabric frays very little, so you can trim very close to the stitch line. Dressmaker shears or duckbilled scissors work great for this process.

Enjoy your fancy seams and your newfound sewing skill!

