Make It Merry Holiday Coasters
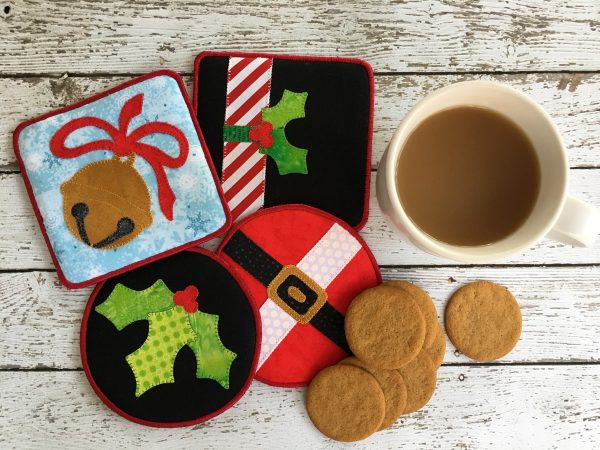
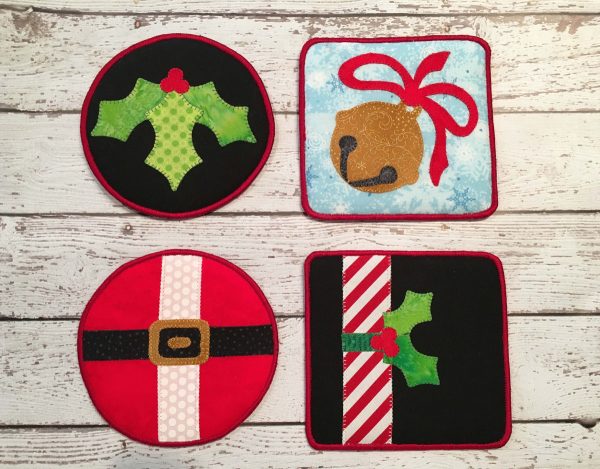
If you are looking for an idea for a quick and easy gift for that special friend, Sandy Fitzpatrick of Hissyfitz Designs has you covered with her Make it Merry Holiday Coasters!
The Christmas music is playing softly in the background, the fireplace is aglow, and the decorations are finally up. If your holiday shopping is complete, you can take some time to yourself to relax. In my world, however, there is always that one last gift that needs to be completed.
I designed these holiday coasters, which will not only add to your holiday décor, but are functional as well. Although they are great as a resting place for your steaming cup of coffee, tea, or hot chocolate, they work especially well for ice cold drinks. I like to have a glass of ice water handy throughout the day, but always run the risk of the glass “sweating” and leaving a little pool of water next to my work area. These little coasters are great for absorbing that extra condensation.
This project is specifically designed for fusible machine applique but can certainly be adapted to use pieced fabric blocks or any “orphan” designs you have lying around.
Materials to make a set of Make It Merry Holiday Coasters:
- Download the Make It Merry Coasters Pattern
- Scraps of fabric for applique pieces
- Background fabric, 4 squares – Cut 7″ x 7″
- Backing fabric – Fat Quarter or ¼ yard
- Décor Bond – Fat Quarter or ¼ yard
- Timtex – 15″ Square
- Thin Cotton Batting – 15″ square (I used Warm and White)
- Fusible Web such as Heat ‘n Bond Lite – ½ yard
- Thread
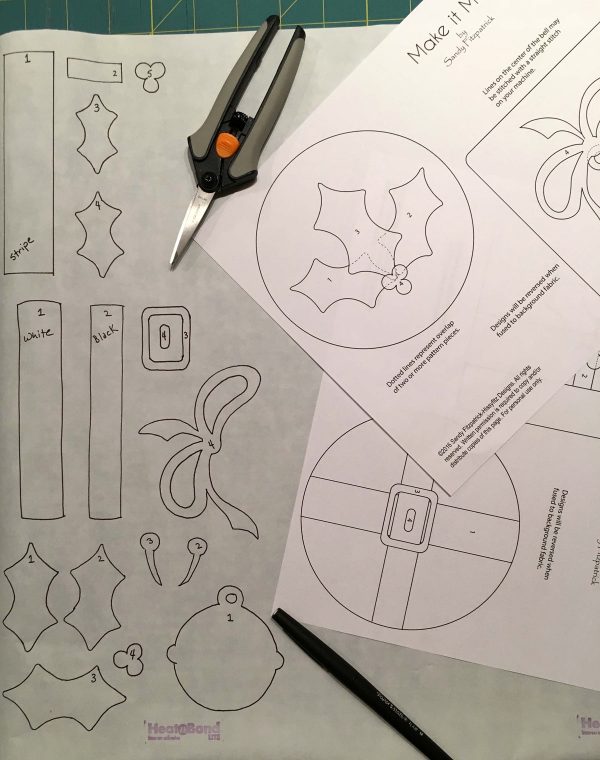
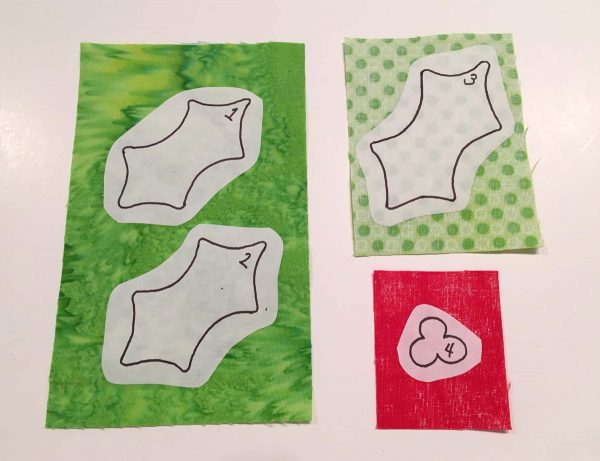
To create these holiday inspired designs, you will need to trace each of your pattern pieces onto your favorite fusible web. Be sure to leave at least ½” between each of your pattern pieces so that you can roughly cut them apart and leave fusible beyond your drawn line. It’s also a good idea to number each of your pieces and maybe even label them with the fabric color you plan to use.
Next, roughly cut your designs apart and iron each piece to the wrong side of the appropriate fabric.
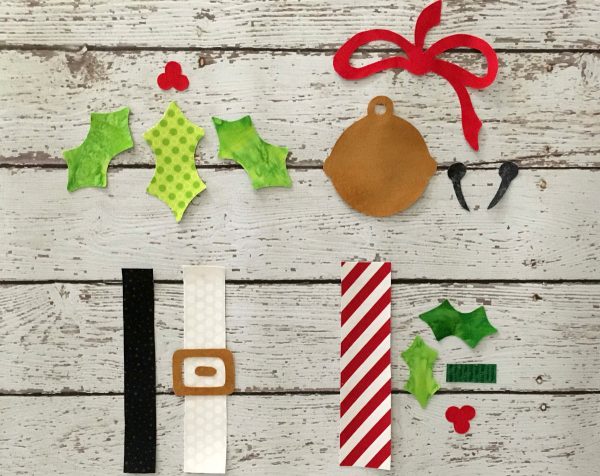
Cut out each of your design pieces on the drawn line.
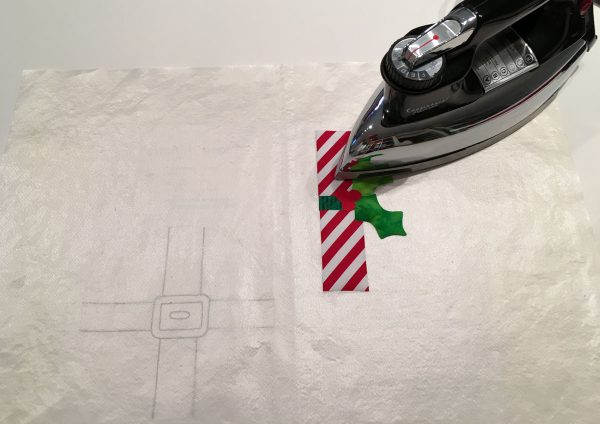
To make your fusing process easier, it’s best to use an applique press sheet to fuse your pieces together. I’ve provided a pressing guide sheet with the designs in reverse to make this process easy for you. Place this sheet underneath your applique press sheet so that you can see the designs through the sheet. Using your iron, on a “silk” setting, remove the paper backing from each of your pieces and begin to fuse them together. For each of the designs, begin with piece number 1 and fuse it to the applique press sheet. Then add piece number 2, piece number 3, etc. until all of your designs have been fused together.
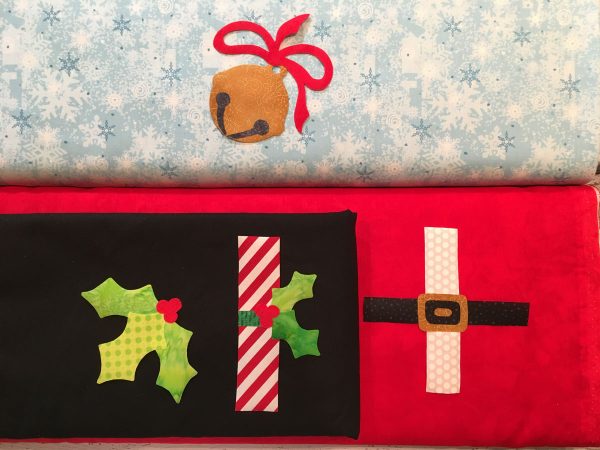
When all of your designs have been fused together, gently peel them from your applique press sheet. Now is the time to “audition” background fabrics. Since you aren’t yet committed to a specific background, you can place your designs on a variety of fabrics to see which one you like the best.
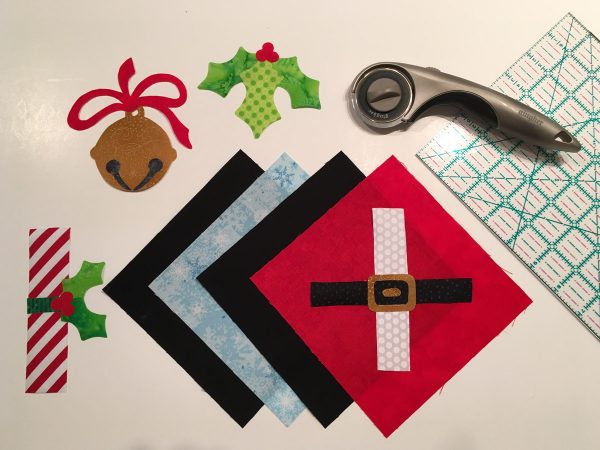
Once you have chosen your background fabrics, cut a 7″ x 7″ square from each fabric.
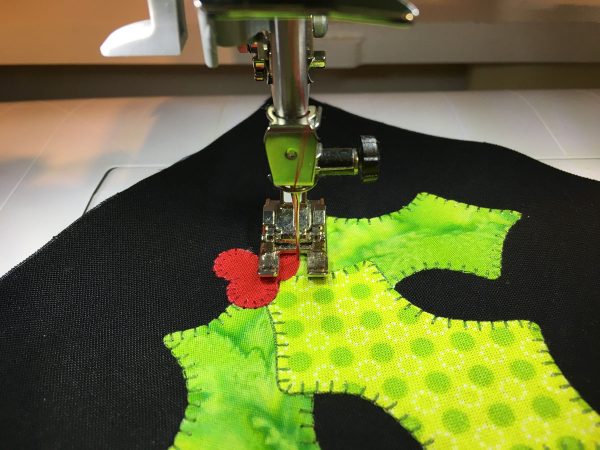
Fuse your completed designs to the appropriate background fabric, let cool, and then stitch around each of the pattern pieces using a blanket stitch on your machine. I’m sewing on a BERNINA 380 and the stitch number on this machine is #107. Since it is a three digit number, in order to access it on my machine I push the # button two times which will bring up the number 1, and then I push 07.
Depending on your machine, this stitch may have a different number. On the BERNINA machines that are in the 5 Series, the 7 Series, and the 8 Series, this stitch number is 1329. If you are unable to find the correct number on your machine, please consult your manual.
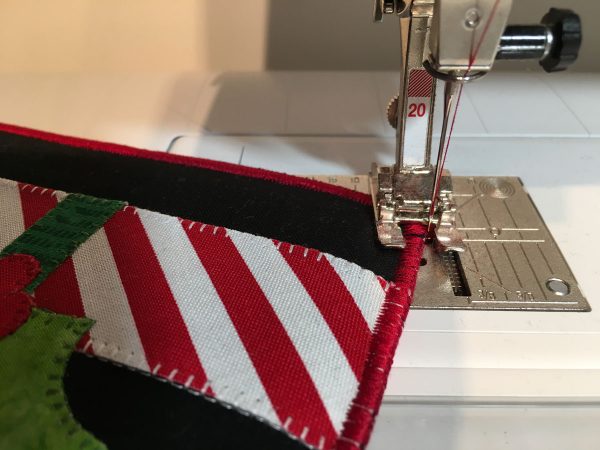
Use the Open Embroidery Foot #20/#20C/#20D to be able to have a clear view of your stitching.
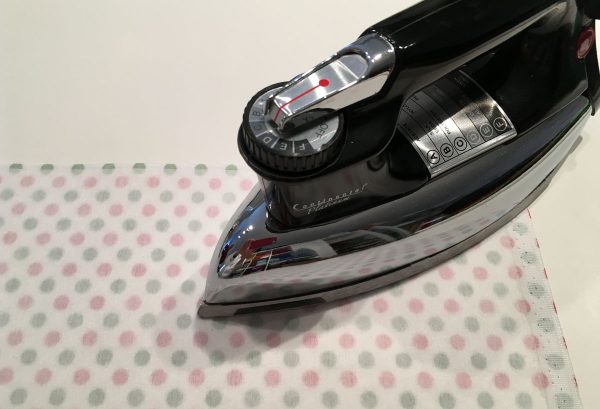
In order to ensure that these coasters are thick enough to do their job, we need to add some heavy interfacing. Cut your backing fabric to measure 8″ x 28″. Next cut a piece of DecorBond slightly smaller than this measurement 7½” x 27½”. With your iron set on a “cotton” setting, fuse the DecorBond to the WRONG side of your backing fabric. Let cool.
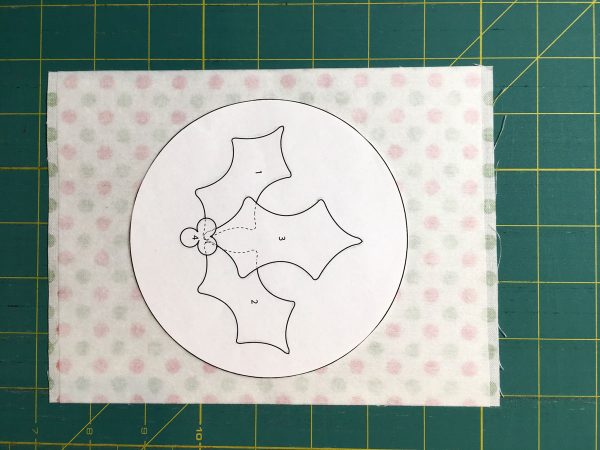
Now cut this fabric into four squares 7″ x 7″. Cut out the circle and square provided in your pattern and use these shapes to cut your backing fabric for each coaster.
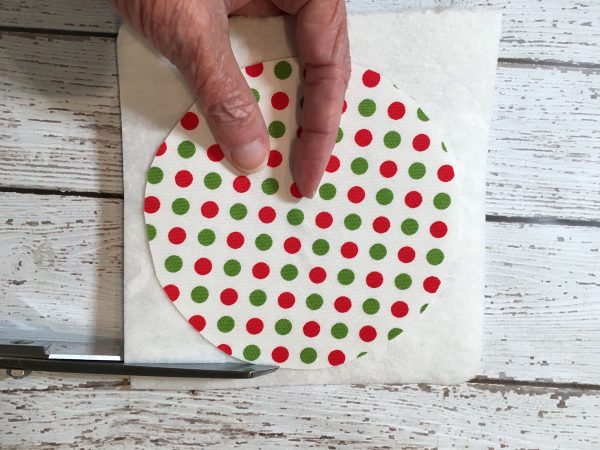
Next, use these shapes to cut your Timtex to the proper size and shape.
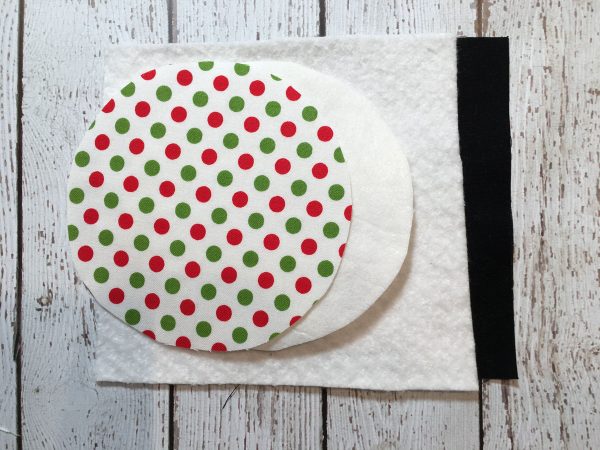
From your batting, cut four squares 7″ x 7″. Now layer your appliqued fabric square (right side facing down)/batting/Timtex/and backing as shown. Center each piece on the previous fabric.
To ensure that your designs will be centered, insert a straight pin in the center of the design through all four layers. The center of each design is indicated on the pattern.
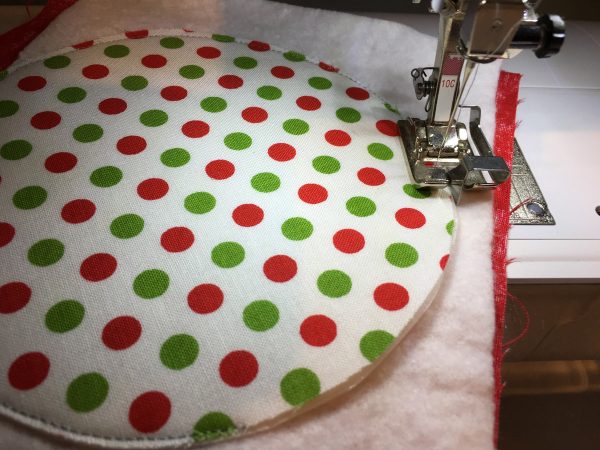
Using the Edge Stitch foot #10/#10C/#10D, line the blade of the foot up with the edge of the Timtex and backing fabric. Use a straight stitch with the needle position moved three positions to the left, to stitch very close to the edge through all four layers.
Next, trim away all of the excess batting and appliqued background fabric. Set your machine to do a satin stitch. This is simply a zigzag stitch (Stitch #2) that has been shortened to .5 and widened to a width of 5. Be sure to engage needle down for this particular stitch to making your stitching easier.
Stitch around each of your coasters. To achieve a nice, smooth coverage, stitch around the edge twice.
There you have it! A great little project to create in a short amount of time. I actually liked the look of these so much that I made two sets, one for me and one for my Secret Santa gift. Shhhhhh, don’t tell!
