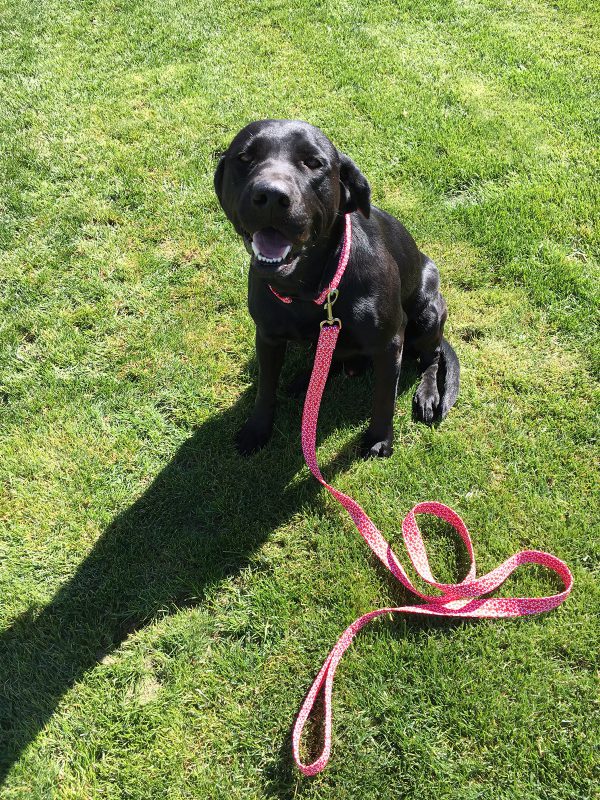
A few weeks ago, my puppy decided he needed to chew on the older dog’s collar. Being a puppy, once the collar was off, it became a chew toy, and was destroyed. So I decided to make a custom adjustable collar for my dog.
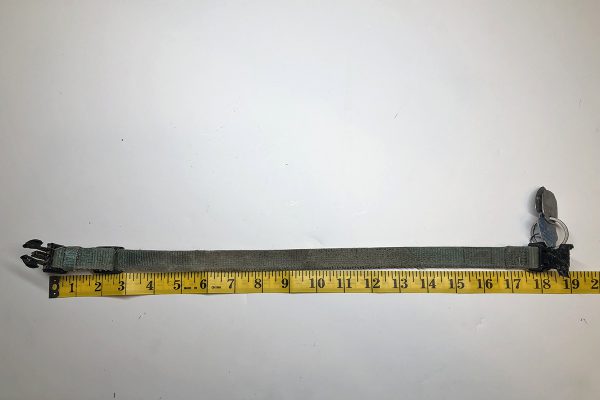
The first thing I did was measure the old collar length.
Then I added 12 additional inches to this total. This is the length of fabric that I need to cut to accommodate the buckles and slide adjuster.
I decided to use a 1-inch-wide nylon web in the center of my collar. I have big dogs and I wanted the collar to be sturdy. Knowing I wanted to cover this web with fabric, I cut my fabric strip at 4 ½ inches wide by the length I needed for my dog’s neck size.
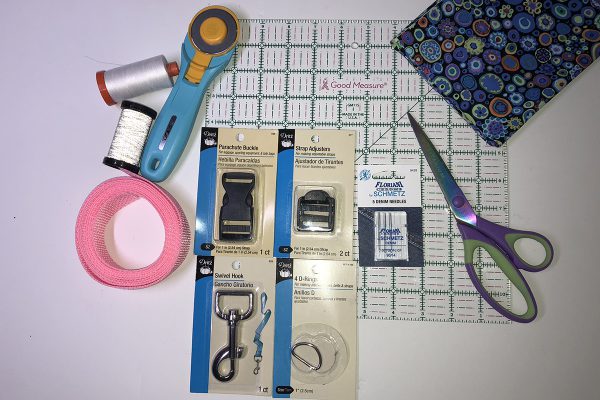
After gathering my supplies, it was time to begin.
- Strap Adjuster to fit 1-inch-wide strap
- Parachute Buckle to fit 1-inch-wide strap
- D-ring to fit 1-inch-wide strap.
(NOTE: if you have a smaller dog, you might wish to use narrower width of webbing and adjust your hardware accordingly)
- ½ yard of fabric (I chose a fun dotted print cotton fabric)
- Wonder Clips by Clover
- Wonderfil Flash Reflective Thread
- 90/14 Jeans Needles
- Jeans foot #8/8D
- Rotary Cutter
- Ruler
- Cutting Mat
- Iron
- Scissors for cutting webbing
- BERNINA Sewing Machine (I used the B 790 PLUS)
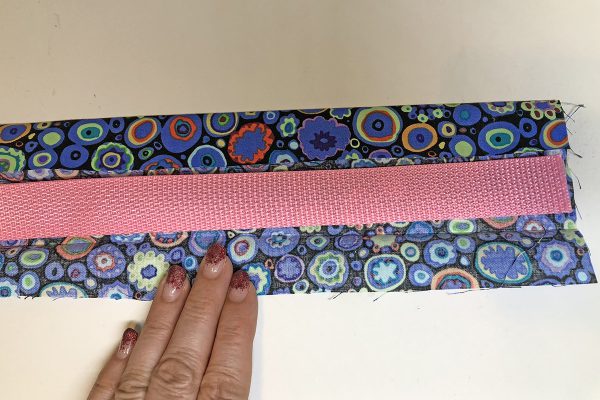
The 1-inch nylon web that I had on hand was pink, but since I was going to cover it, it really did not matter what color. I cut my webbing 2 inches shorter than my collar length measurements.
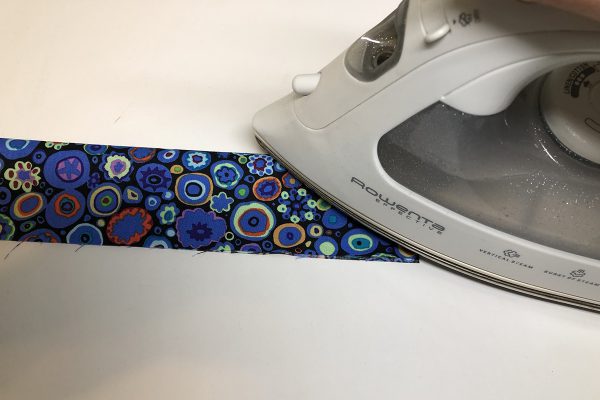
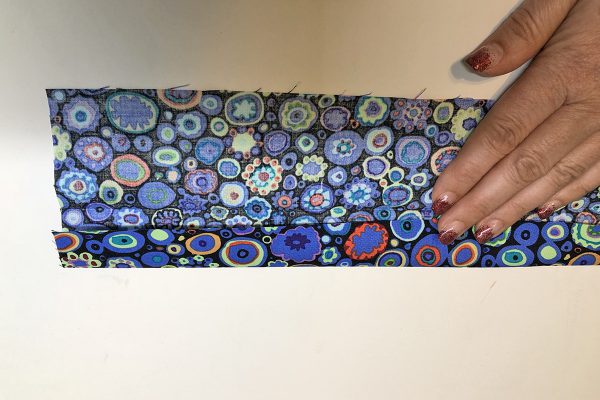
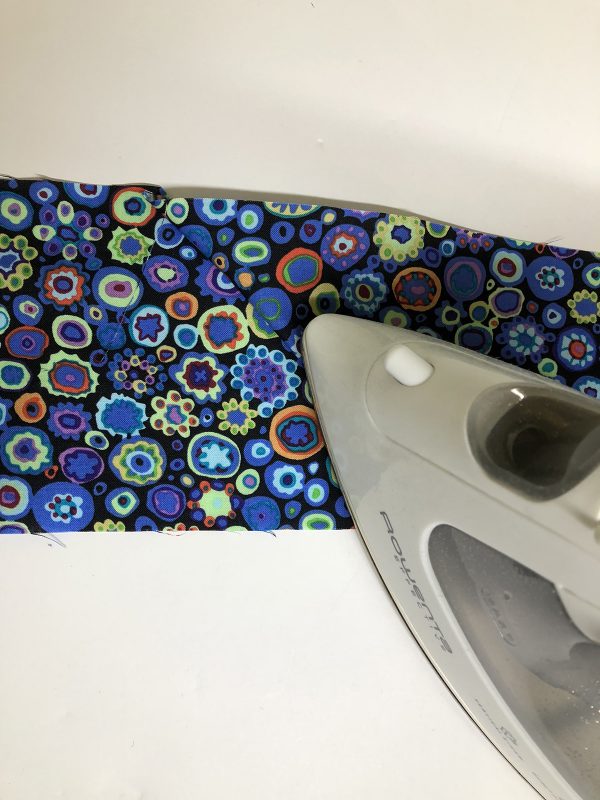
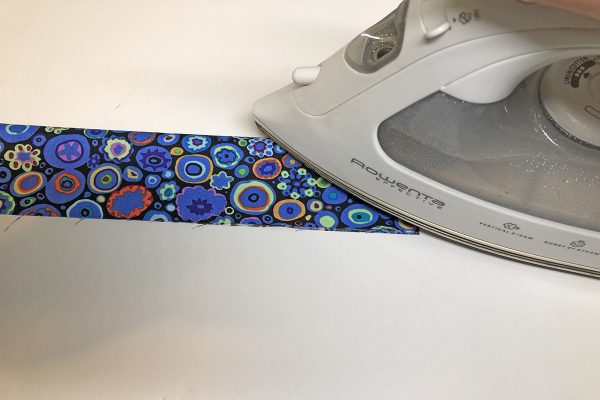
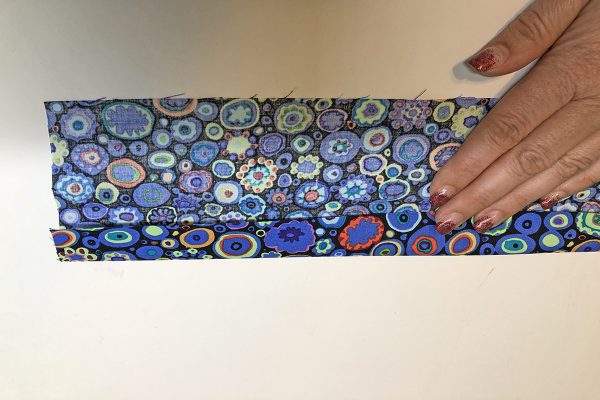
I folded my fabric strip in half lengthwise with wrong sides together and pressed.
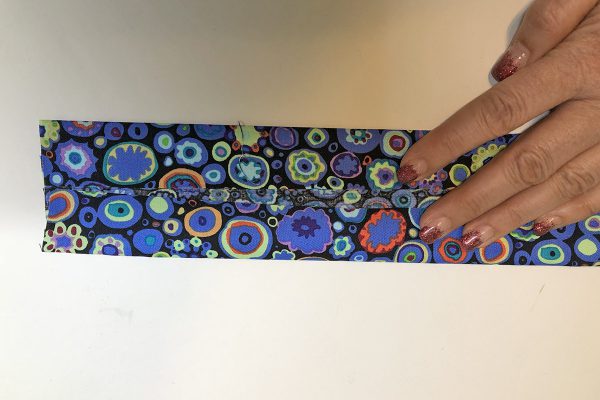
Then I opened it back up and folded one half of the fabric down to the fold line, and pressed.
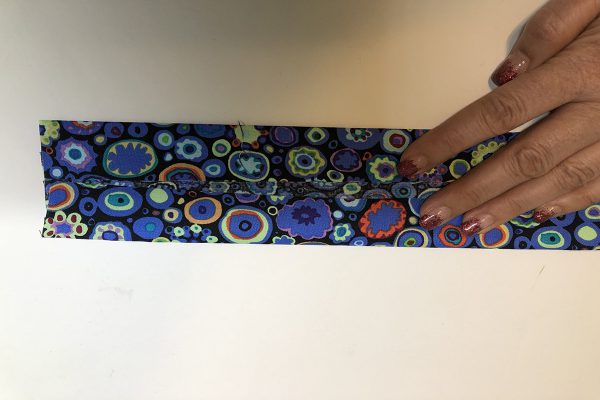
I repeated this process with the other half of the fabric strip.
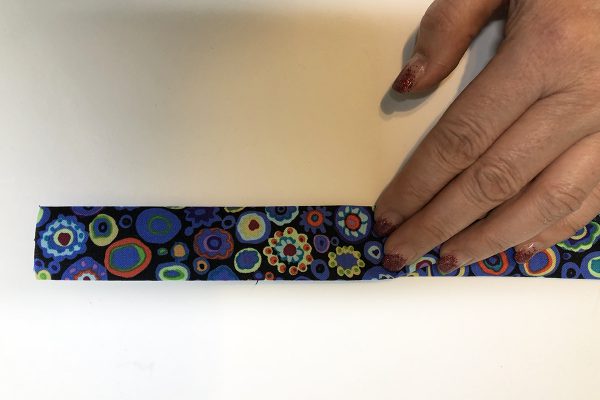
The last step was to fold the strip in half and press again.
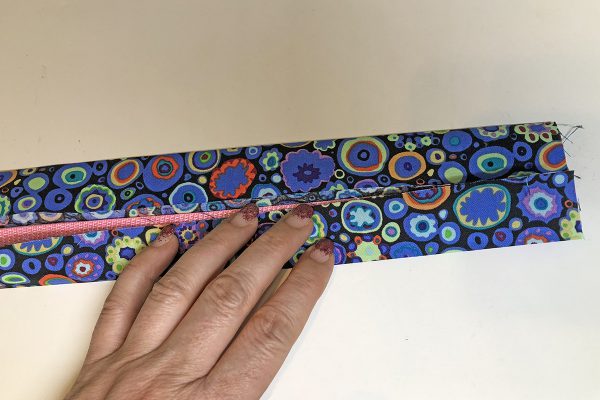
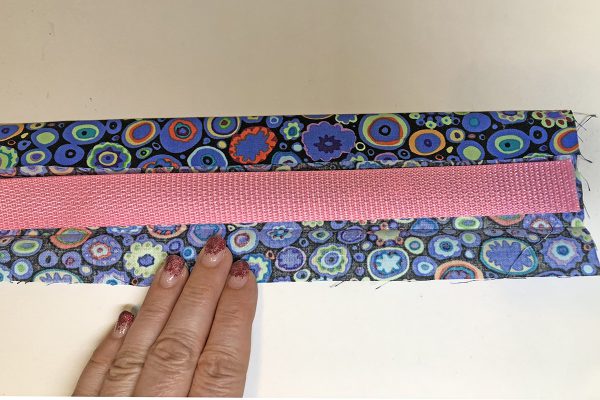
I then inserted the webbing into the fold.
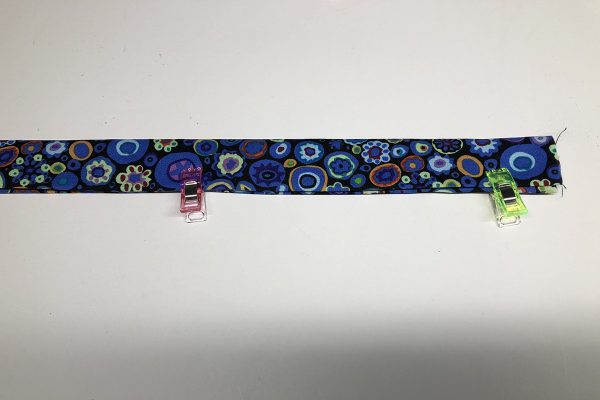
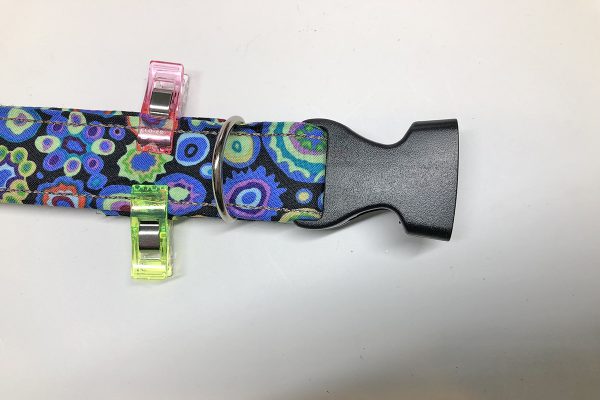
After the webbing was inserted, I clipped all layers together with my Wonder Clips.
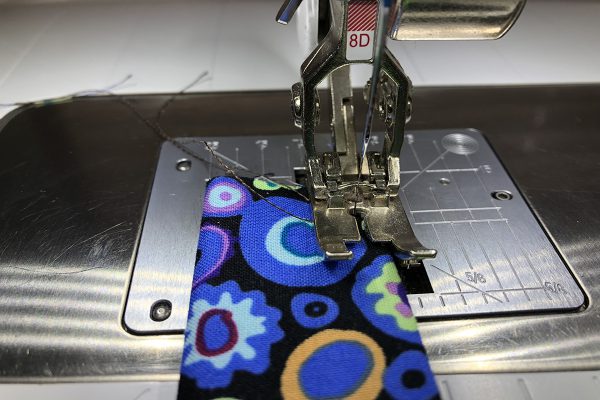
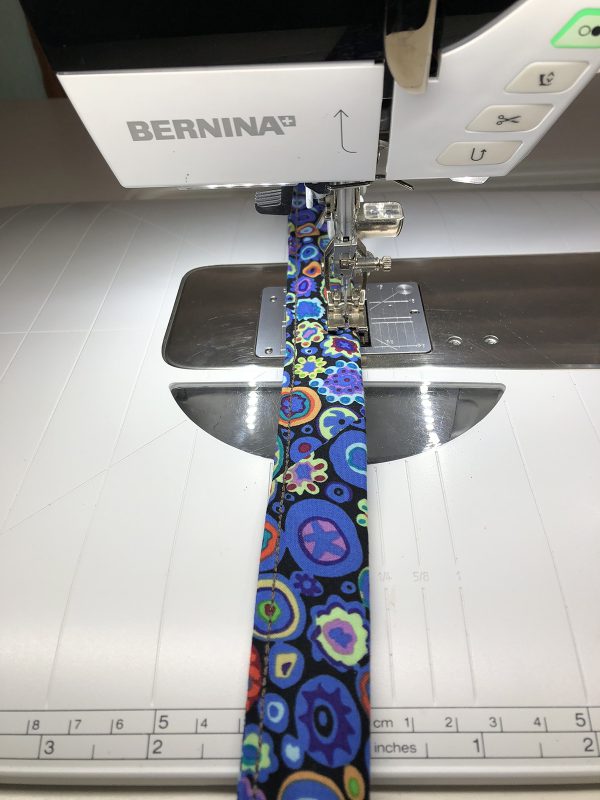
I attached my Jeans foot #8D to my B 790 PLUS machine, inserted a 90/14 Jeans Needle, and threaded my machine top and bobbin with Wonderfil Flash reflective thread. Flash is a 40wt Polyester Reflective Thread, which I thought was perfect for this project.
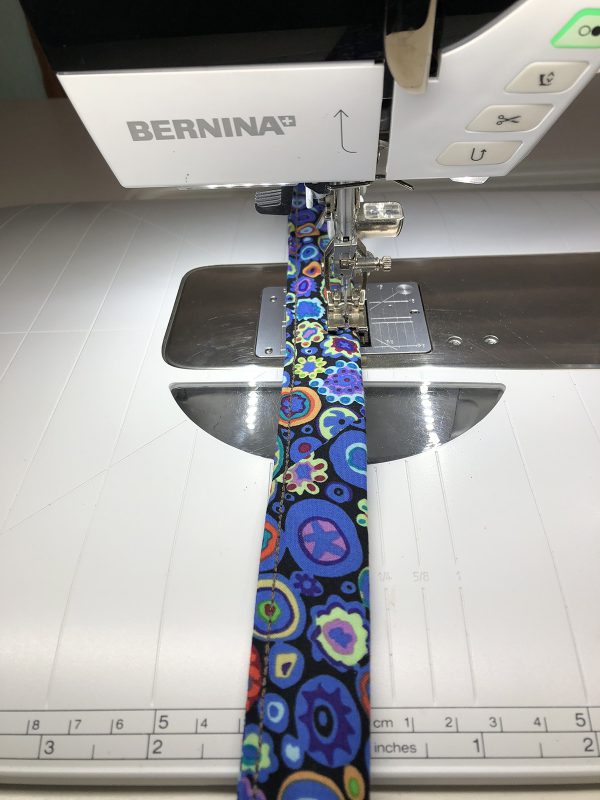
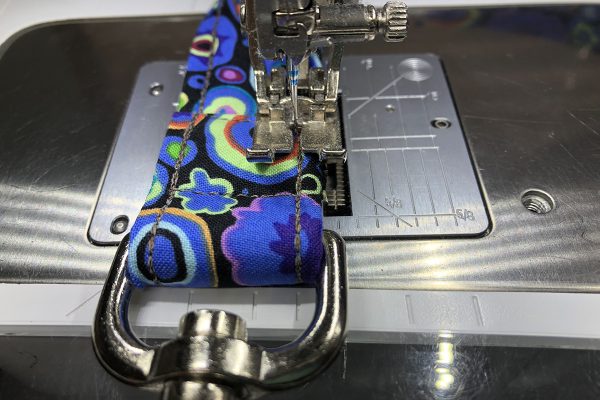
Beginning at one end, I top stitched through all the layers on both of the long sides. Securing the fabric to the webbing.
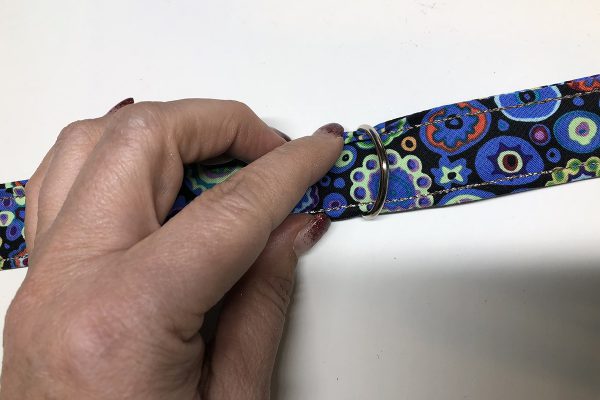
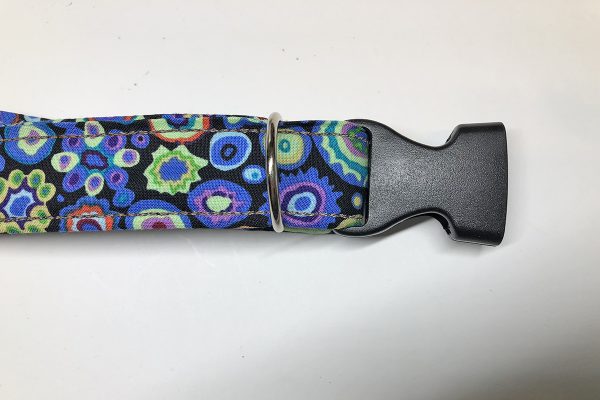
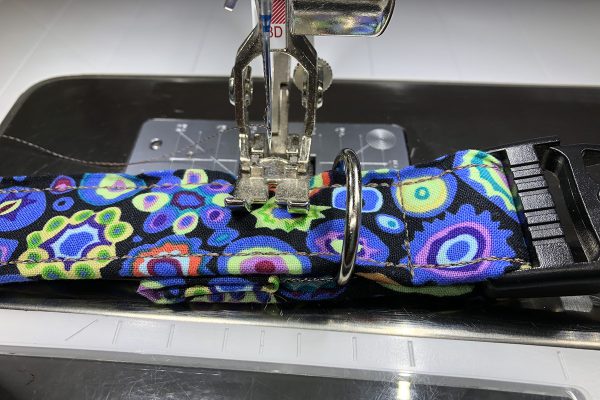
Once this step was complete, I could add my Parachute Buckle, D-ring and Strap Adjuster. I added the D-ring first and then one half of the Parachute Buckle.
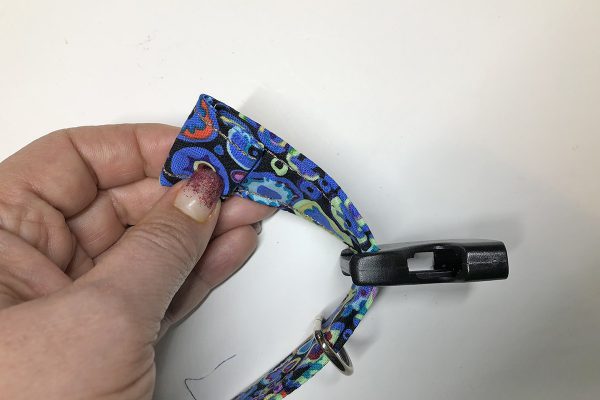
I then folded my end over so that no raw edges were exposed using about a 1-inch fold, and then folded over again.
Then I adjusted my D-ring and buckle so that there was about 2 inches of fabric past where they came together. I clipped all this together with Wonder Clips, making sure the bulk of the fabric was on the inside of the collar.
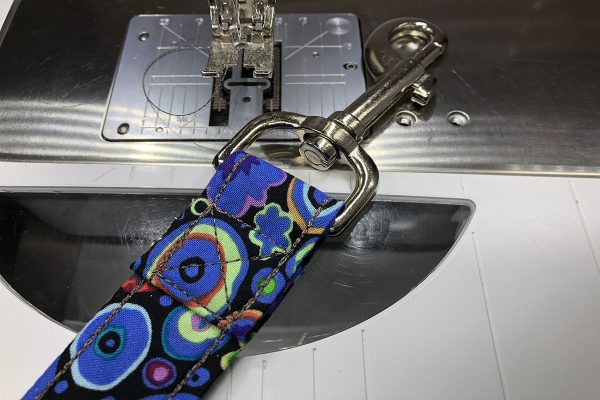
I then stitched through all the layers to secure everything in place. I started between the buckle and the D-ring, stitched a straight stitch across the collar.
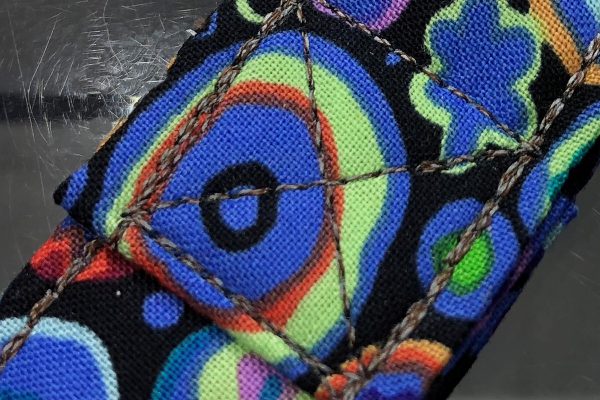
Then I stitched a box with an X through the center where I had the bulk of the fabric, just past the D-ring.
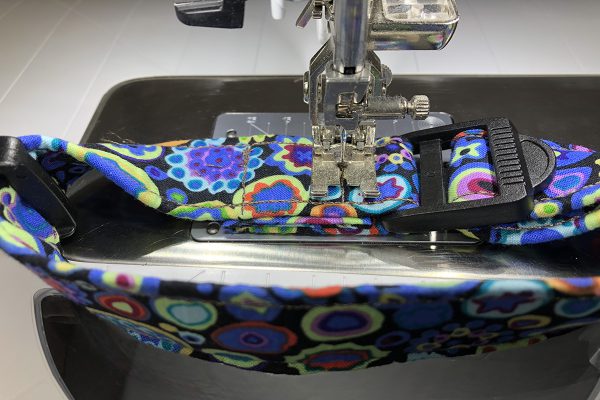
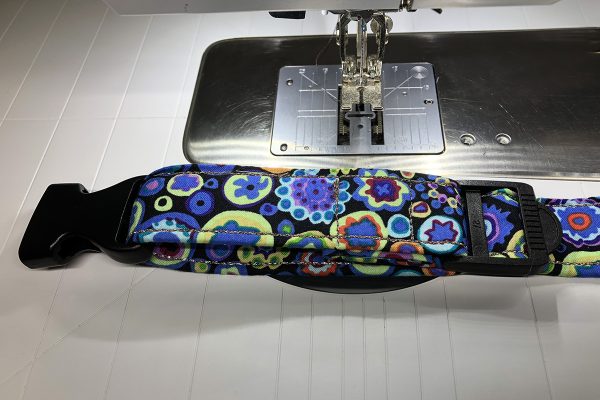
Once this was done, I moved to the other end and added the Strap Adjuster and other half of the Parachute Buckle. Follow the manufacturer’s instructions on how to successfully attach these pieces. Again I stitched a box style design to secure all the layers and hold the Parachute Buckle in place.
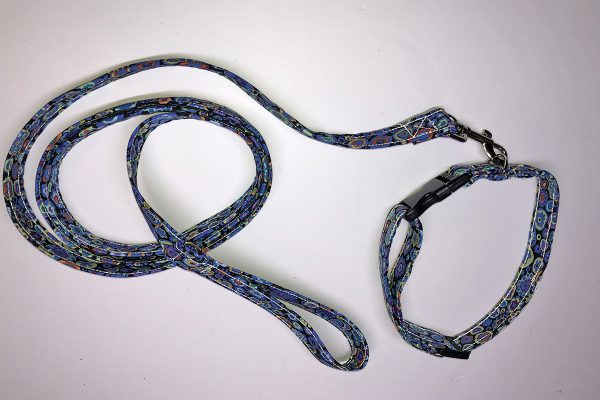
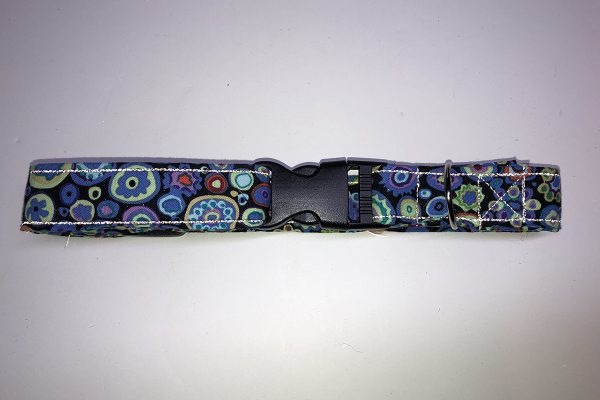
Now that all this is done, my Custom Dog Collar is complete. Notice how the Wonderfil Flash Reflective thread stands out!
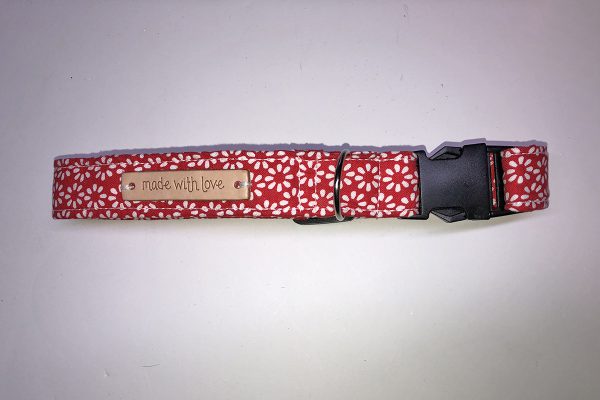
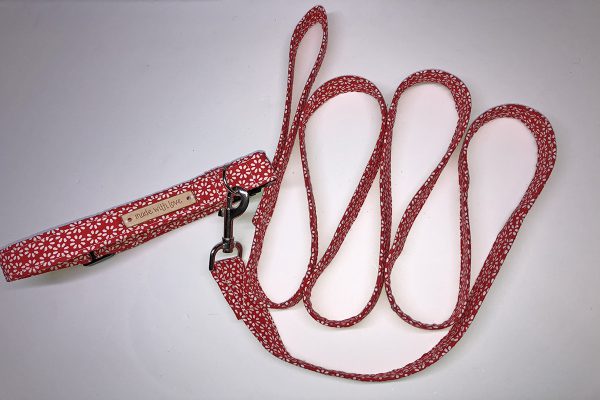
You can also add fun embellishments to your dog collar as I did with this Made with Love tag on a red dog collar.
Now that the collar is done, we must have a matching leash. Using similar steps as before, I started on the dog leash.
I measured out 6 feet of nylon webbing. I then cut my strips of cotton fabric 4 ½ inches wide. But this time, I needed 3 strips to get the correct length.
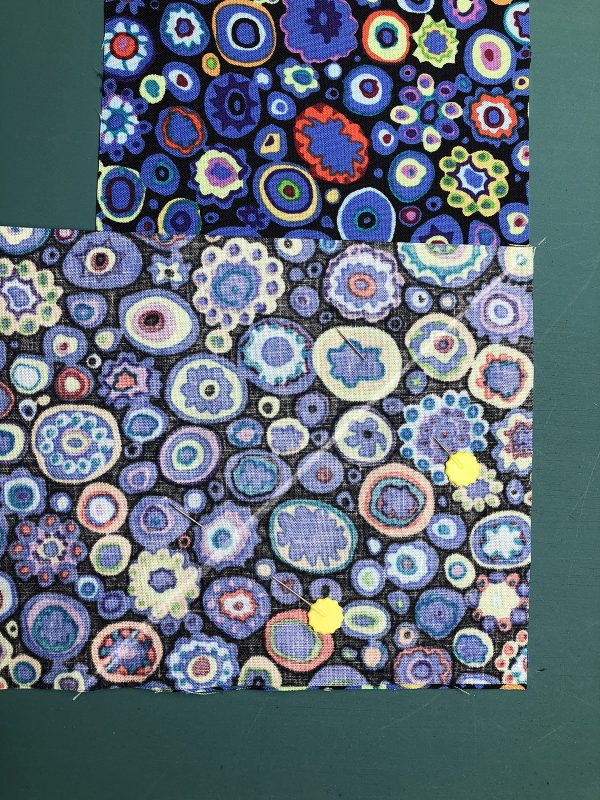
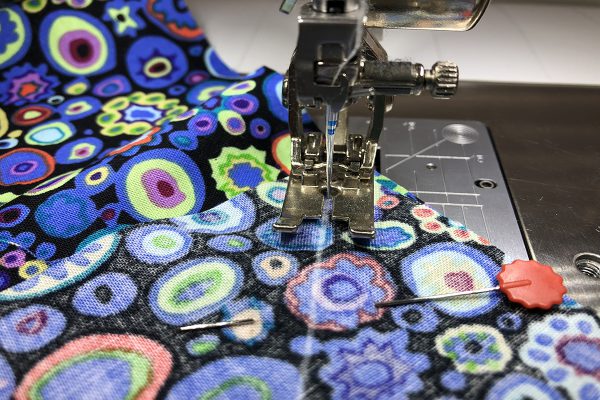
I placed the strip ends together perpendicular to each other and marked a diagonal line.
Stitch along the diagonal marked seam.
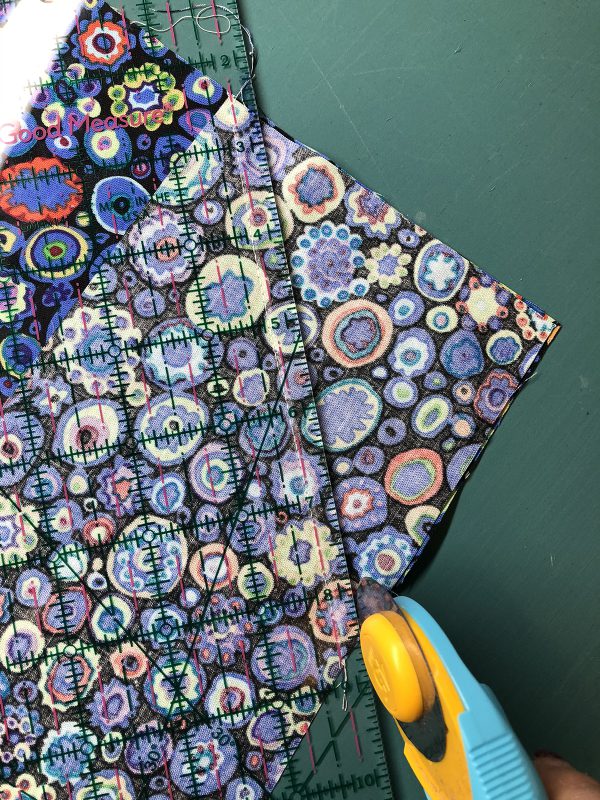
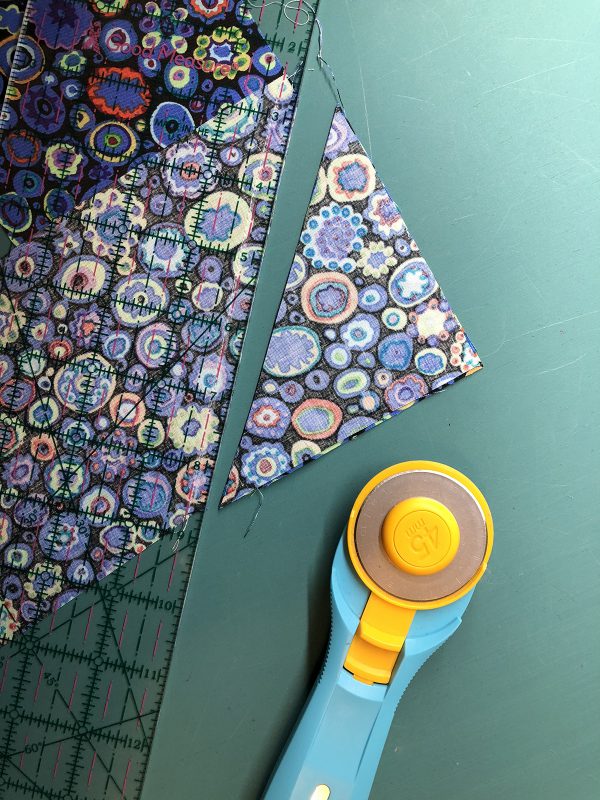
Then I trimmed the excess fabric away leaving about ¼ inch from my seam line.
After this was completed, I pressed the seams to one side so they would lay nice and flat.
Using the same pressing method as before, I folded the strip of fabric in half, wrong sides together and gave it a good press.
Then took one side of the strip and folded it in towards the center and pressed.
I repeated this process on the second side.
Once this was complete, I took the whole strip, folded it together and pressed.
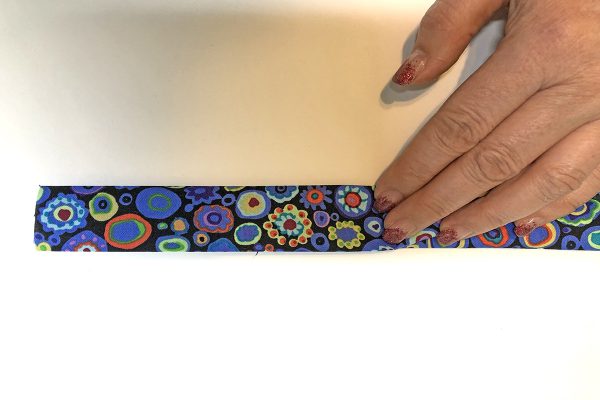 After that was done, it was time to insert the webbing in the center of the fabric strip.
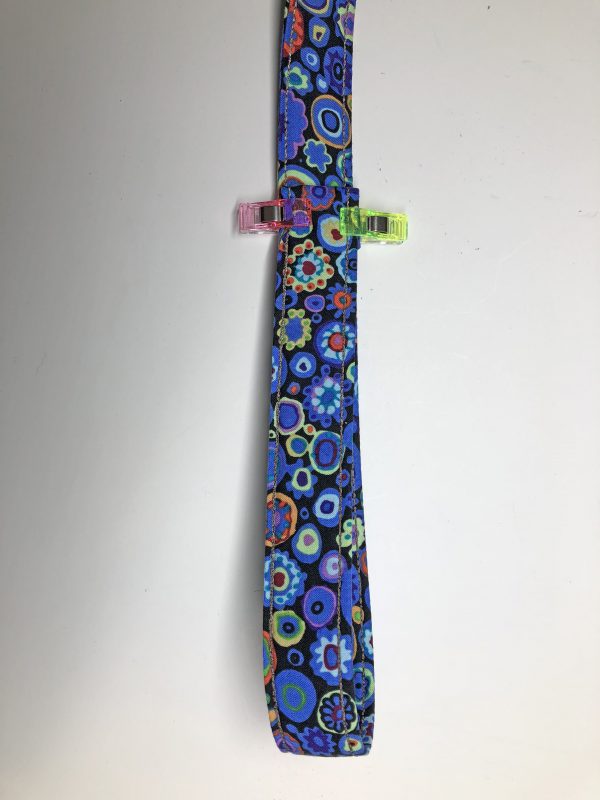
I then secured the fabric to the webbing with Wonder Clips. I took the leash to the machine and again top stitched down each long side, securing the fabric and the webbing.
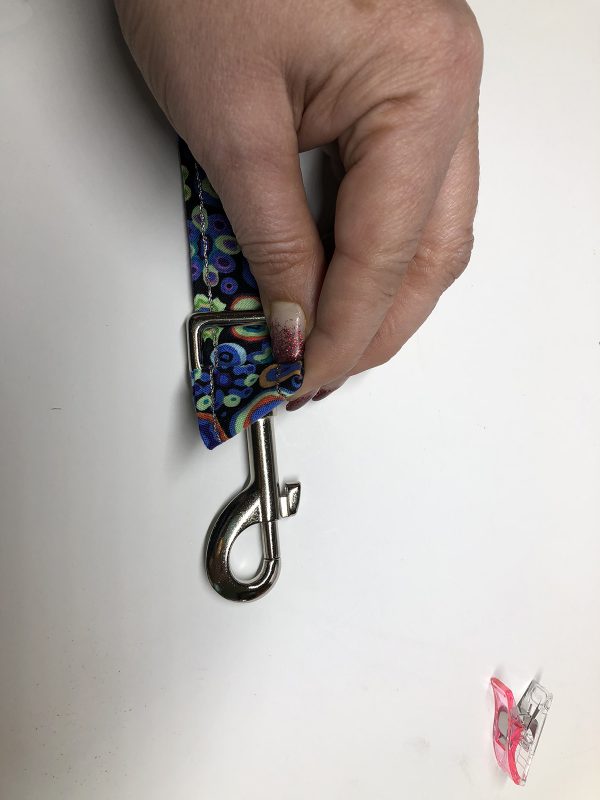
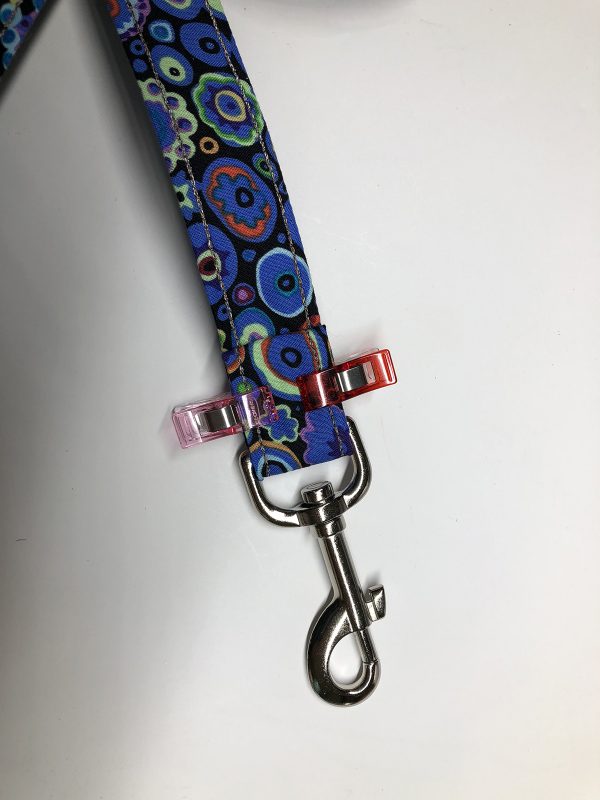
It was time to add the leash snap to one end of the leash strip. I folded the fabric over a couple of time about an inch to encase the raw edges and clipped into place with Wonder Clips.
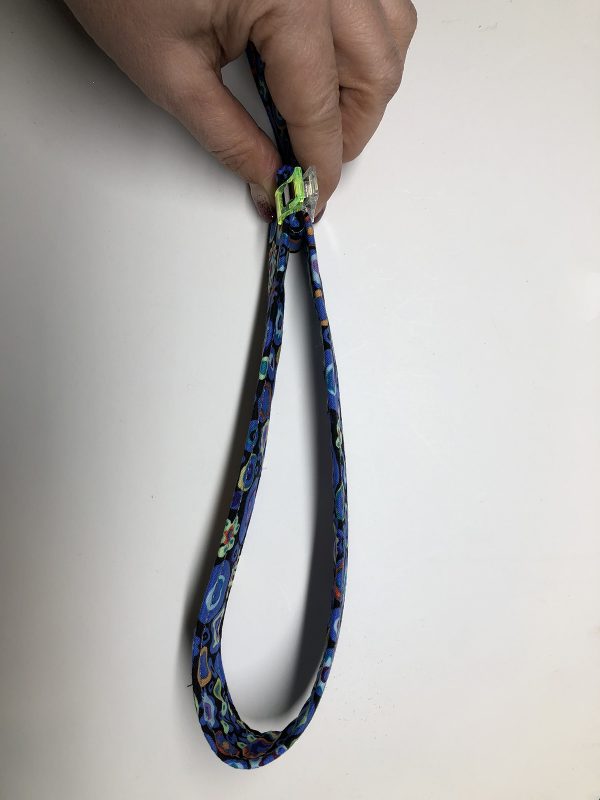
At the other end I made the handle loop. I started with about 12 inches of strap, but you can easily adjust this to more or less, depending on how big of a handle you would like. I tucked the raw edges in and secured with Wonder Clips.
I then took the piece to the machine and again stitched a box style with an X in the middle to secure all the layers together. I did this a both ends, near the snap and at the loop end.
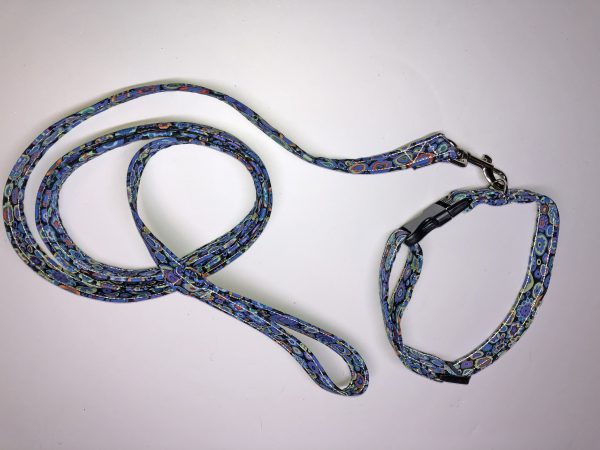
We now have a Custom Collar and Leash with Reflective edges!
And since I can’t play favorites, I also had to make a second set for the other dog.
My dog is super happy with his new custom collar and leash set!
I am sure I will be making more holiday-themed ones in the near future!
Happy Stitching!
Heather


