Minky Ghost in the Hoop
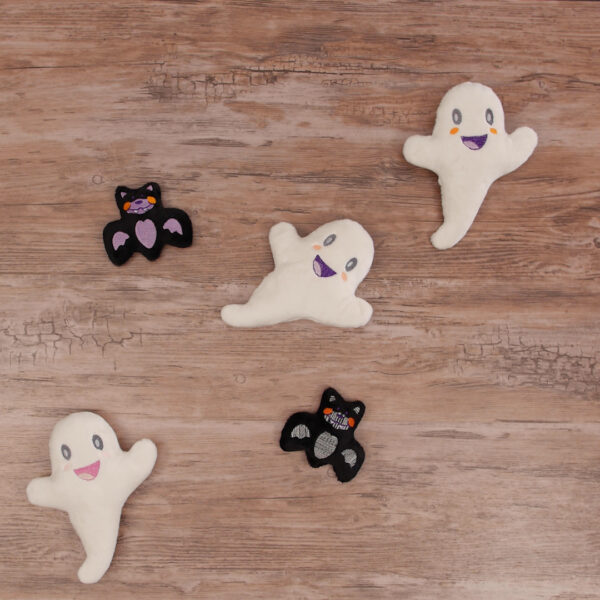
A new OESD Minky Pals collection has arrived in time for fall festivities – Halloween Minky Misfits!
Designed as an in-the-hoop project, this collection features the adorable ghost as well as an owl, candy corn, black cat and a pumpkin, —what a great first embroidery project for beginners! The misfits are so fun and quick, you’ll have the whole collection ready for trick-or-treaters. And if you want to add the small bats pictured above, check out OESD #11936 Minky Pals 1. Let’s get started with the ghosts!
Machine Set Up to Create Minky Ghosts
- BERNINA 570 QE with Embroidery Module
- Large Embroidery Hoop
- Embroidery foot #26
- Straight Stitch Plate
- Halloween Minkee Misfits Collection #51206
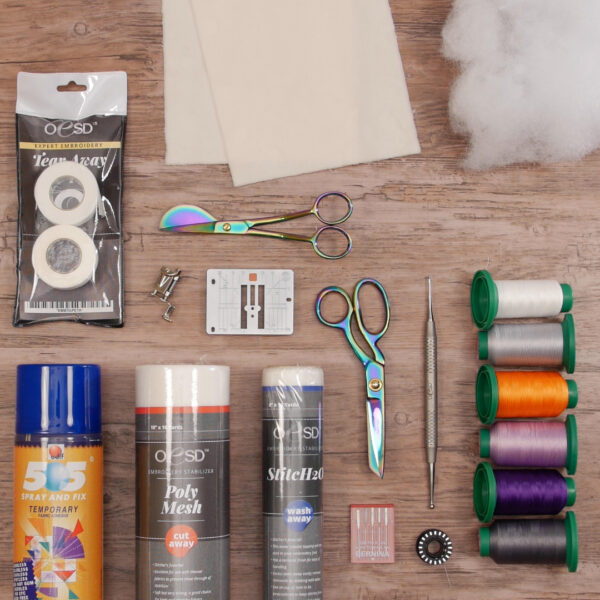
Materials to Create Minky Ghost
- Two 6” x 8” rectangles of Minky Fabric
- 10” x 14” OESD PolyMesh CutAway Stabilizer
- 5-1/2” x 7-1/2” OESD StitcH20 WashAway Topping
- Polyester Stuffing
Notions
- Organ 75/11 Sharp Embroidery Needle
- Isacord 40 Polyester Threads
- White Mettler Bobbin Thread
- 505 Temporary Adhesive Spray
- OESD Embroidery Tape
- Scissors
- OESD Expert Point & Press Tool
- Hand Sewing Needle
Step 1 – Set Up
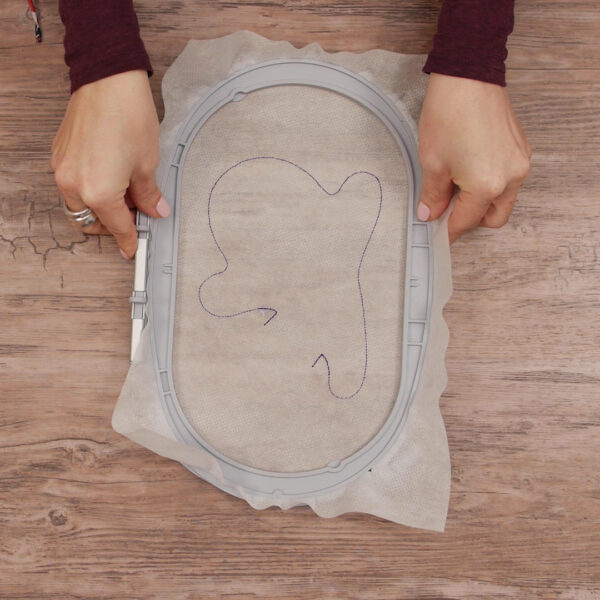
Hoop the PolyMesh stabilizer. Select Ghost #51206-01 and stitch color 1-Placement Stitch.
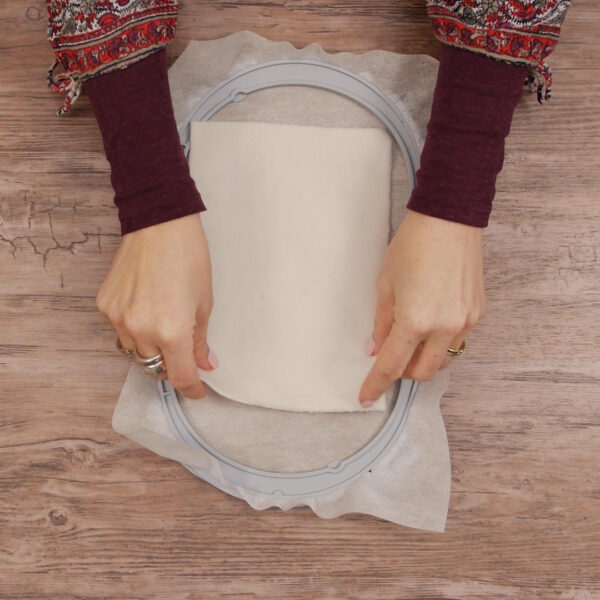
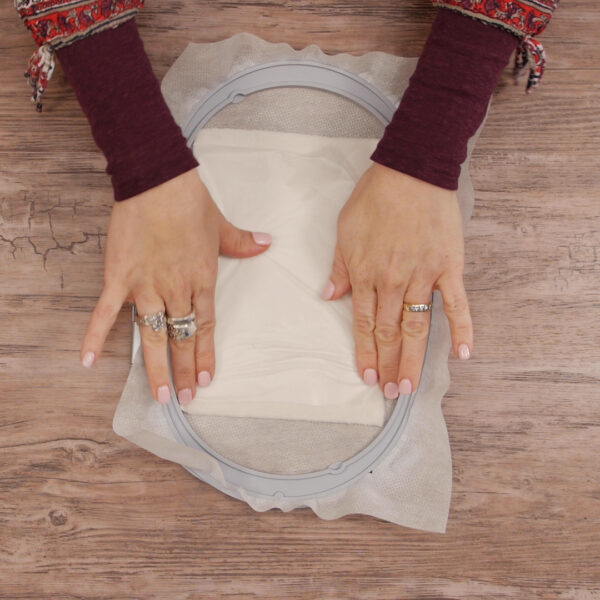
Remove hoop from machine and spray stabilizer lightly with temporary adhesive spray. Place the minky fabric right side up on the PolyMesh, covering the stitched shape.
Lightly spray StitcH20 topping with the adhesive spray and place on minkee fabric with sprayed side down.
Step 2 – Stitch Ghost
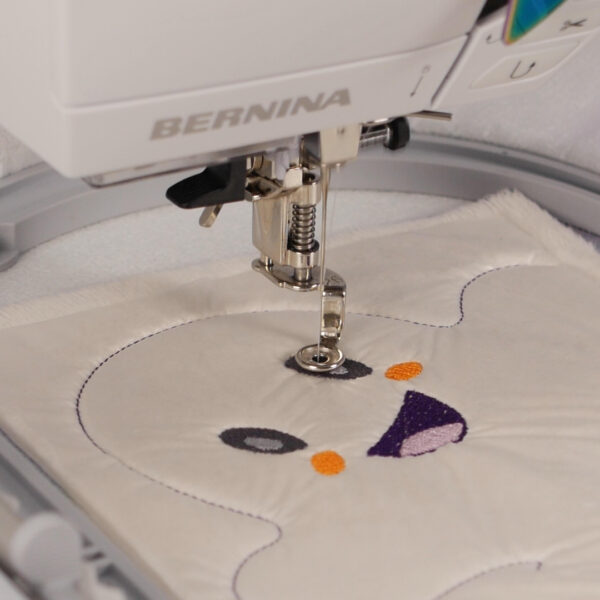
Re-attach hoop to machine and stitch out design, but do not stitch last outline color. Have fun using the selected thread colors on machine or play around with your own color ideas!
Step 3 – Stitch Outline
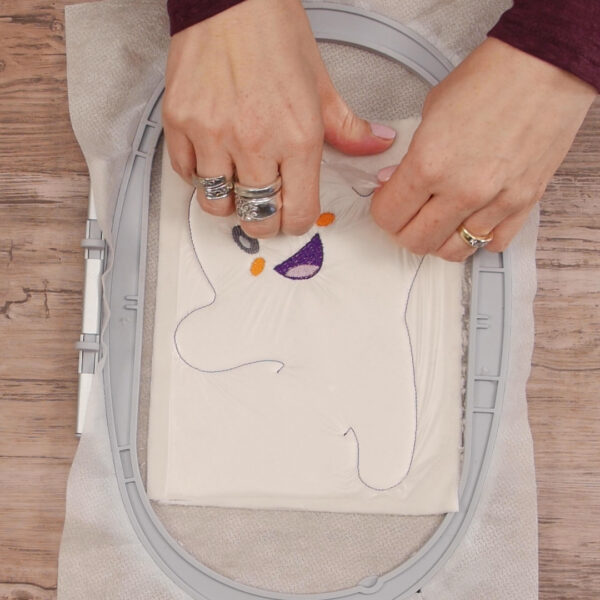
Remove hoop from machine. Do not remove fabric from hoop yet! Clip jump threads. Gently tear away topping. (Smaller pieces can be removed later with a little water.)
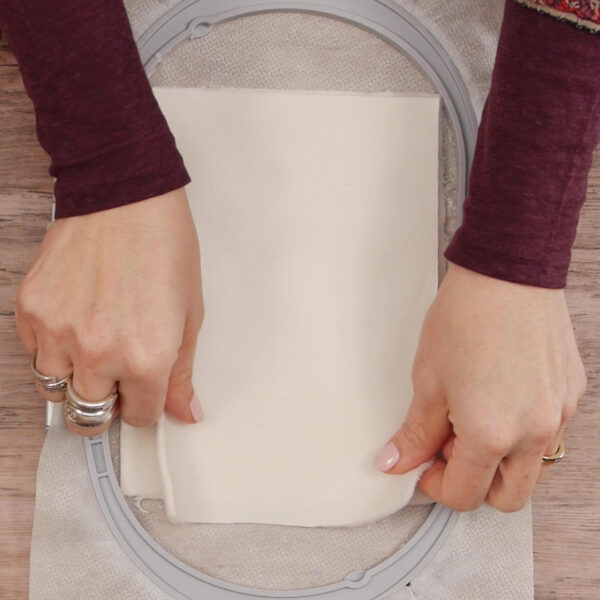
Place second piece of minky fabric right side down on first piece. Tape sides with OESD Embroidery Tape to secure.
Attach hoop to machine and stitch outline color.
Step 4 – Cut, Stuff, and Close
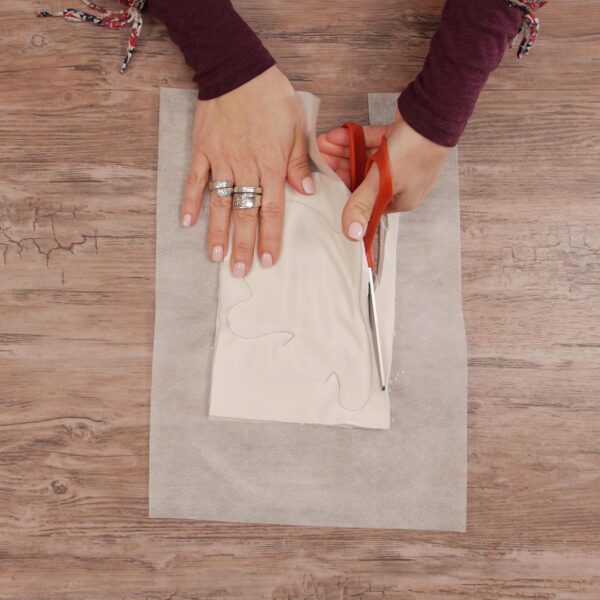
Remove hoop from machine and then remove fabric from hoop. With scissors, carefully cut around outline close to stitching line. Clip curves.
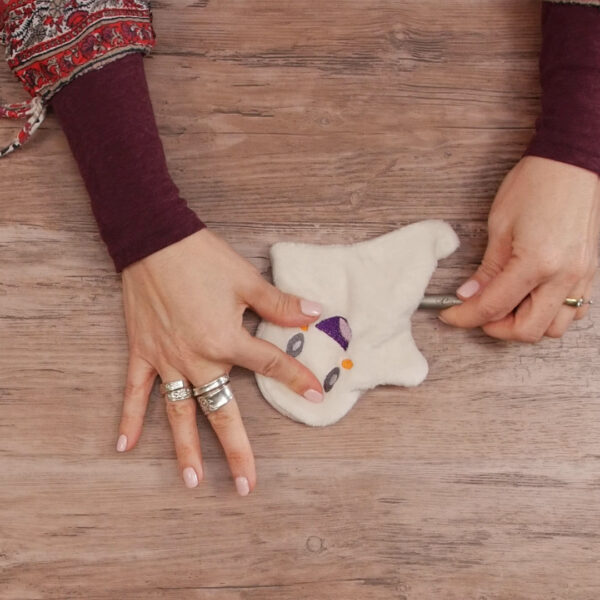
Turn right side out using a point turner such as OESD Expert Point and Press Tool to gently push out smaller areas.
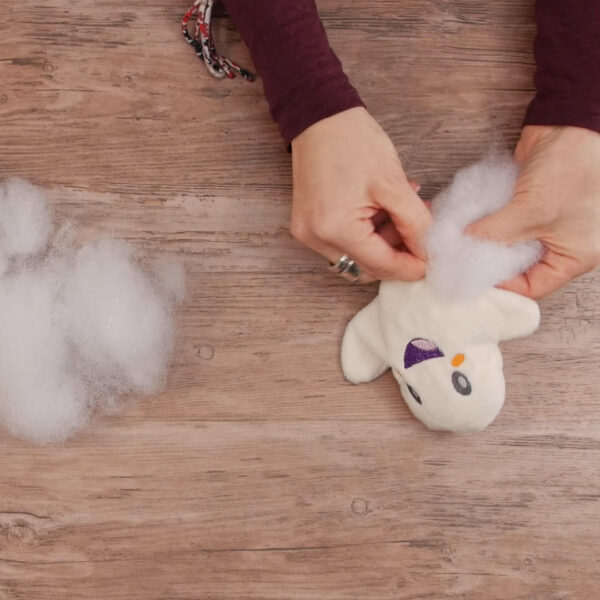
Add as much or as little stuffing as desired. I add lots of stuffing to my ghosts. Make sure to fill harder to reach areas, like the arms, by pushing the stuffing with your point turner or a chopstick.
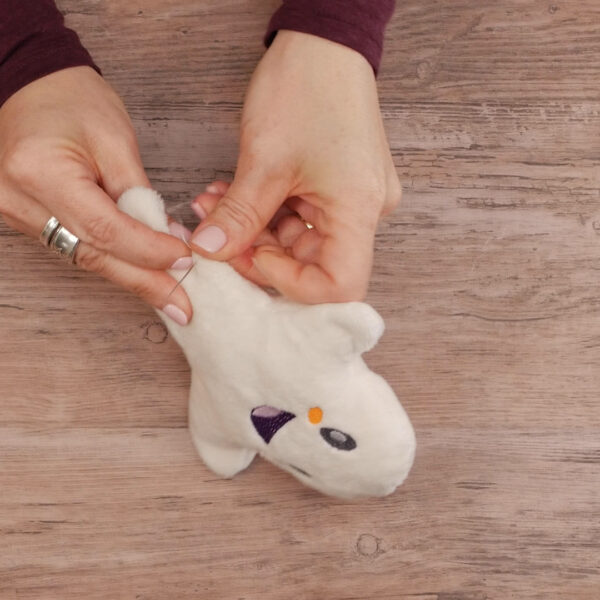
With hand needle and thread, slip stitch the opening closed.
You made your first ghost, but this is so much fun that it will not your final one! Experiment with different thread colors, try variegated thread, and add fun embellishments. Play some spooky music and get creative!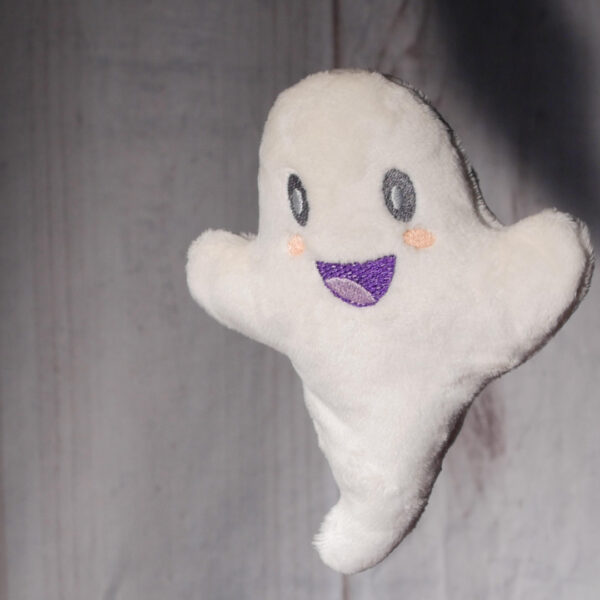
Fun Ideas:
- Stitch several to make a festive crib mobile.
- Sew the opening closed along with a 10” length of ribbon, then add a pacifier to end of ribbon.
- Hang ghosts from the ceiling or chandelier using invisible thread.


