 CHRISTY BURCHAM
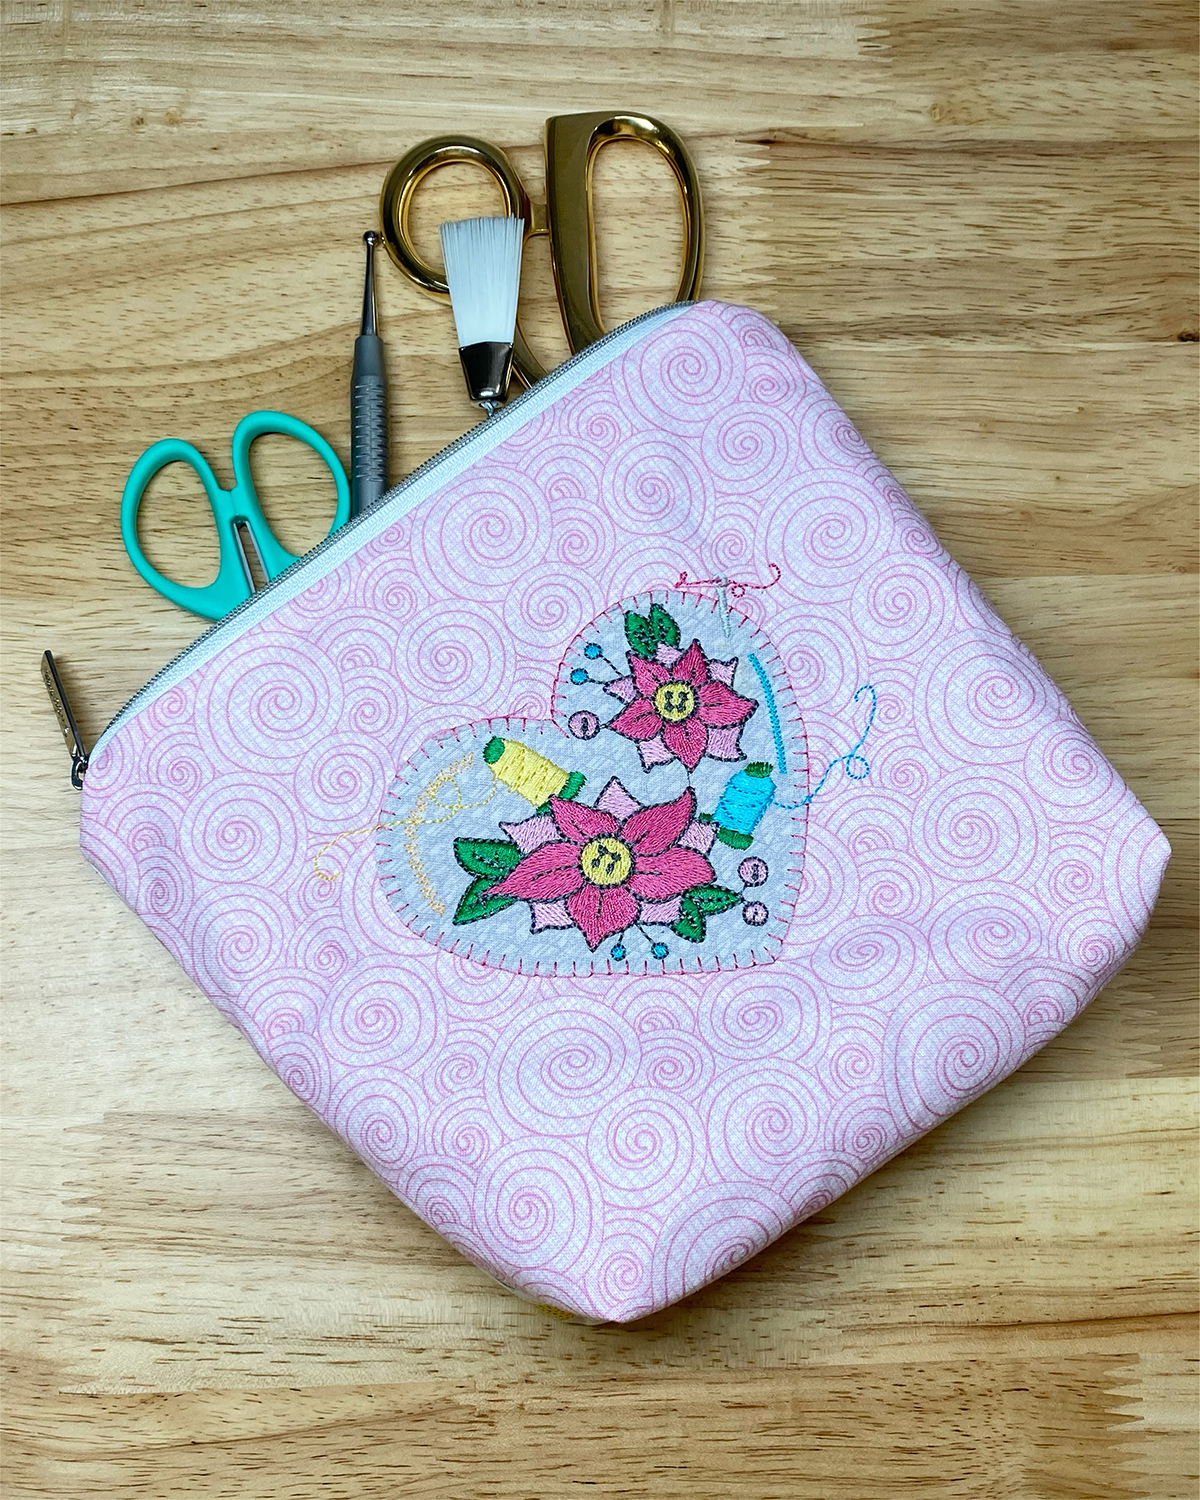
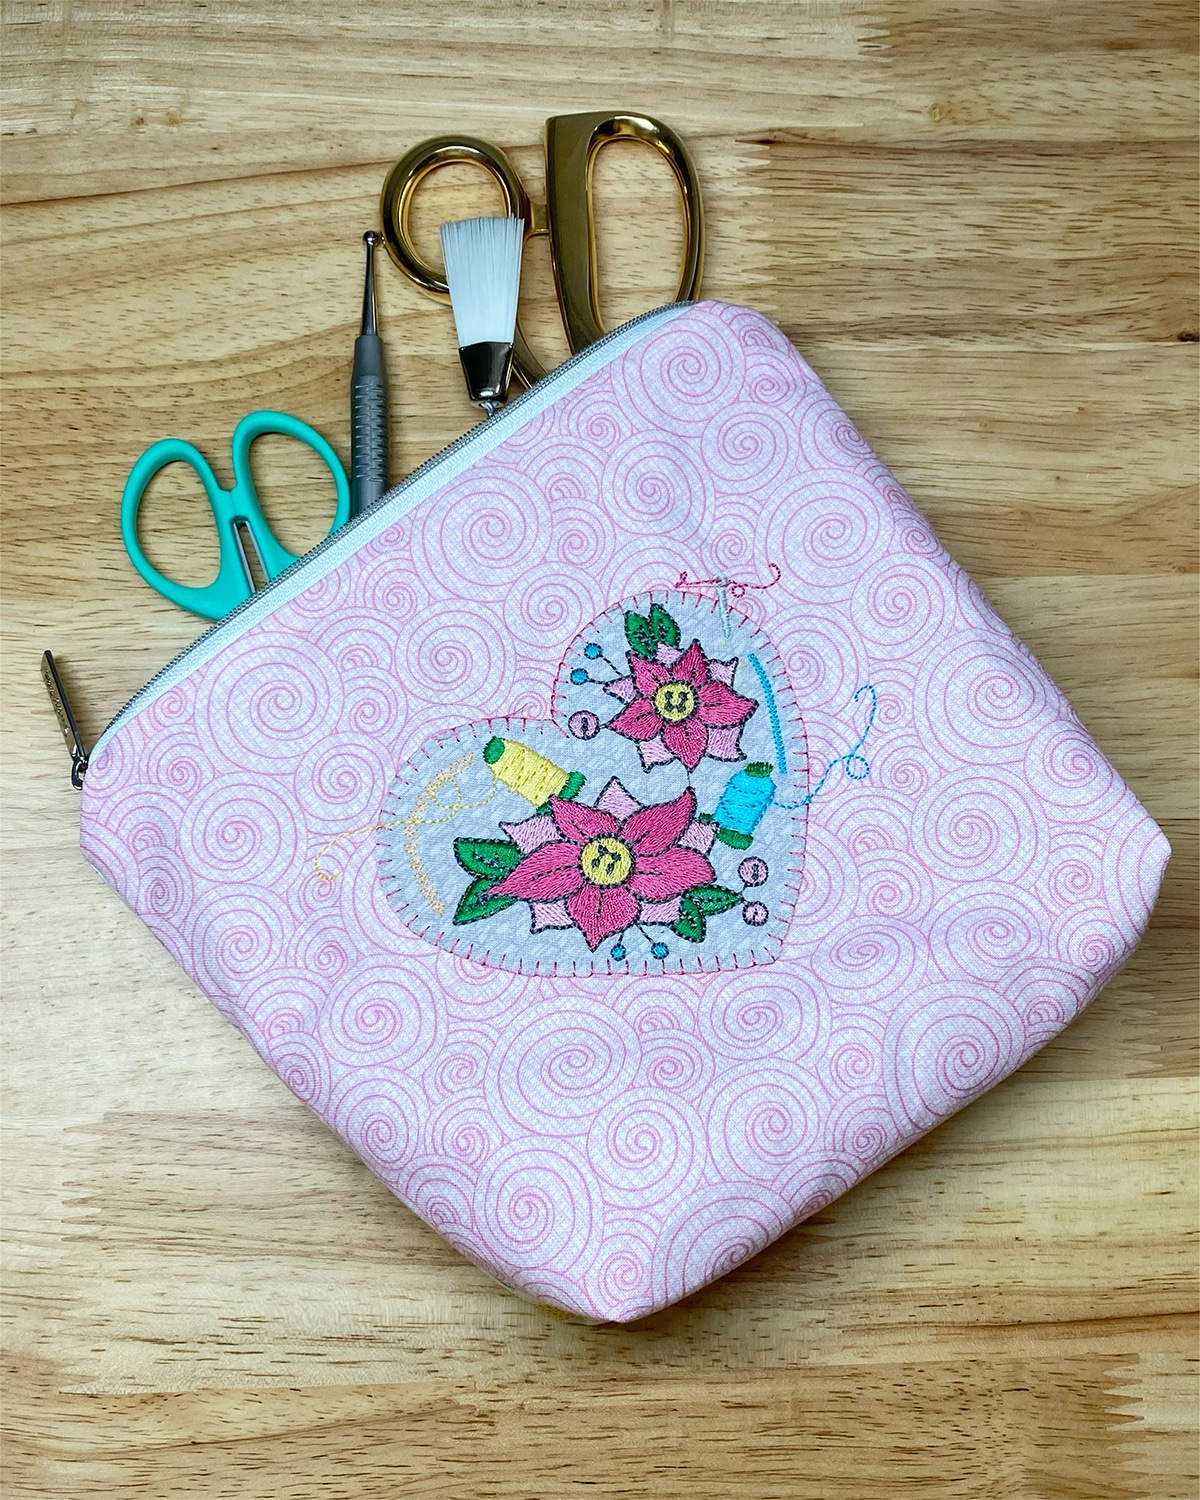
Stitch this super-simple box-bottom zipper pouch to hold your favorite sewing essentials. The appliqued and embroidered heart will show off your love of sewing!
I digitized this heart with BERNINA 9 DesignerPlus, and am happy to share the design with you!
Supplies
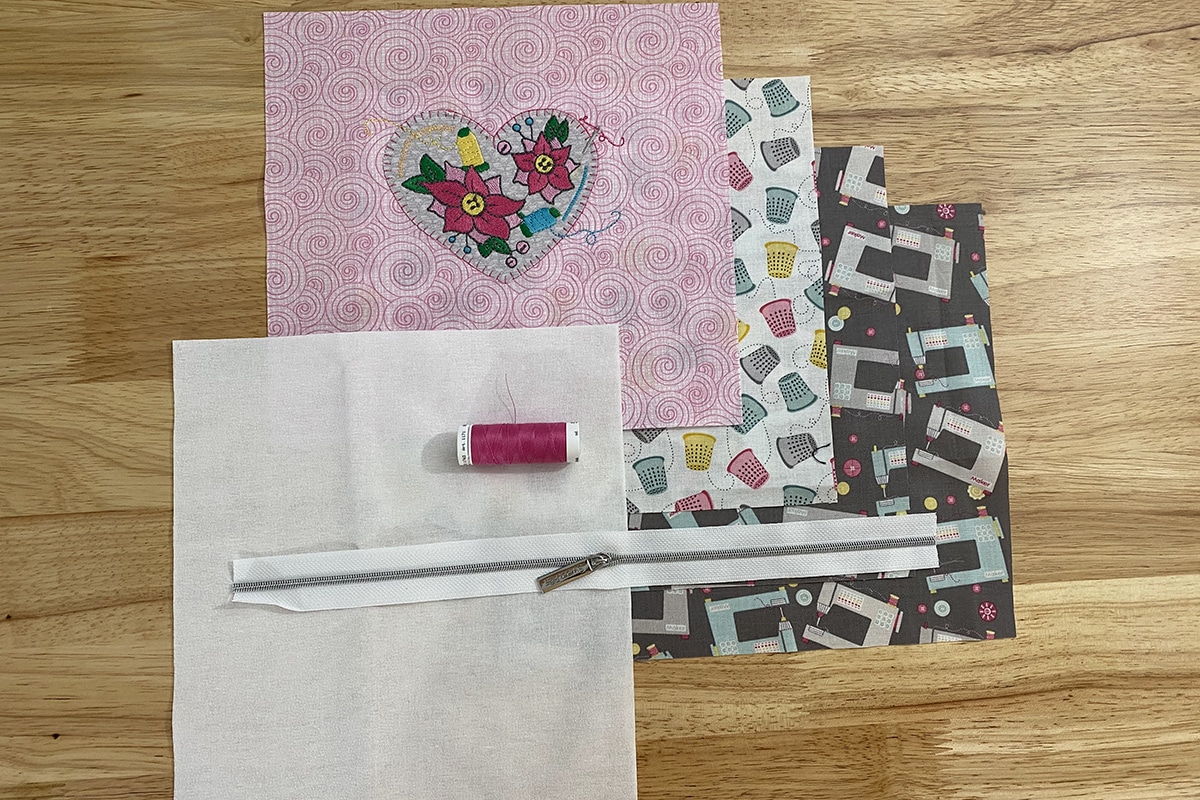
- Sewing Heart Design Download
- Two 10” x 15” pieces Ultra Clean and Tear Stabilizer, or large enough for embroidery hoop
- Isacord thread
- OESD Bobbin Thread
- 10” x 15” fabric to be embroidered, or large enough to fit in the embroidery hoop
- 8 1/2″ x 9” piece for pouch back
- Two pieces 8 1/2″ x 9” for pouch lining
- Scrap fabric for applique.
- 14” Nylon Coil Zipper
- Mettler Metrosene Plus sewing thread
- 2 pieces OESD Fusible Woven stabilizer
- Zipper Foot #4/4D
- Patchwork Foot ##37/37D or #97/97D
- Quilting Ruler (Like Good Measure)
- Chalk Marker
Embroider the Heart Onto the Larger Piece of Fabric:
Open the free design in embroidery software. Using ARTlink 9 (this is a free download), BERNINA 9 DesignerPlus or BERNINA 9 Creator, print a pattern for the heart applique from your embroidery software. Cut out the heart from your scrap fabric.
Draw an 8 ½” x 9” rectangle in the center of your fabric. Layer the fabric on top of the embroidery stabilizer and hoop. Hoop both layers together, centering the rectangle in the hoop. Center the design in the marked rectangle.
Stitch the first color change, which will be a placement line for the applique. Lightly spray the cut-out heart with temporary adhesive spray and place it on the base fabric, aligning with the placement line that was just stitched.
Embroider the remainder of the design. Remove the project from the hoop and the stabilizer from the back of the fabric.
Trim the fabric to 8 ½” x 9” along your original markings.
Assemble the Bag:
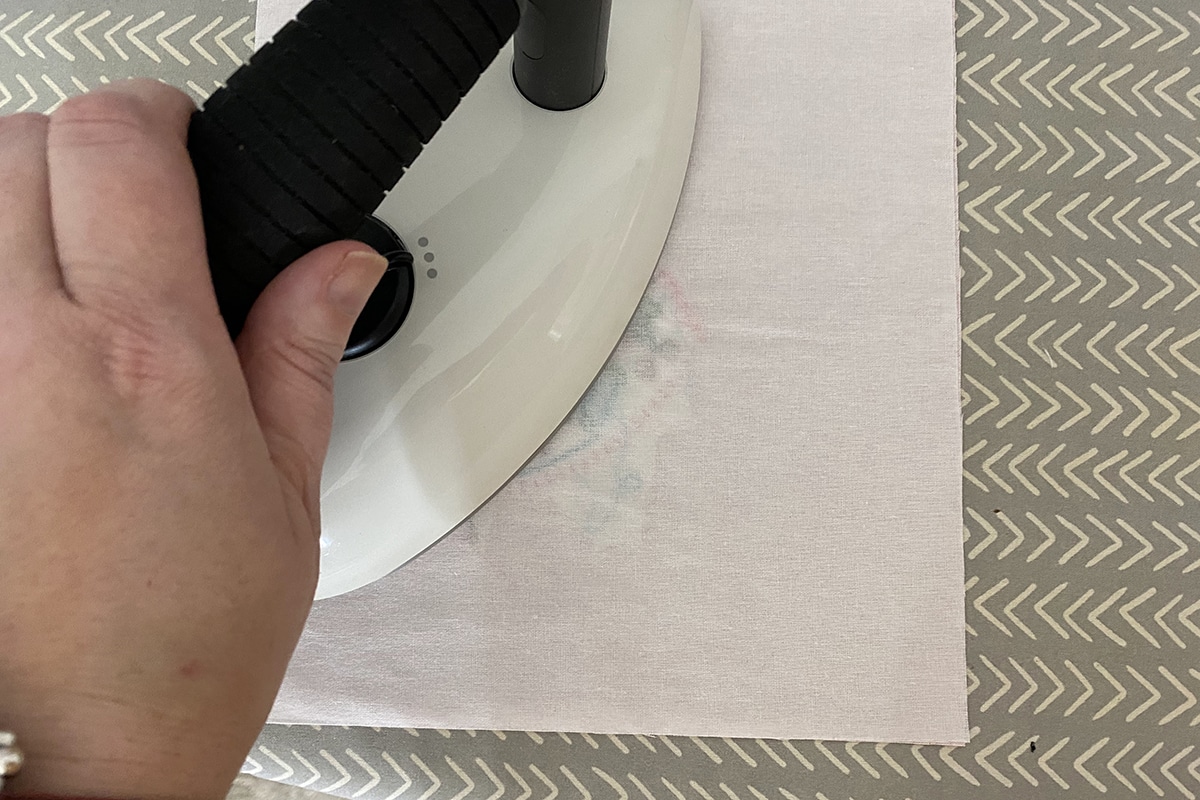
Press a piece of Fusible Woven stabilizer to the wrong side of each of the outer bag pieces.
Align one side of the zipper, right sides together with the front of the pouch. Layer one of the lining pieces of fabric, right side down, on top of the zipper and front piece. Clip in place.
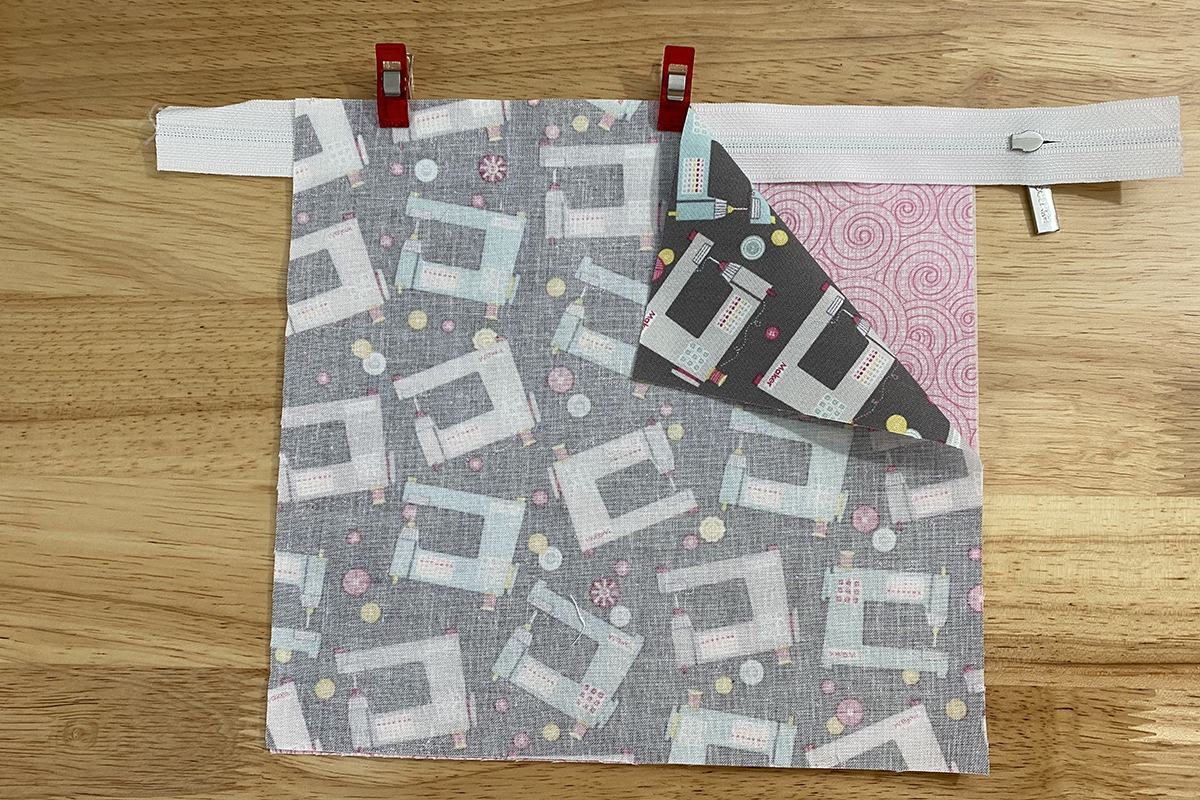
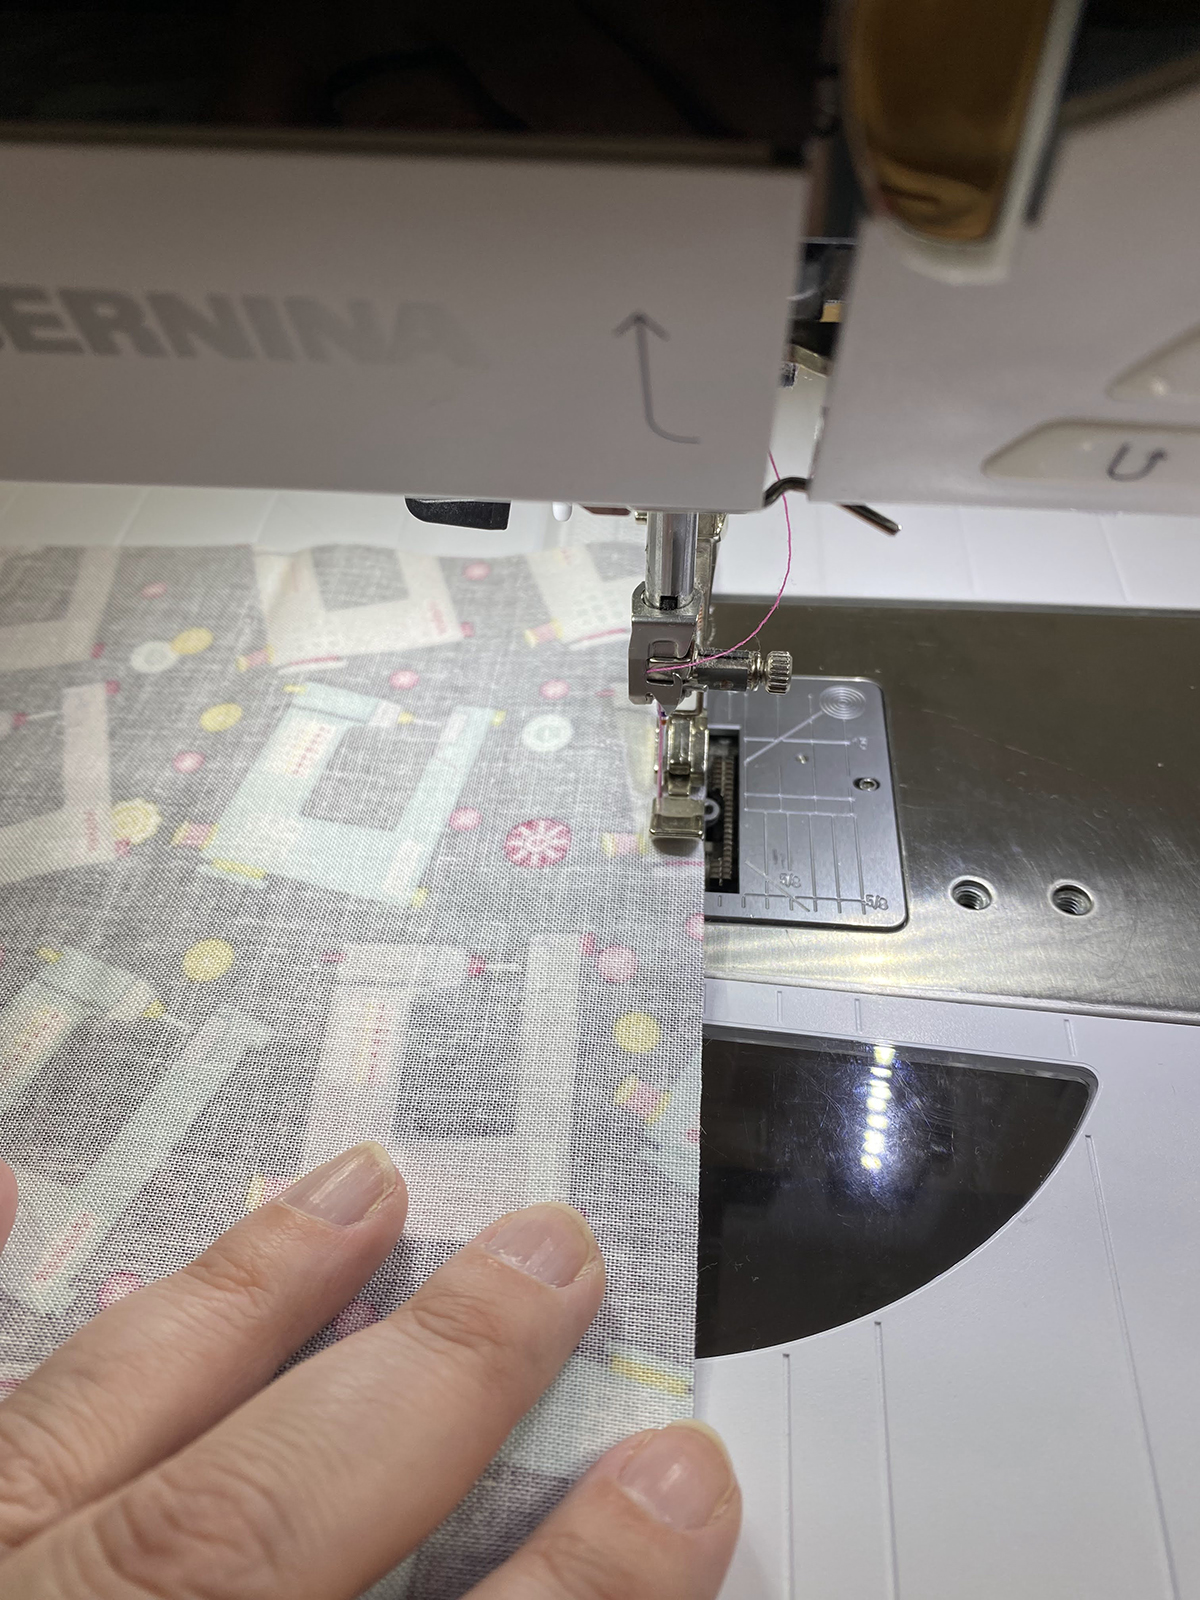
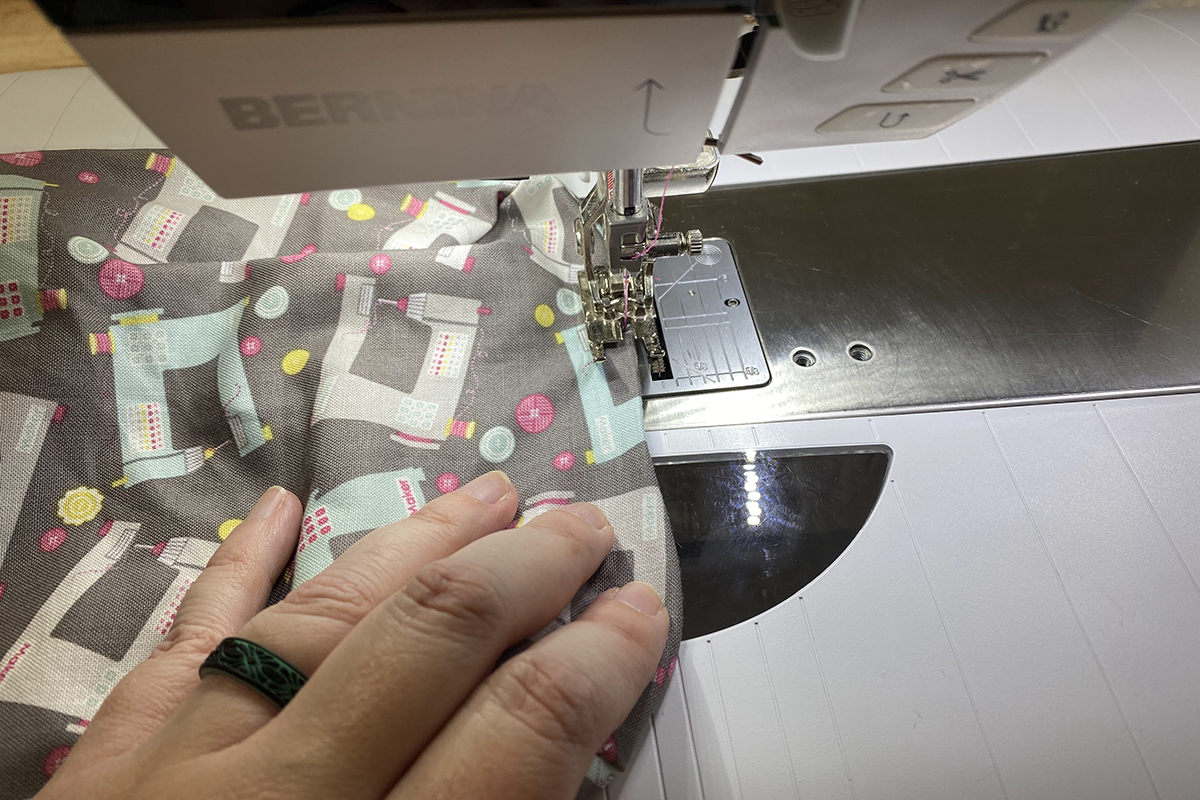
Sew along the zipper edge using a Zipper Foot #4/4D, sewing close to the zipper teeth.
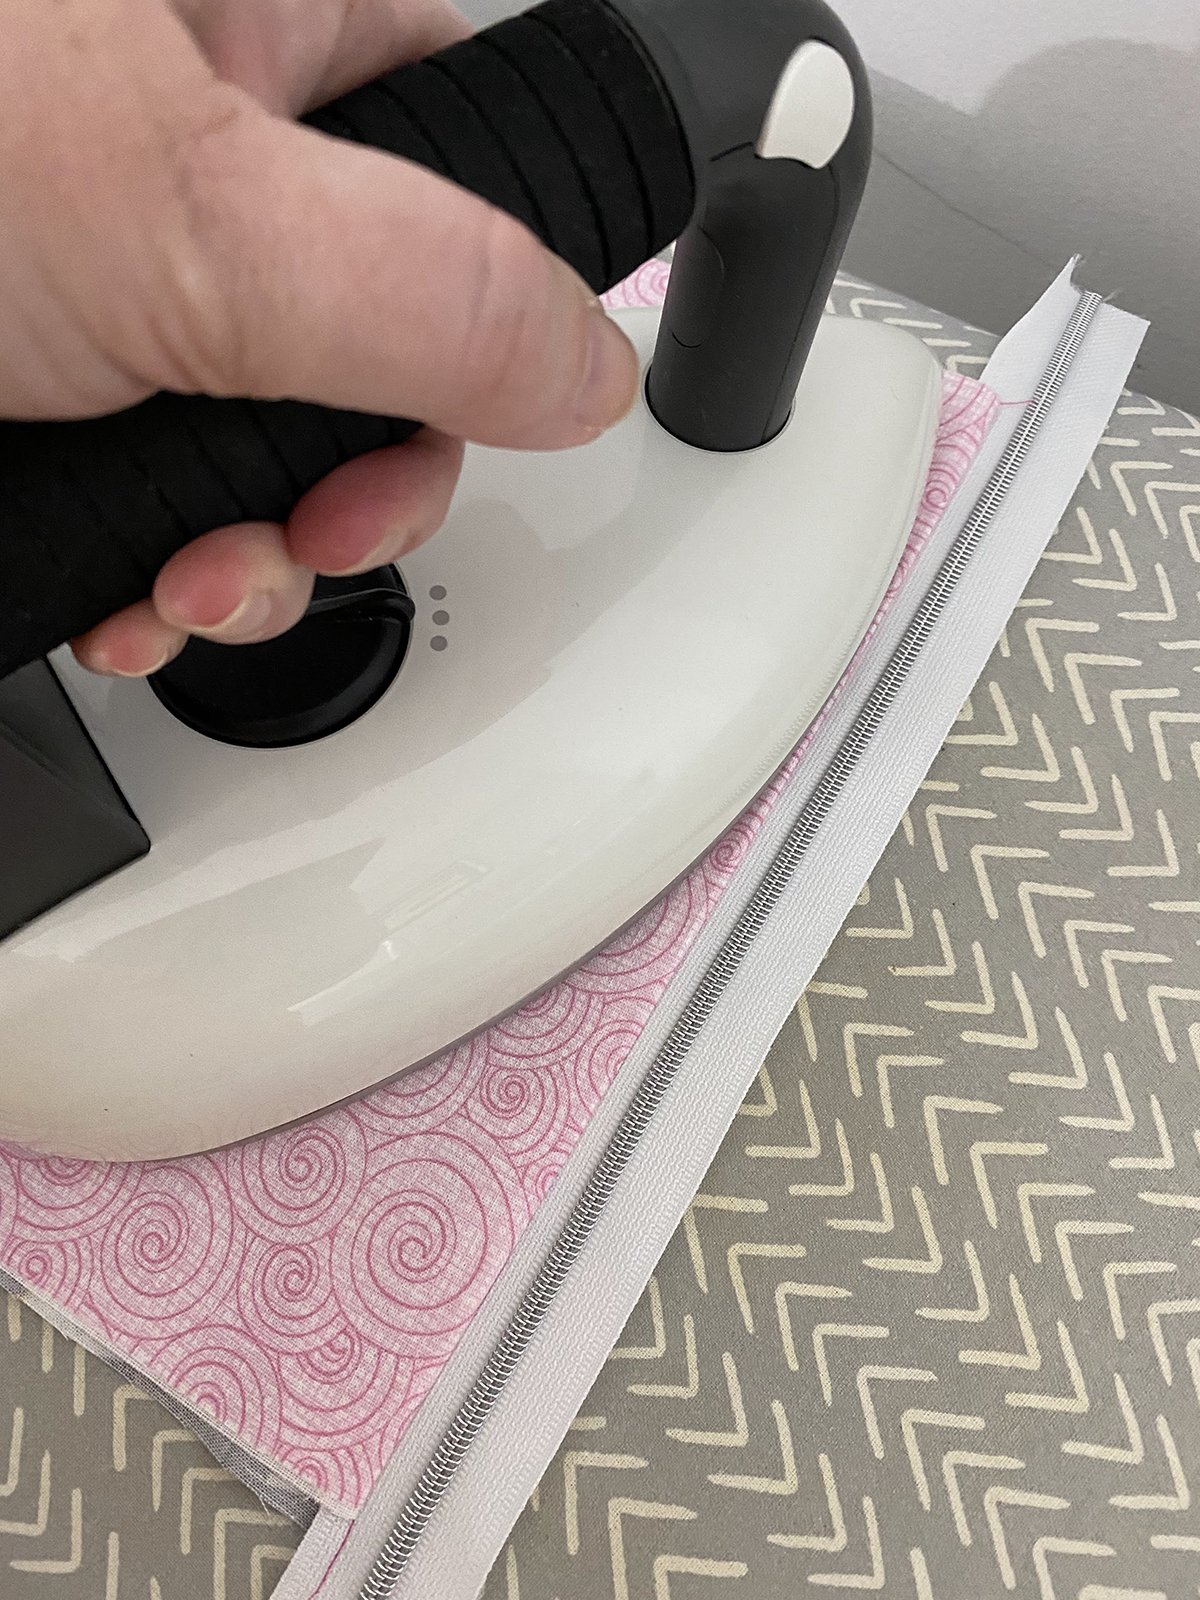
Press the lining and the top fabric away from the zipper teeth.
Repeat on the other side of the zipper, layering the other piece of lining, the zipper (with fabrics attached), and the remaining outer fabric.
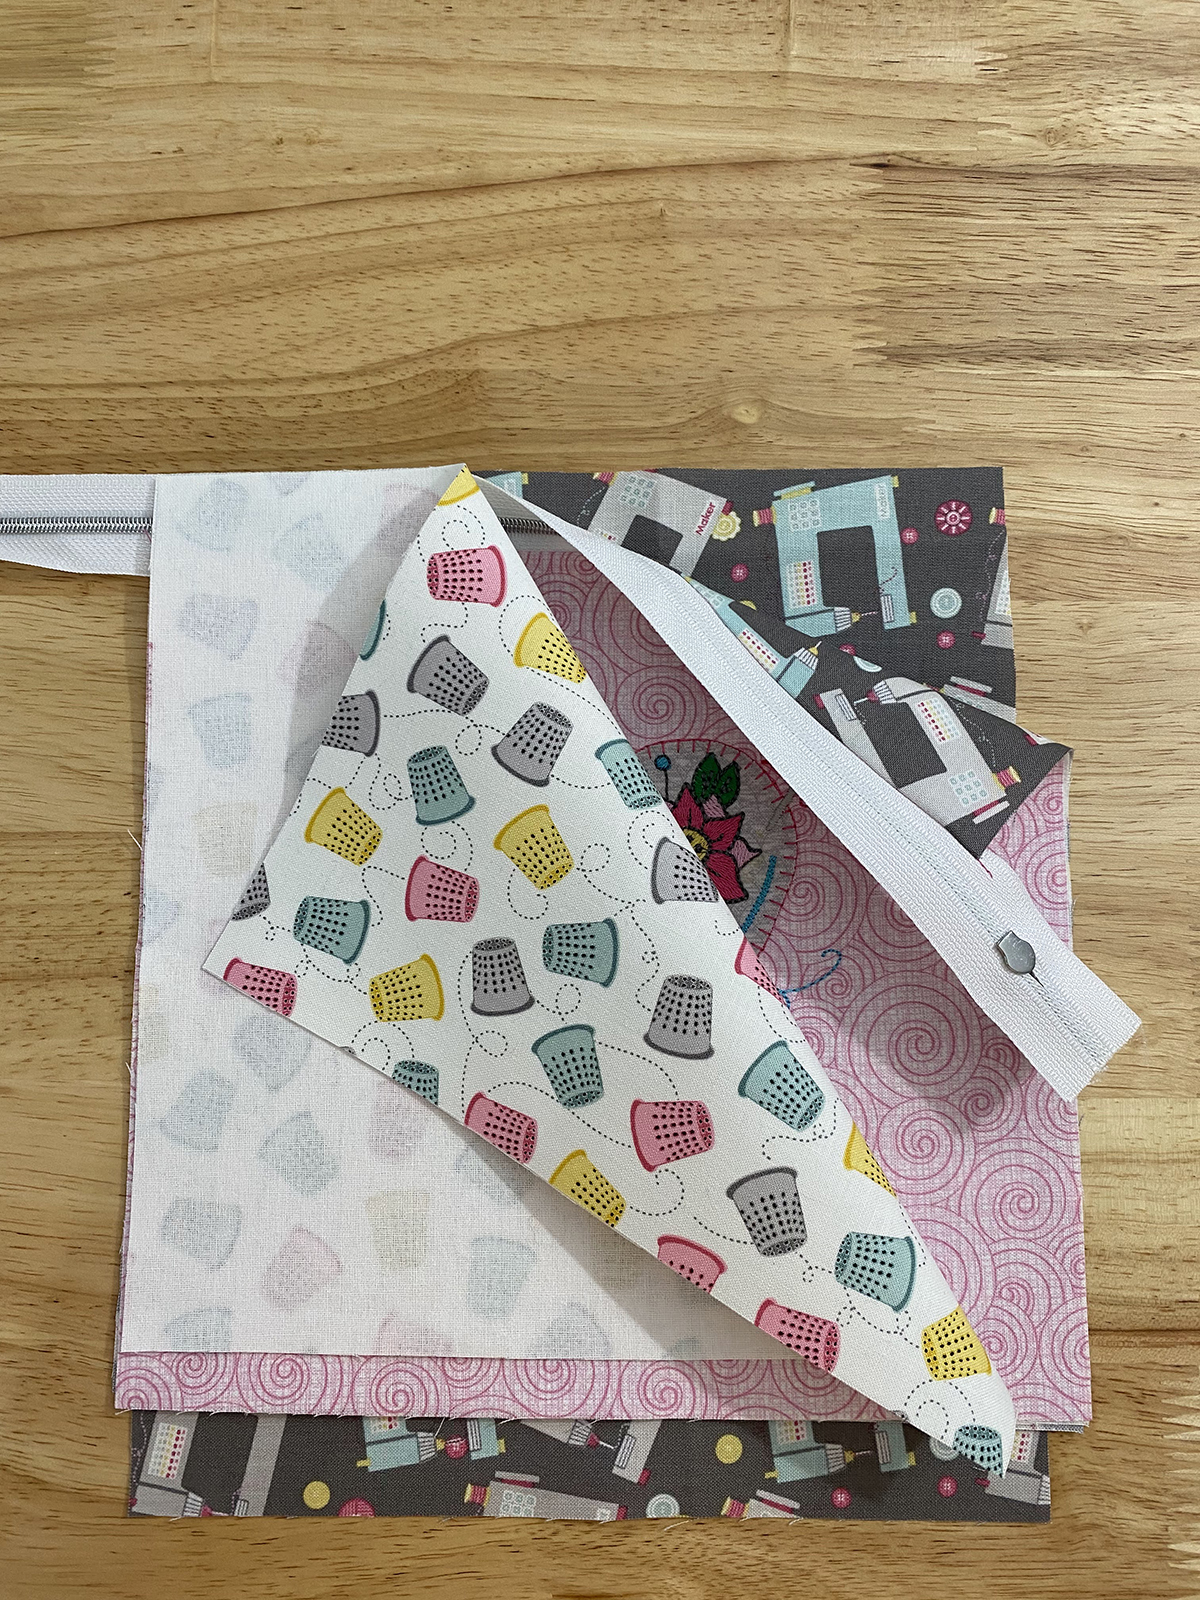
Stitch along the zipper close to the zipper teeth, then press the fabrics away from the zipper teeth. Open the zipper halfway.
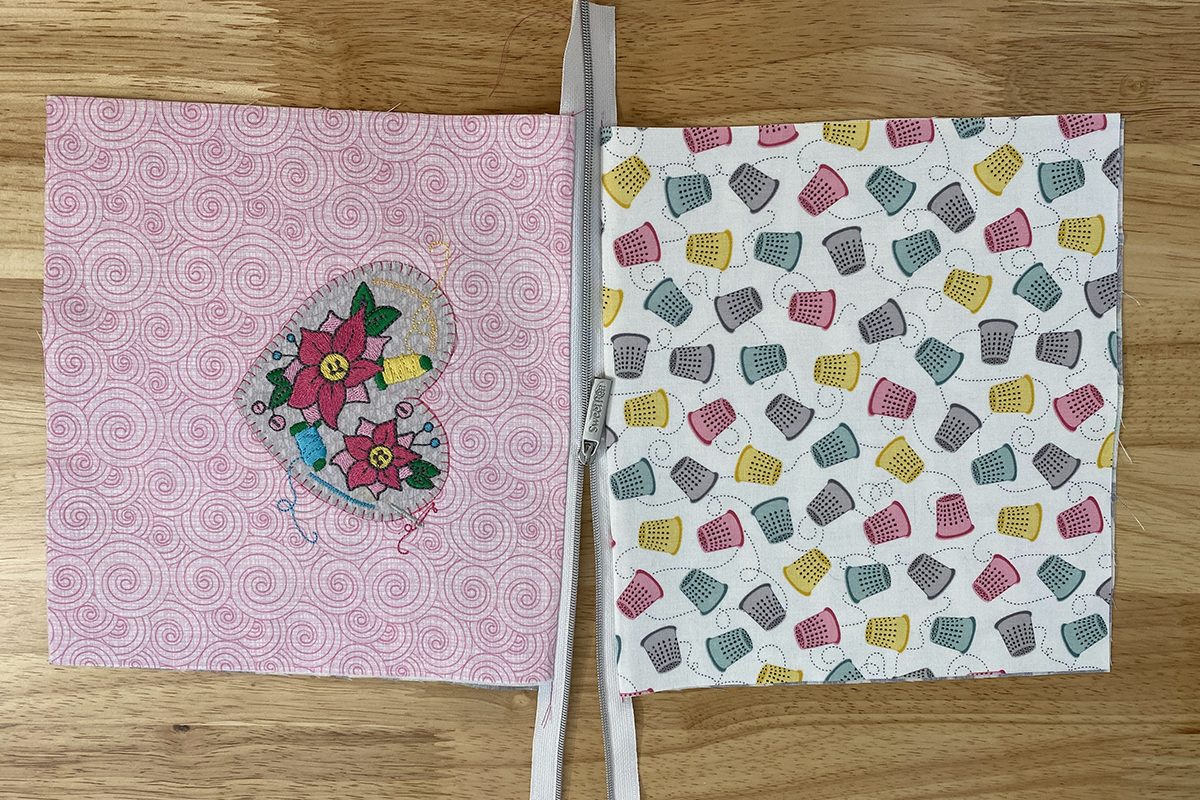
Align the right sides of the outer fabrics together and the right sides of the lining fabrics together and clip in place. Be sure to clip carefully at the edges of the zipper so that the teeth are pointing toward the outer fabrics.
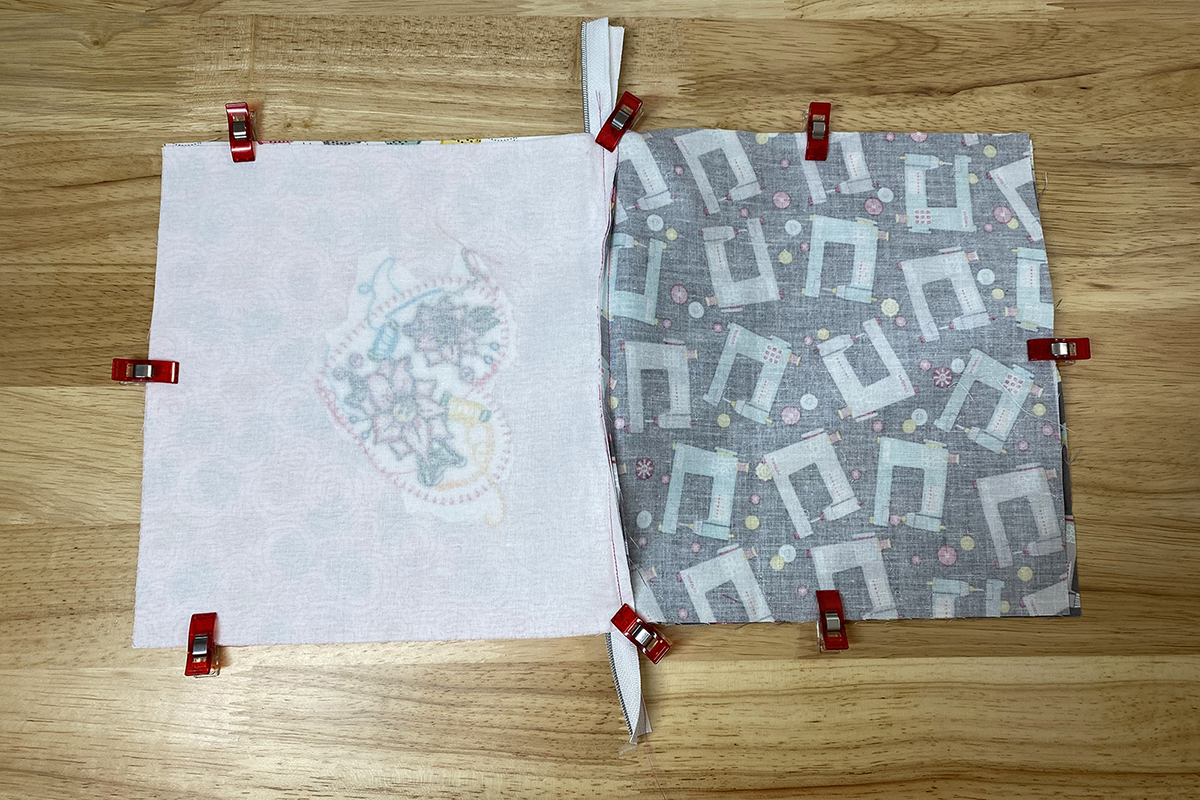
Stitch the outer edges of the pouch with a ¼” seam allowance, pivoting at the corners and leaving an opening of about 3” along the bottom of the lining.
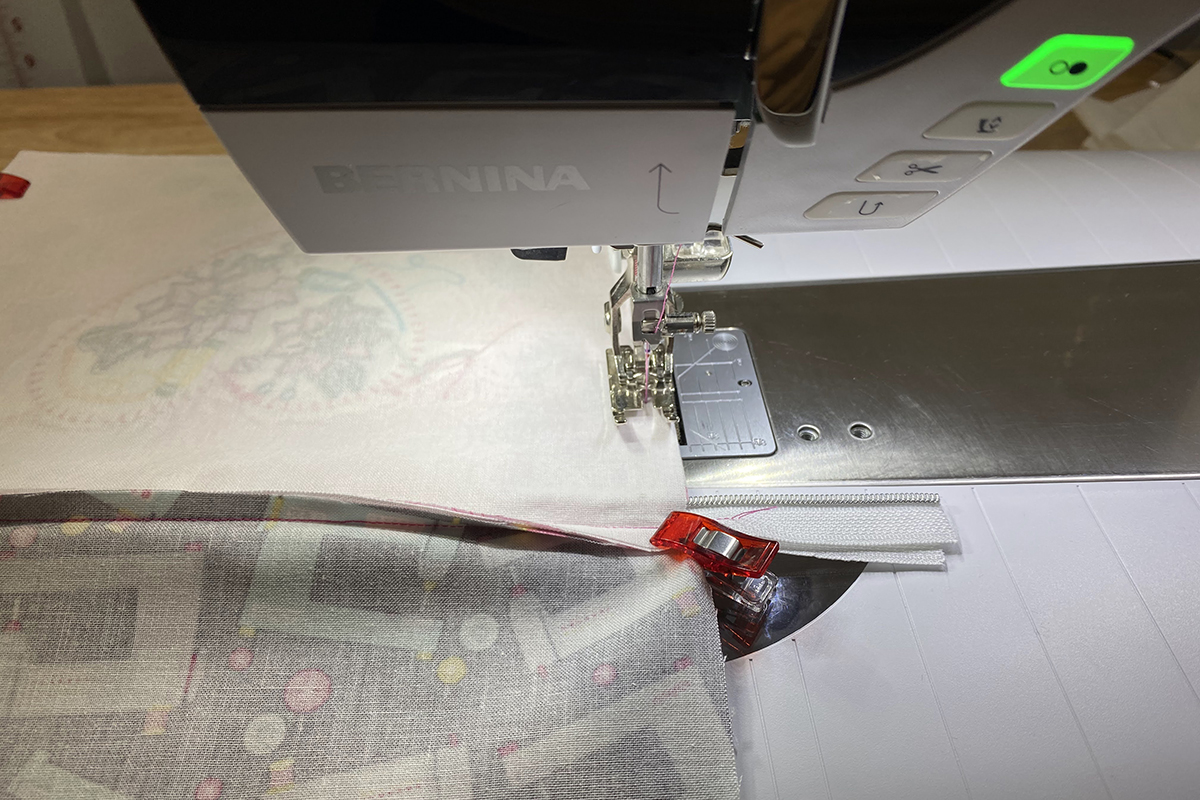
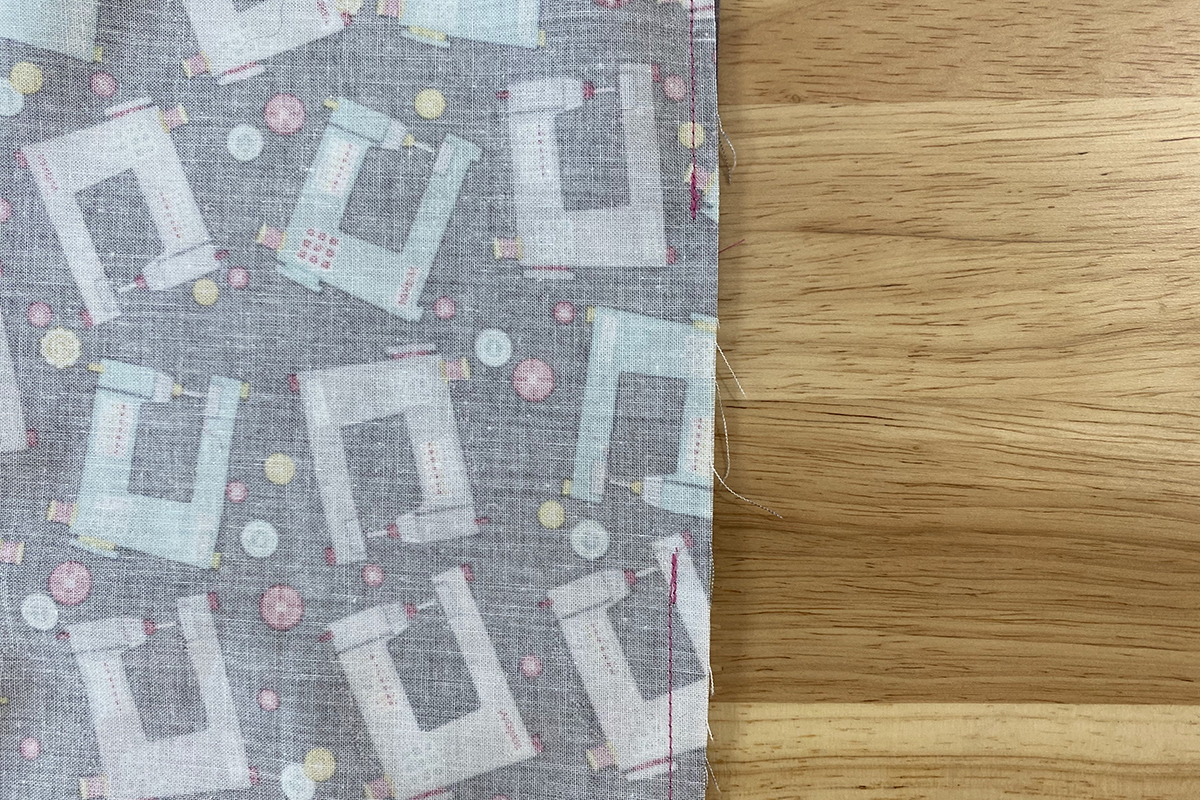
Fold the bag corners into a triangle, aligning the seams together. Measure 1” from the seam pivot point down the aligned seams and mark this line.
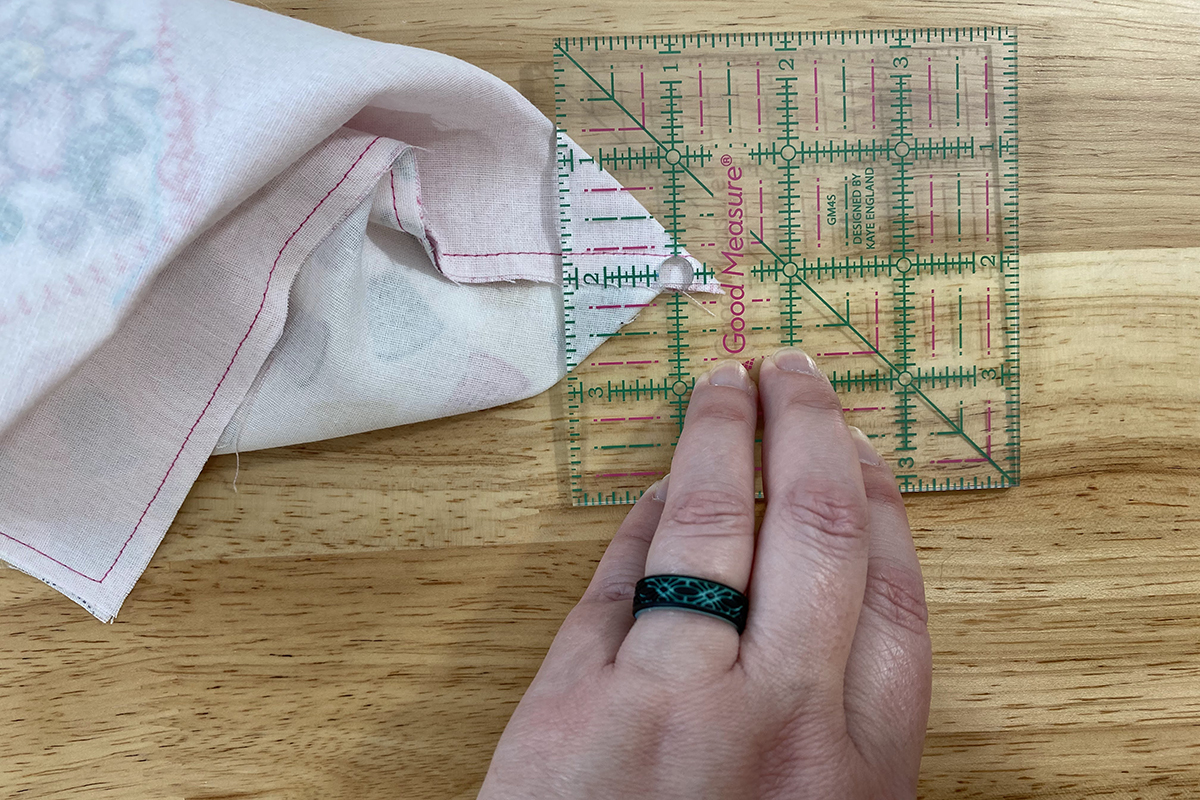
Stitch the marked line.
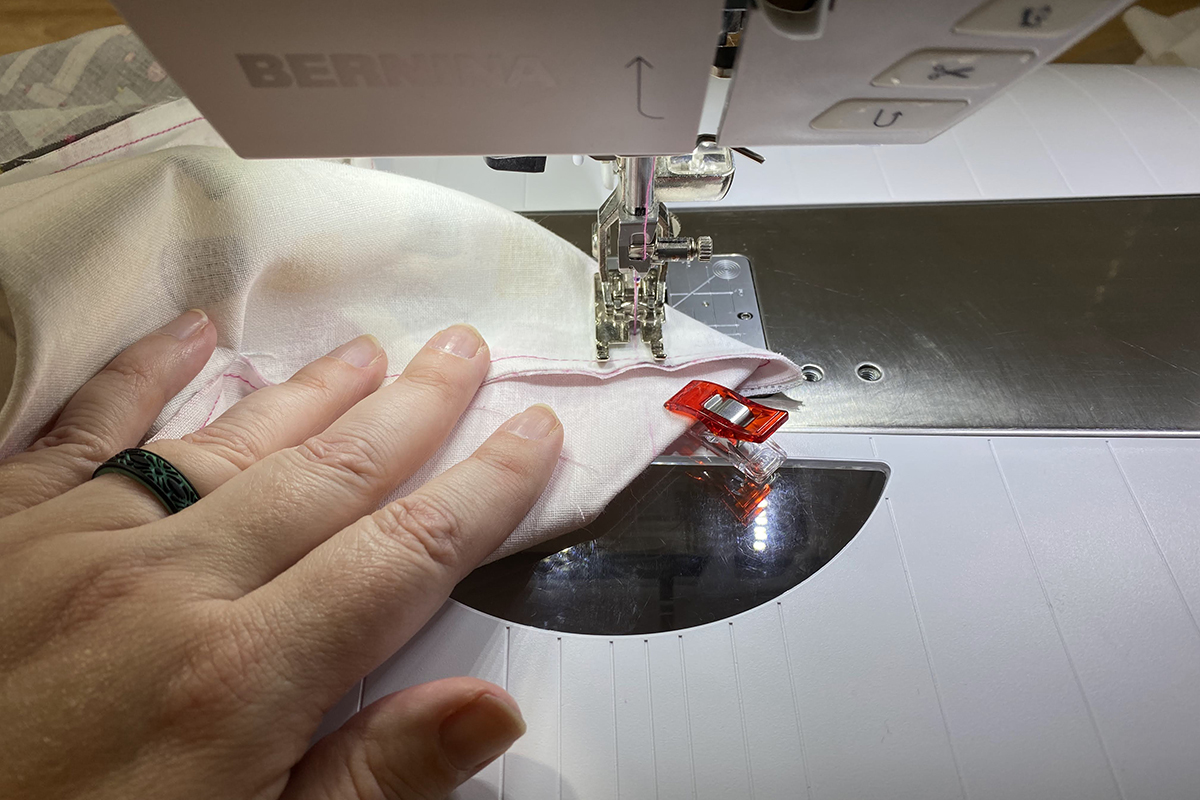
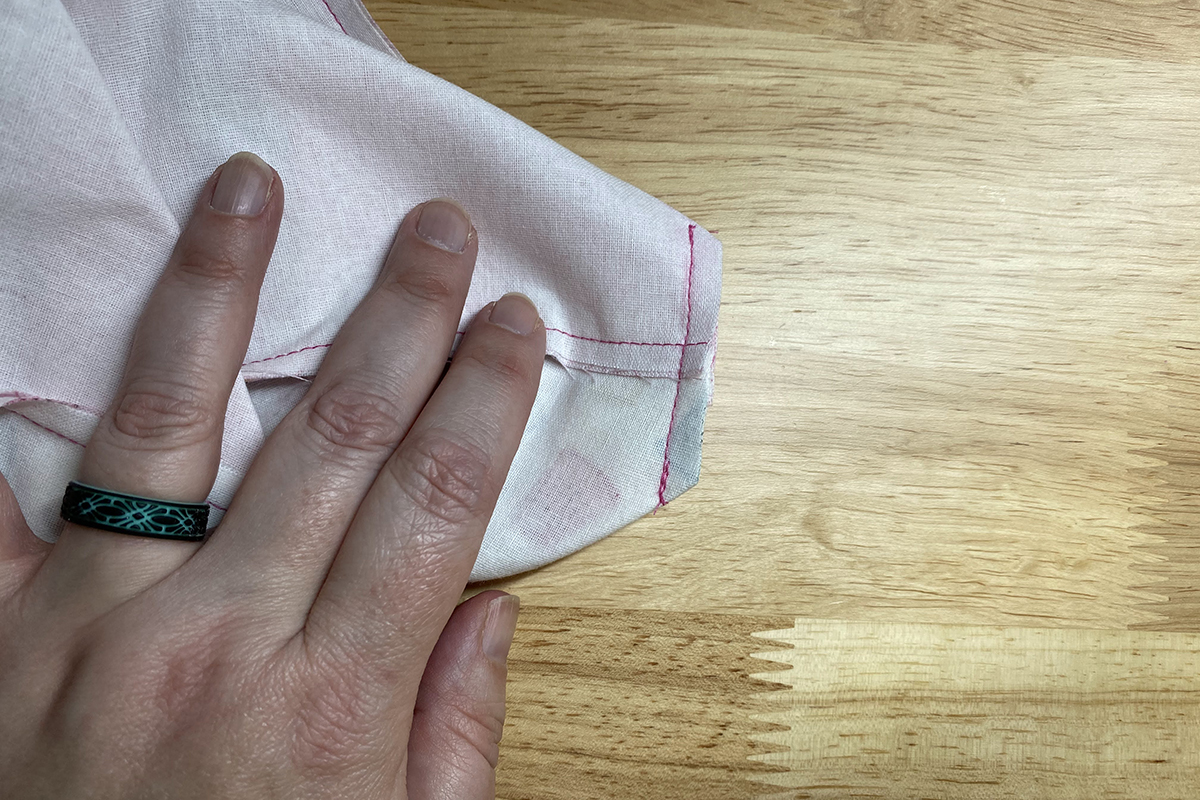
Trim to ¼” past the seam. Repeat the boxing step for all four corners.
Turn the bag inside out through the opening in the lining.
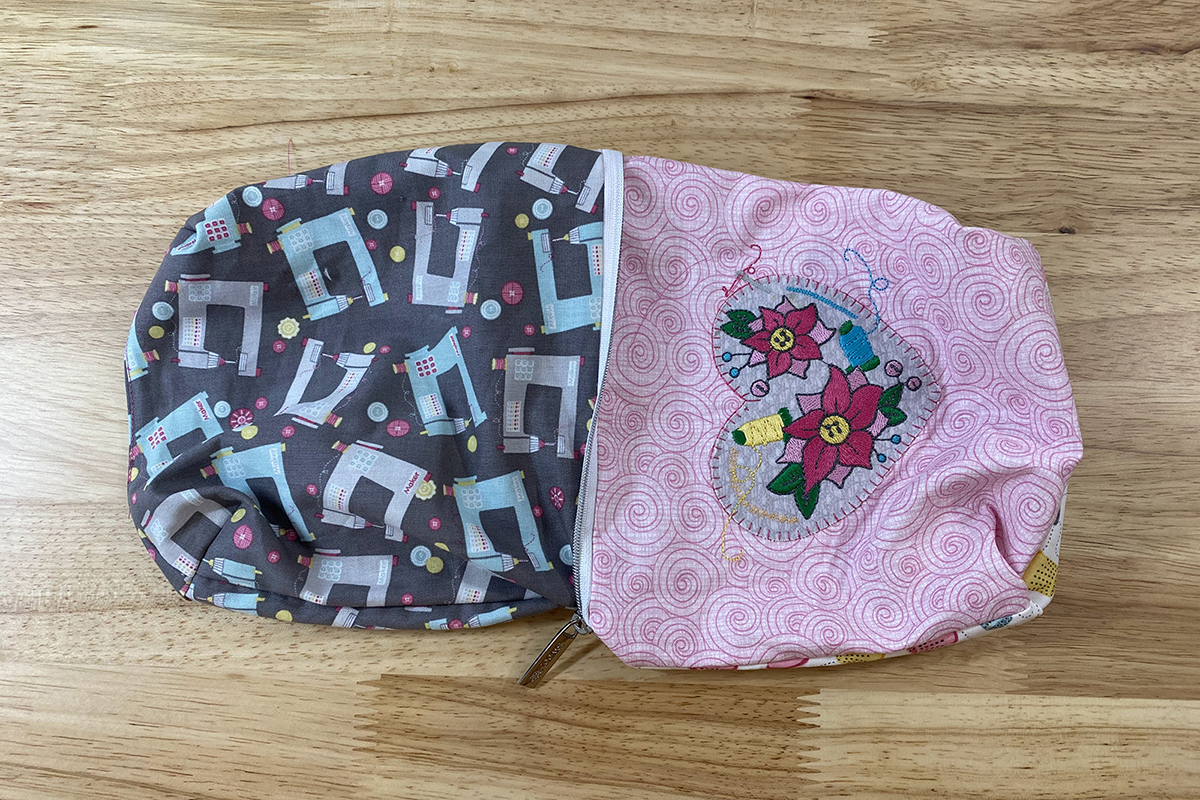
Secure the opening in the lining with a hand stitch or edgestitch along the opening to close it.
Tuck the lining into the bag, give it a press, and you’re good to go!
