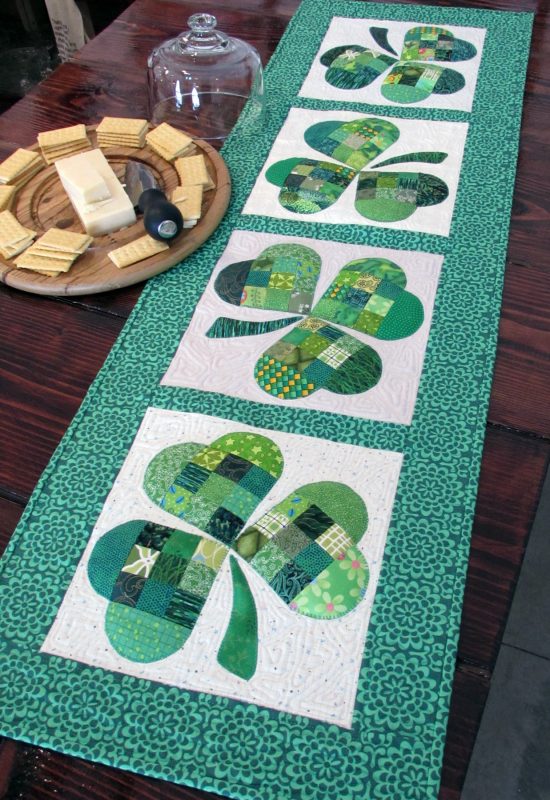
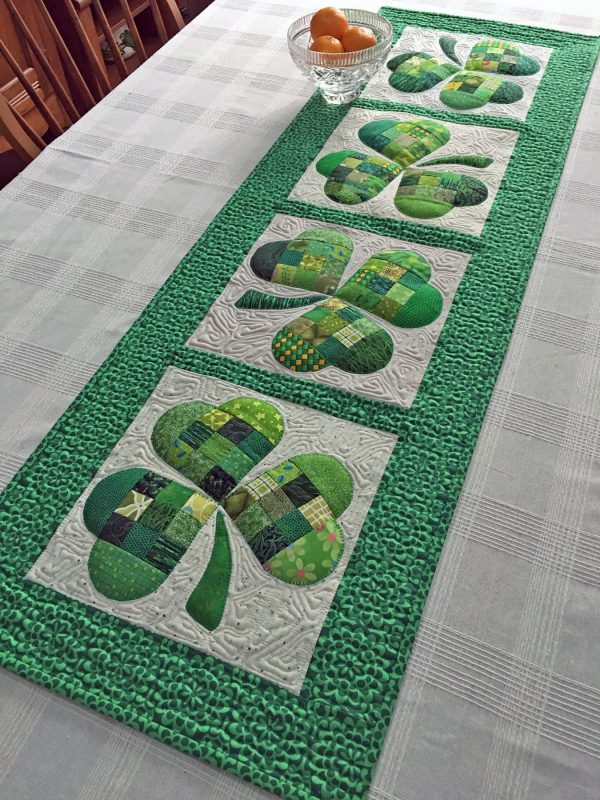
The Shamrock. No other symbol combines thoughts of melting snow and imminent springtime with the legendary luck of the Irish. Warm up your St. Patty’s Day celebrations with a festive, scrappy runner for your table.
Hi, I’m Joan Ford of Hummingbird Highway. Nope, I don’t have even one smidge of Irish heritage. Even so, when you live in Syracuse, New York like I do, the home of the famed upside-down traffic light, a little ‘bit of Irish’ naturally smiles upon you as St. Patrick’s Day approaches. Irish heritage or not, one thing is certain: I love working with scrap fabrics, so I hope you enjoy making this very fun and very lucky, scrappy table runner project. Can you see the 9-patch blocks, hidden in plain sight?
Speaking of 9-patch blocks . . . if you love scrappy 9-patches, click here gather up an extra special bonus “Breakfast Place Mats” pattern—it’s free!
Back to that oh-so-lucky table runner . . .
Finished size 15” x 49”
Materials to Create a Shamrock Table Runner
Scrap Fabrics
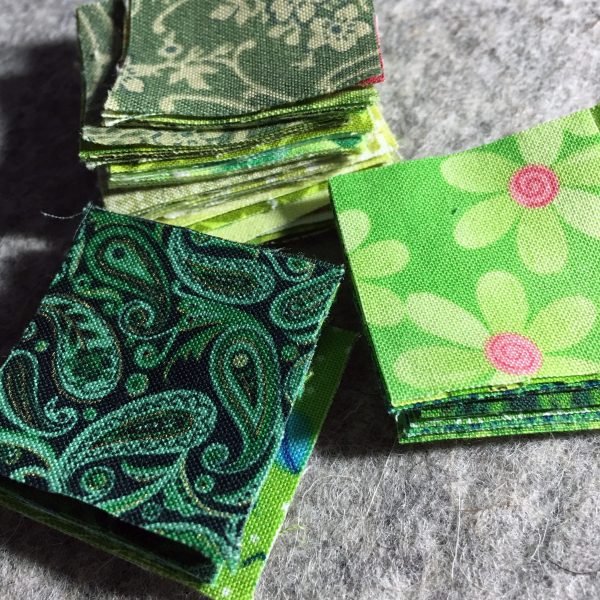
- 108 – 1½″ green print squares:
- 12 – 2″ x 3½″ green print strips
- 16 – 2″ x 5″ green print strips
- 4 – 10½″ low volume/white print squares for the block backgrounds (I cut a square from four different white-on-white print fat quarters)
Yardage
- 1 5/8 yards Kelly green print for the sashing, borders, binding, and backing (I used True Colors, Wallflowers in Green by Amy Butler for Free Spirit Fabrics
- 18″ x 52″ batting (If I have some wool batting leftover from another project, that’s my preference. I used Hobbs Heirloom Premium Wool for my runner.
Other Materials
- 1 yard, 12″-wide paper-backed fusible web
- Heart-shaped leaf and stem template
- Thread, 50 wt cotton—light gray or green for piecing; Kelly green for appliqué stitching and quilting; cream for quilting.
- Needle and thread to secure the binding by hand.
- Sewing Machine, I sew on a BERNINA 750 QE
- BERNINA Patchwork foot #37
- BERNINA Walking foot #50 with Seam Guide
- BERNINA Stitch Regulator (BSR)
Instructions on how to Create a Shamrock Table Runner
Cutting
Kelly green print
- Cut all strips along the lengthwise grain.
- Cut three 3″ x 58″ strips. Trim two of the strips to 3″ x 44¼″ for the side borders strips, and subcut two 3″ x 15½″ end border strip from the third strip.
- Cut one 1¾ x 58″ strip, and subcut three 1¾″ x 10½″ sashing strips.
- Cut three 2¼″ x 58″ strips for the binding.
- Reserve the remaining fabric measuring approximately 24″ x 58″ for the backing.
Fusible Web
- Cut twelve 5″ squares and four 2″ x 5″ strips for the leaf appliqué, reserve the remainder of the web for the stem appliqué.
Assembly
(Use a scant ¼″ seam for all the pieced elements)
Make 9-patches
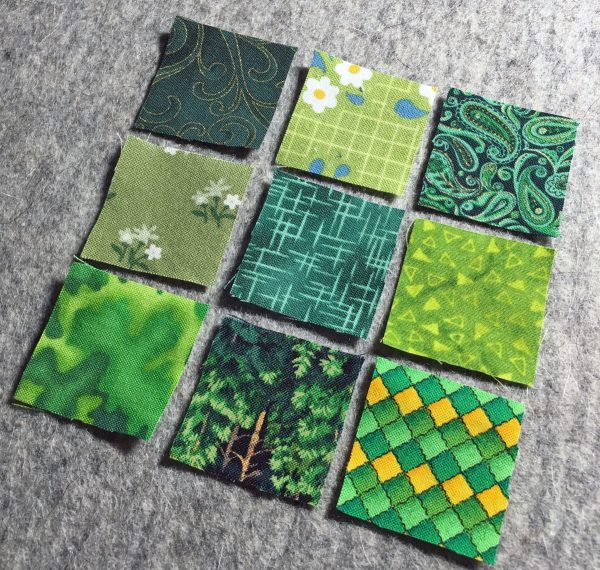
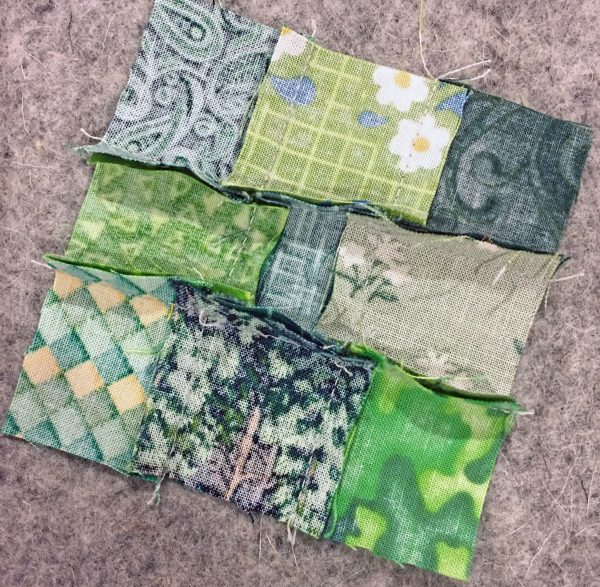
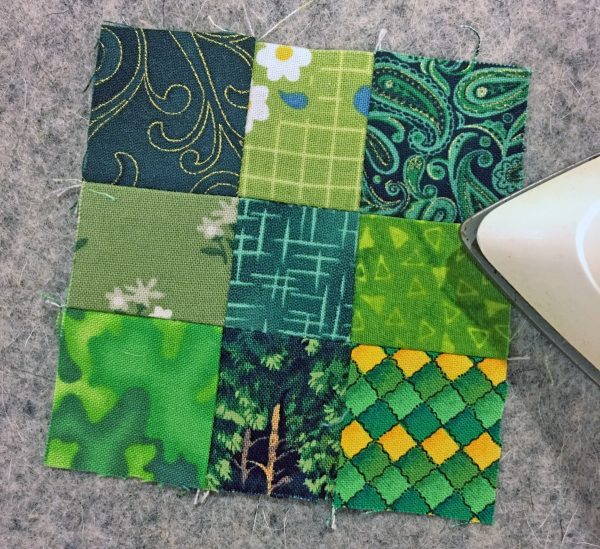
Select 9 – 1½″ green scrap squares and arrange them into a 9-patch block, three rows of three squares.
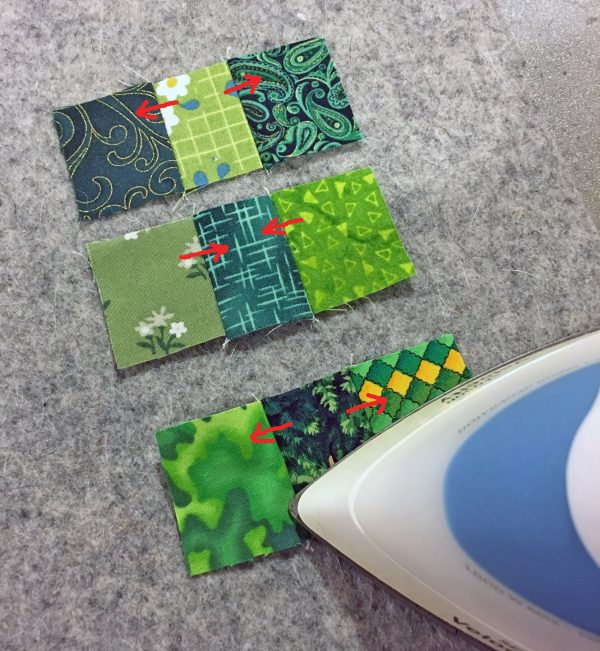
Sew the scraps into three rows, then press the seams alternately as shown by the red arrows.
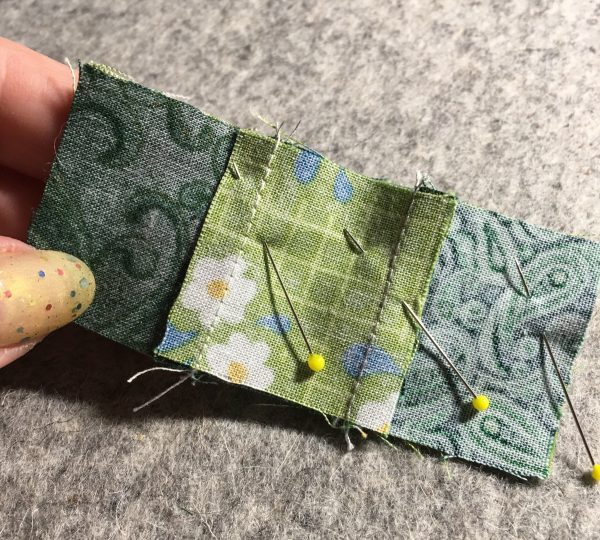
Place the first and second rows right sides together and secure with pins, then sew. I like to place the pins so the nested seams are secured and the pin point is just outside the ¼″ seam sewing area, with the shank of the pin on the pieces. That way, the pins can remain in place as the seam is sewn. Pin and sew the two-row assembly to the third row to complete the 9-patch.
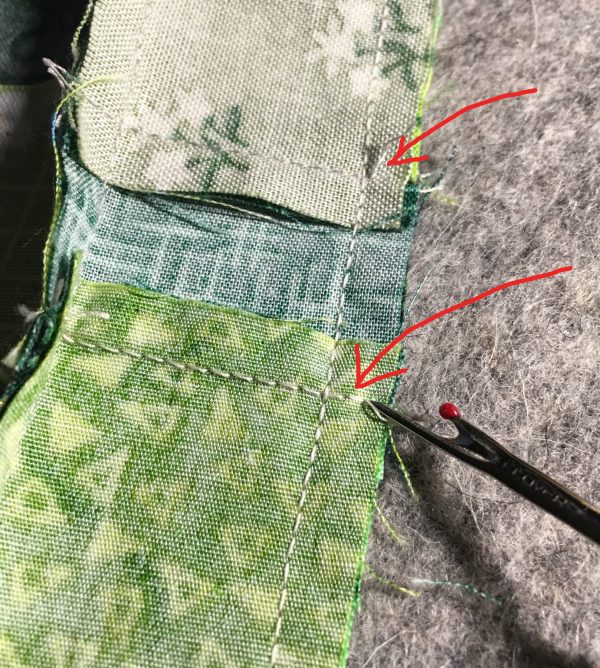
With a seam ripper, remove the two or three stitches between the seam connecting the rows and the fabric edge as shown. Repeat this for all four seam intersections on both sides of the unit.
Place the block on your ironing surface, right side down.
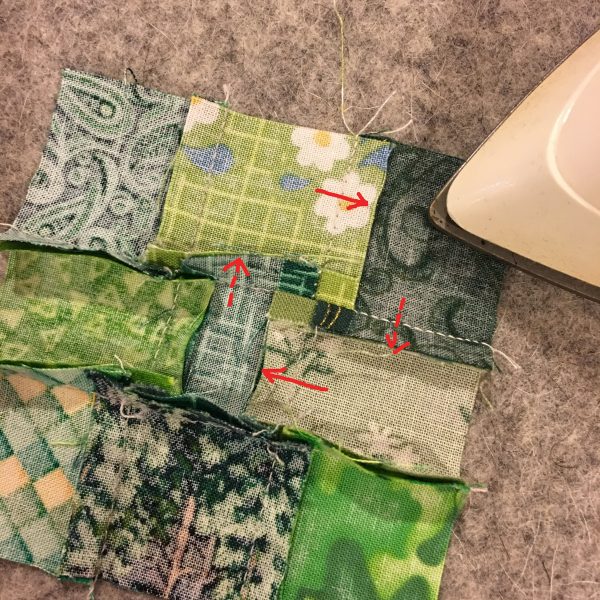
Working one seam intersection at a time (I’m starting with the seam intersection on the top right of the block), identify the direction of the two opposing pieced seams within the first two rows (solid red arrows). Then ‘furl’ (this technique is also called ‘pop,’ ‘twist,’ or ‘twirl,’ and reduces bulk at the seam intersection) the seams so all four seams are pressed in a rotation around the center seam intersection, with only the very center of the seam pressed open.
Repeat to ‘furl’ each seam intersection. The seam allowances at all four intersections will be evenly distributed, reducing bulk.
Turn the block right side up and press from the front.
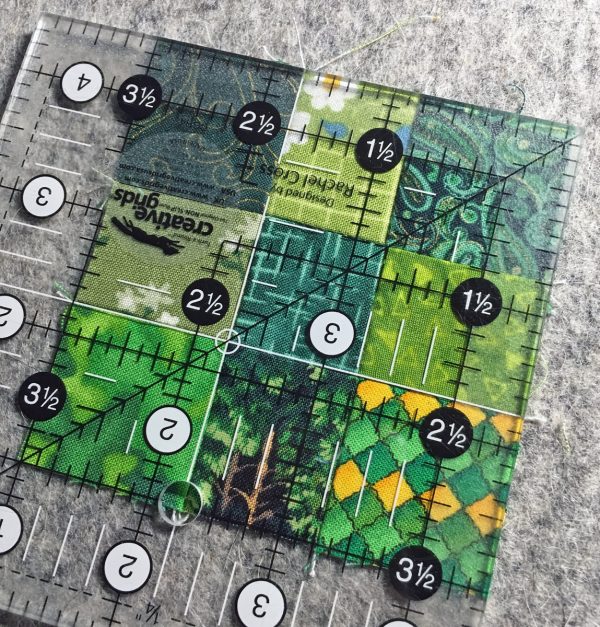
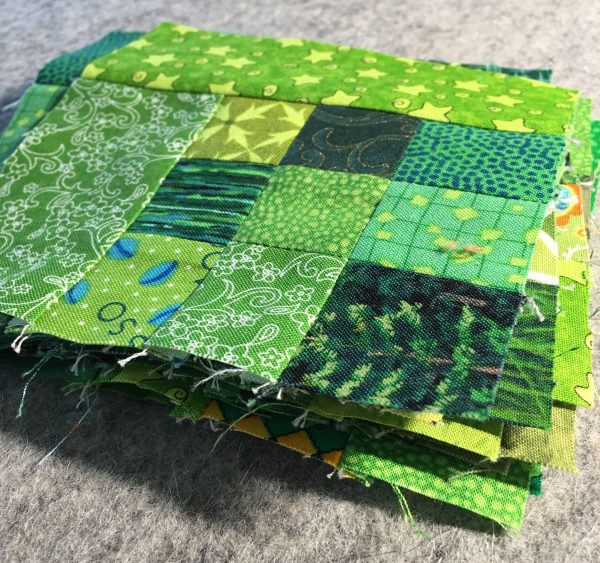
The 9-patch measures 3½″ square. Repeat to make 12 scrappy 9-patch blocks.
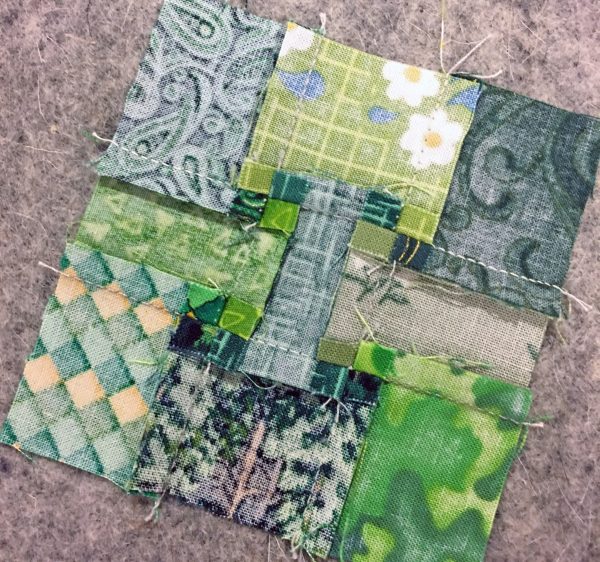
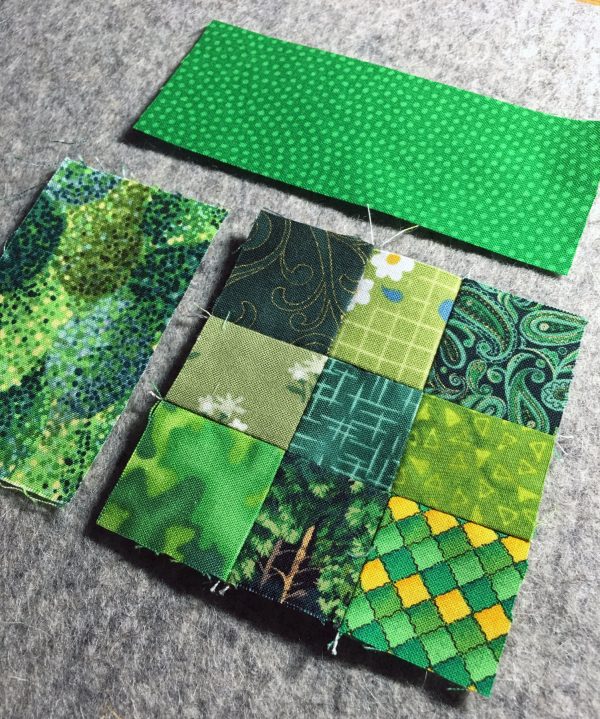
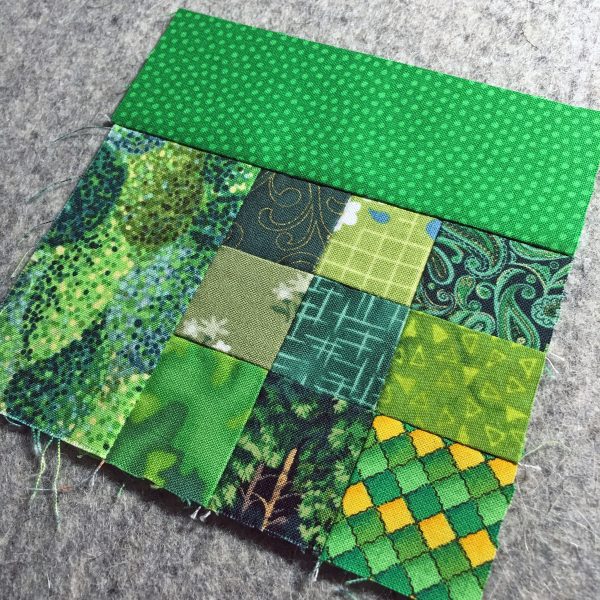
Sew a green 2″ x 3½″ strip to the left side of the block, then sew a green 2″ x 5″ scrap strip to the top of the block. Press the seam toward the strip after each addition.
The block now measures 5″ square.
Repeat to make 12 blocks, and set aside.
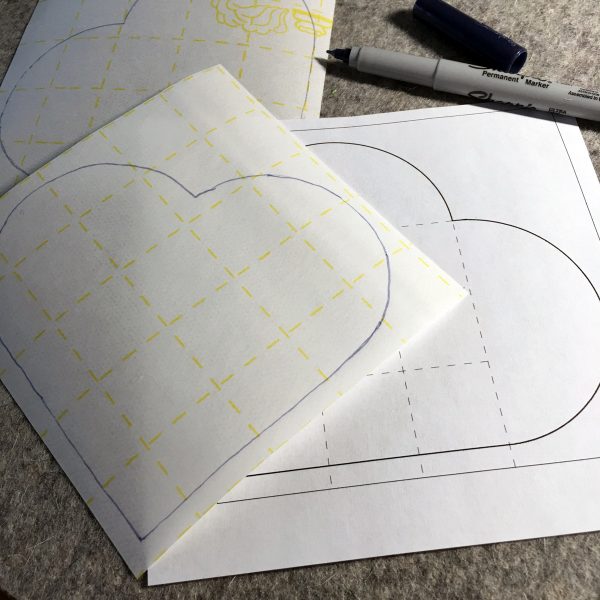
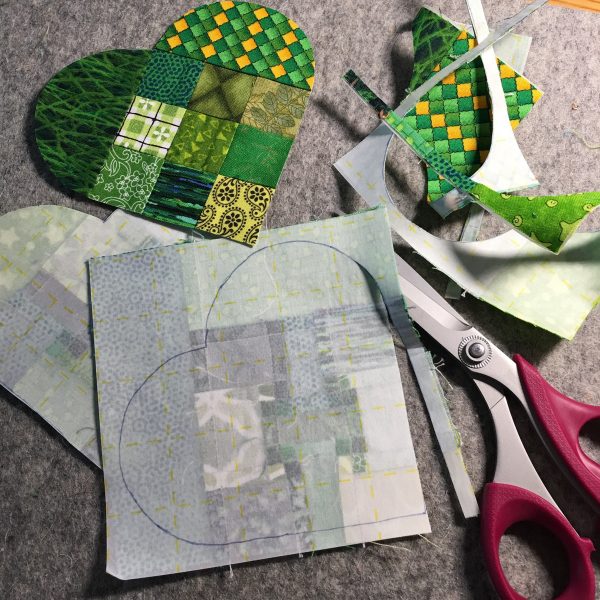
Align the edges of a 5″ fusible web square with the square on the heart-shaped leaf template. Trace the heart shape onto the paper side of a fusible web square. Use a fine-line permanent marker to draw the lines. Repeat to make 12 marked fusible web squares.
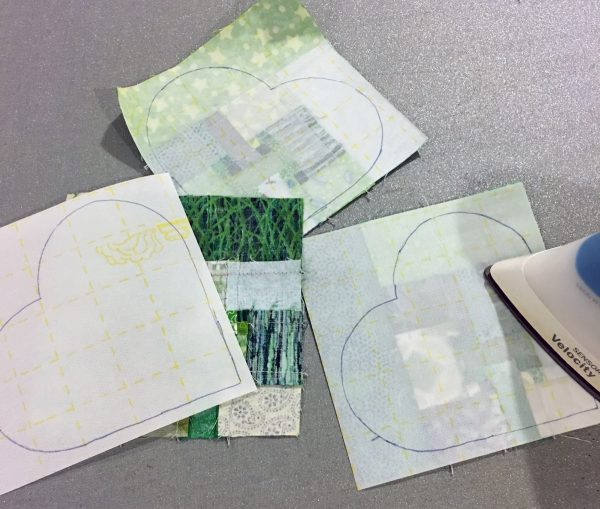
Retrieve the blocks set aside earlier. Fuse a marked fusible web square to the wrong side of each block, so the point of the heart shape is aligned with the 9-patch corner of the block.
Cut on the lines.
Similarly, trace a stem shape on the paper side of each 2″ x 5″ fusible web rectangle. (The stem shape is already reversed.) Fuse to the wrong side of each of the remaining four green 2″ x 5″ scrap strips, and cut on the line.
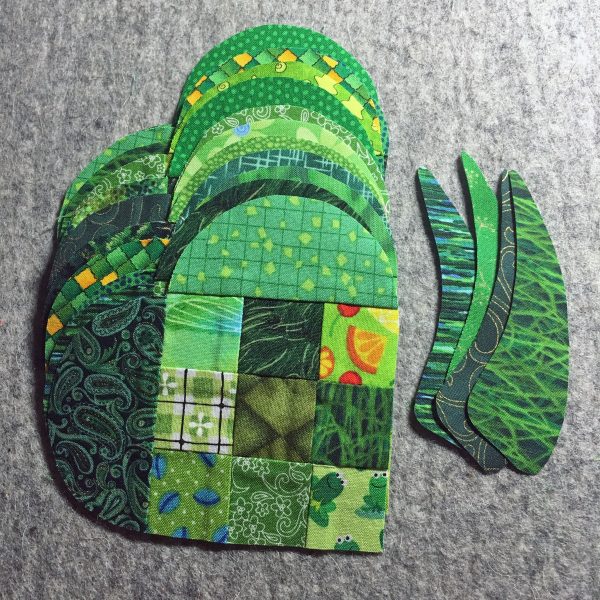
You will have 12 scrappy heart-shaped leaves, and four stems.
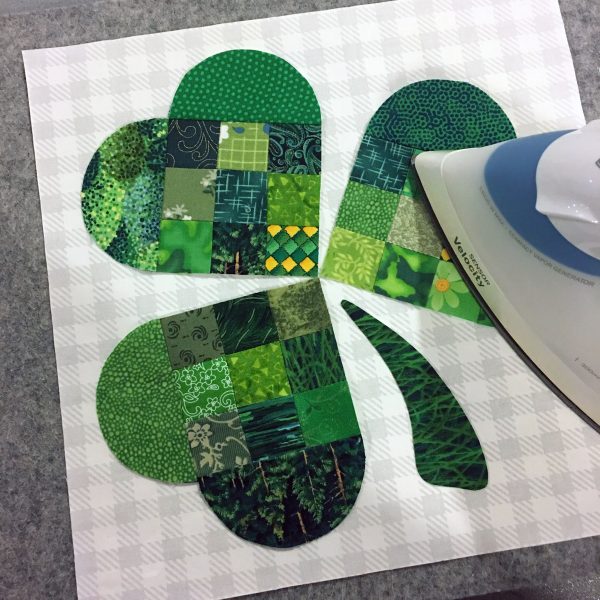
Select three heart-shaped leaves and one stem, remove the paper backing, and arrange the shapes into a shamrock on the right side of a 10½″ background square. The heart points should barely touch, and the stem should float apart from the heart-shaped leaves slightly. Make sure that all the shapes are at least 3/8″ away from the background fabric edges. Fuse. Repeat to make four shamrock blocks.
At this point, you could blanket, satin, or zig zag stitch (My favorite is the blanket stitch!) around the shapes to secure the applique edges, but I prefer to save that step, so my stitches can do double duty to secure the applique and the layers of the quilt sandwich at the same time.
Arrange the four blocks in a row, then sew a 1¾ ″ x 10½″ green print sashing strip between the blocks. Press the seams toward the sashing strips.
Sew a 3″ x 44¼″ green print side border to each long side, and a 3″ x 15½″ green print end border to each short end of the runner. Press the seam toward the border after each addition.
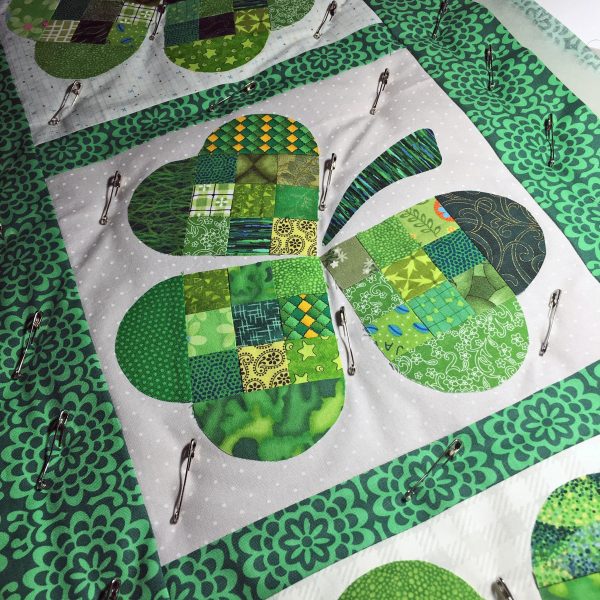
Layer backing, batting, and quilt top. Pin baste.
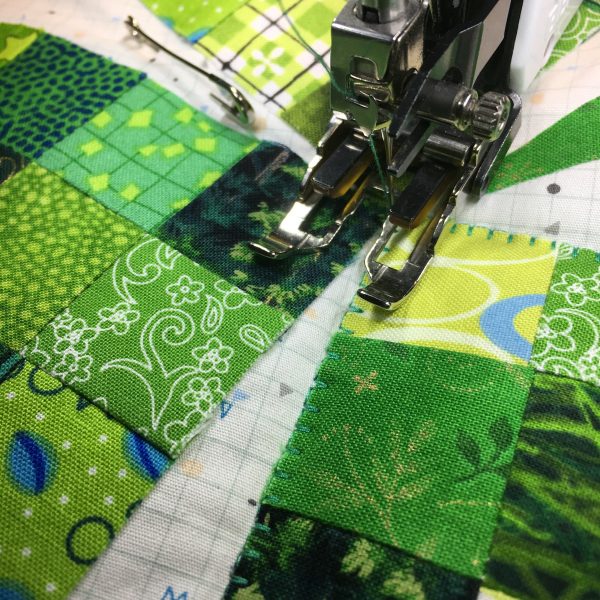
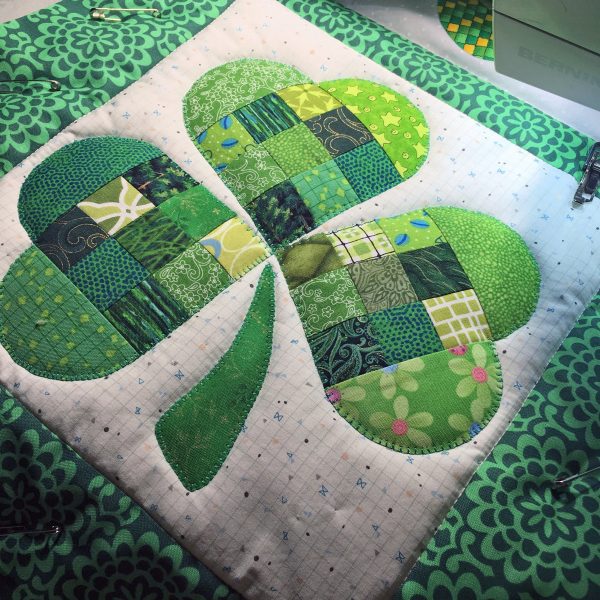
Using the BERNINA Walking foot, blanket stitch around the appliqué shapes through all layers. When you reach the point where the heart-shaped leaves intersect, submerge the needle into the quilt sandwich (needle down), lift the presser foot and pivot the runner under the foot to change quilting direction. Then proceed around the next leaf shape. Stitch around the stem separately.
Lovely! The wool batting sets the stage for great quilting texture and wonderful lofty puffy-ness!
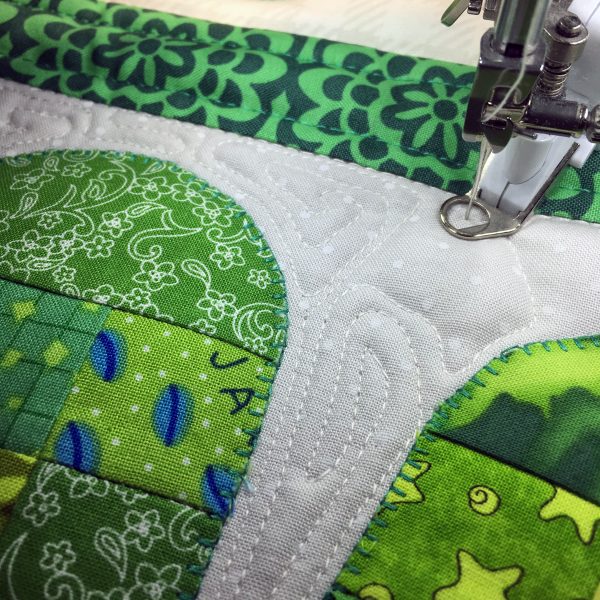
Now, switch over to the BERNINA Stitch Regulator (BSR) and fill in with some free-motion stitches.
With the quilting complete, trim the batting and backing even with the table runner top. Use the double-fold binding method to attach the binding strips. Sew the binding strips together end to end using a diagonal seam. Press the seams open, then press the binding in half lengthwise, wrong sides together.
With raw edges aligned, sew the binding to the front of the runner using a ¼″ seam. Miter the binding at the corners.
Turn the folded edge to the back of the table runner and hand stitch in place.
Then . . . put the corned beef and cabbage into the slow cooker and serve up a festive St. Patty’s Day feast!


