Hello fellow makers!
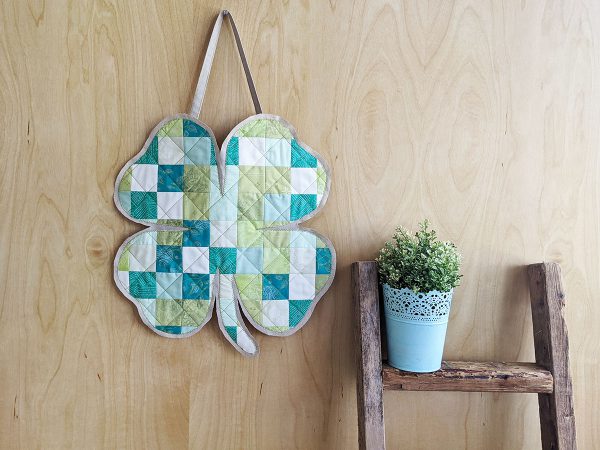
Did you know that a four-leaf clover is said to stand for faith, love, hope, and luck? Why lucky, you ask? Well, four-leaf clovers are very rare, and so they are considered lucky if you find one! Instead of finding your own luck, why not create your own magic with something handmade, especially with St. Patrick’s Day around the corner. Bring the “luck of the Irish” to your home this year by piecing together this stunning four-leaf clover wall art! You can hang it outside your door or place it inside for all your guests to admire during a St. Patrick’s dinner celebration.
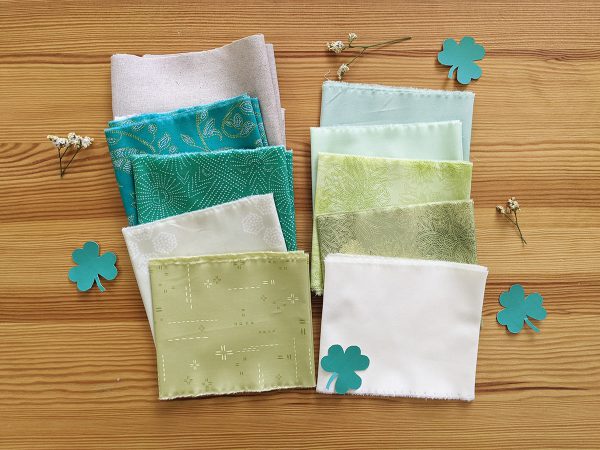
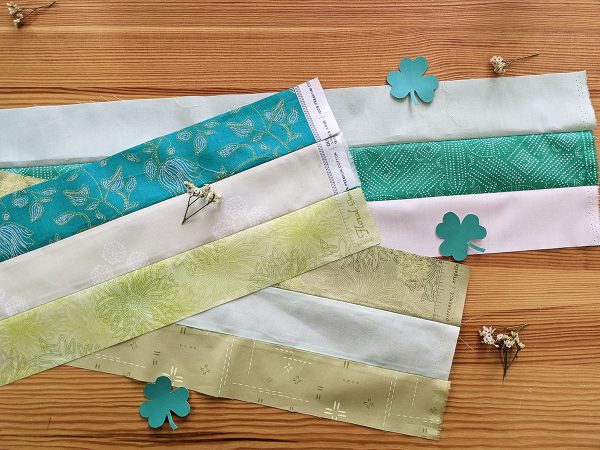
For this project, I used two techniques, which are strip piecing and nine patch blocks. To begin, I gathered some of my favorite green prints, including fabrics from my Nuncia collection in “Buenos Aires Pampa,” “Your Path Clover” from Jessica Swift’s Flight Path, our AGF Vert Fusion collection in the print “Droplet Petal Vert,” and combined these prints with our Pure Solids, Floral Elements, and AGF Linen.
Have fun making this project!
Materials to Sew a St. Patrick’s Day Wall Hanging
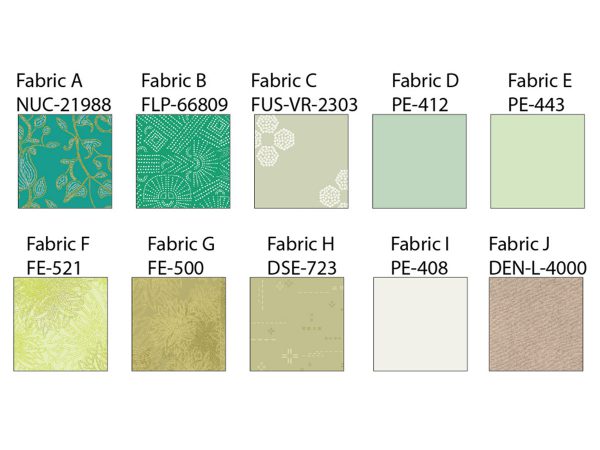
- Fabric A — 1/8yd
- Fabric B — 1/8yd
- Fabric C — 1/8yd
- Fabric D — 1/8yd
- Fabric E — 1/8yd
- Fabric F — 1/8yd
- Fabric G — 1/8yd
- Fabric H — 1/8yd
- Fabric I — 1/8yd
- Fabric J — 5/8yd
Additional Materials Needed
- 23” square of batting
- Quilting and sewing thread
- Scissors
- Reverse Pattern Foot #1D
- Steam-a-seam 2
- Needle
- Clover Template
Cutting Directions
- One (1) 2 1/2’’ x WOF strip from fabrics A, B, C, D, E, F, G, H and I.
- One (1) 22 1/2’’ square from fabric J.
- One (1) 2 1/2’’ x 21’’ strip from fabric J.
Instructions to Sew a St. Patrick’s Day Wall Hanging
Step 1: Sew the Strip Sets
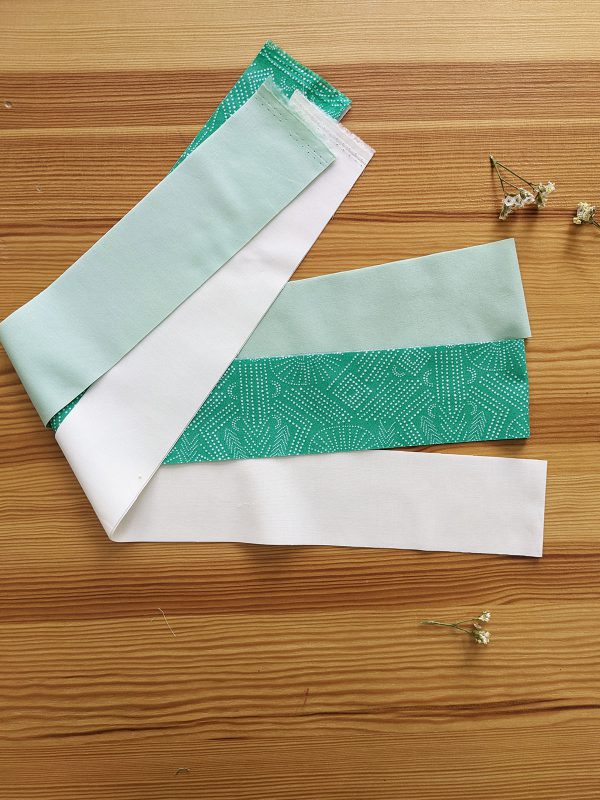
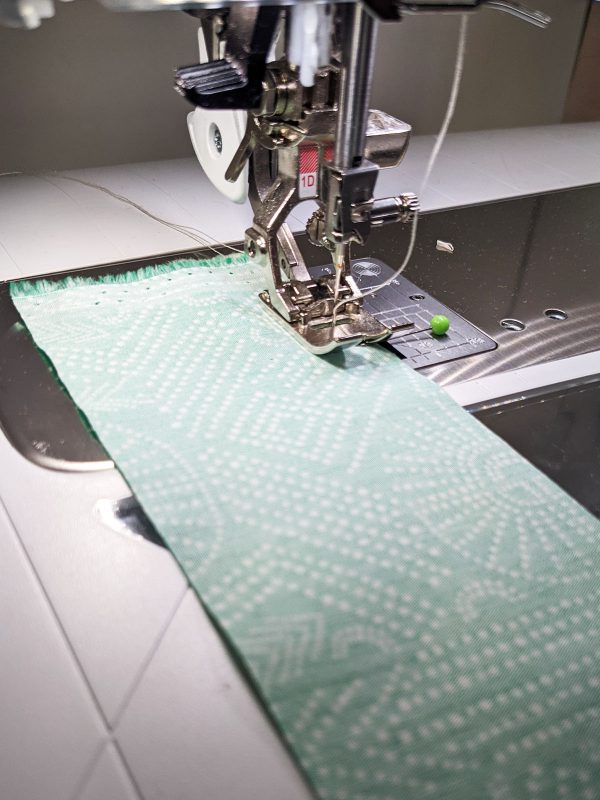
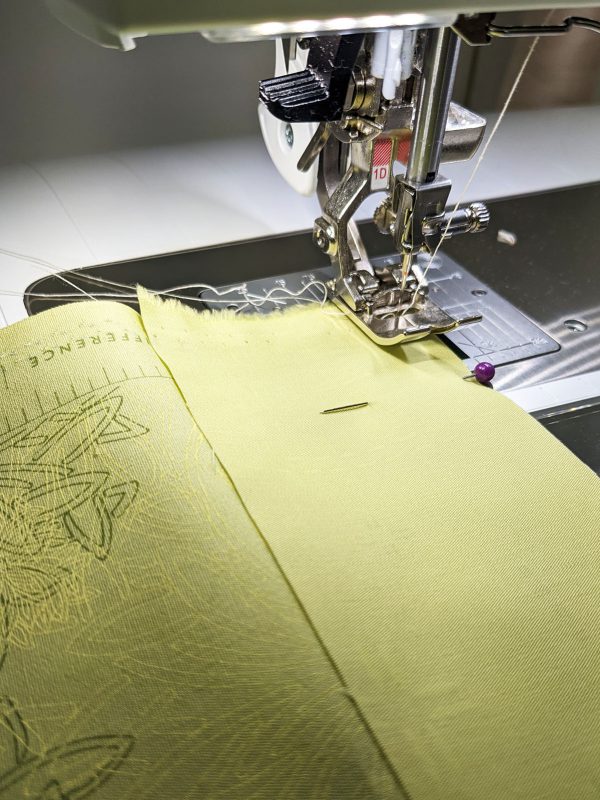
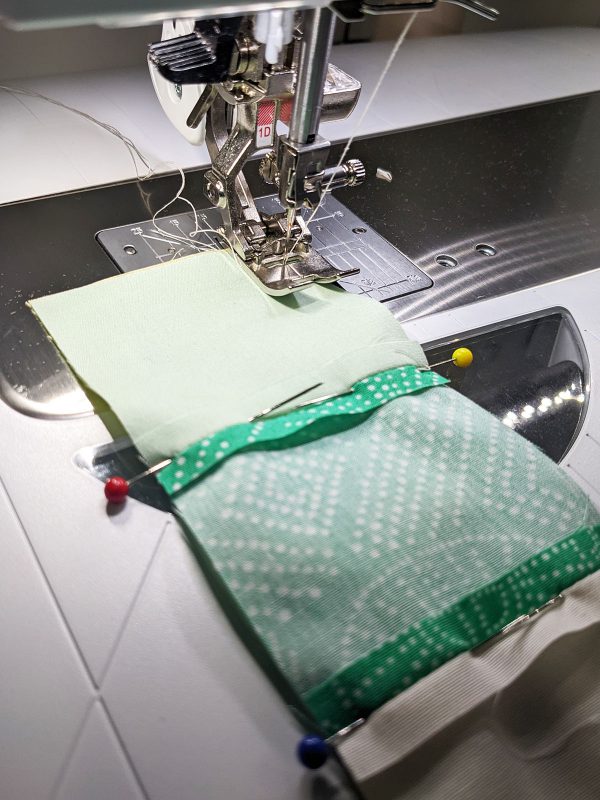
To sew strip set 1 (SS1) join one (1) 2 1/2” x WOF strip from fabrics D, B and at a 1/4” seam allowance.
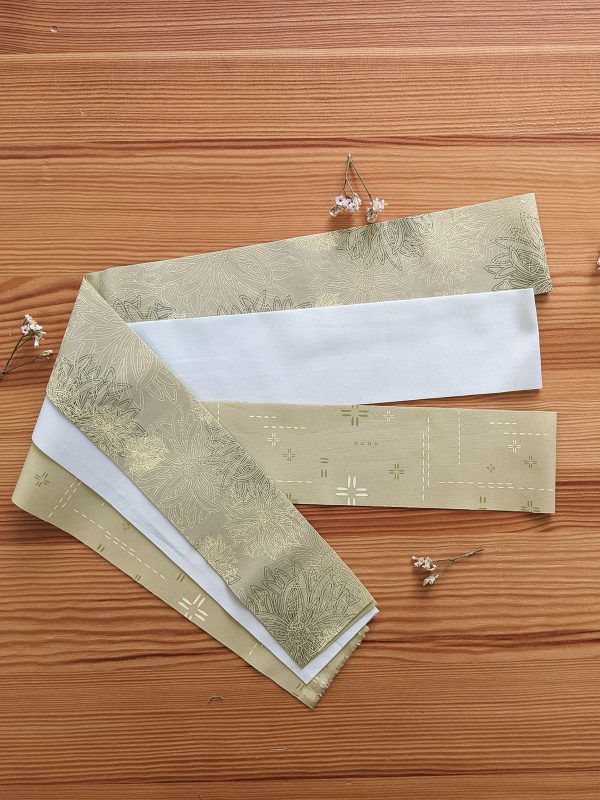
For SS2, join one (1) 2 1/2” x WOF strip from fabrics G, E and H.
Sew right sides facing together at a 1/4” seam allowance.
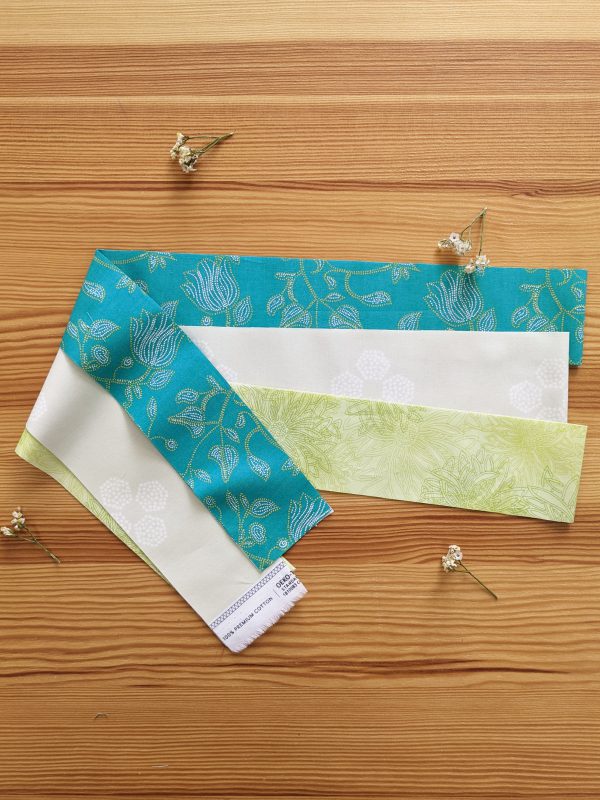
For SS3, join one (1) 2 1/2” x WOF strip from fabrics A, C and F.
Once you have your three (3) strip sets, let’s cut the strip pieces!
Step 2: Cut the Strip Pieces
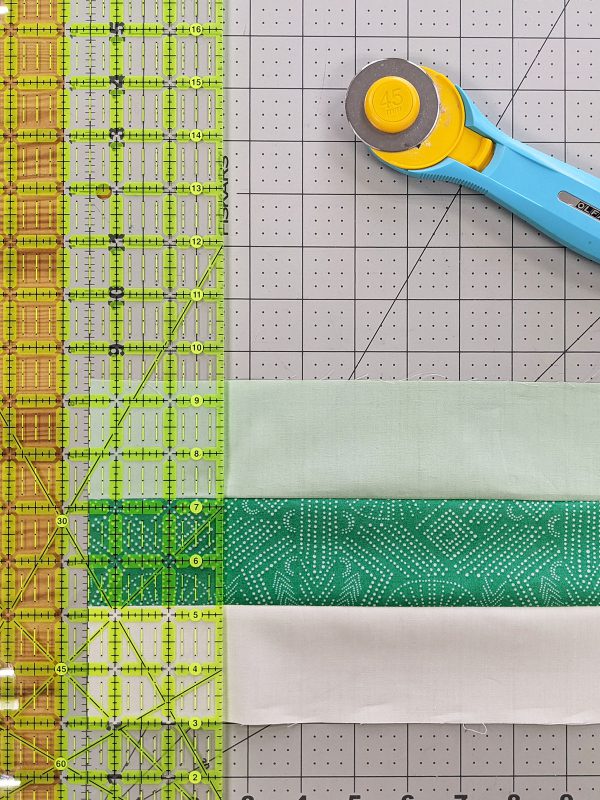
Take a ruler and your rotary cutter and cut your strips sets at a 2 1/2” width.
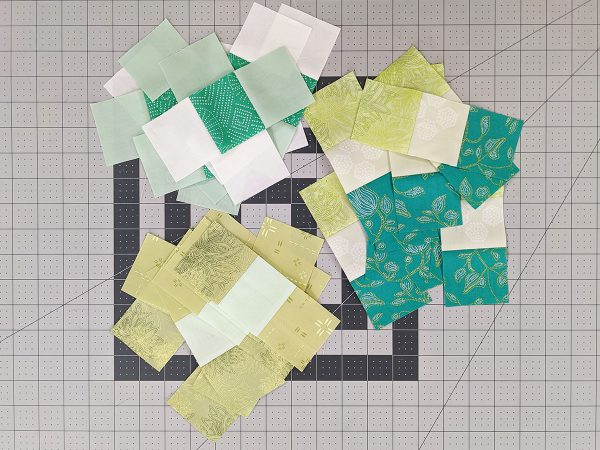
Cut nine (9) for SS1, SS2 and SS3.
Finish cutting your strips sets and let’s get to do the construction of the nine-patch blocks.
Step 3: Assemble Nine-patch Blocks
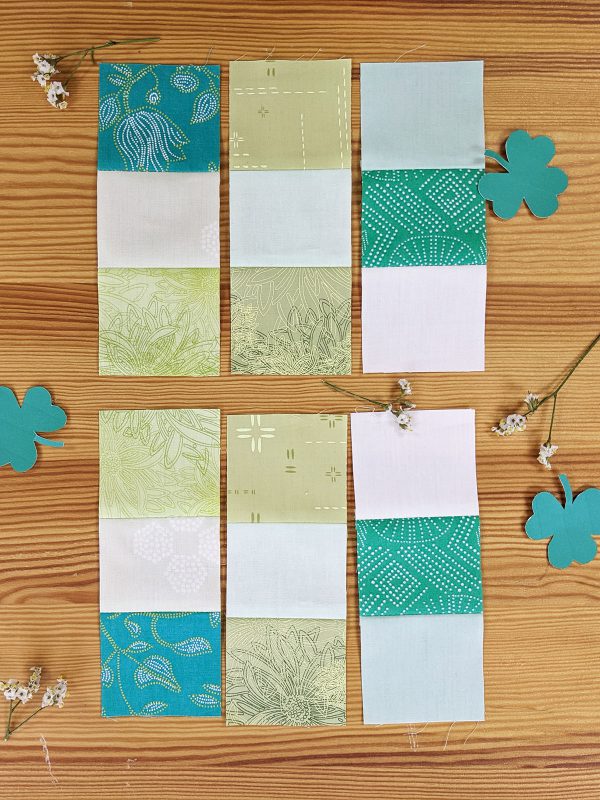
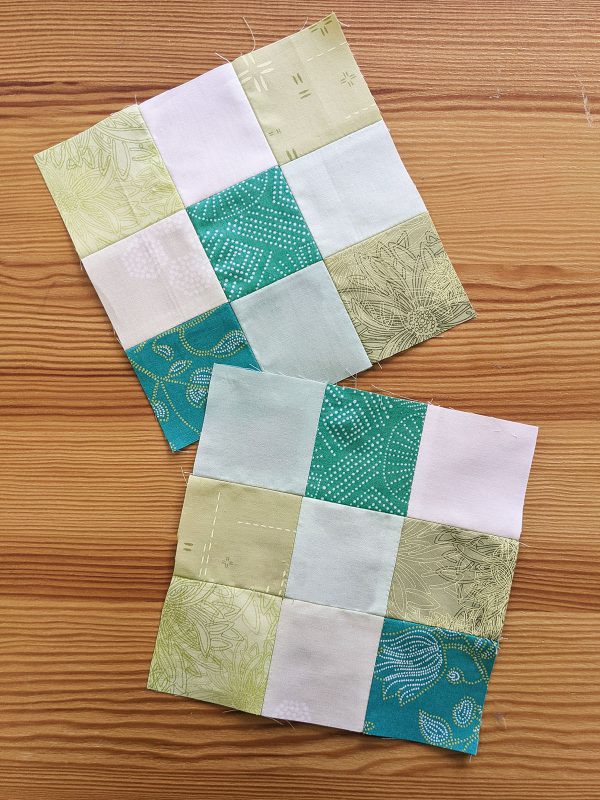
Have fun assembling your nine-patch blocks. Take one (1) piece from each strip set and start joining them in order to create your blocks.
I created two blocks combination which you can play around by flipping it or rotating it until you’re happy with your wall art top.
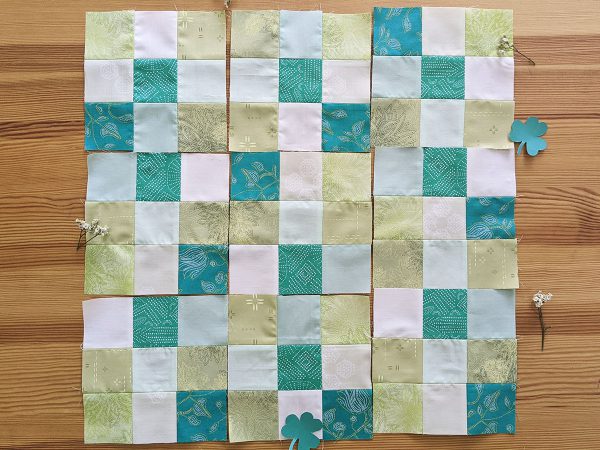
Create a total of nine (9) blocks of your desired combination.
Each block should measure 6 1/2” x 6 1/2”.
Step 4: Join Blocks
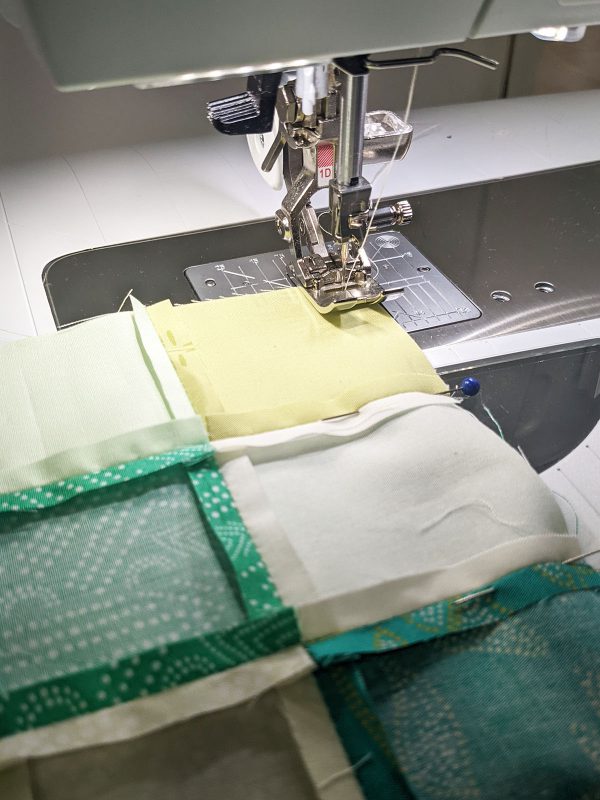
Take three (3) blocks by row. Join each block.
Then, join each row creating your clover top.
Step 5: Quilt
Place your batting piece on the wrong side of the assembled unit, pin all around and quilt as desired.
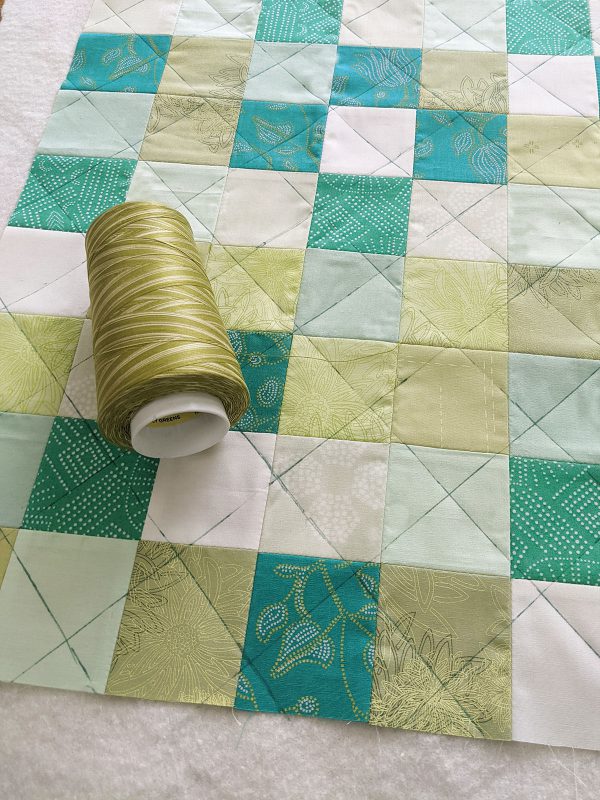
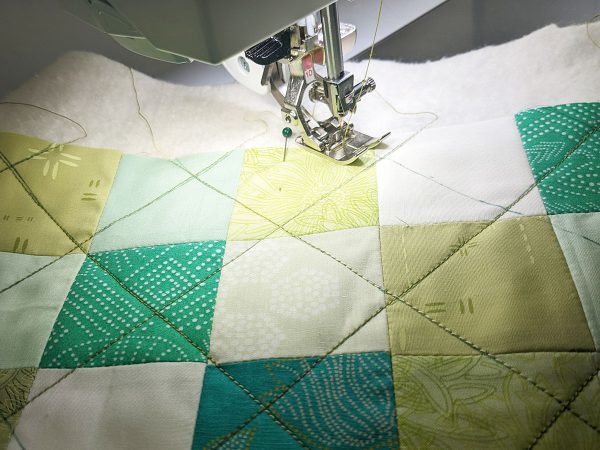
For my wall art, I decided to trace diagonal lines at a 2” distance, creating a diamond effect. And I wanted to use a multicolored quilting thread to go along with my St. Patrick’s theme.
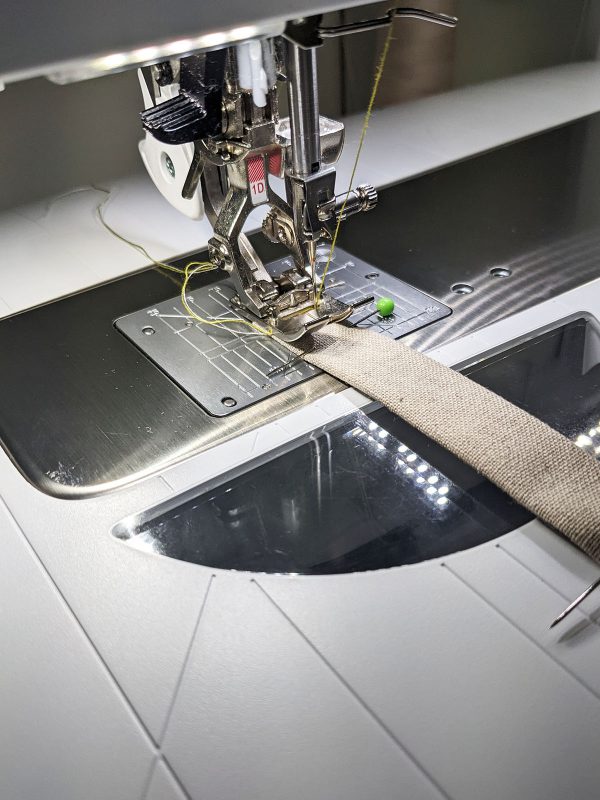
Using the Reverse pattern Foot #1D I was able to make perfect stitch lines.
Step 6: Steam-a-seam 2
Now, flip your piece so you have your backing fabric facing you. Take two (2) strips of steam-a-seam 2 (double-sided) and place it on the batting side of the unit.
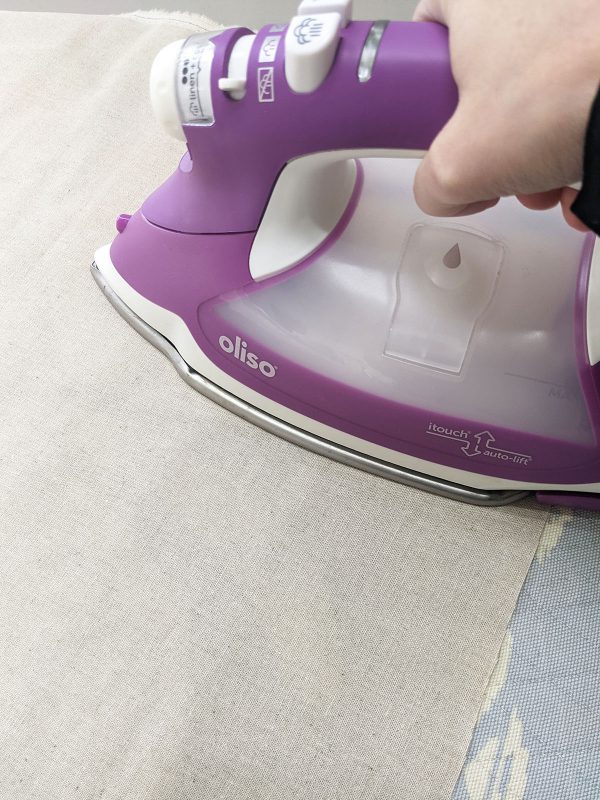
Use your iron to press and glue the seam-a-seam to the batting fabric.
Step 7: Trace and Cut
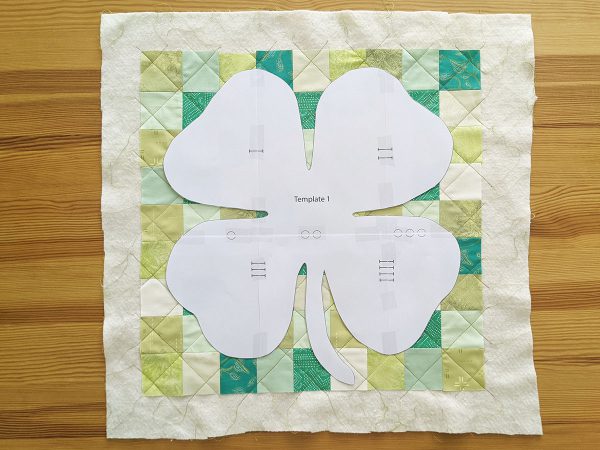
Place the template 1 on top of your quilted piece, trace the shape of the clover and cut.
Step 8: Remove Steam-a-seam Paper and Press
Take one (1) 22.5” square from fabric J and position your quilted piece on top of fabric J square.
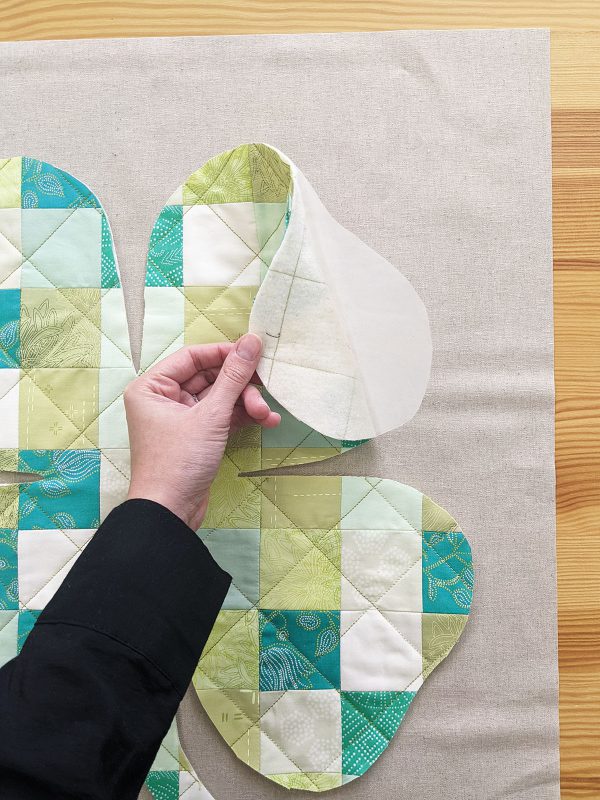
Then, carefully remove the steam-a-seam paper from the backing and stick your clover onto fabric J.
Flip the piece making sure fabric J is facing you. And with your iron, press carefully gluing the steam-a-seam to both pieces.
Step 9: Decorative Edge Stitch
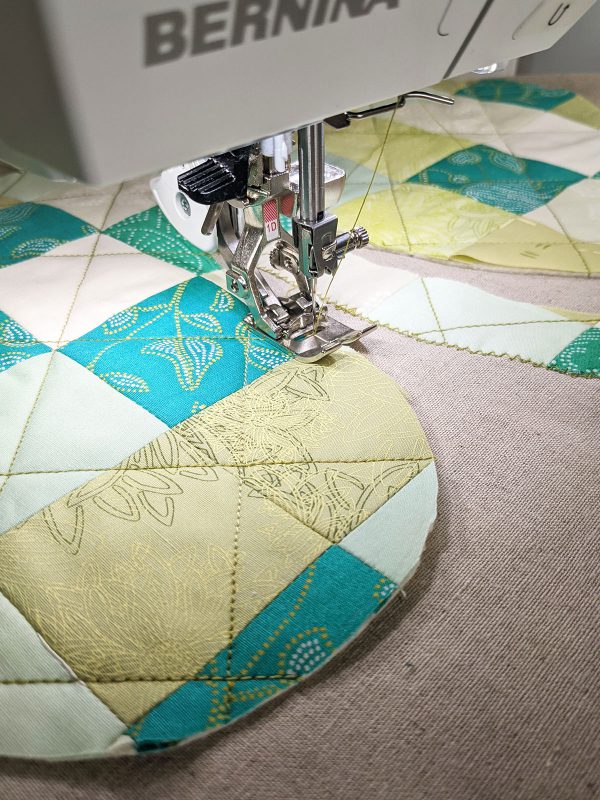
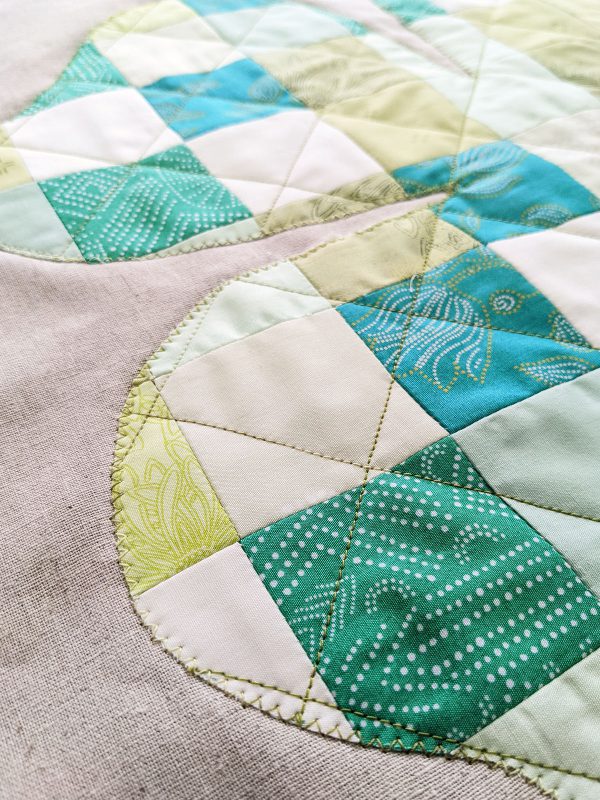
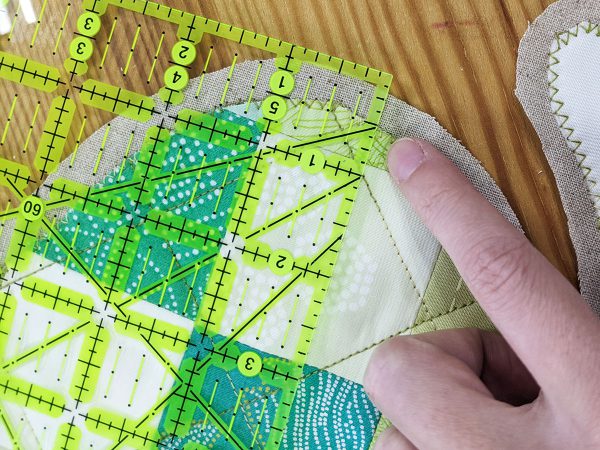
Now, using a zig-zag stitch or any desired decorative edge stitch, sew all around the edges of the clover.
Cut away the excess fabric by leaving about 1/2” of fabric J from the main piece. You can use Fray Check on the edges of fabric J in order to avoid fraying. You can also give it a different look and make fringe out of fabric J. In this case, I used Fray Check.
Step 10: Create Strap
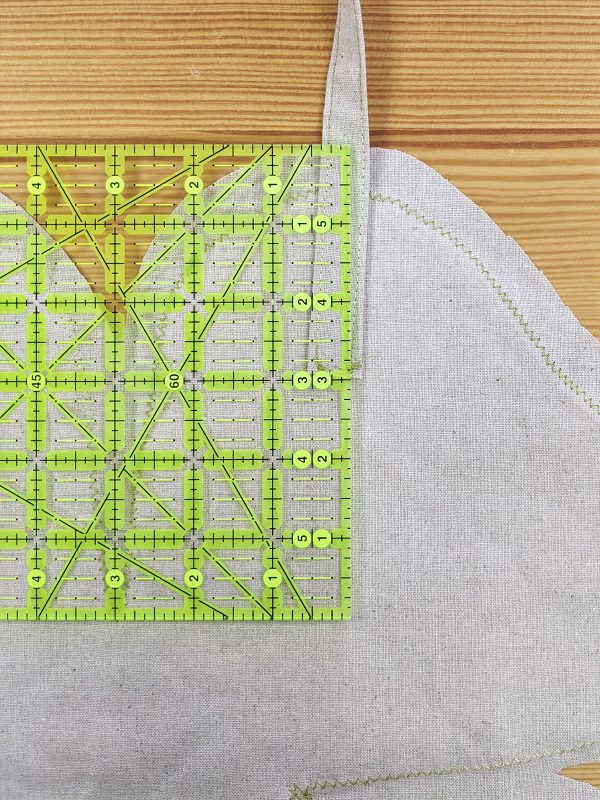
Take one (1) 2 1/2” x 21 strip from fabric J and create your strap.
Sew your handle on the back of the wall art, 3” away from the top. Hand stitch your handles.
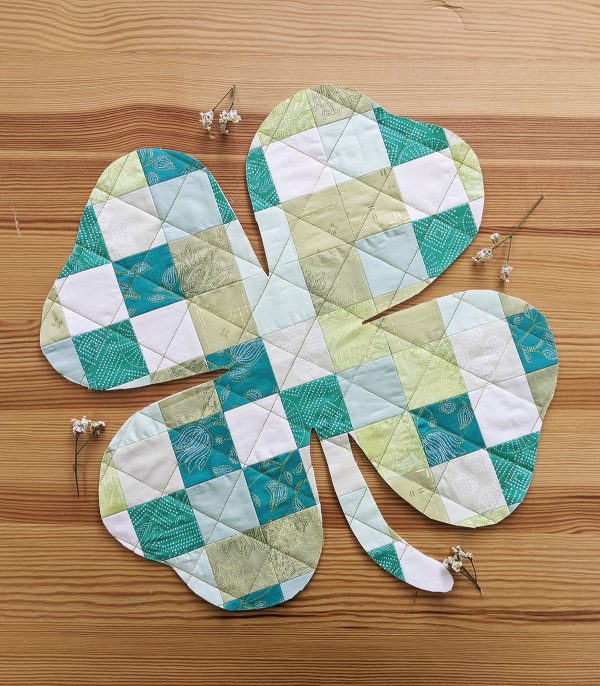
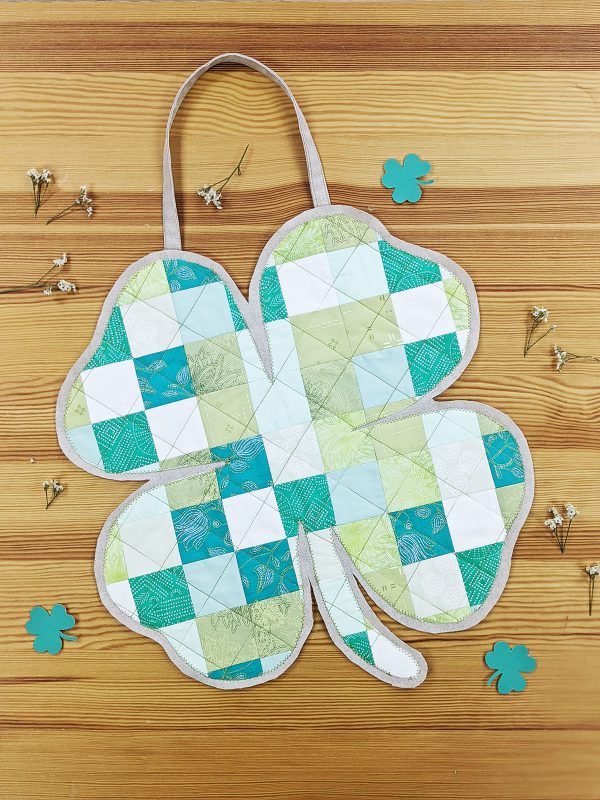
Your St. Patrick’s Day wall hanging is done!!! Slainte!!!


