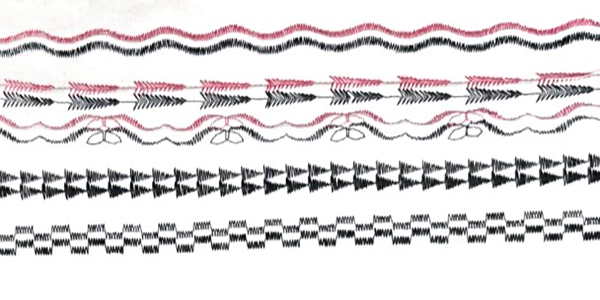
BERNINA has an amazing selection of decorative stitches in every sewing machine. The stitches are organized into folders, such as Floral, Satin and Cross Stitch, depending on the machine model. With hundreds of decorative stitches, these folders make finding your favorites easy. But I’m surprised how few sewists optimize these stiches. Decorative stitches can be used in almost any project to add color and texture. If you haven’t explored these stitches or you’re not sure what to do with them, read on! Today we’re showing these stitches with twin needles which give twice as much impact – double the color and the texture! Let’s get started!
Machine Set Up
- BERNINA 790 PLUS
- 9 mm Stitch Plate
- Open Embroidery Foot #20/20C/20D
Supplies
- Twin Needles
- Cotton Fabric
- OESD Heavy or Medium Weight CutAway Stabilizer
- Mettler Silk-finish Cotton 50 wt in contrasting color
Twin Needles
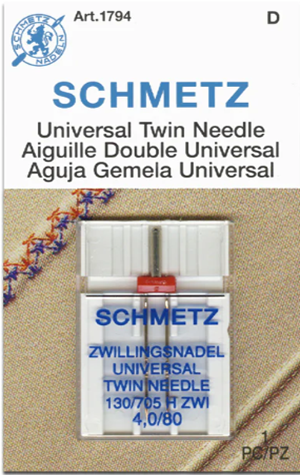
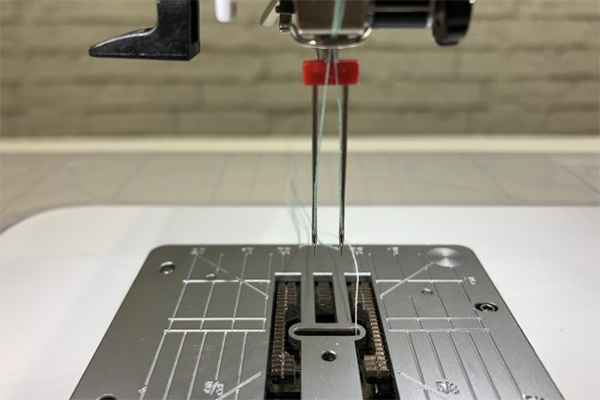
First, let’s talk twin needles. There are two numbers on the needle package. The first number stands for the distance between the needles in mm; the second number stands for the needle size. The needles pictured below are 4 mm apart and size 80. Also, twin needles come in different types, such as Universal, Stretch, Embroidery and Jeans.
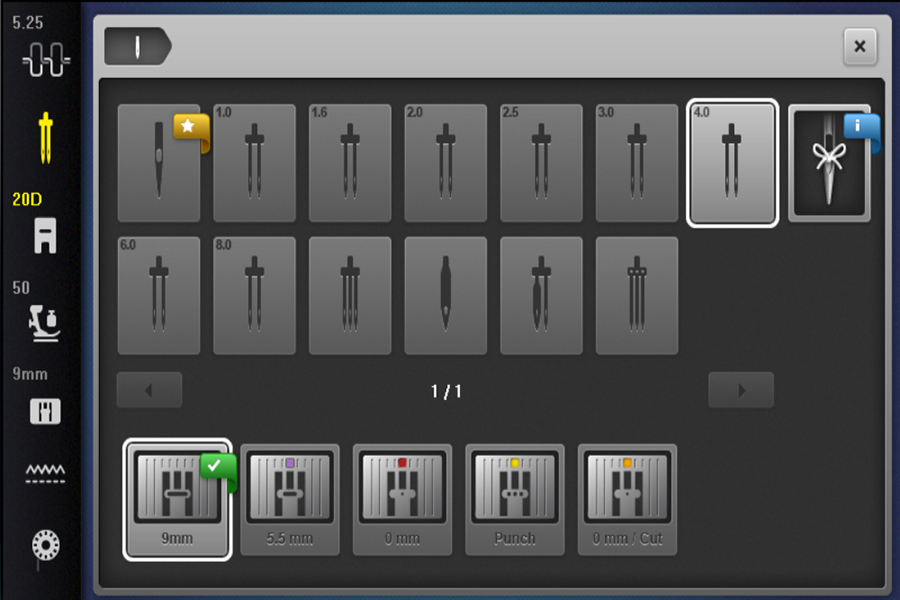
Twin needles can be anywhere from 1 mm apart to 8 mm. When I select the Needle Minder icon on my machine, I can see the different needle types and sizes. Find the Needle Minder on your machine and select Twin Needle 4.
Auditioning Decorative Stitches with Twin Needle Sizes
BERNINA sewing machines have a stitch width of 5.5 mm or 9 mm depending on the machine model. With the 5.5 mm machines, you are limited to a max stitch width of 5.5 mm. You can still create fantastic stitches with twin needles, just a bit smaller! I have a BERNINA 790 PLUS, so it will show how the stitches look with a 9 mm stitch width using the selected twin needle.
My 790 PLUS has 15 folders with over 600 decorative stitches, including Sideways Motion stitches which allow me to stitch wider than 9 mm. Select Decorative Stitch #113. Now we have two rows of stitching that will stitch out at the same time. Notice it covers the entire 9 mm stitch width too.
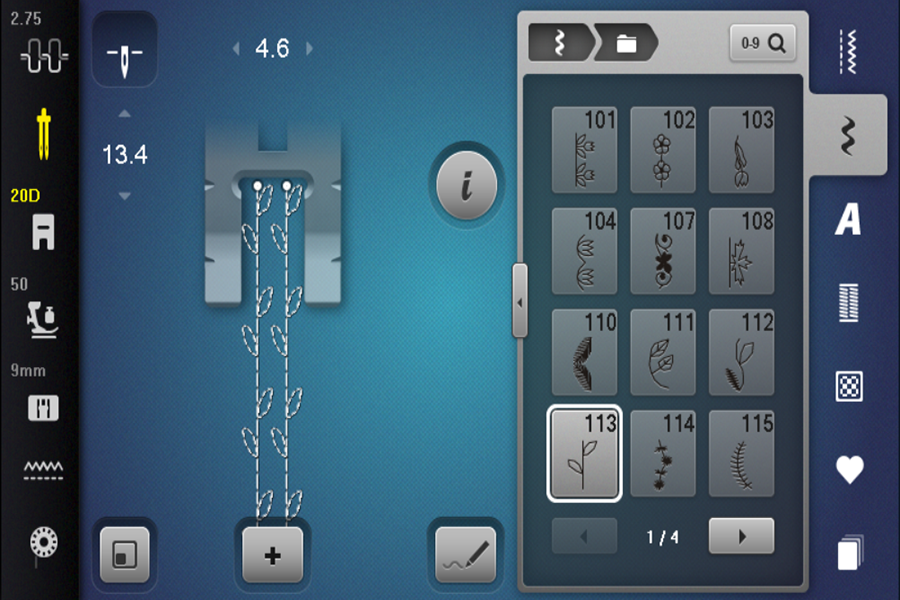
Depending on the twin needle size, we get very different looks. Below is the same stitch with a 1.6 twin needle.
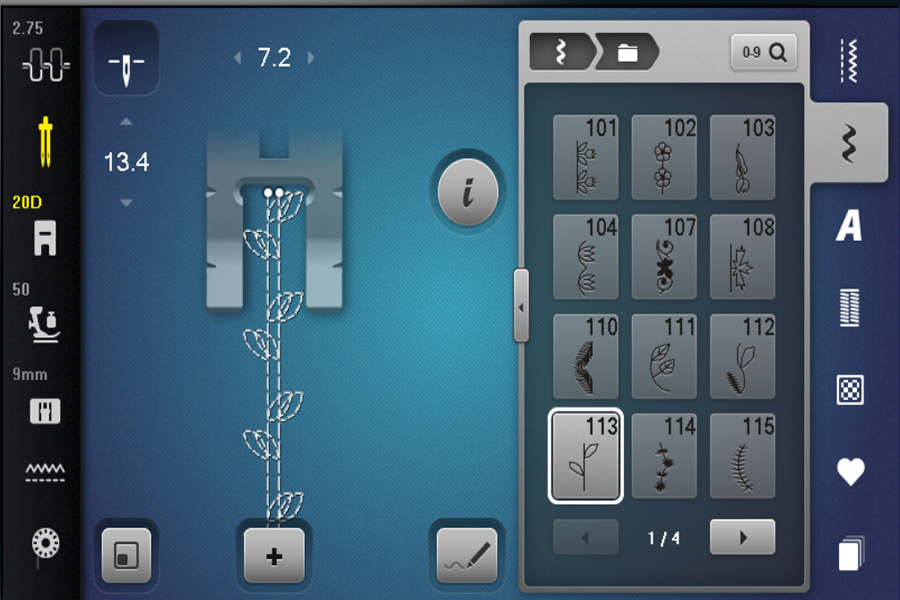
Here is the stitch with a 6 mm twin needle. I love how I can see what the stitch will look like before I stitch it out. This is a huge time saver, not to mention saving my fabric and thread.
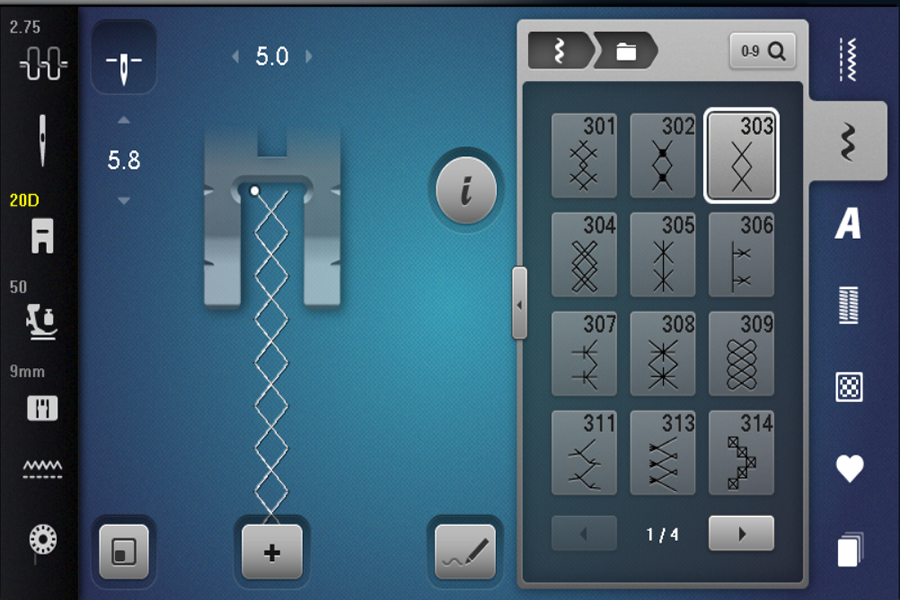
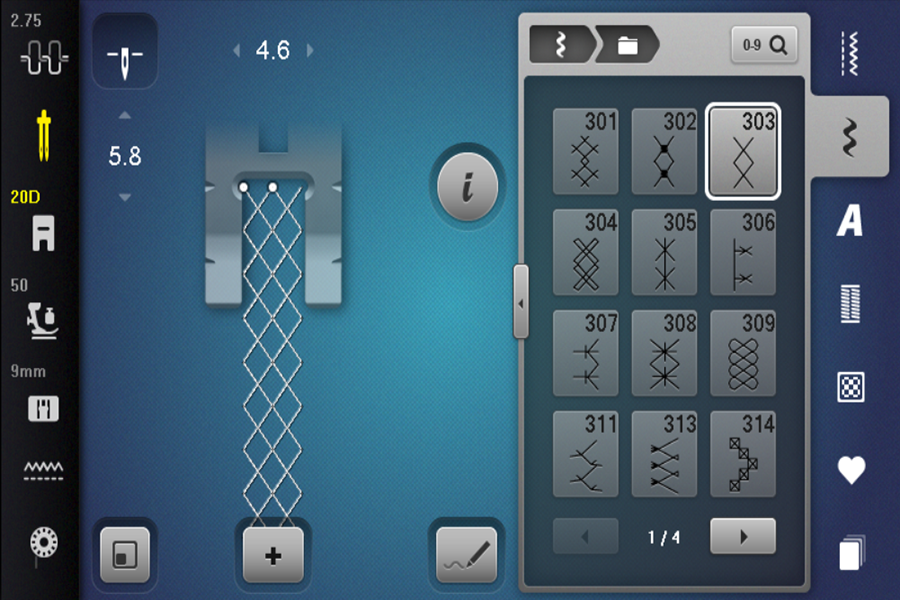
Below is Decorative Stitch #303 with a single needle.
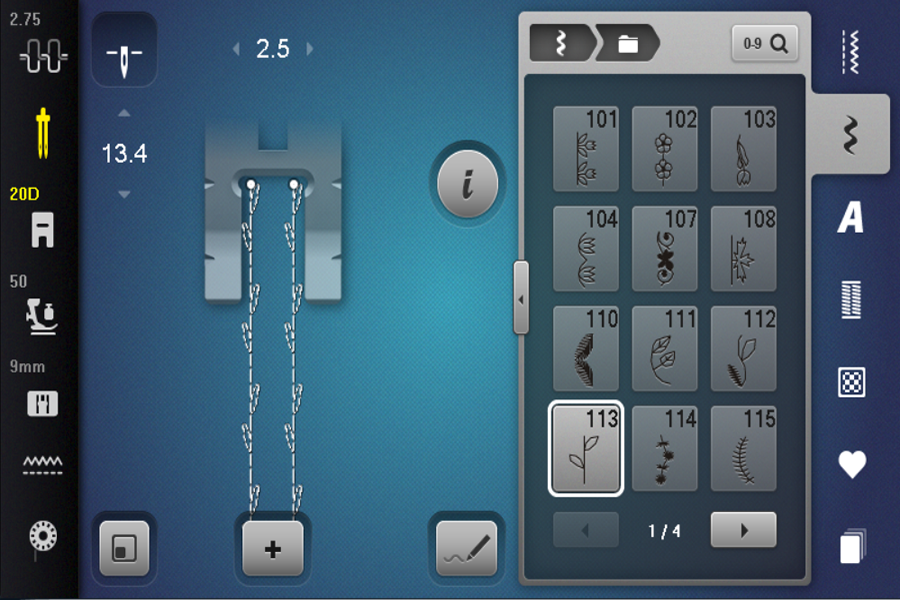
Here is the same stitch with a 2.5 mm twin needle.
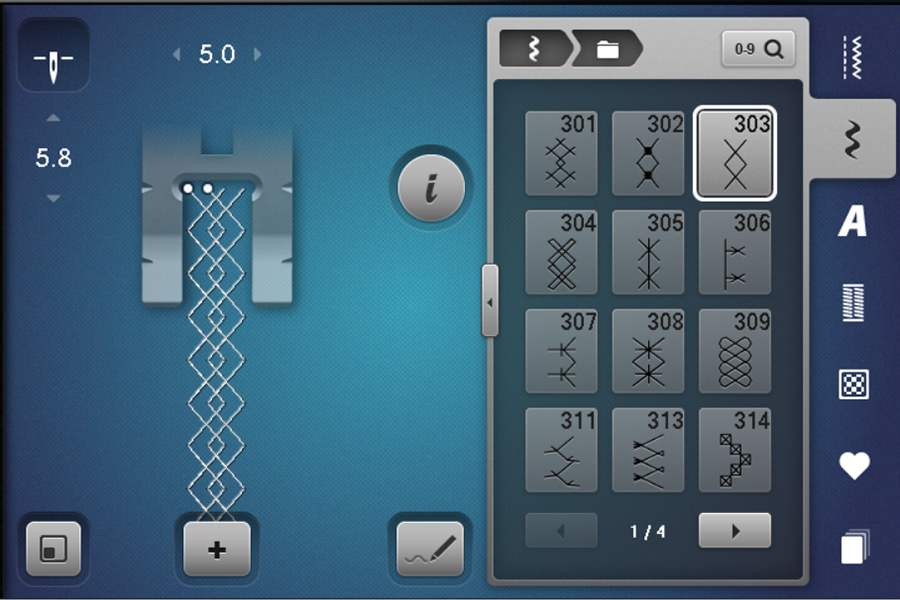
How about with a 4 mm twin needle?
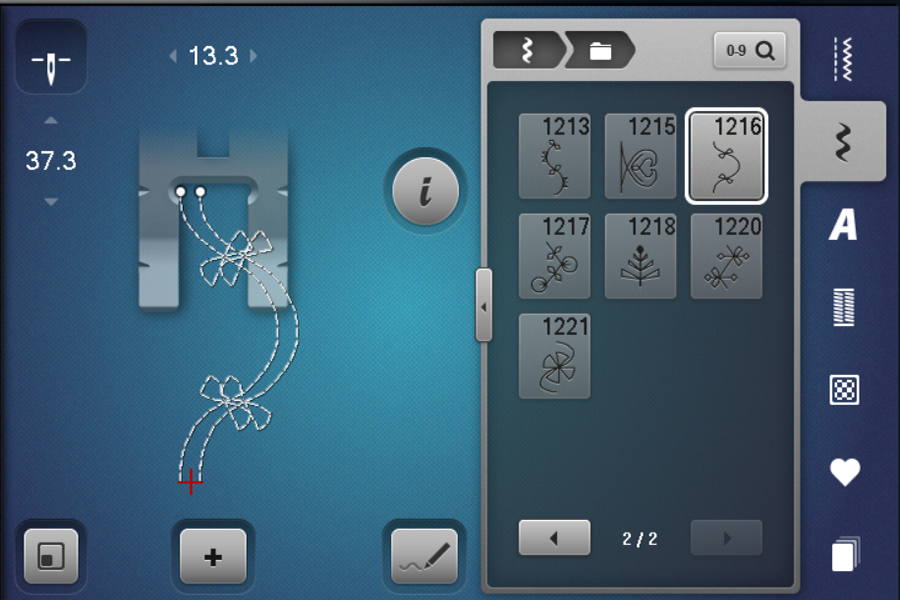
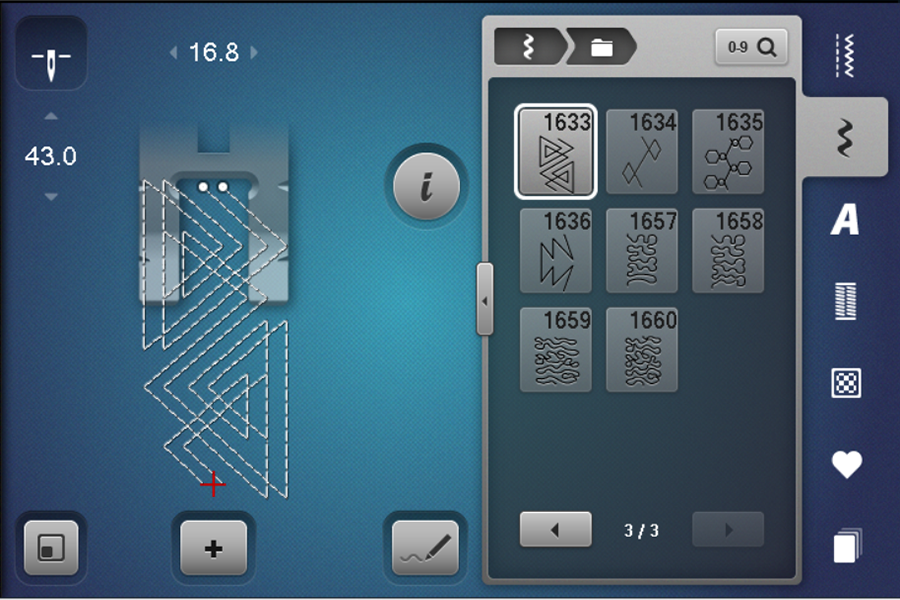
Sideways Motion Stitches are great options for twin needles too!
Threading the Machine
Most machines have two spool pins to accommodate two thread spools.
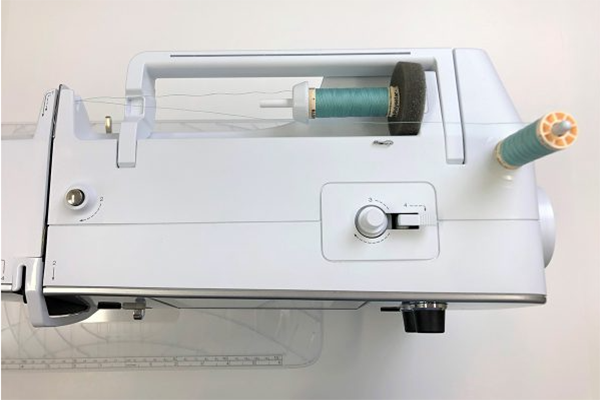
Also, you can place a thread stand behind your machine. This is what I do when using twin needles to keep the threads apart before entering the machine.
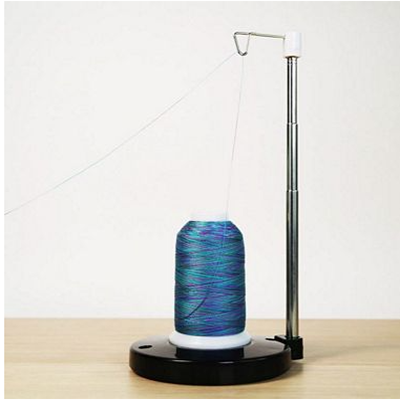
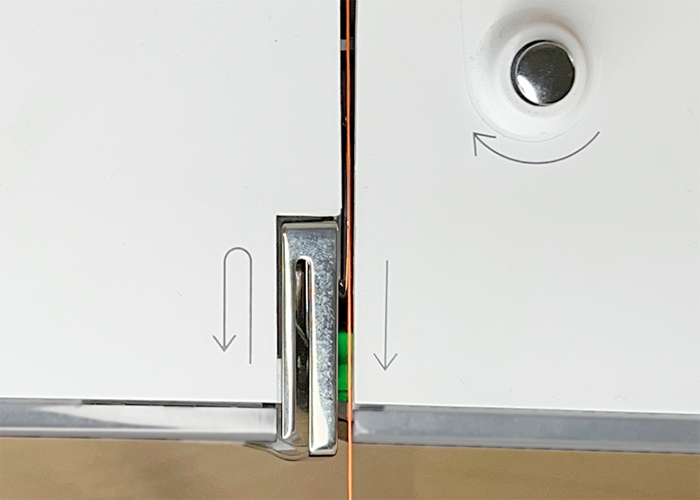
You can thread the machine with both threads together or one at a time. Threading is the same as with a single needle with one main exception at the tension disk. When you reach the tension disk, place one thread on the right side and one thread on the left side. It doesn’t matter which thread goes where as long as they are on different sides.
Thread on the right side of tension disk:
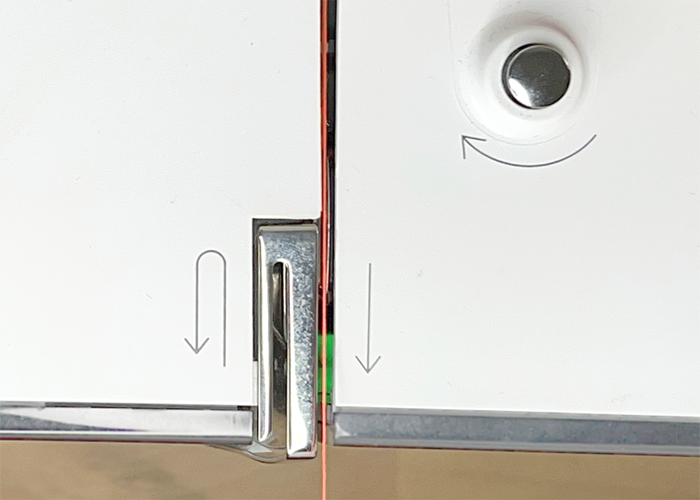
Thread on the left side of tension disk:
Thread each needle manually. And that’s it! Easy!
Stitch Time
Attach Open Embroidery Foot #20/20C/20D. This is not a technique for speed sewing. Move the Speed Control Slider to the left of center to slow down sewing speed. Place stabilizer behind fabric. Make guide lines on fabric 1” apart with a temporary marker. Place under foot and hold both top threads when you start to sew.
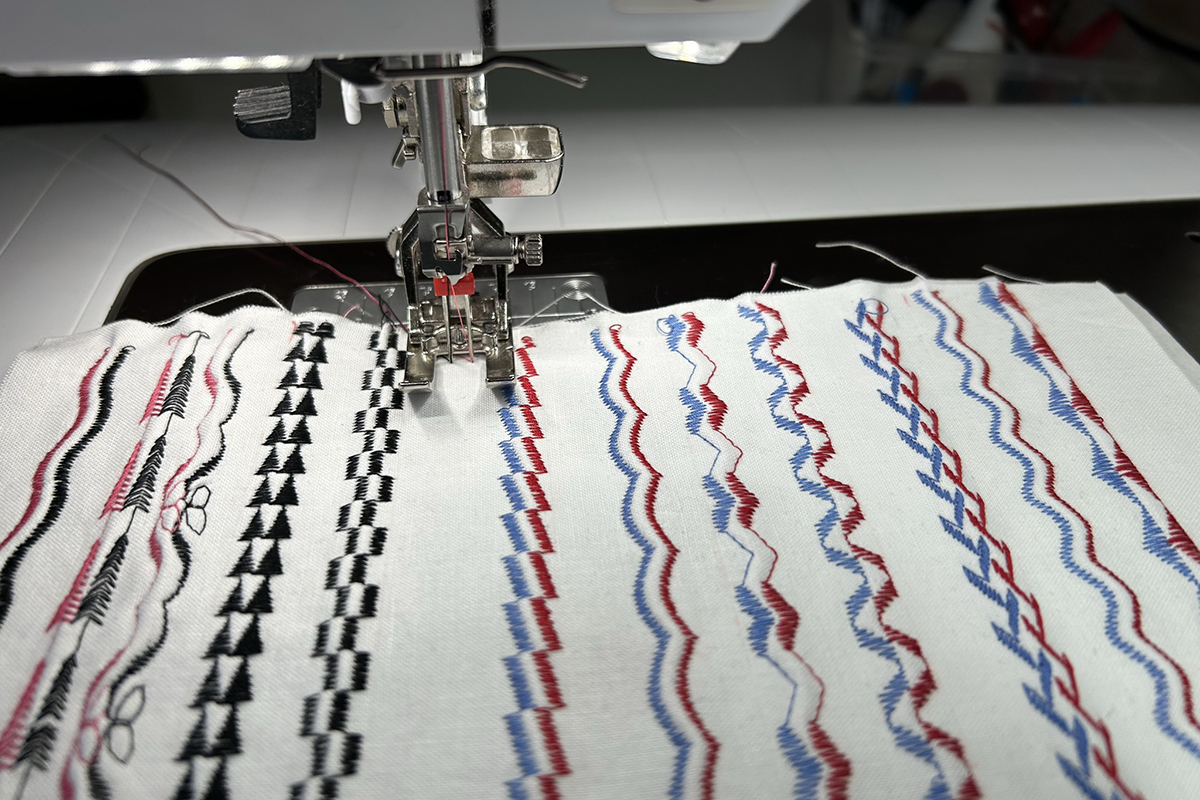
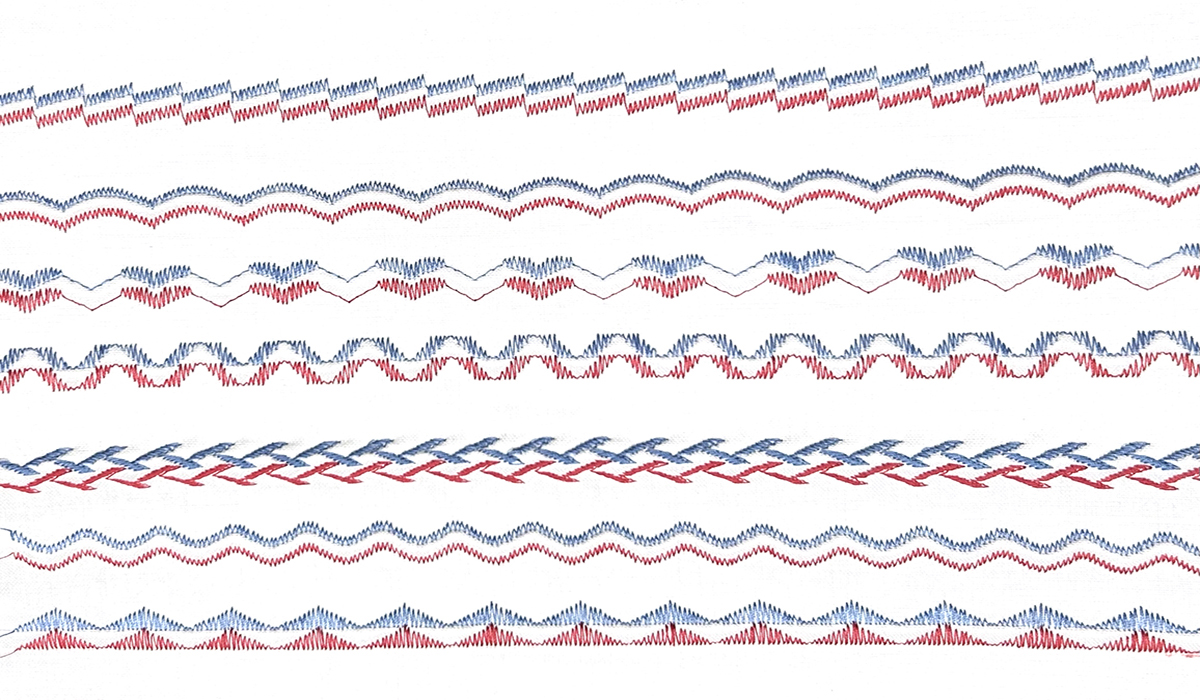
In the sample below, I played around with using the same color thread in both needles and different colors in each needle. I really like all these stitches, except maybe the 4th row down. Sometimes the stitches look better stitched out, sometimes worse and sometimes spot on. This will be a great sample for me to reference for future projects!
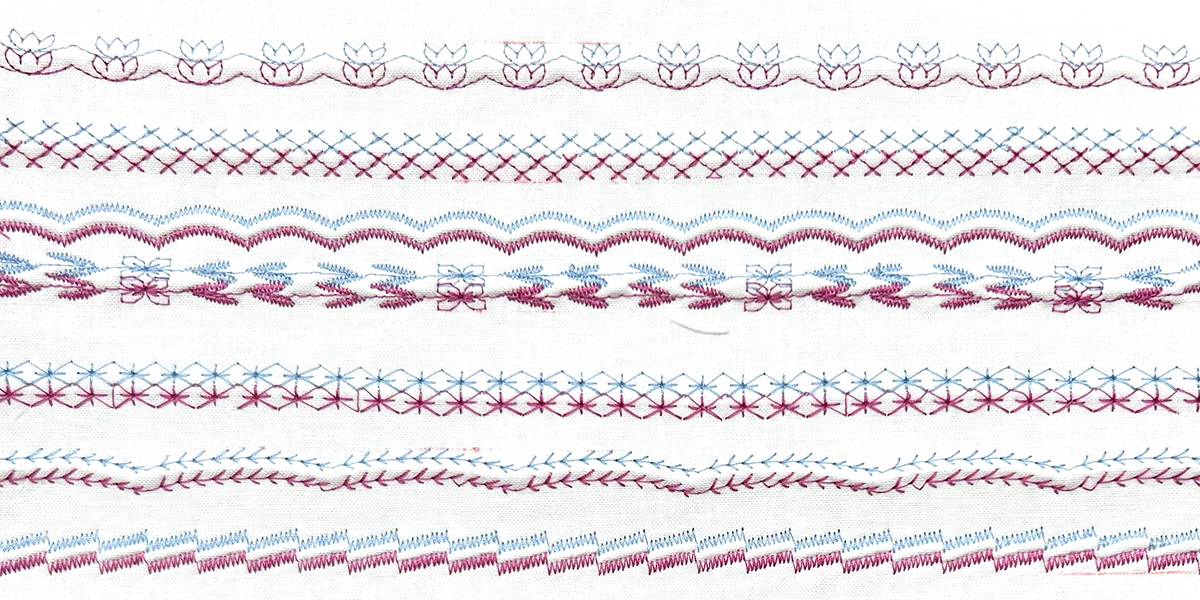
The decorative stitch 2nd row down looks longer on the left side than the right. This is because I played around with stitch length as I was sewing the stitch. Remember you can change the stitch length and stitch width along with other editing features in the Information Menu. BERNINA has Total Stitch Control!
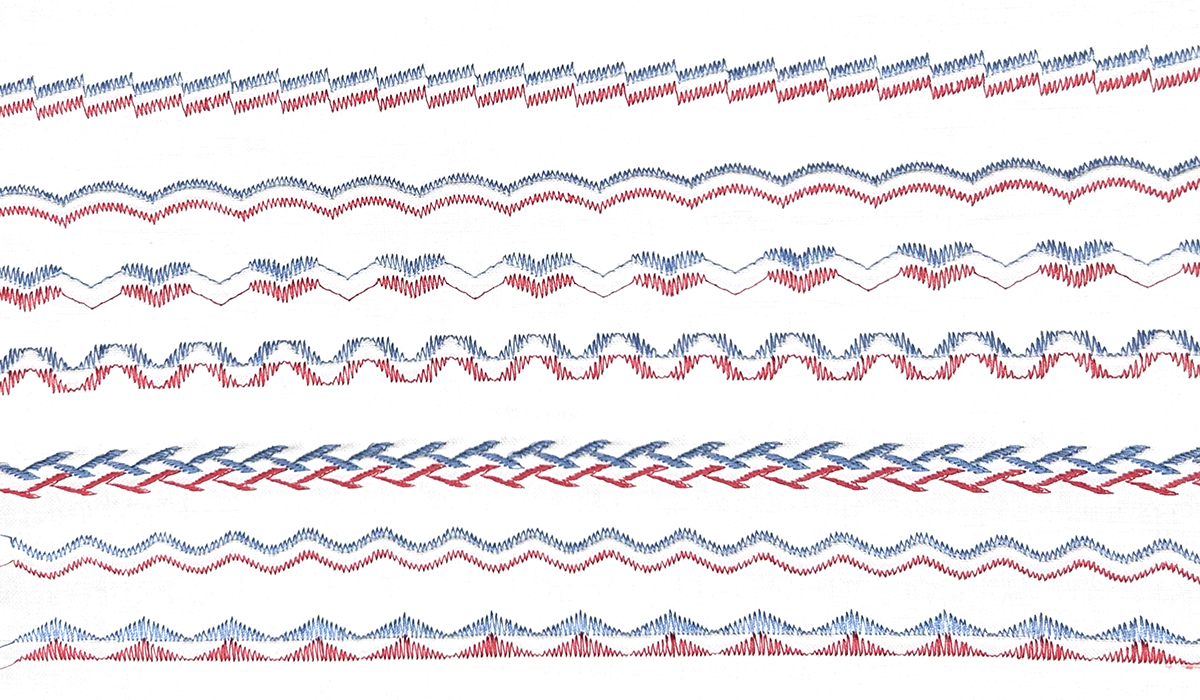
Here are decorative stitches using one red and one blue thread.
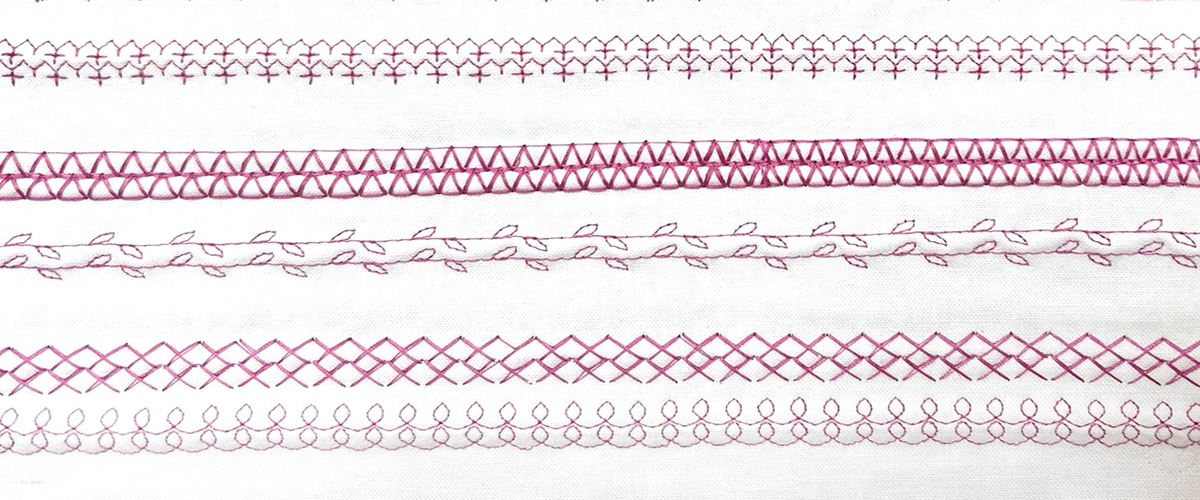
Here are black and red thread colors with more decorative stitches. The possibilities truly are endless. Remember to play, make samples and use them in your projects. The stitches are already in your machine. All you have to do is open the folders!
