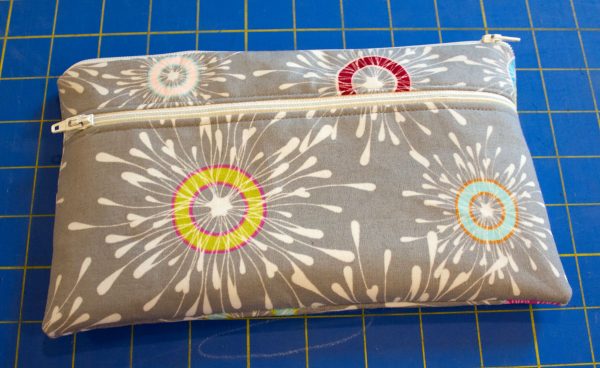
Just in time for the first day of school, this two-pocket pencil case has an elastic strap that you can use to attach the case to your notebook, binder, or sketchbook. This also makes a great pouch to travel with sewing supplies or English paper piecing projects.
Materials to make a two-pocket pencil case:
- 2 pieces of fabric 10″ x 6″ for outside of case
- 2 pieces of fabric 10″ x 6″ for inside of case
- 1 piece of fabric 10″ x 5″ for pocket lining
- 2 – 10″ zippers
- 1 piece of 1″ wide elastic cut 10″ long
- Sewing machine (I use a BERNINA 740)
- Zipper foot #4/#4D
- Reverse pattern foot with clear sole #34/#34C/#34D
Note: All seam allowances are 1/2″ unless otherwise noted.
Step 1: Create the front pocket
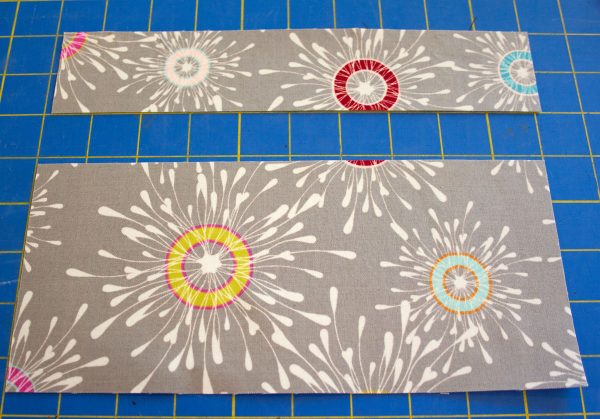
Cut off the top 2″ of one of the outside pieces.
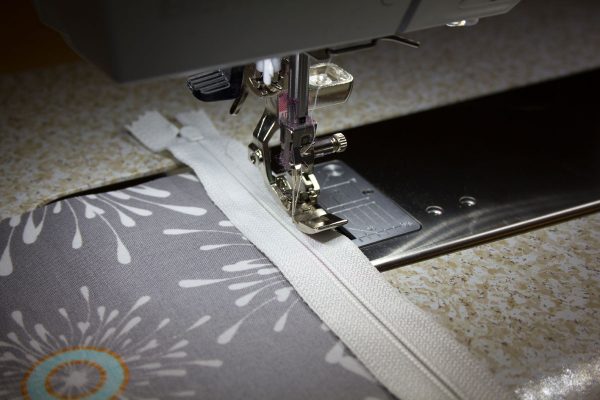
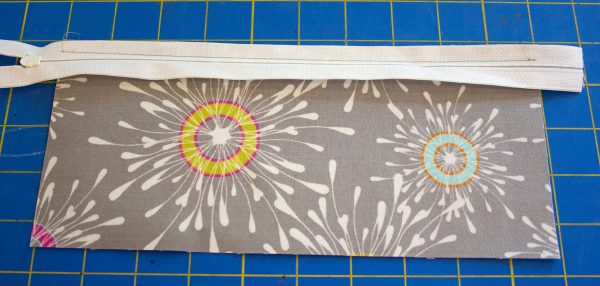
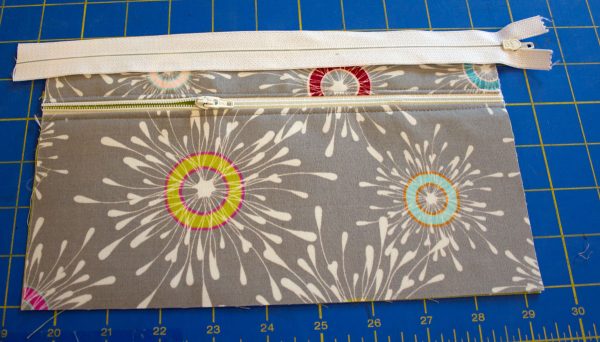
Place one of the zippers face down on the right side of the bottom half of the outside piece. The zipper will extend beyond the edges and that’s okay we’ll trim it off later. Put your zipper foot on your machine and sew the zipper in place.
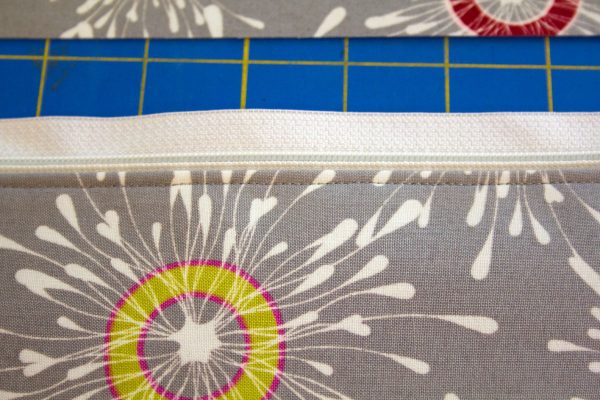
Turn the piece over, press it and then topstitch along the edge close to the zipper.
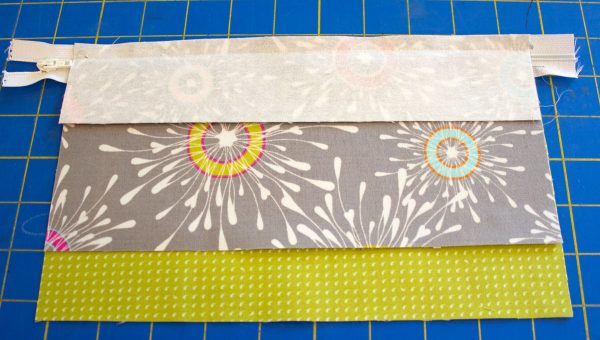
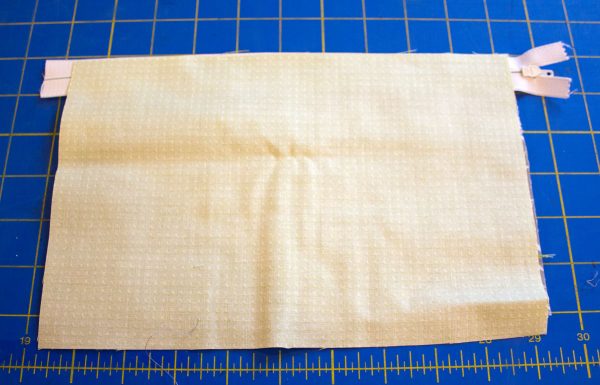
Place the front pocket lining piece on your work surface right side up and place the lower half of the outside piece with the zipper on top of it wrong side down. The right side of the lining fabric should be against the wrong side of the bottom panel. Place the top half of the outside piece (the 2″ piece that you cut off) on top of the other side of the zipper tape. Take the whole thing to the sewing machine and stitch the three layers together.
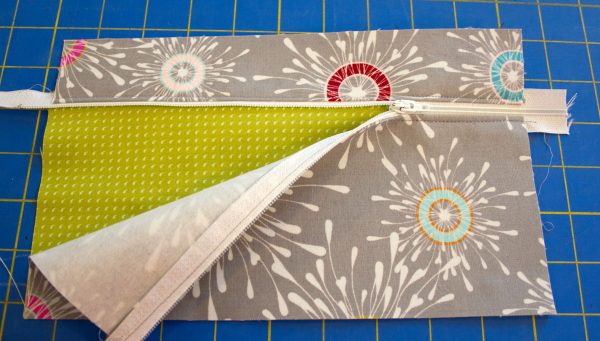
Trim off the excess lining from the bottom edge. Turn the top edge of the back panel up, press it and top stitch it along the zipper tape edge.
Pull the zipper tab to the center of the zipper and then trim off the excess zipper tape.
Step 2: Sew the elastic strap
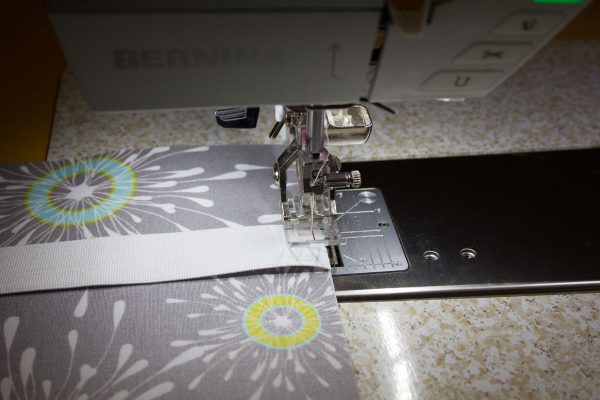
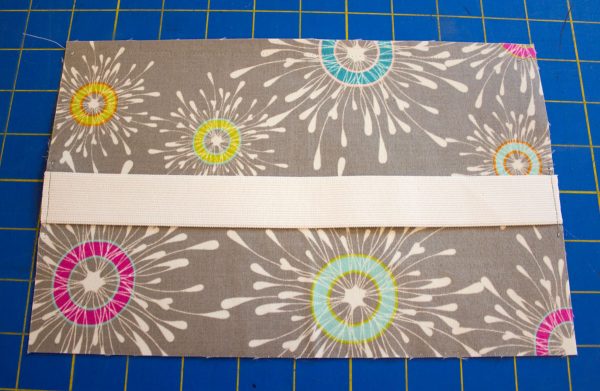
Place the elastic on the outside back piece and sew it in place using a scant 1/4″ seam.
Step 3: Sew the top zipper to the front of the case
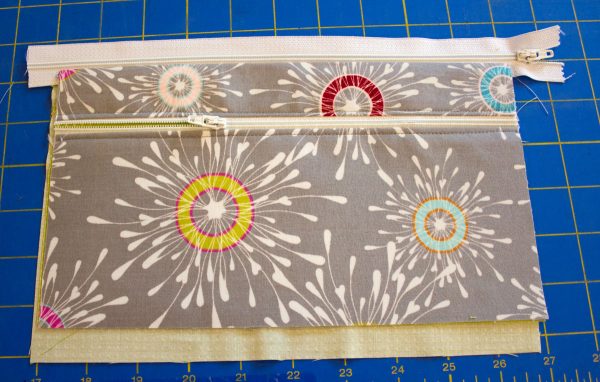
Put the front piece of the case right side up on your work surface and place the other zipper on top, right sides together.
Put an inside lining piece on top right side down. Take the whole thing to the sewing machine and sew the three layers together.
Open out the piece to expose the zipper tape and press it.
Step 4: Sew the top zipper to the back of the case
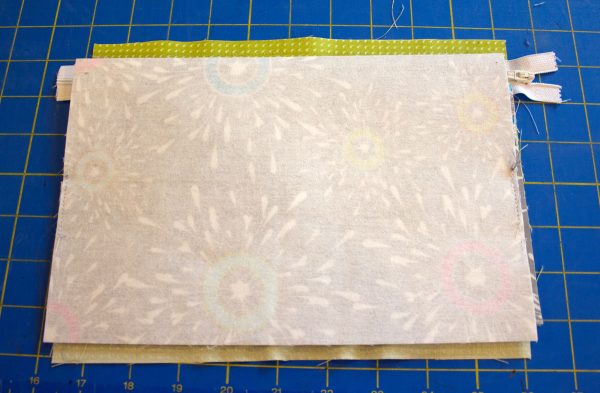
Place the other inside lining piece on your work surface right side up. Put the case front piece on top of it (right side up) alining the unsewn half of the zipper tape along the top edge of the lining piece. Then place the back side of the case (the piece with the elastic sewn to it) right side down against the front case piece.
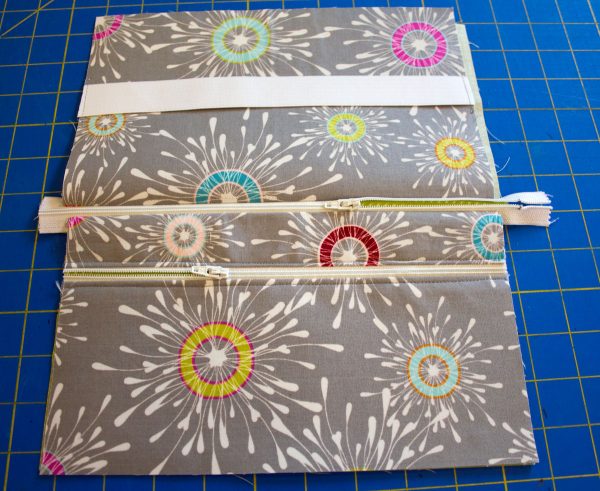
Bring the piece to the sewing machine and sew the layers together along the edge of the zipper tape. When you’re done and you open it out it should look like this:
Step 5: Finish the case
Slide the top zipper to the center of the zipper tape. Flip the pieces so that the right sides of the outside of the case are facing each other and the lining pieces are facing each other and take the piece to the sewing machine.
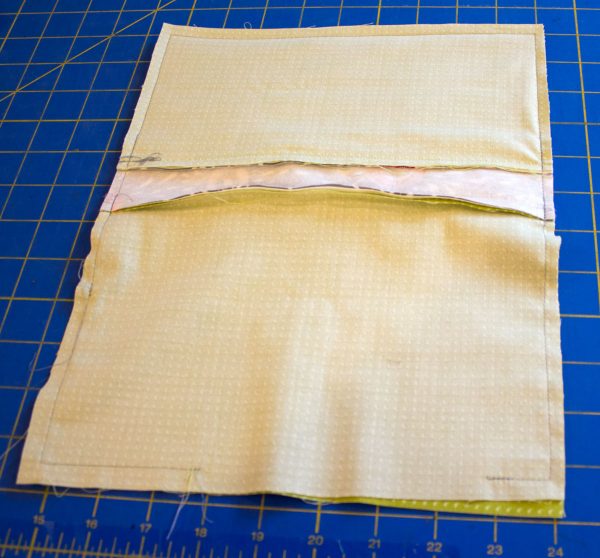
Sew around the edges of the case leaving an opening along the bottom edge of the lining pieces. Trim off the excess zipper tape from the sides.
Clip the corners and then turn the case right side out through the opening in the lining. Sew the opening in the lining shut and you’re done!


