When sewing garments, it can be so frustrating when you wash them for the first time and all of the raw edges inside start to fray. Finishing your seams will ensure that this doesn’t happen and will give you a garment that looks just as good from in the inside as it does on the outside. It’s common to think that you need a serger or overlocker to finish seams, but there are plenty of beautiful finishes you can do with only your sewing machine. In this tutorial, we’ll make a sampler to display different seam finishes. You can then easily refer to it when deciding what finish to use on your next project.
How to Sew a Seam Finishes Sampler
Materials
- ¼” yard or a fat quarter of cotton fabric
- Thread
- Pins
- Fabric Shears
- Sewing Machine (I used the BERNINA 535)
- Iron
Prepping Your Fabric
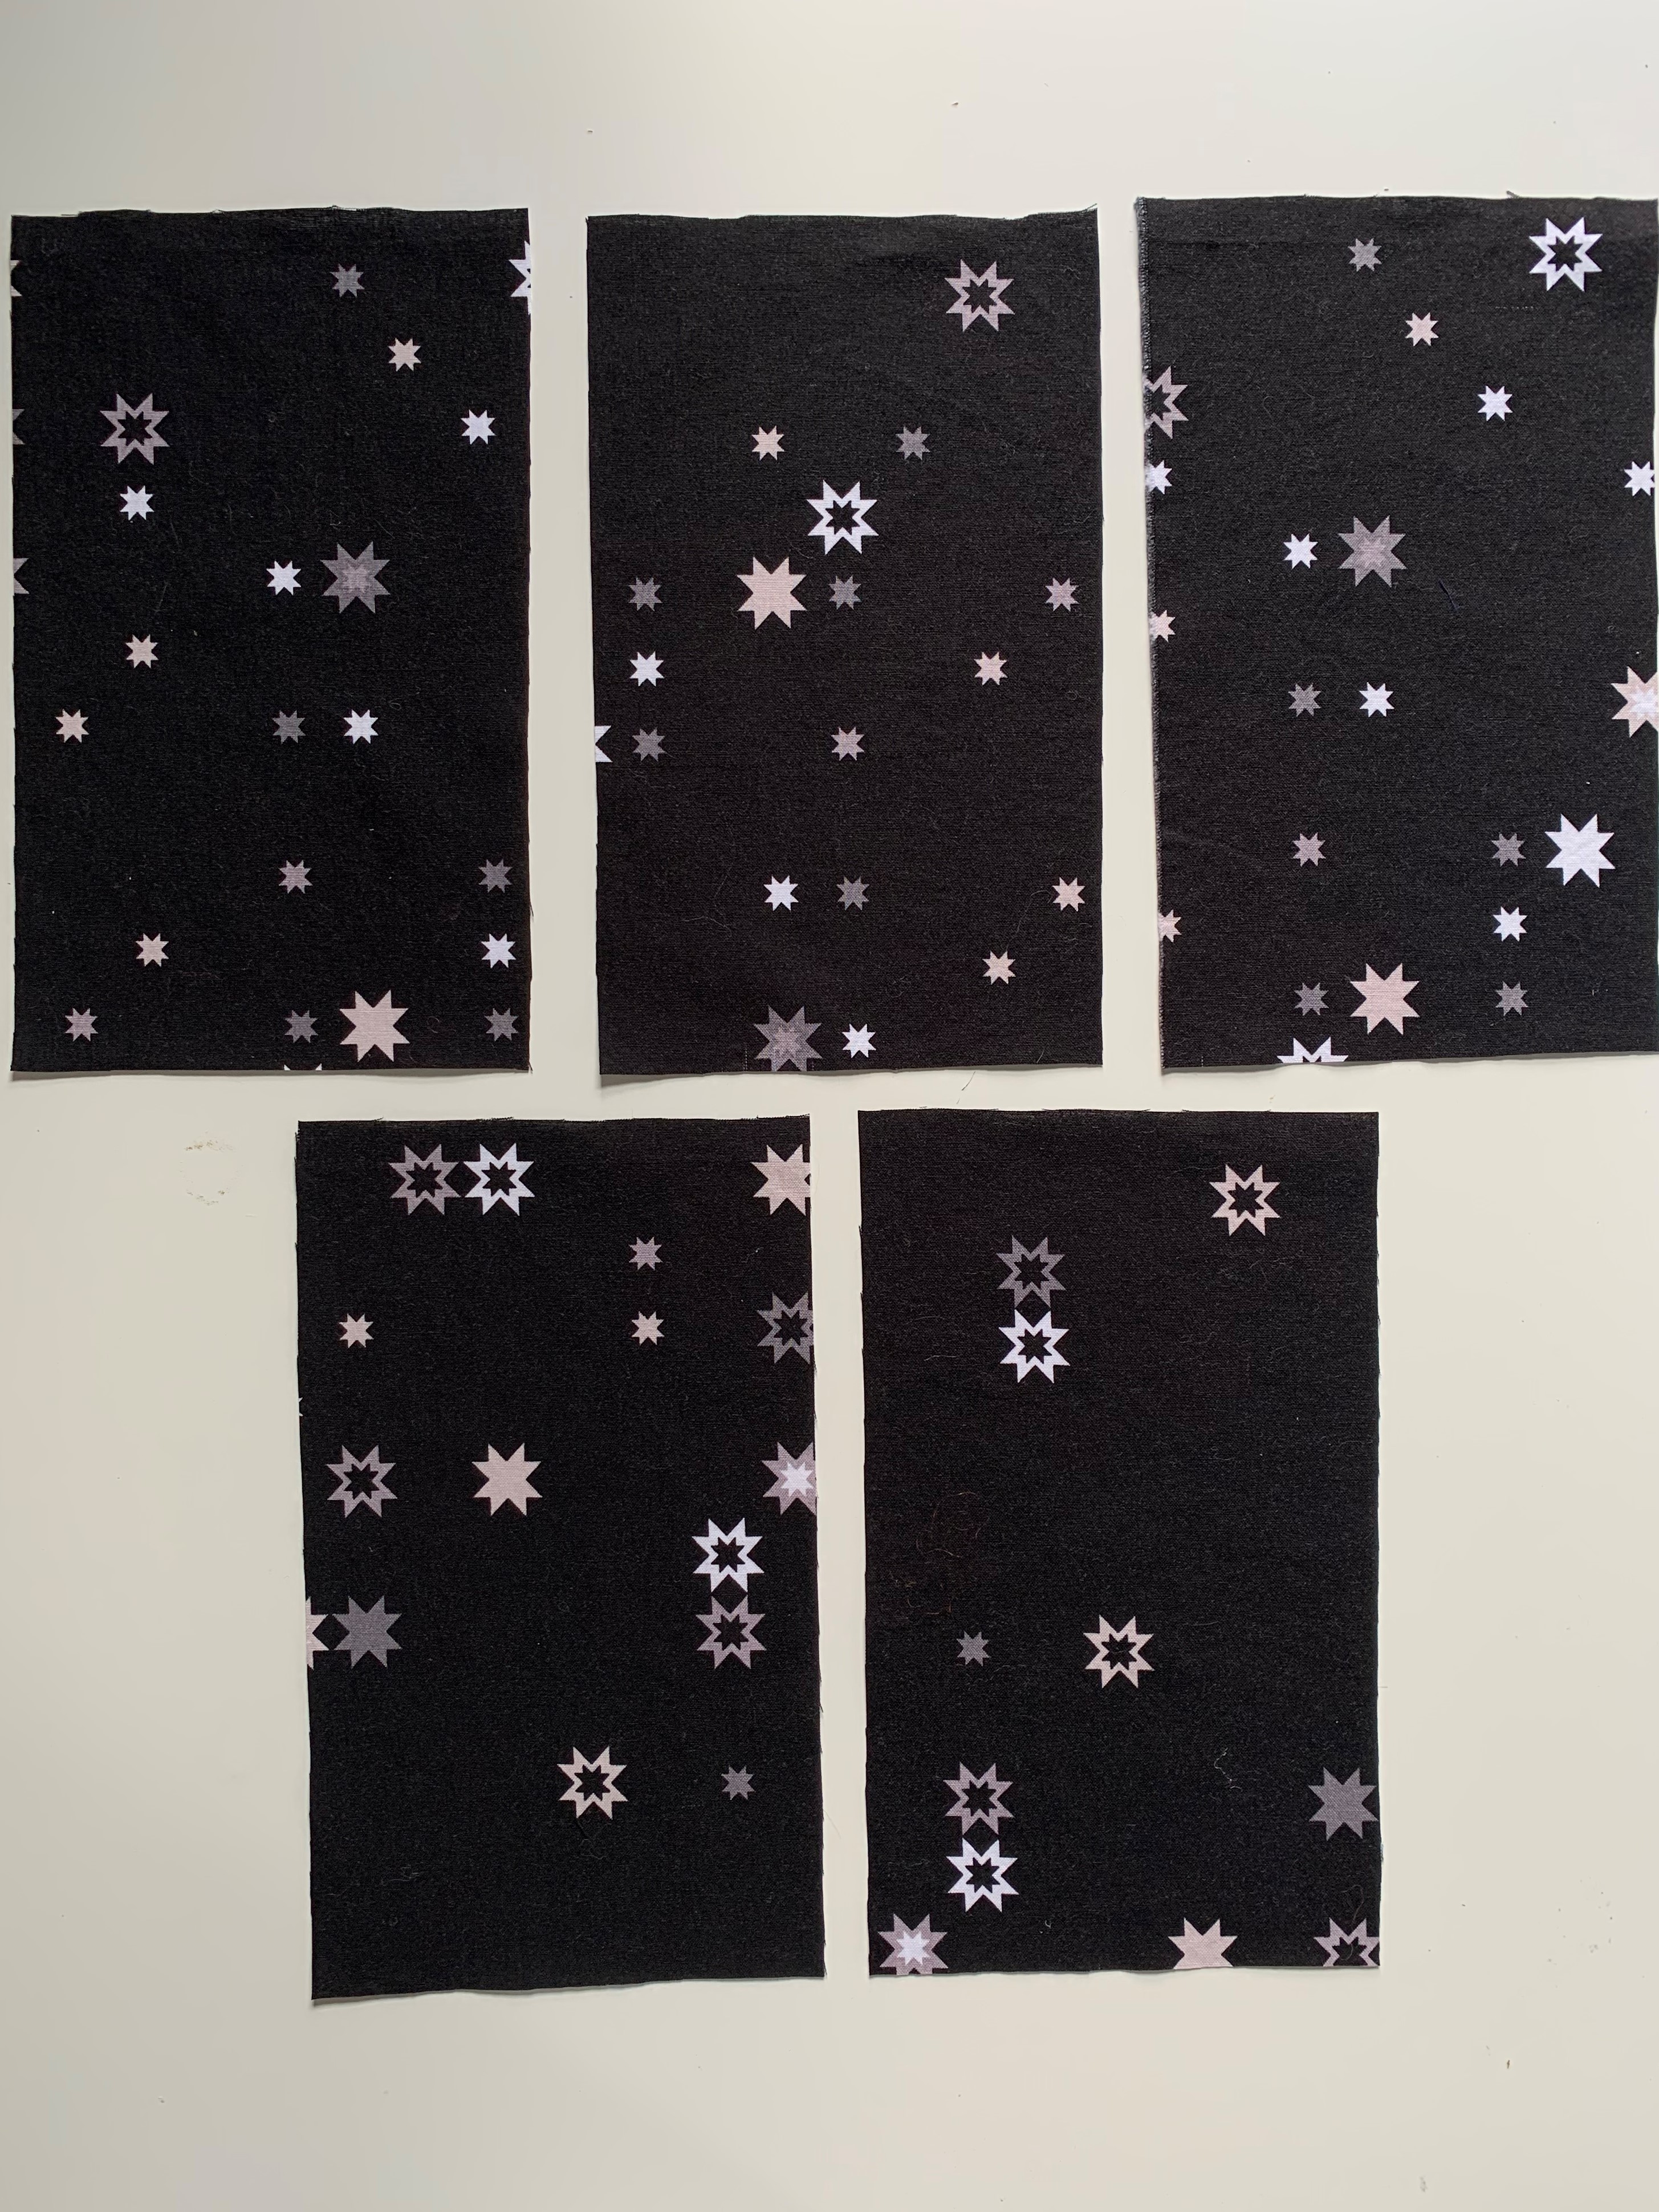
For this seam finishes sampler, you’ll need about a quarter yard of fabric or a fat quarter. A quilting cotton will work great for this. These finishes will be best demonstrated if it’s easy to tell the right side of the fabric from the wrong side. From here, you’ll want to cut your fabric into five pieces that are roughly equal in length. The width of each piece doesn’t matter too much.
For this tutorial, a 5/8” seam allowance is used throughout, but the process will be the same for other seam allowances.
Seam Finish 1: French Seams
French Seam Overview
The first seam we will sew is a French seam. This seam finish works really well for light weight fabrics. French seams can get a little bulky with heavier fabrics, so it’s best to try another finish on something heavy weight like a denim or thick canvas. When using a French seam, you will not be able to press your seams open. If that is important for the pattern, you would want to try another finishing method.
French seams will require just a little math at first because you are actually going to sew your seam twice. To keep the seam allowances your pattern requires, you’ll need to divide the seam allowance in half. (For example, a ½” seam allowance would become ¼” + ¼”). If the seam allowances won’t divide evenly, you’ll have an extra 1/8” in one of your seam allowances. For this tutorial, I used 5/8” seam allowances throughout. I’m going to sew my first seam at ¼” and my second seam at 3/8” so that in total I’m still sewing at the required 5/8” seam allowance. When you have an uneven split, you’ll want to sew with the smaller seam allowance first. Now that we’ve got the math out of the way, let’s sew those French seams!
Sewing French Seams
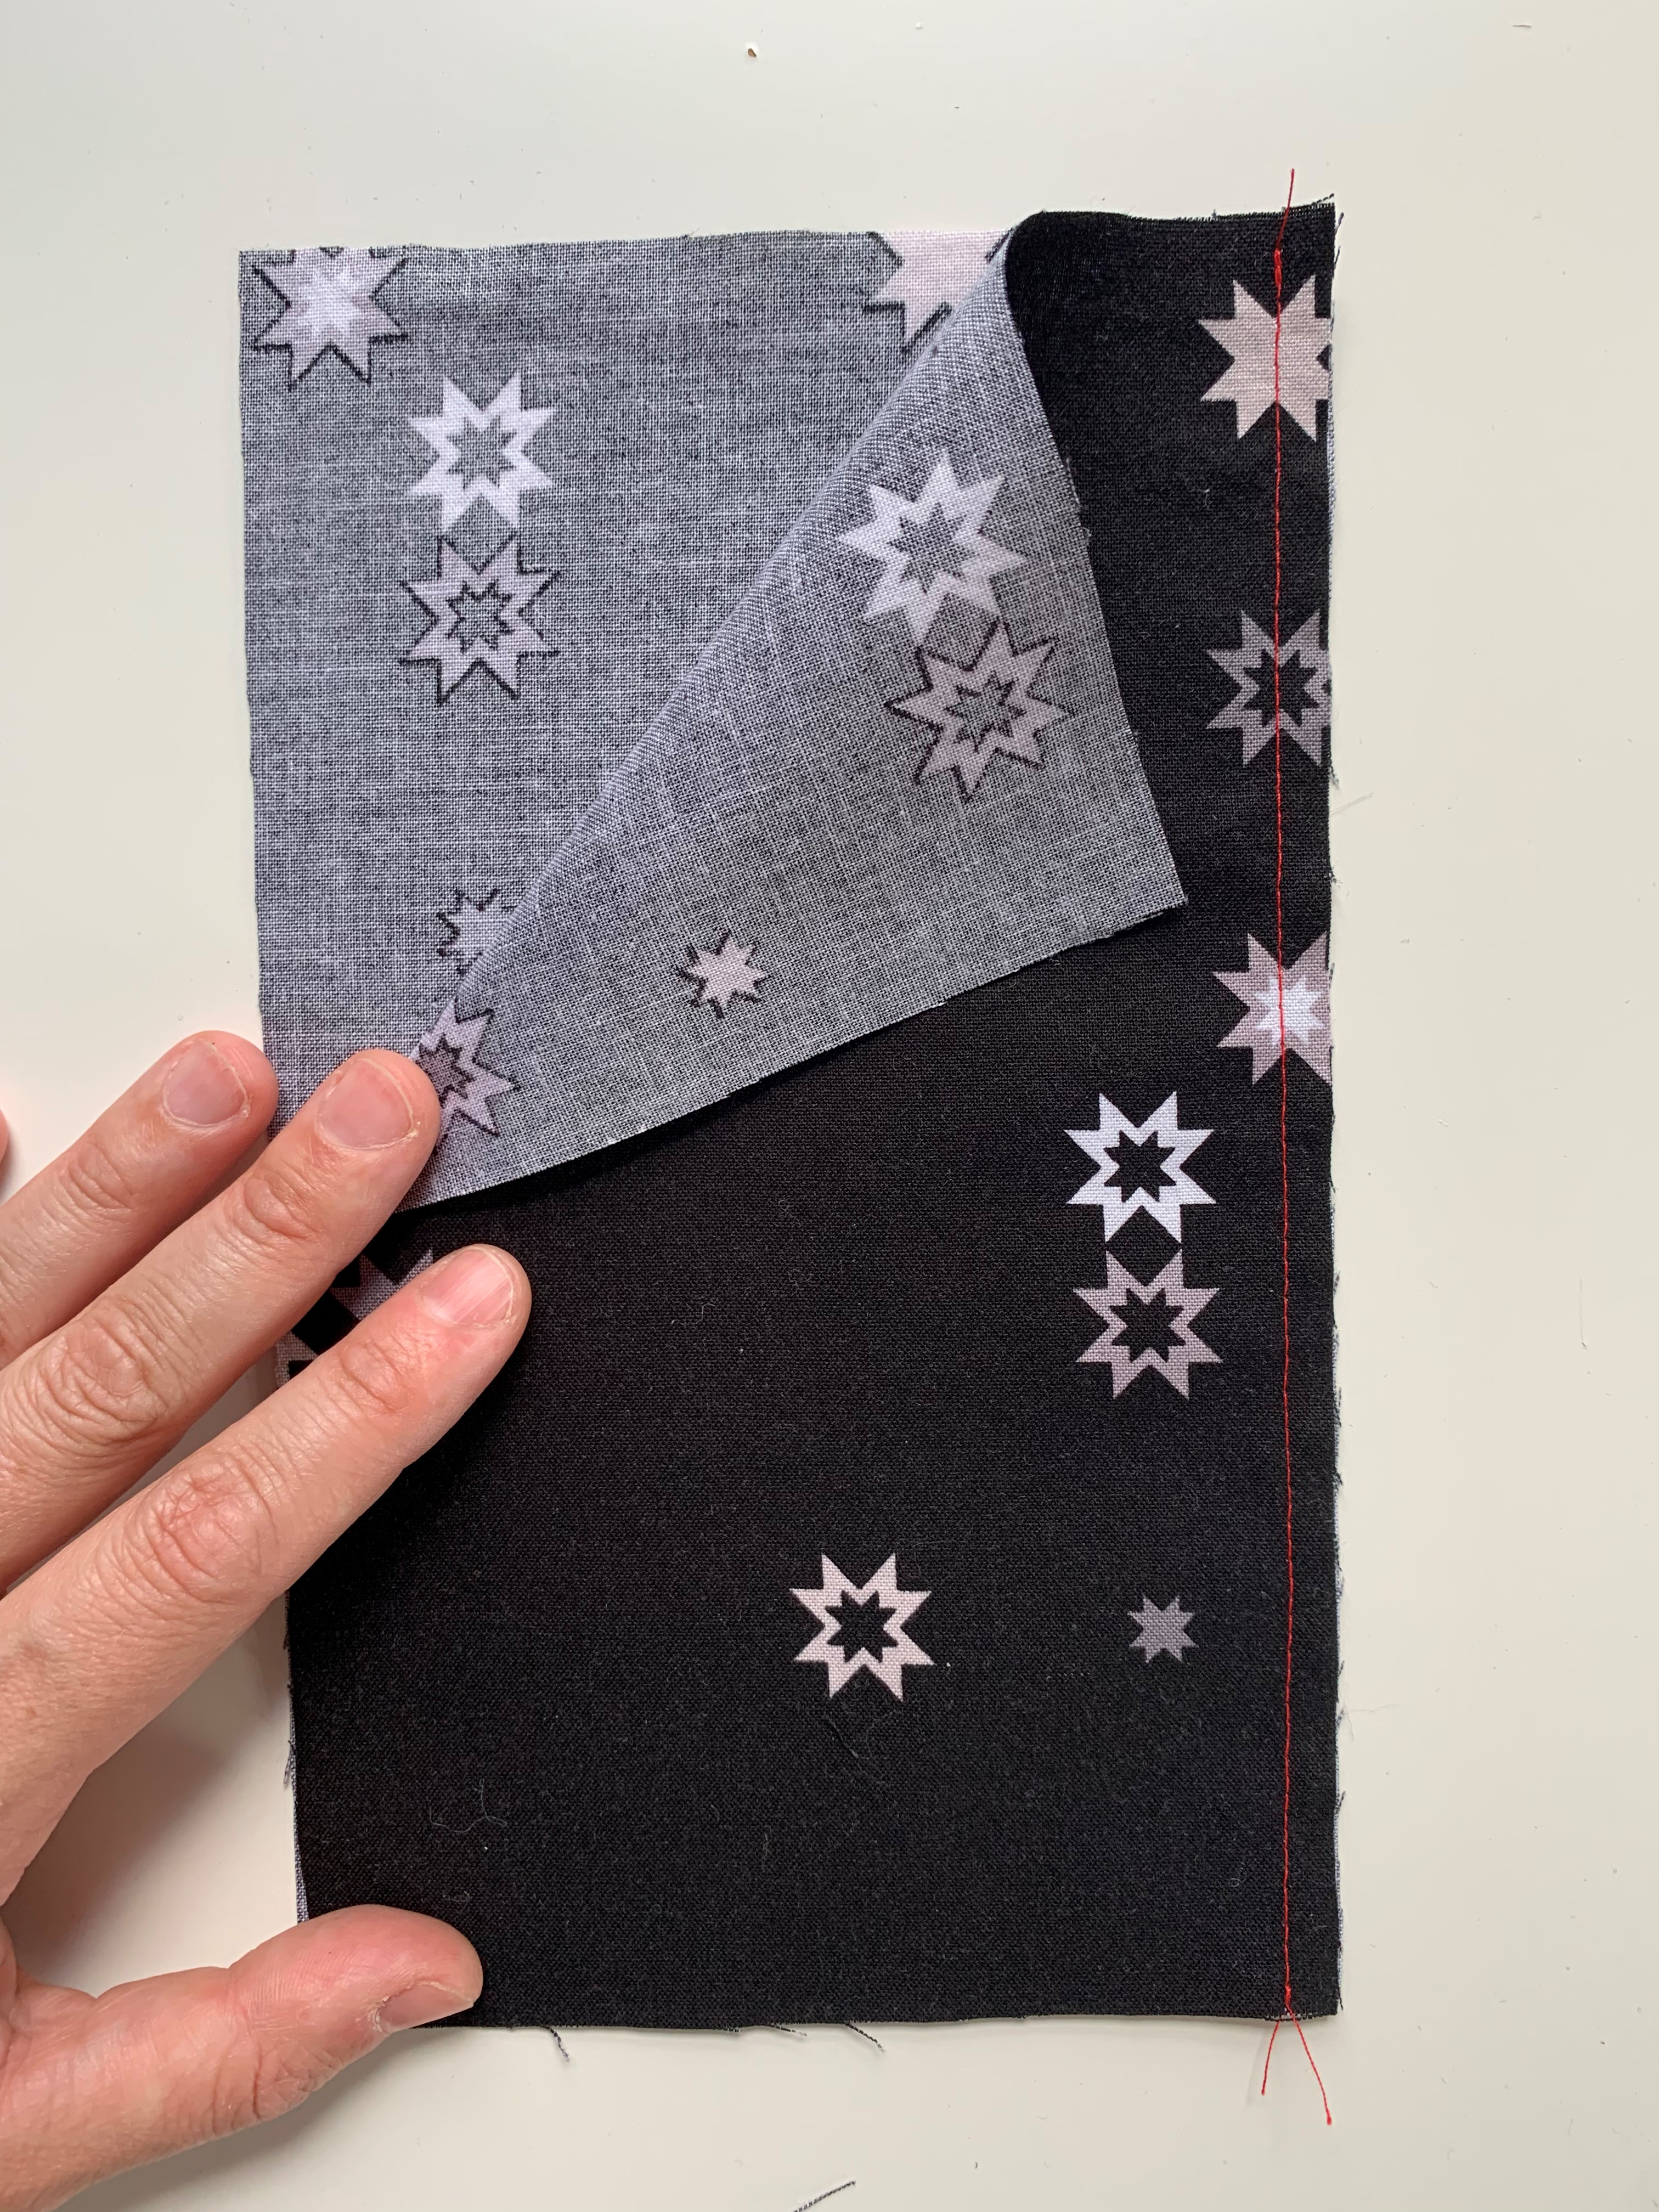
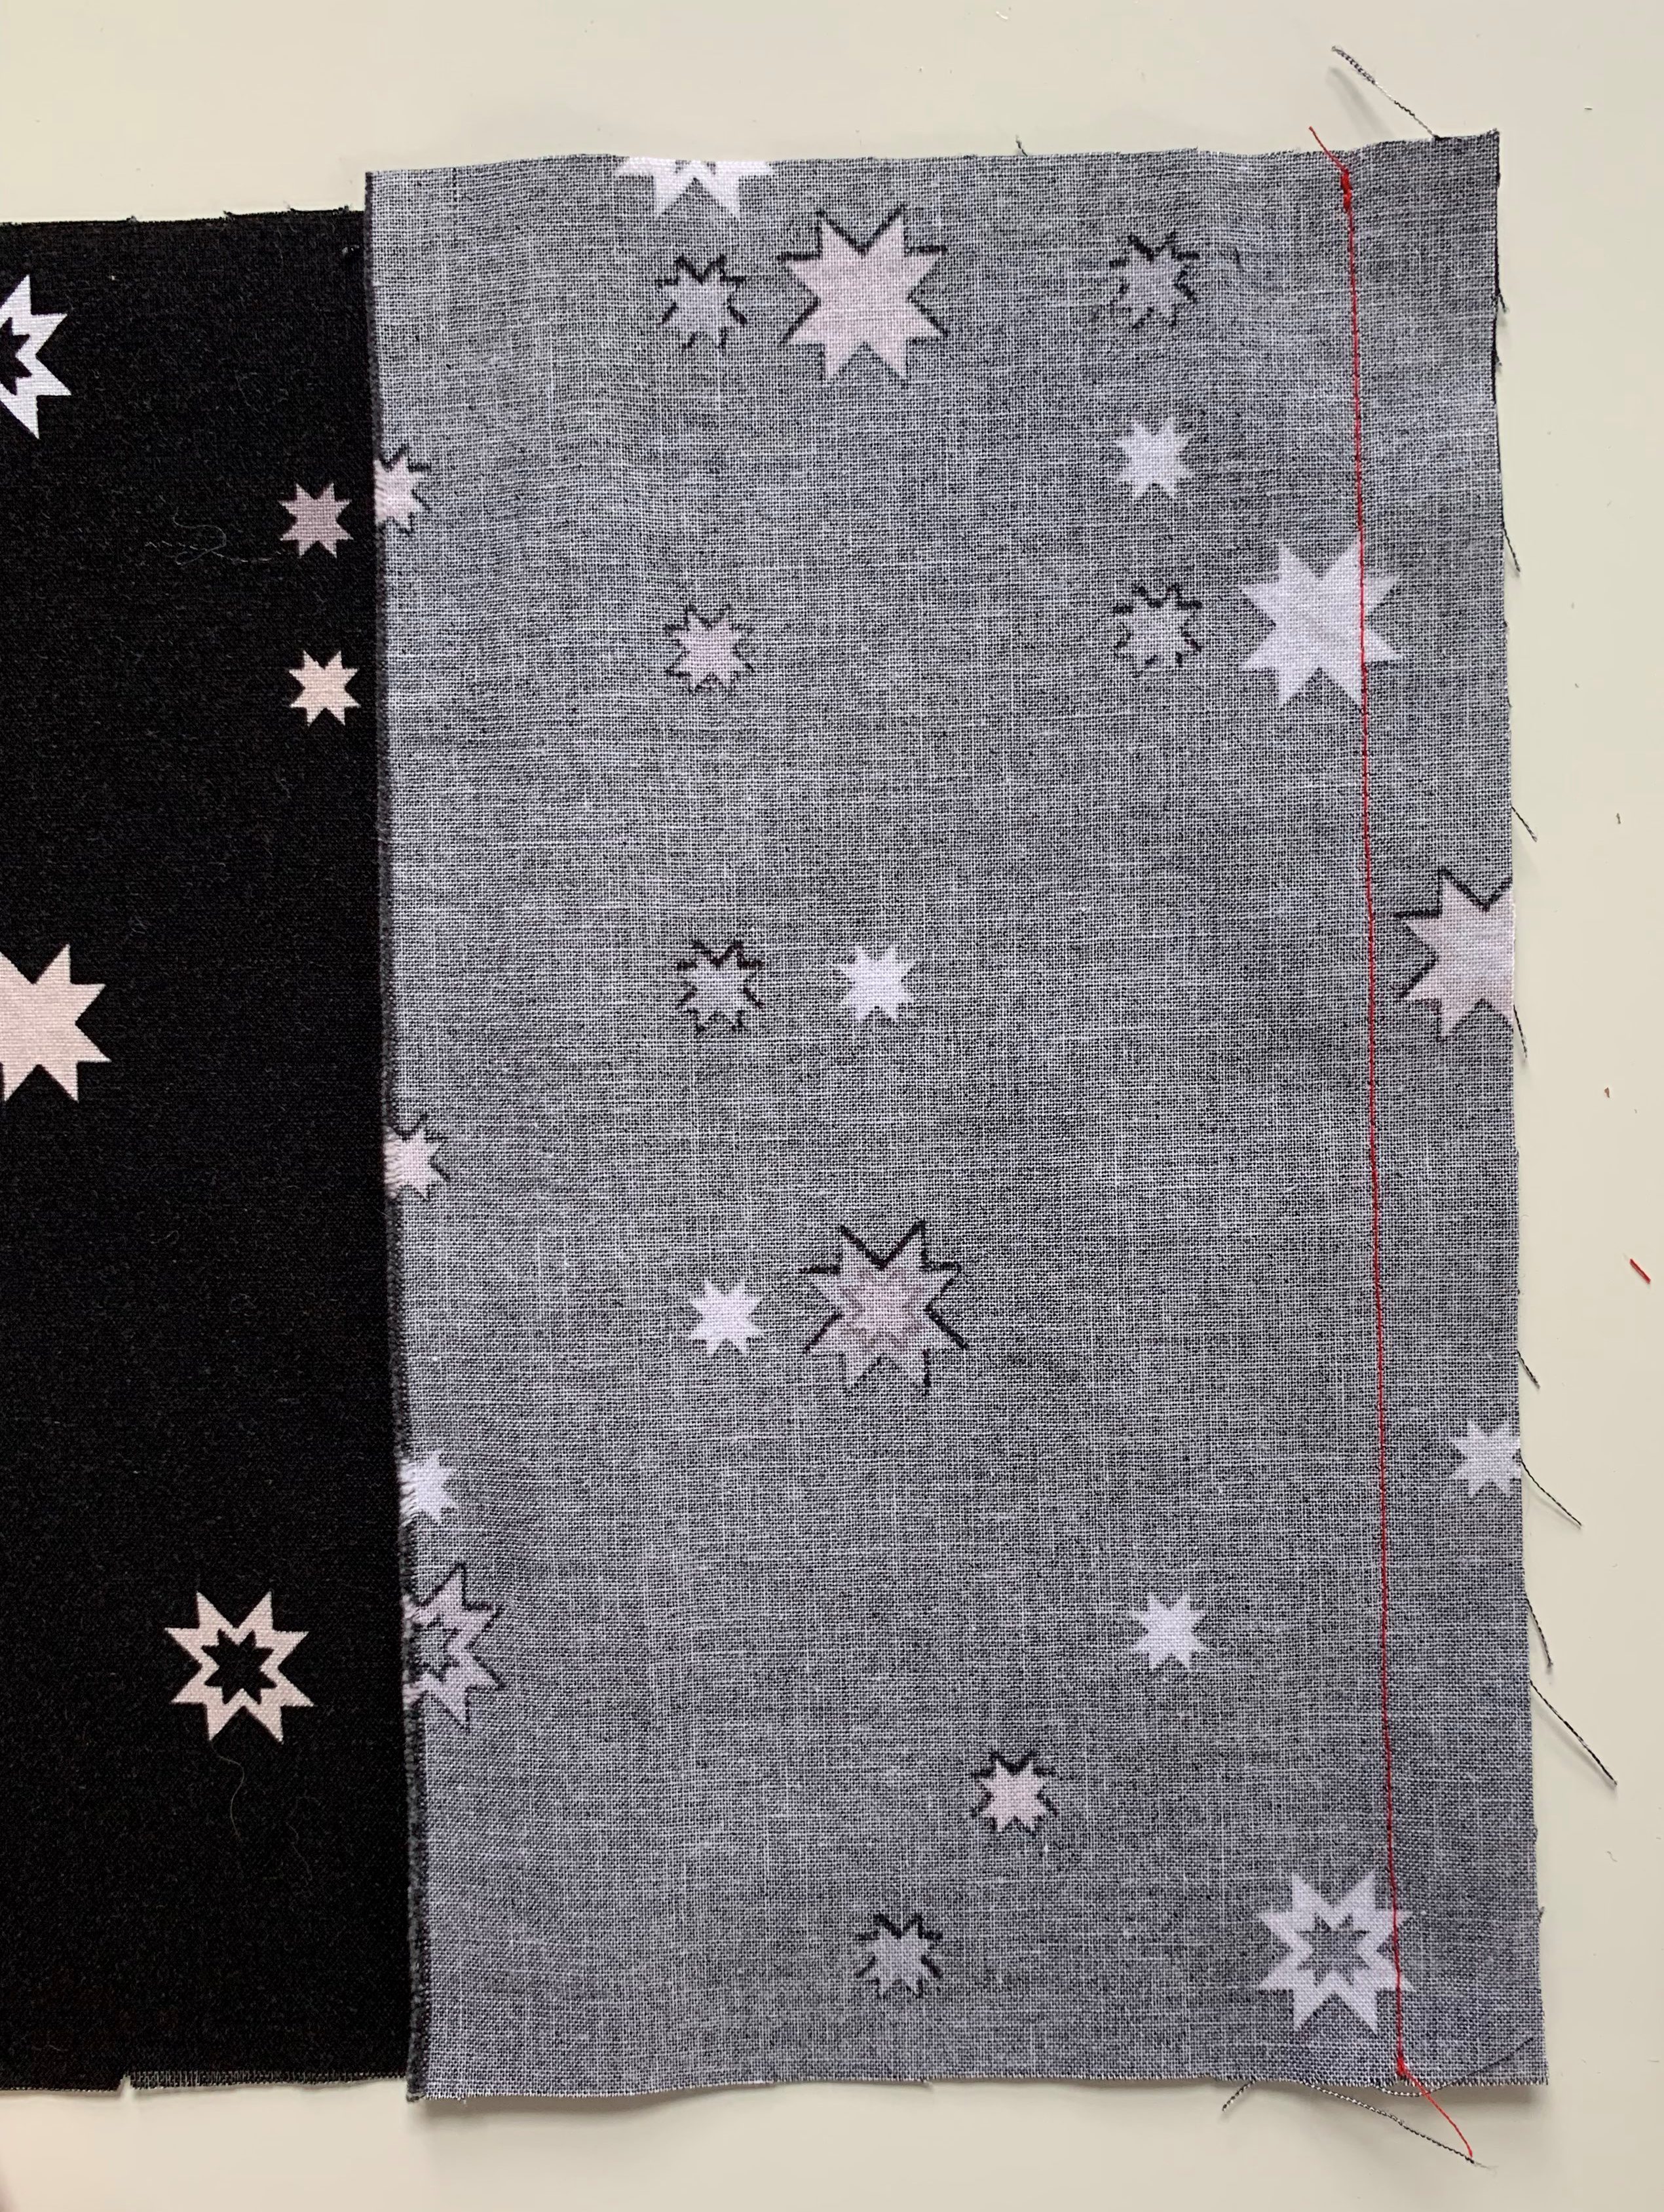
- Take two of your fabric pieces and line up the raw edges with the wrong sides together. This is going to seem incorrect, but it will all work out!
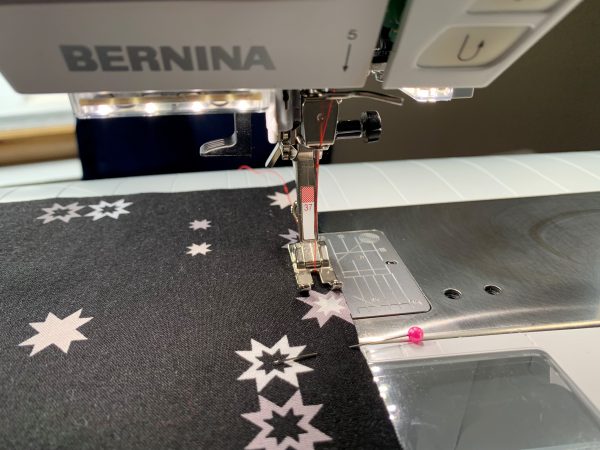
- Sew this seam with ¼” seam allowance. I like to use the BERNINA Patchwork Foot #37 for this to help me keep that ¼” nice and precise.
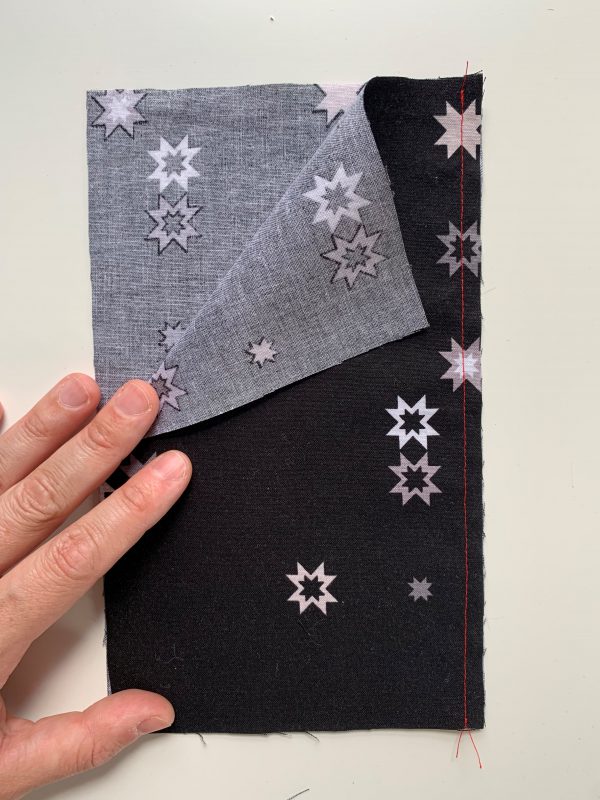
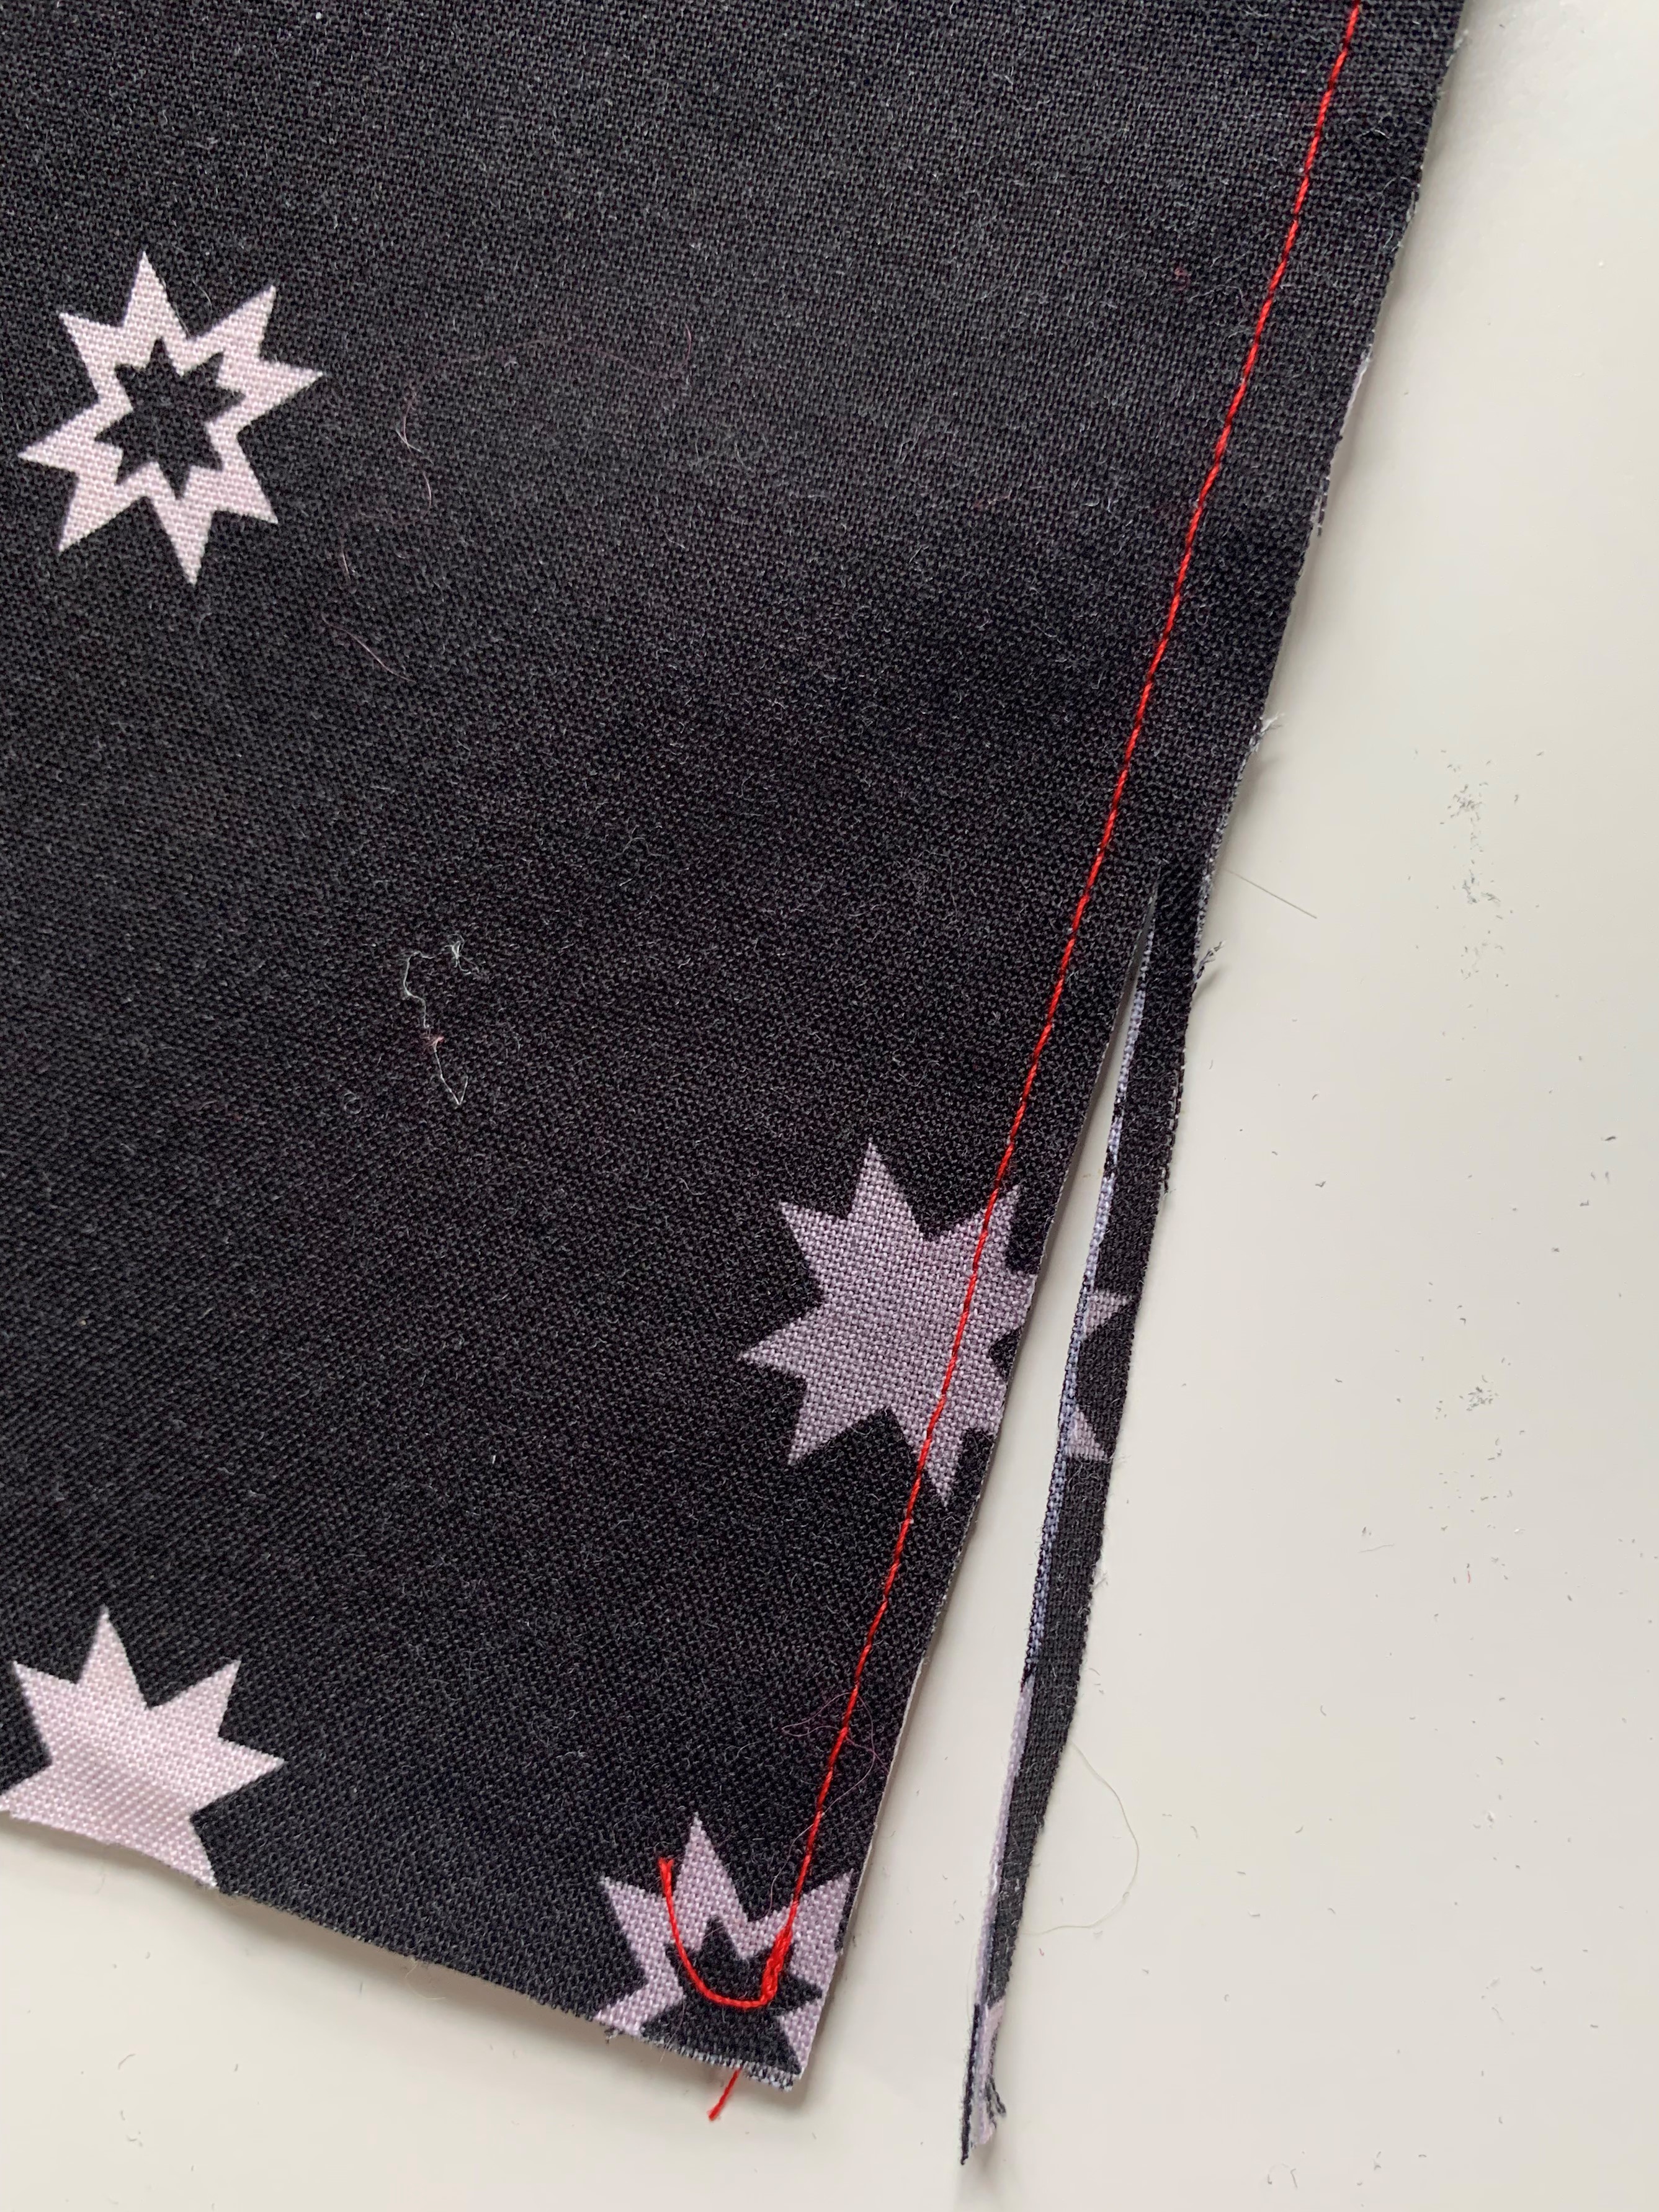
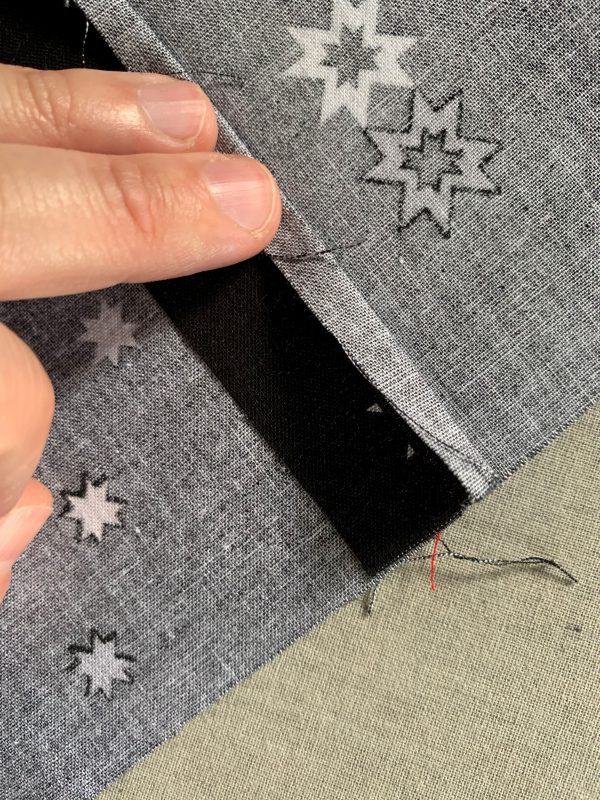
- Trim this seam allowance roughly in half.
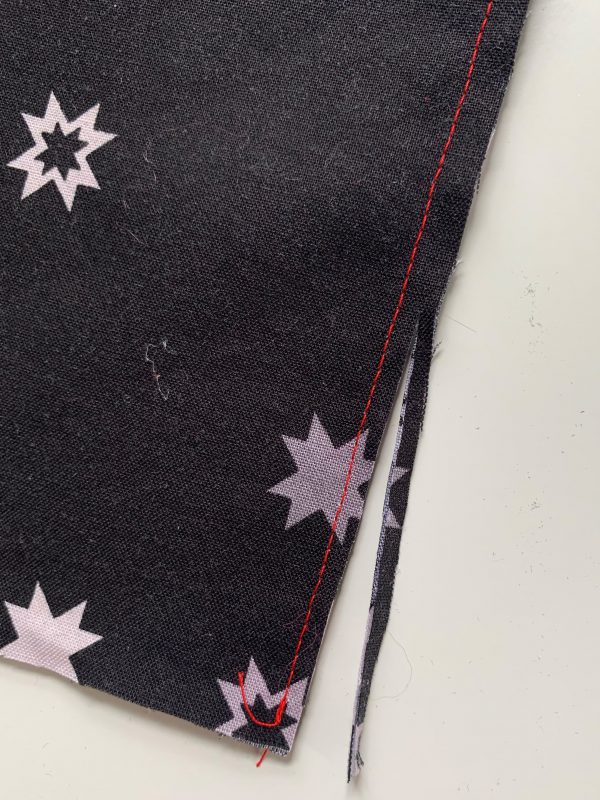
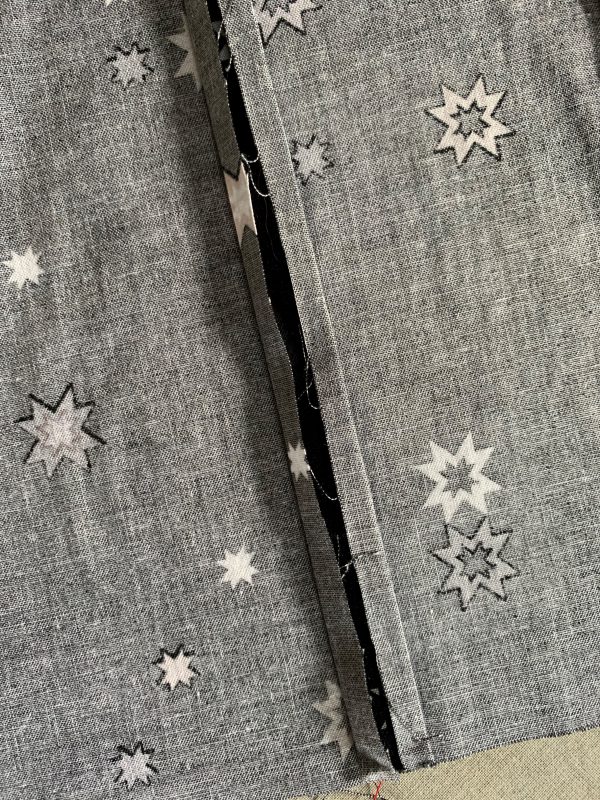
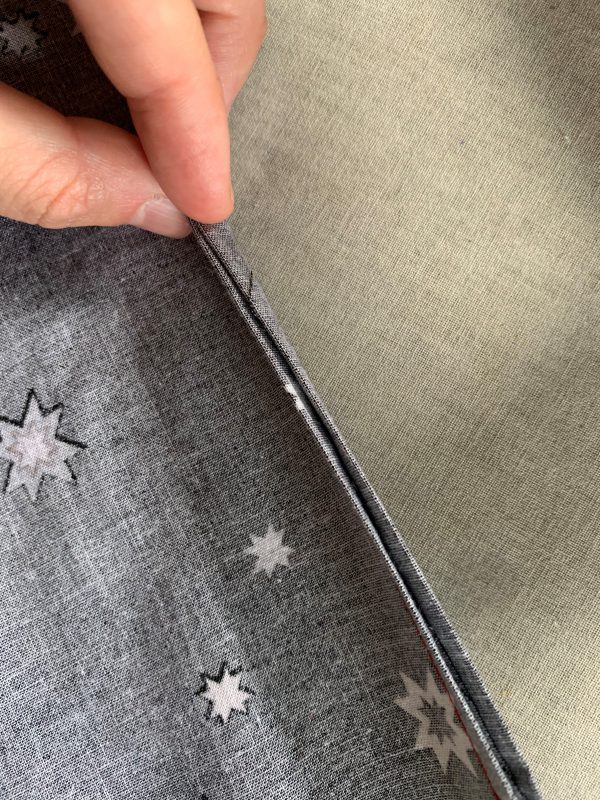
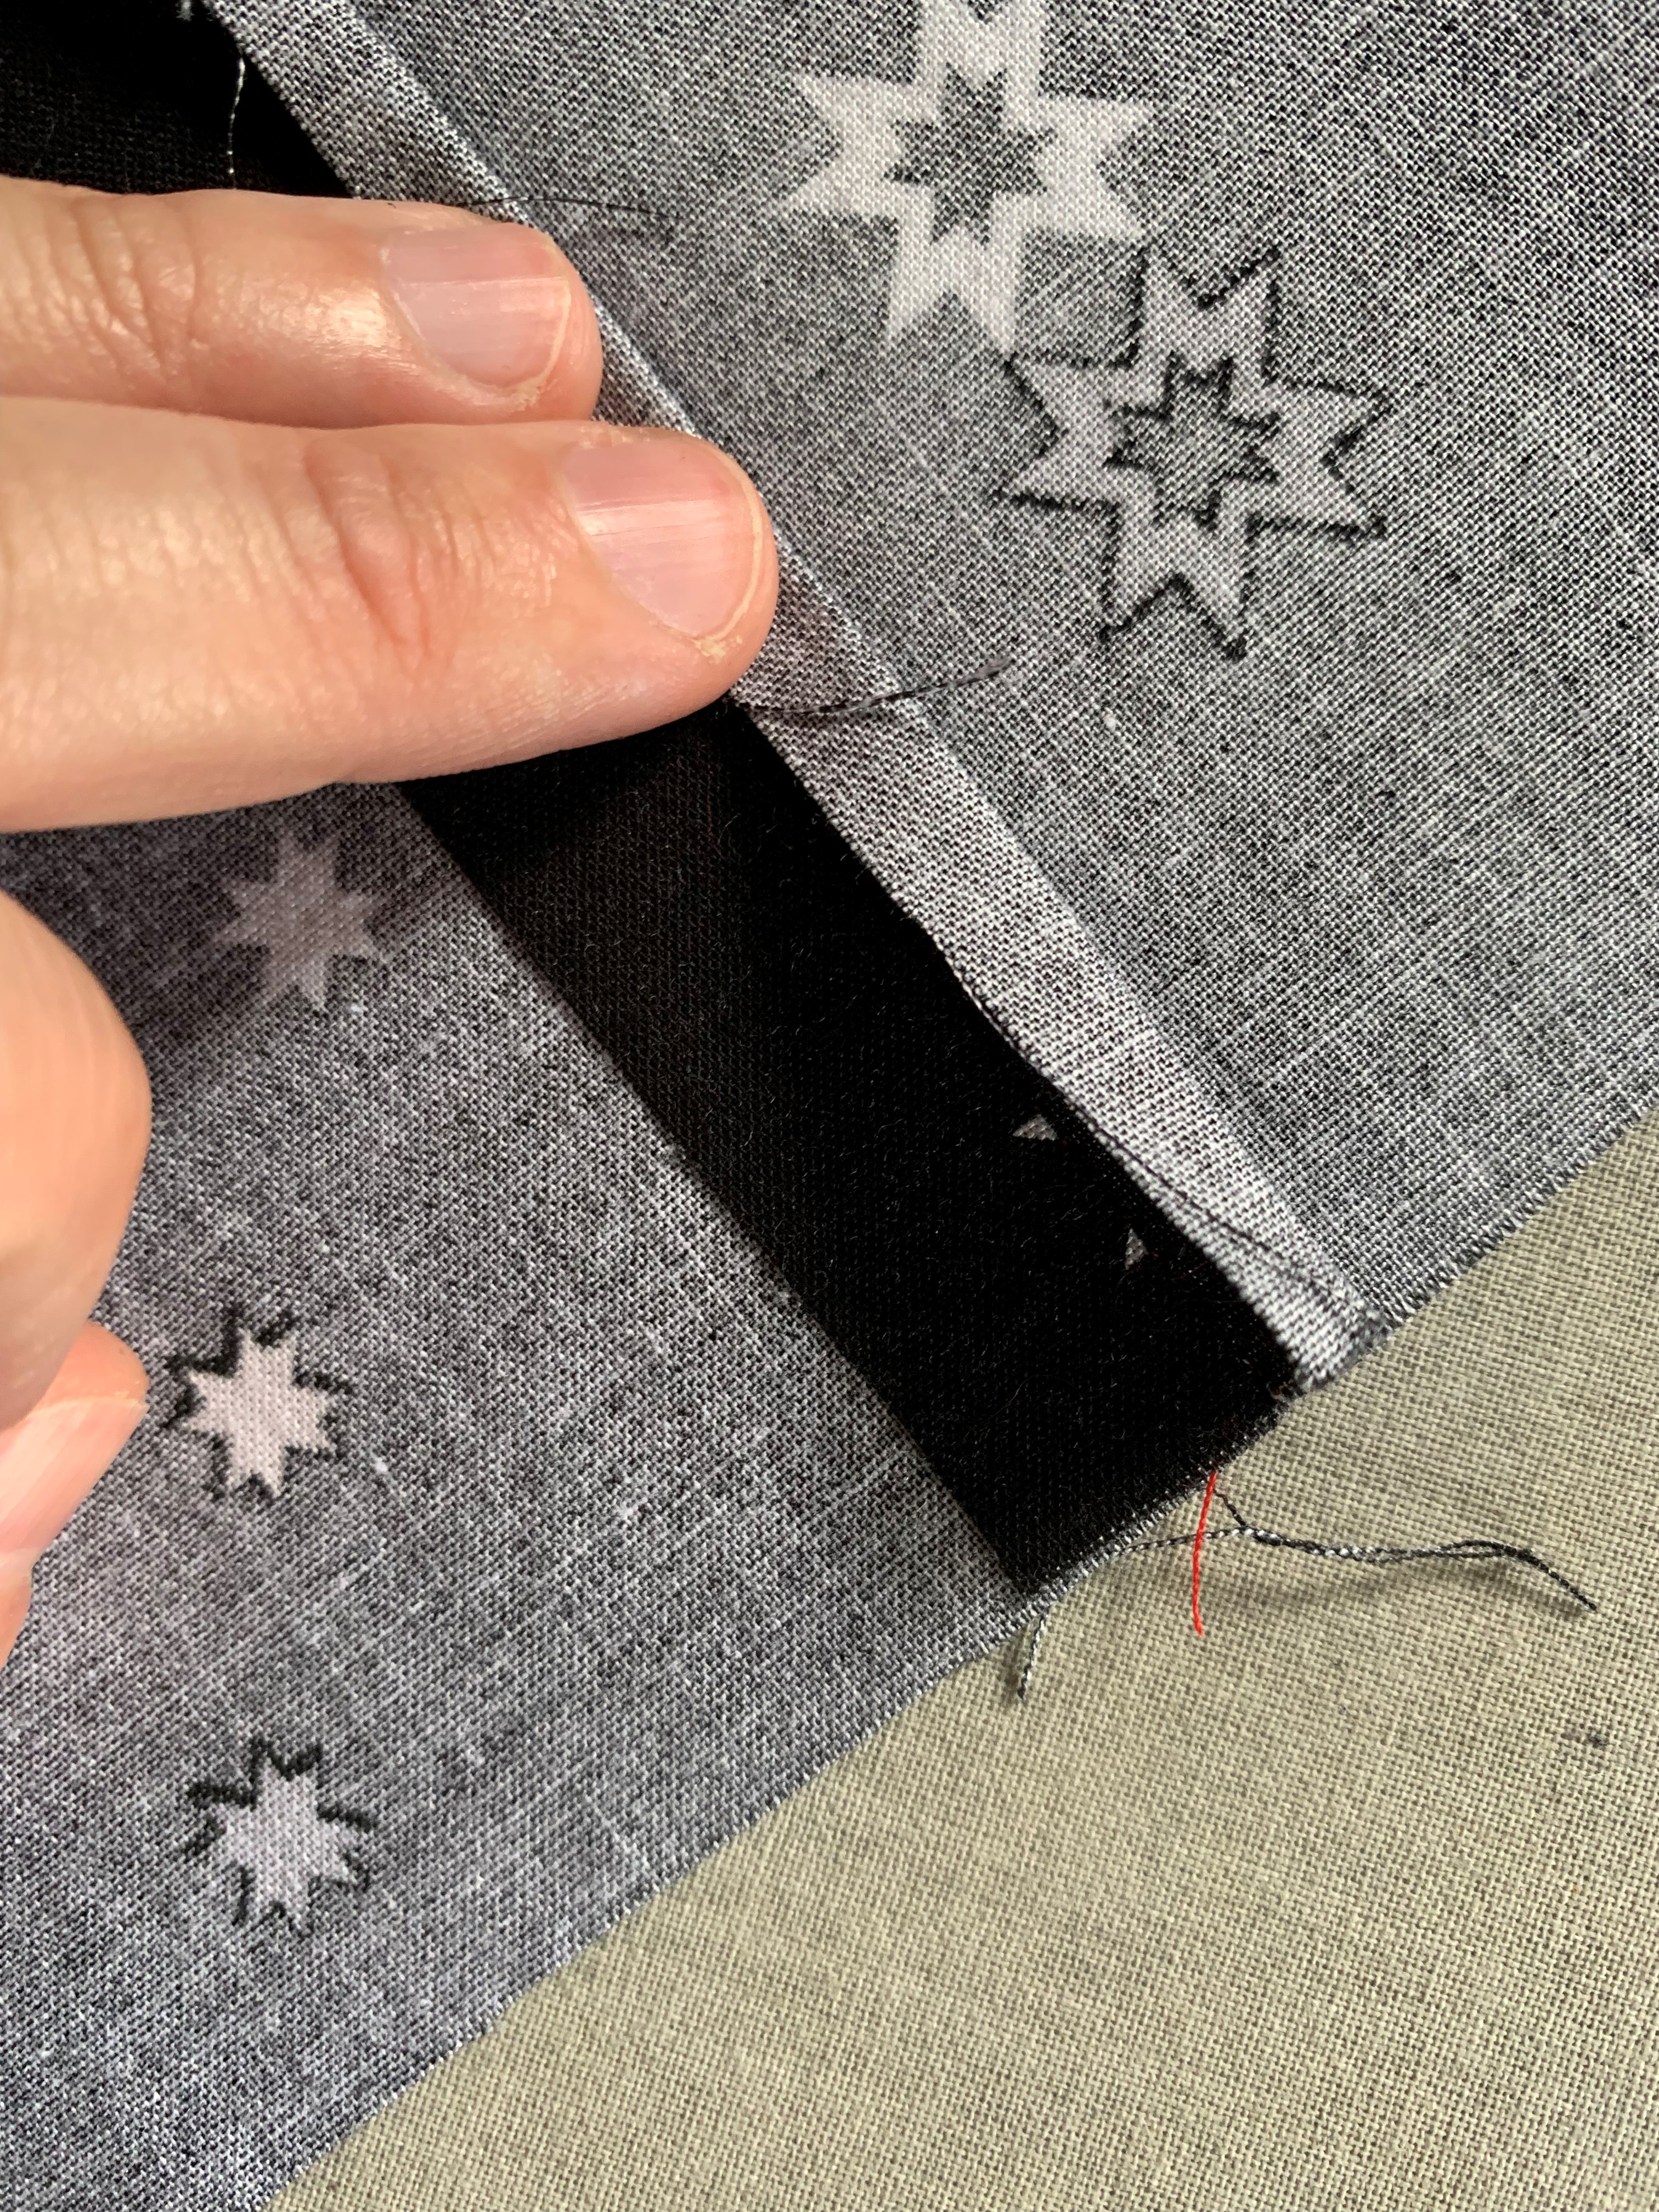
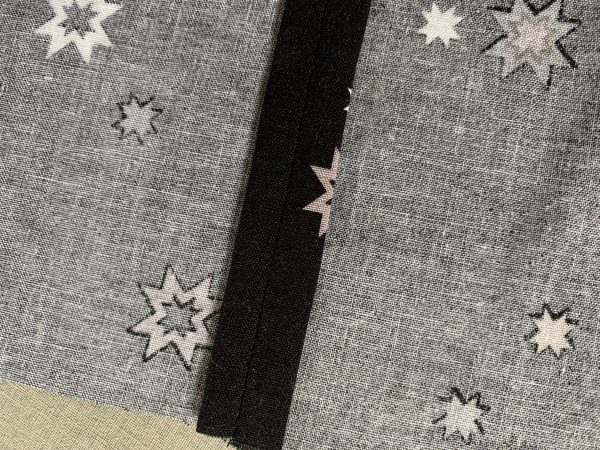
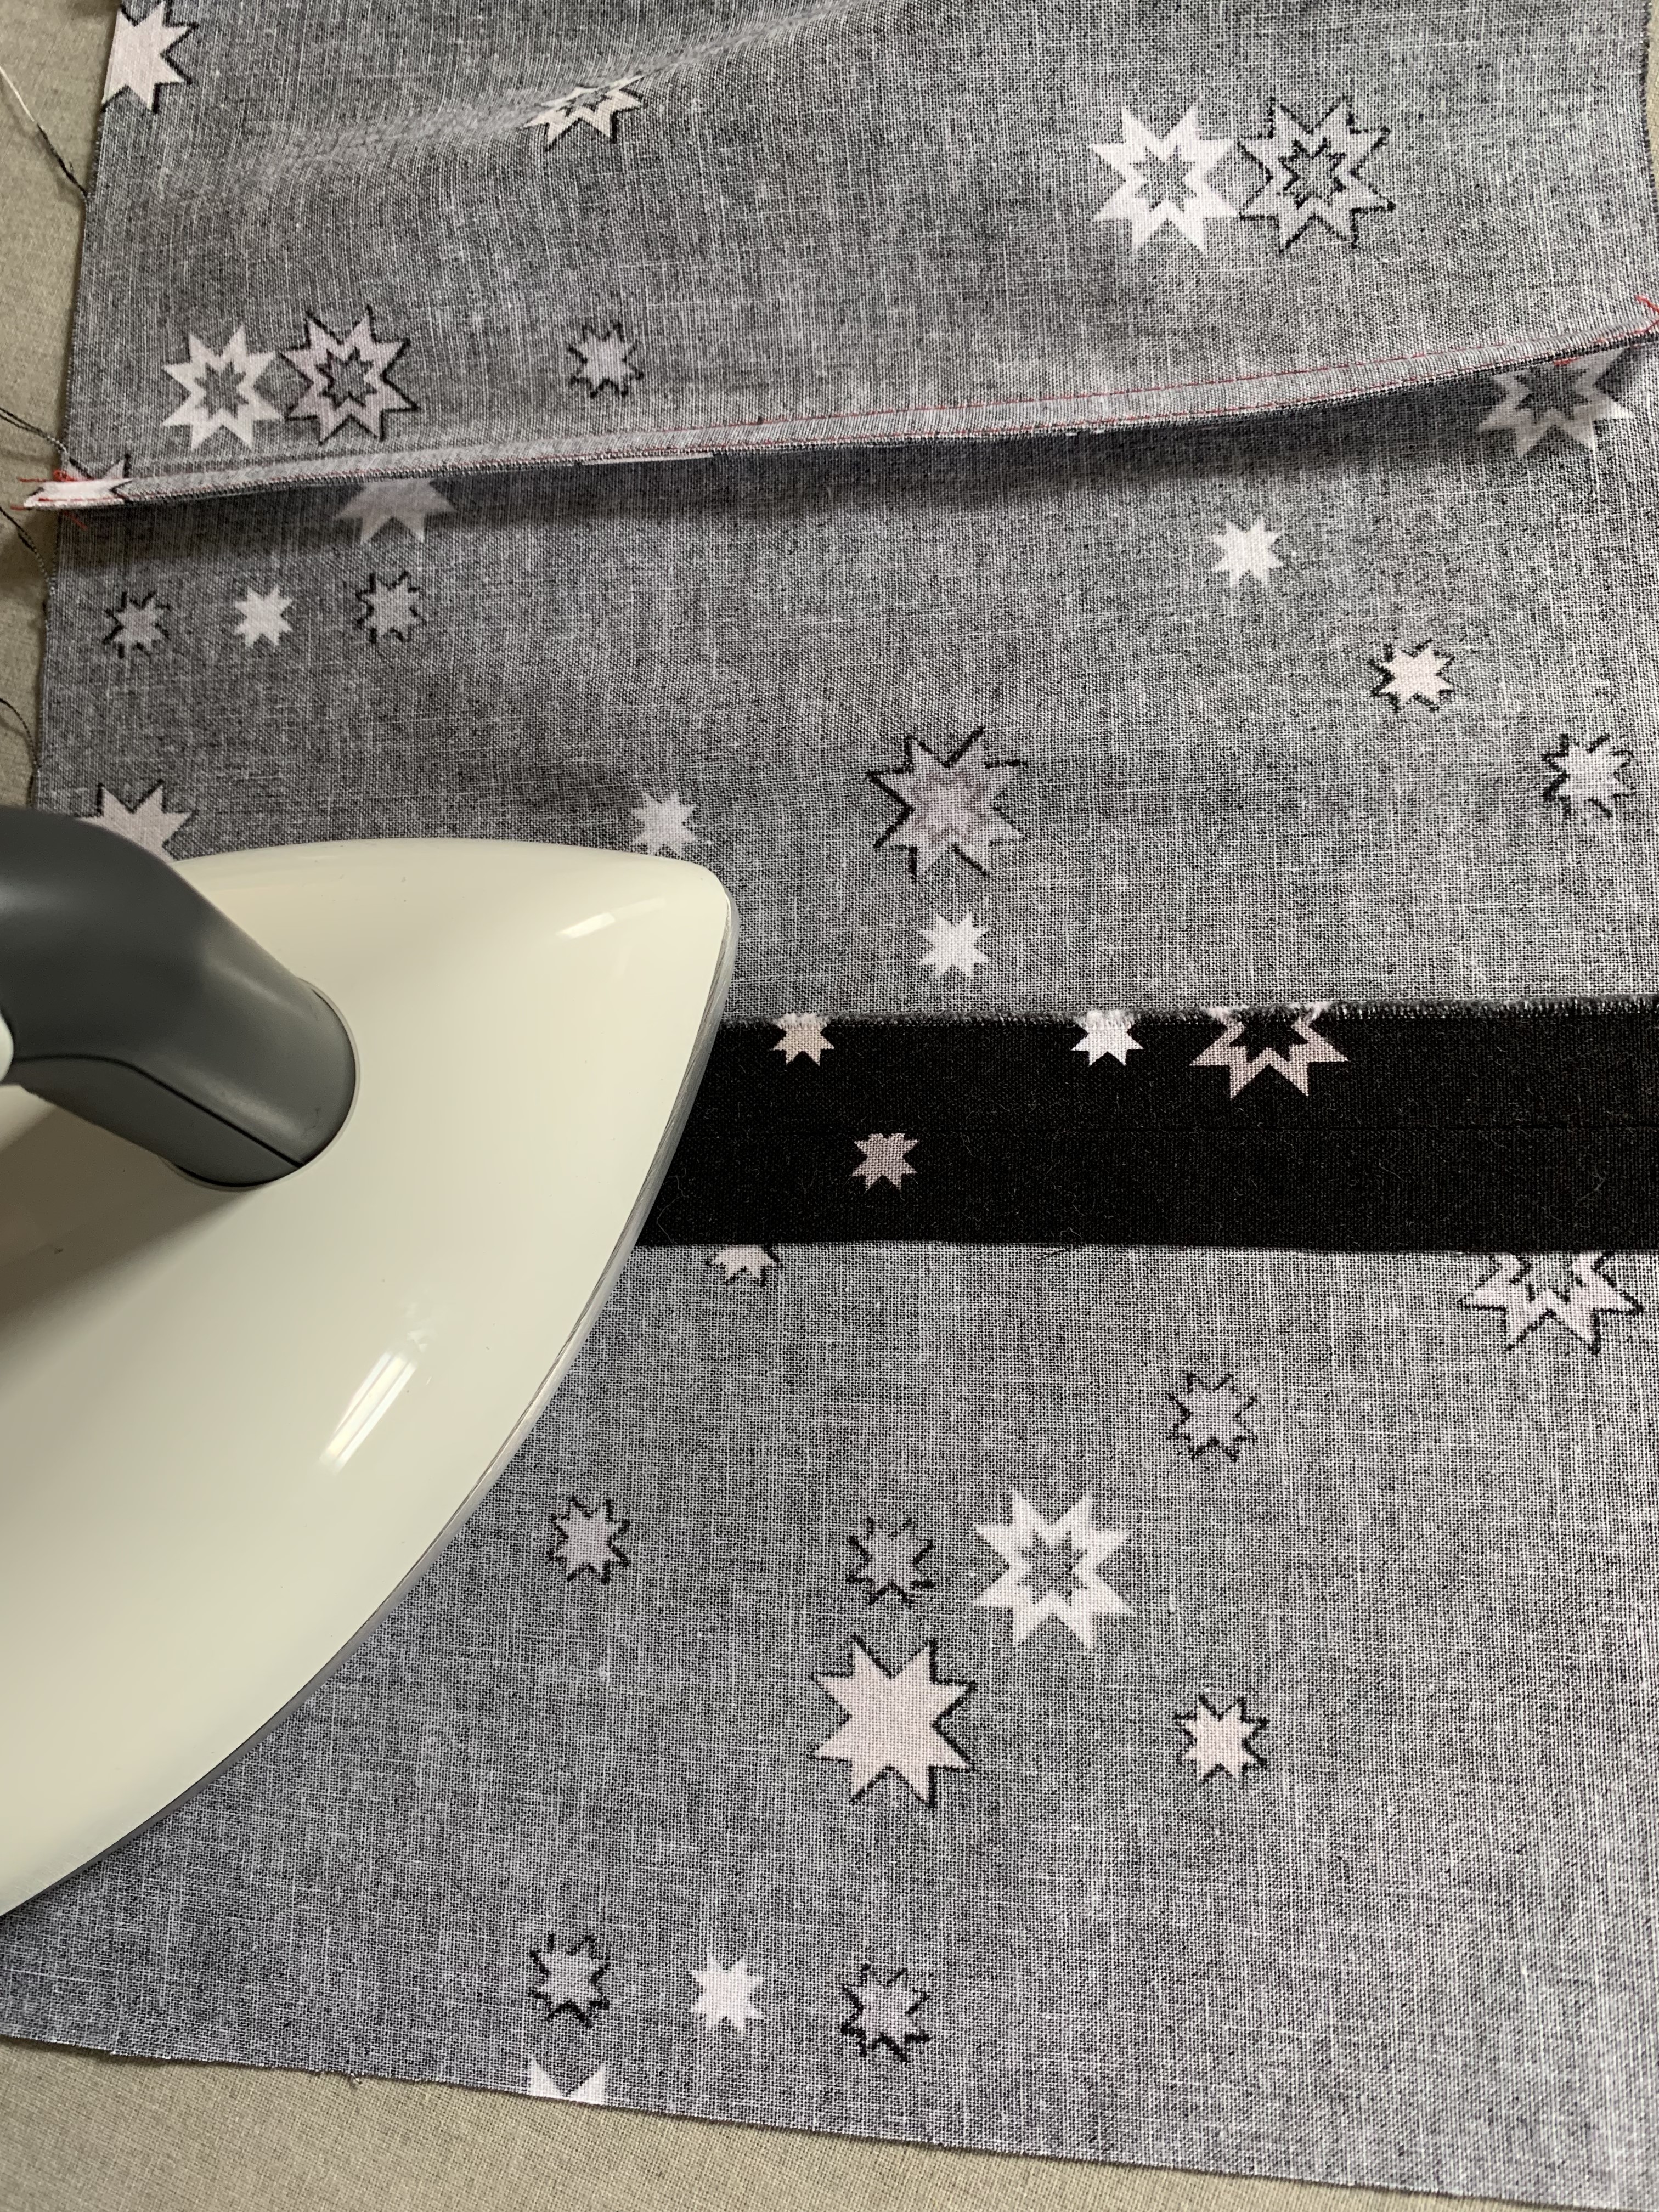
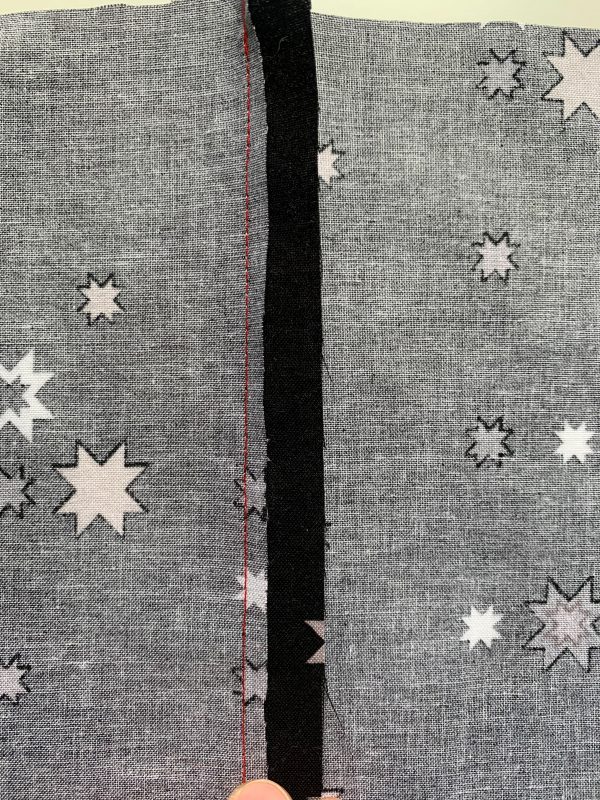
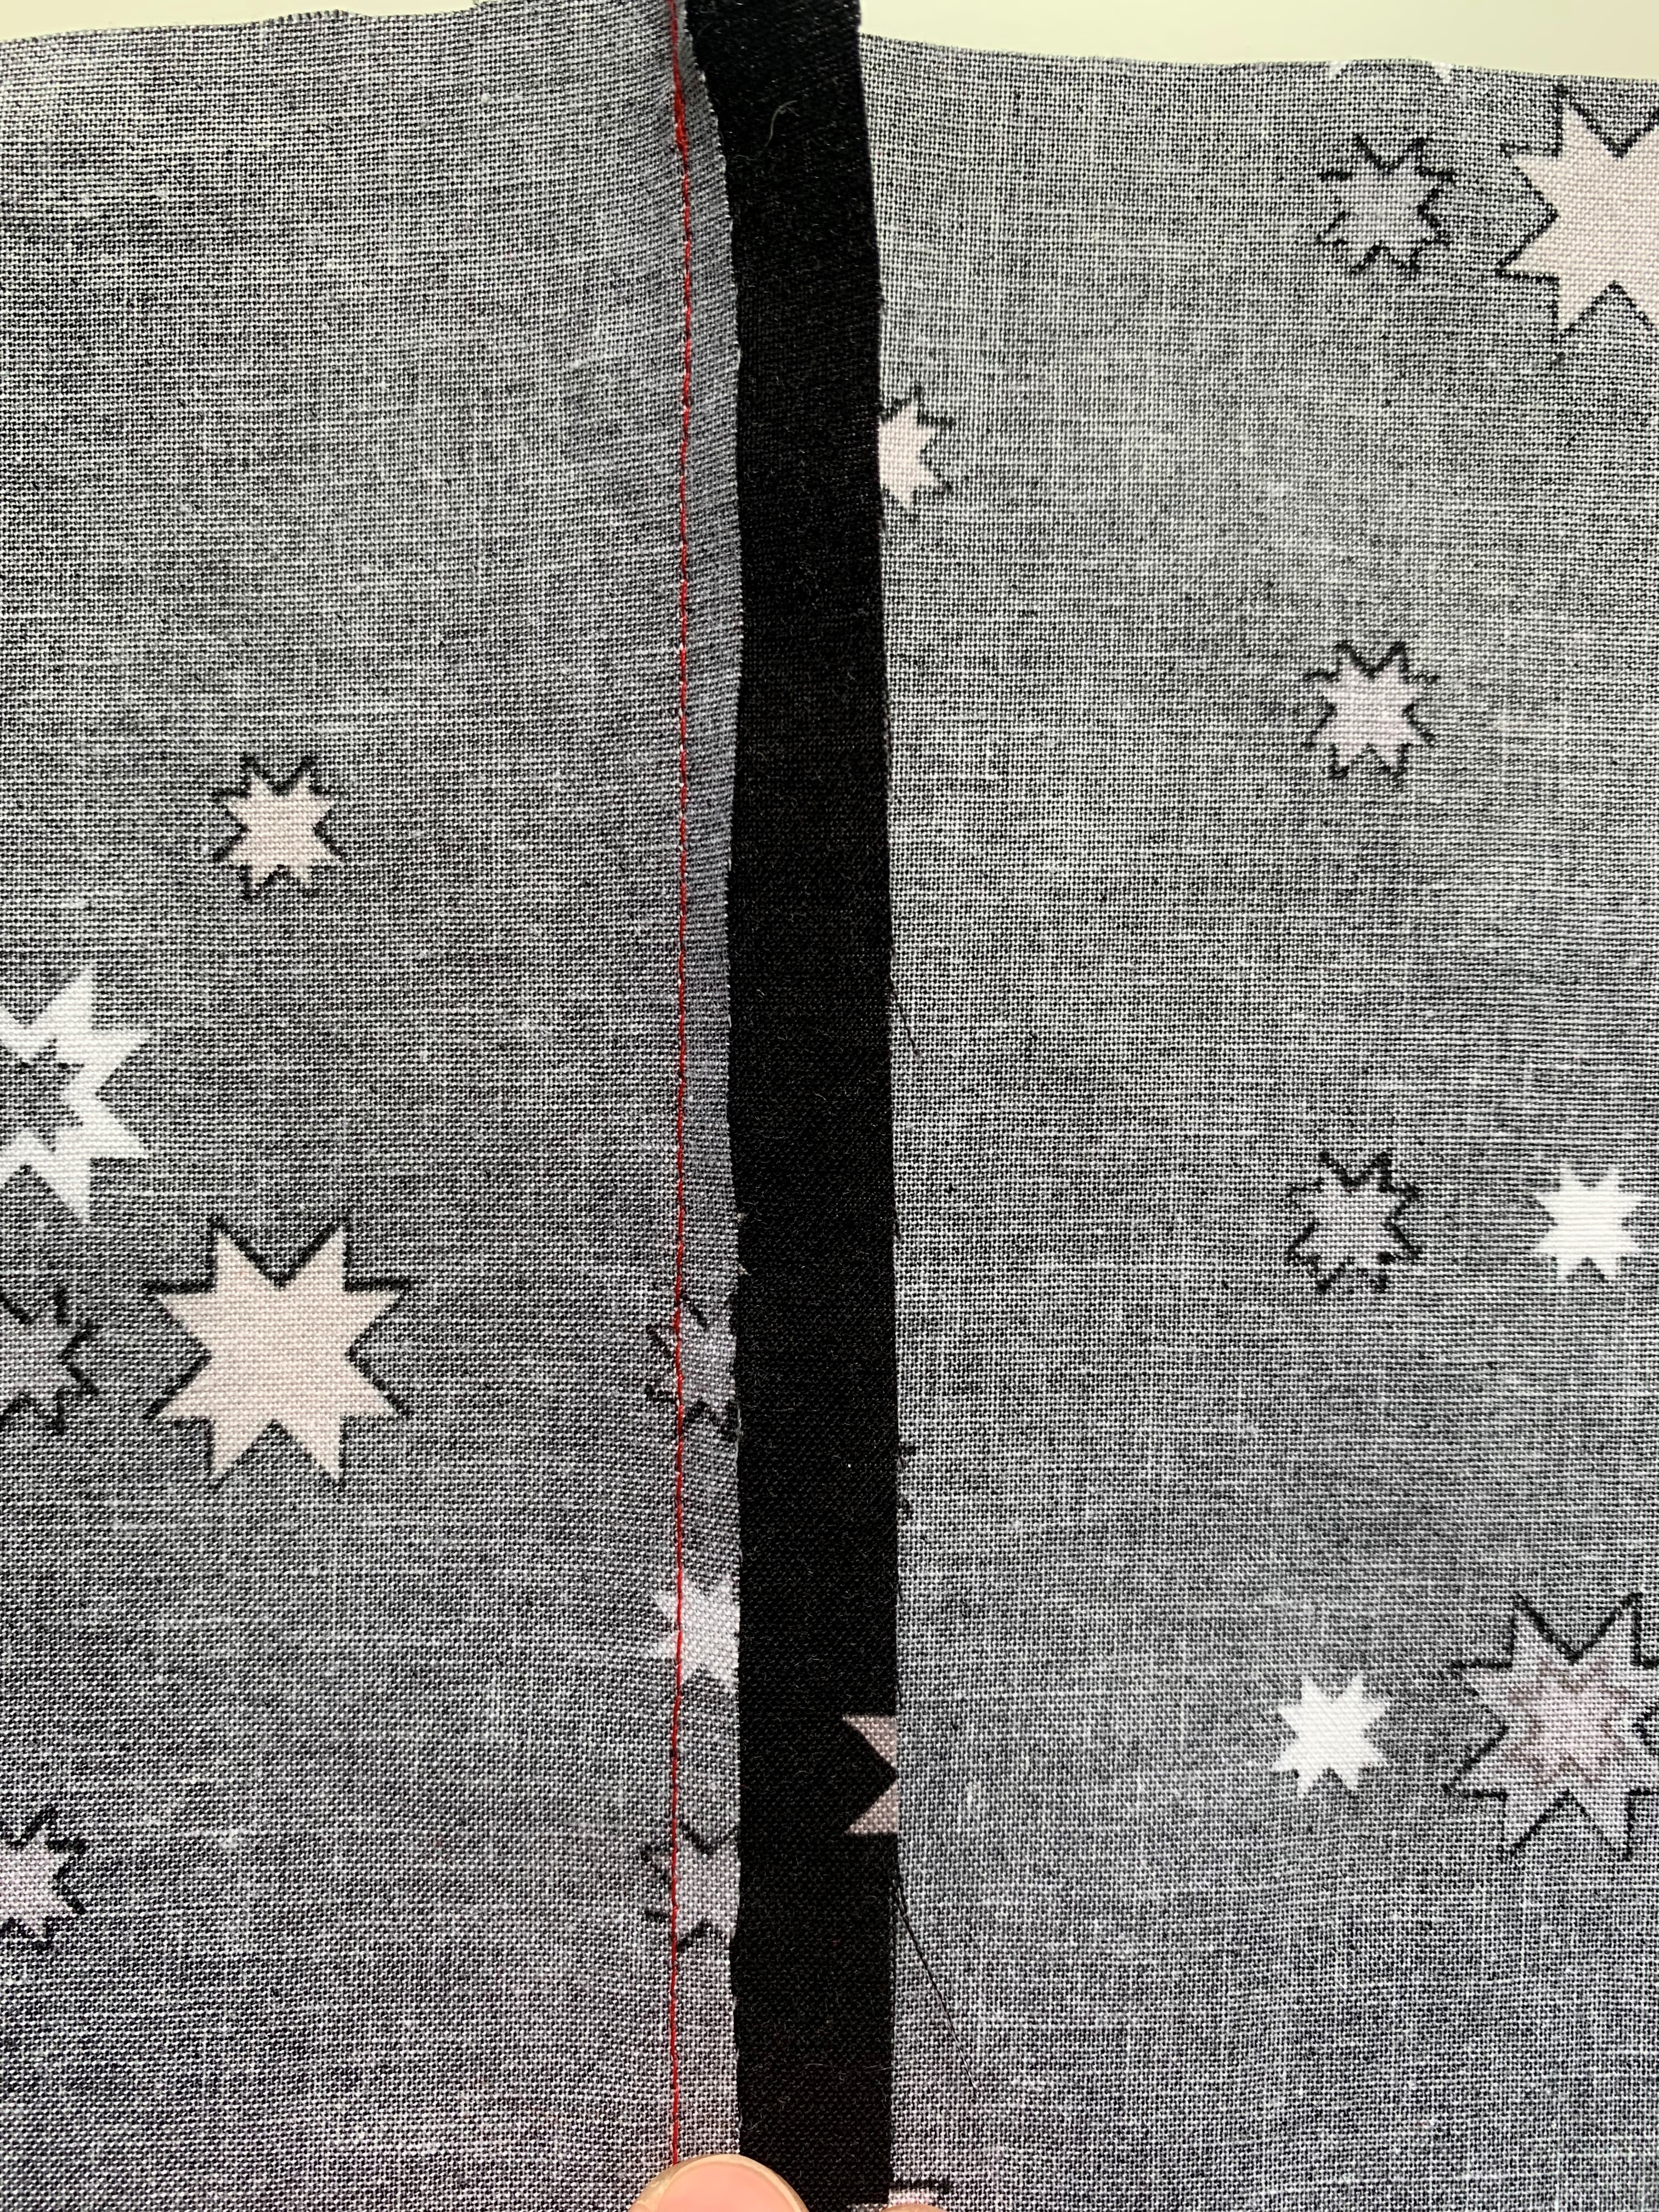
- Open your fabric and flip it so the right sides are together. The seam you just sewed should be right on the edge of the fabric. Iron this flat so that the seam is neatly on the edge.
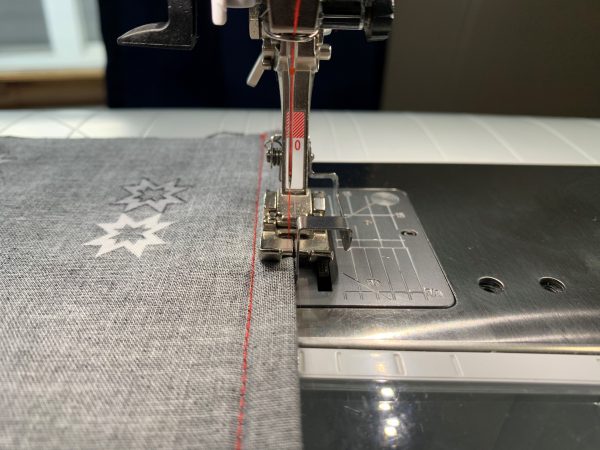
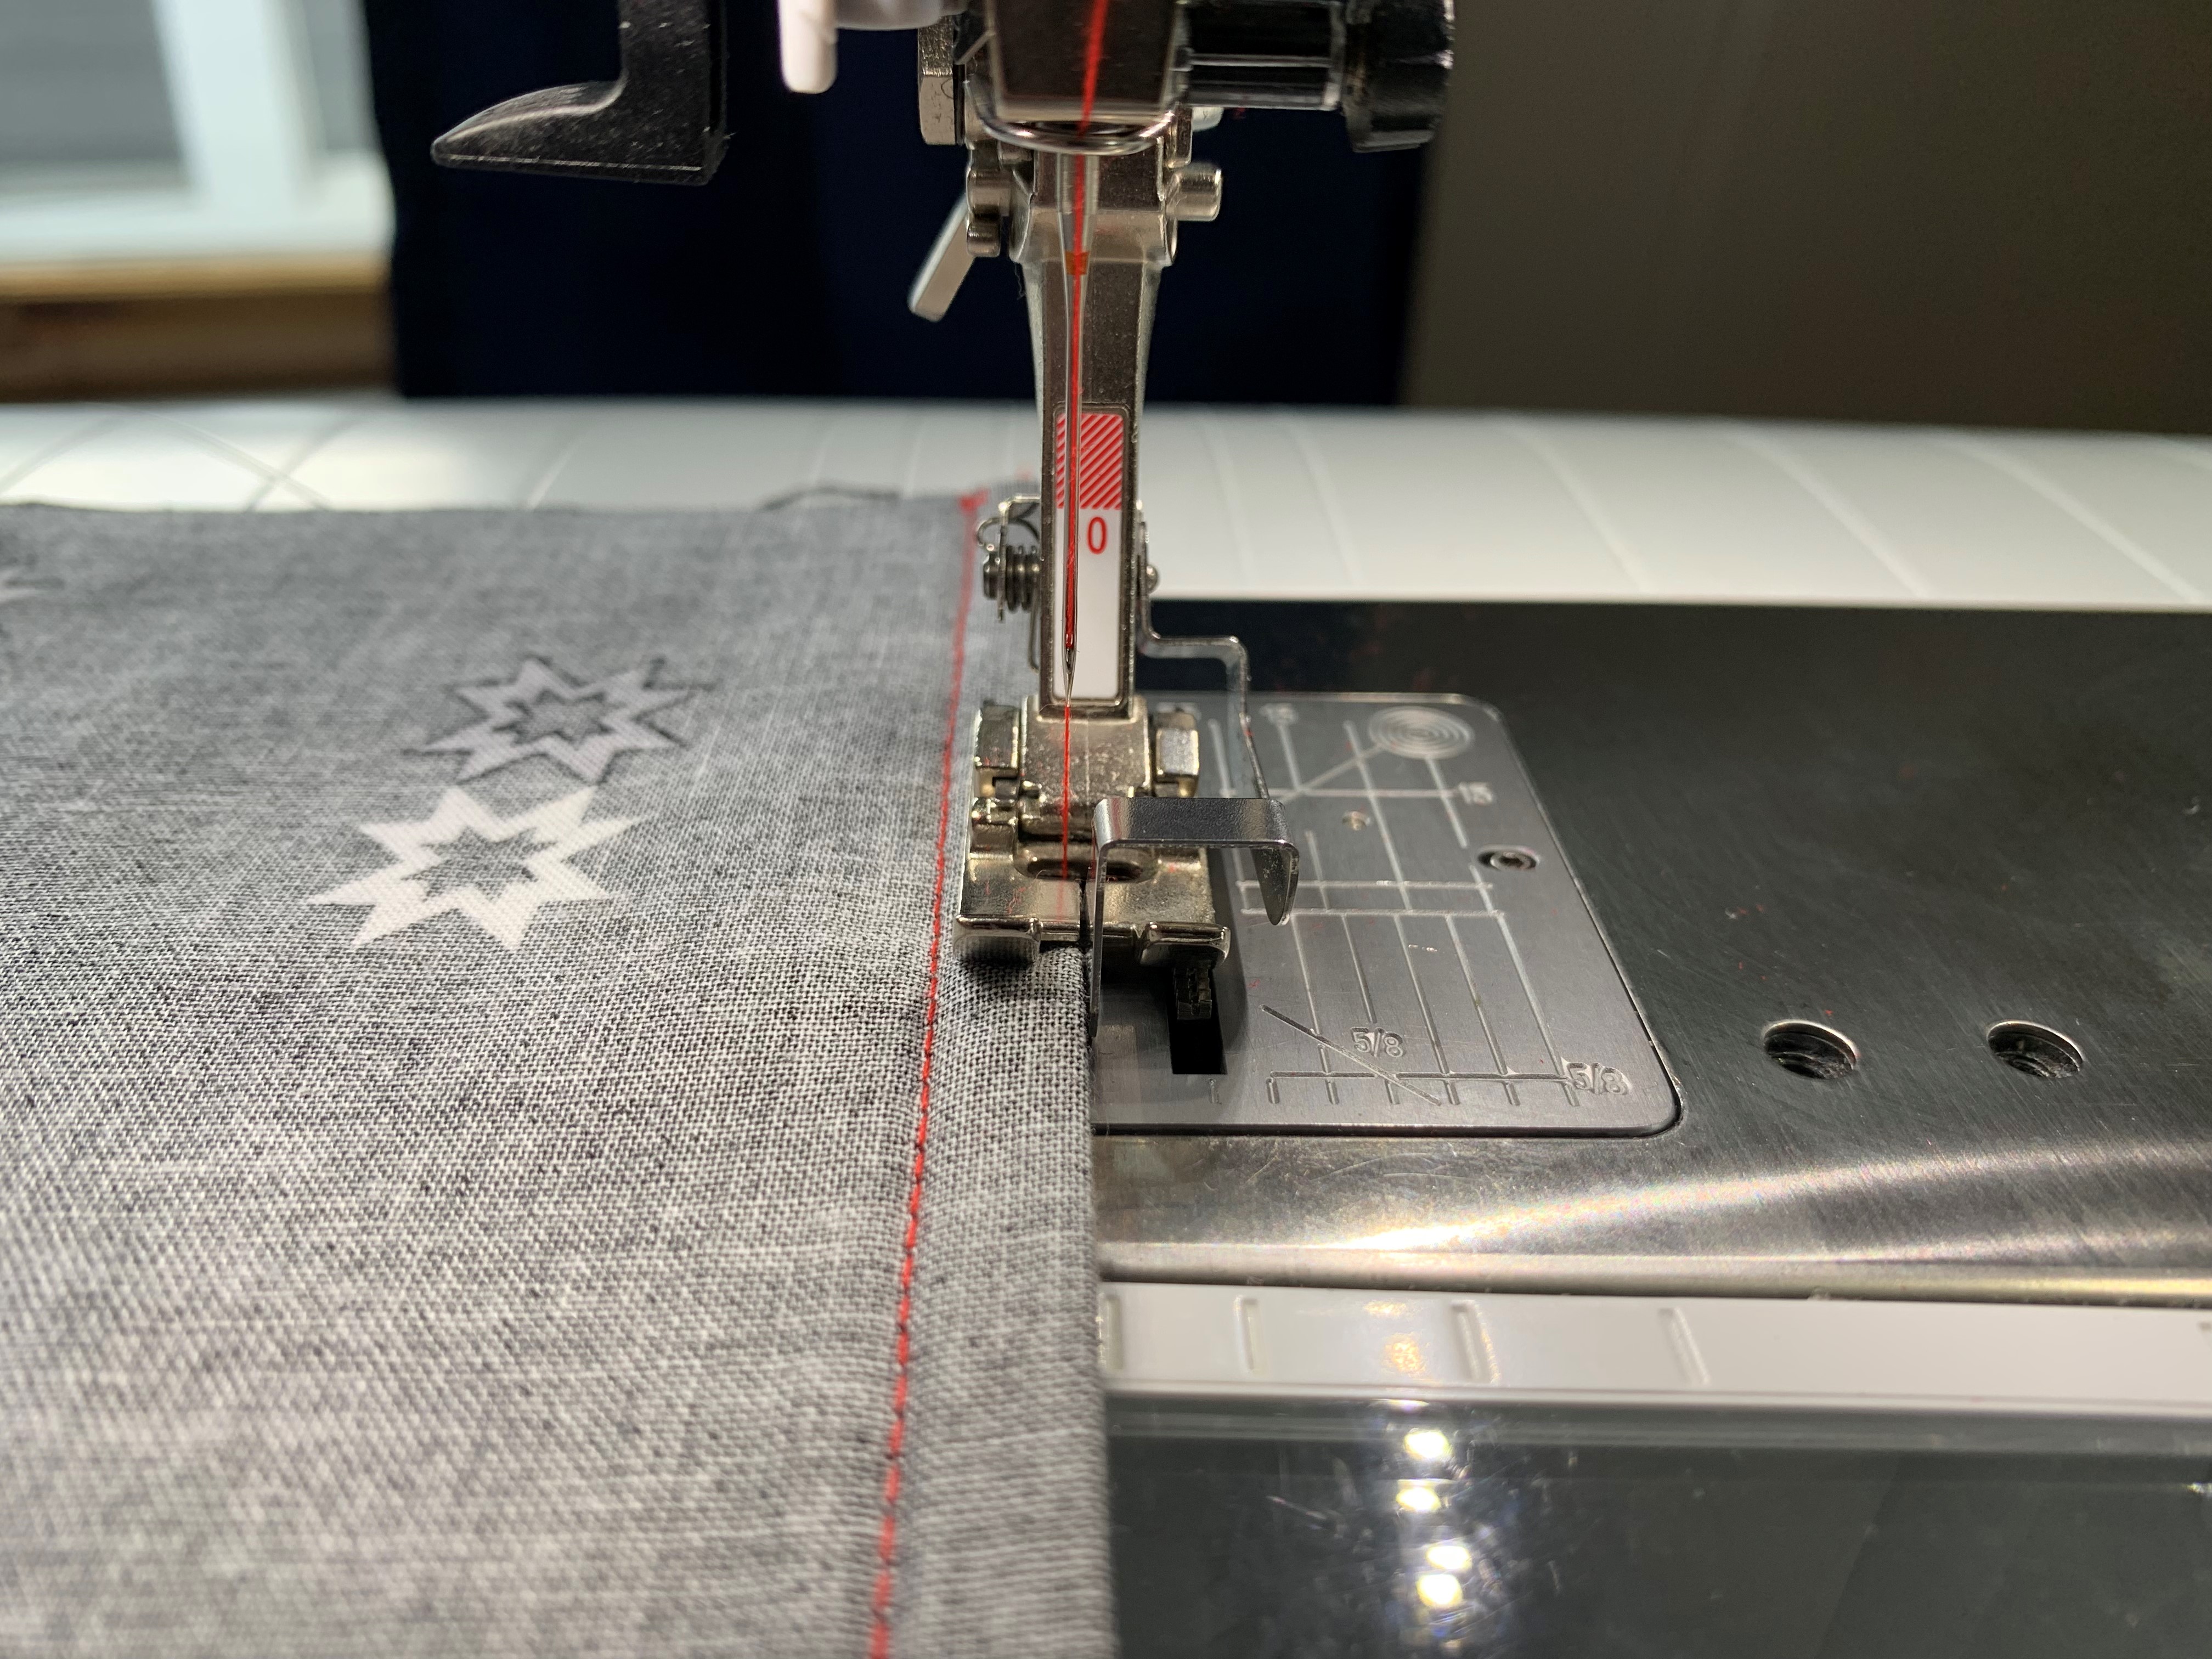
- Sew the seam again, this time with a 3/8” seam allowance, keeping the wrong sides together. The previously sewn edge should align with the 3/8” mark on your stitch plate.
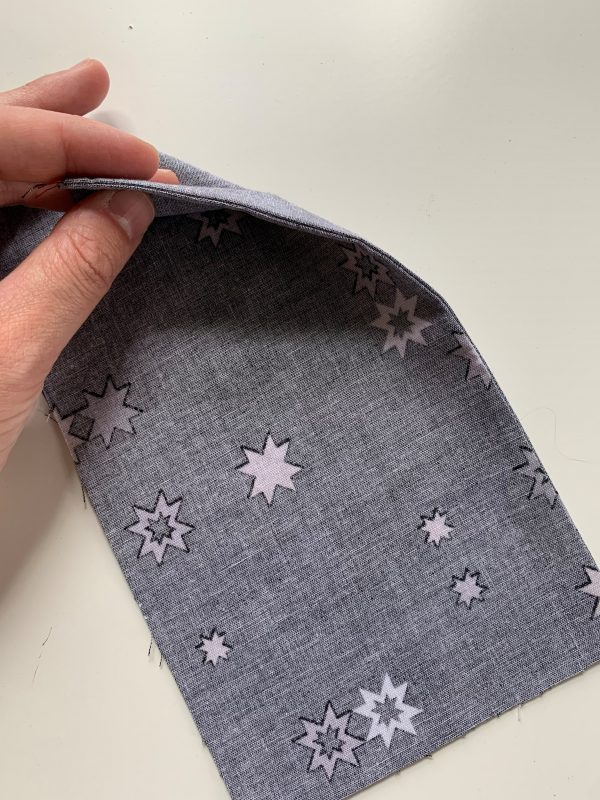
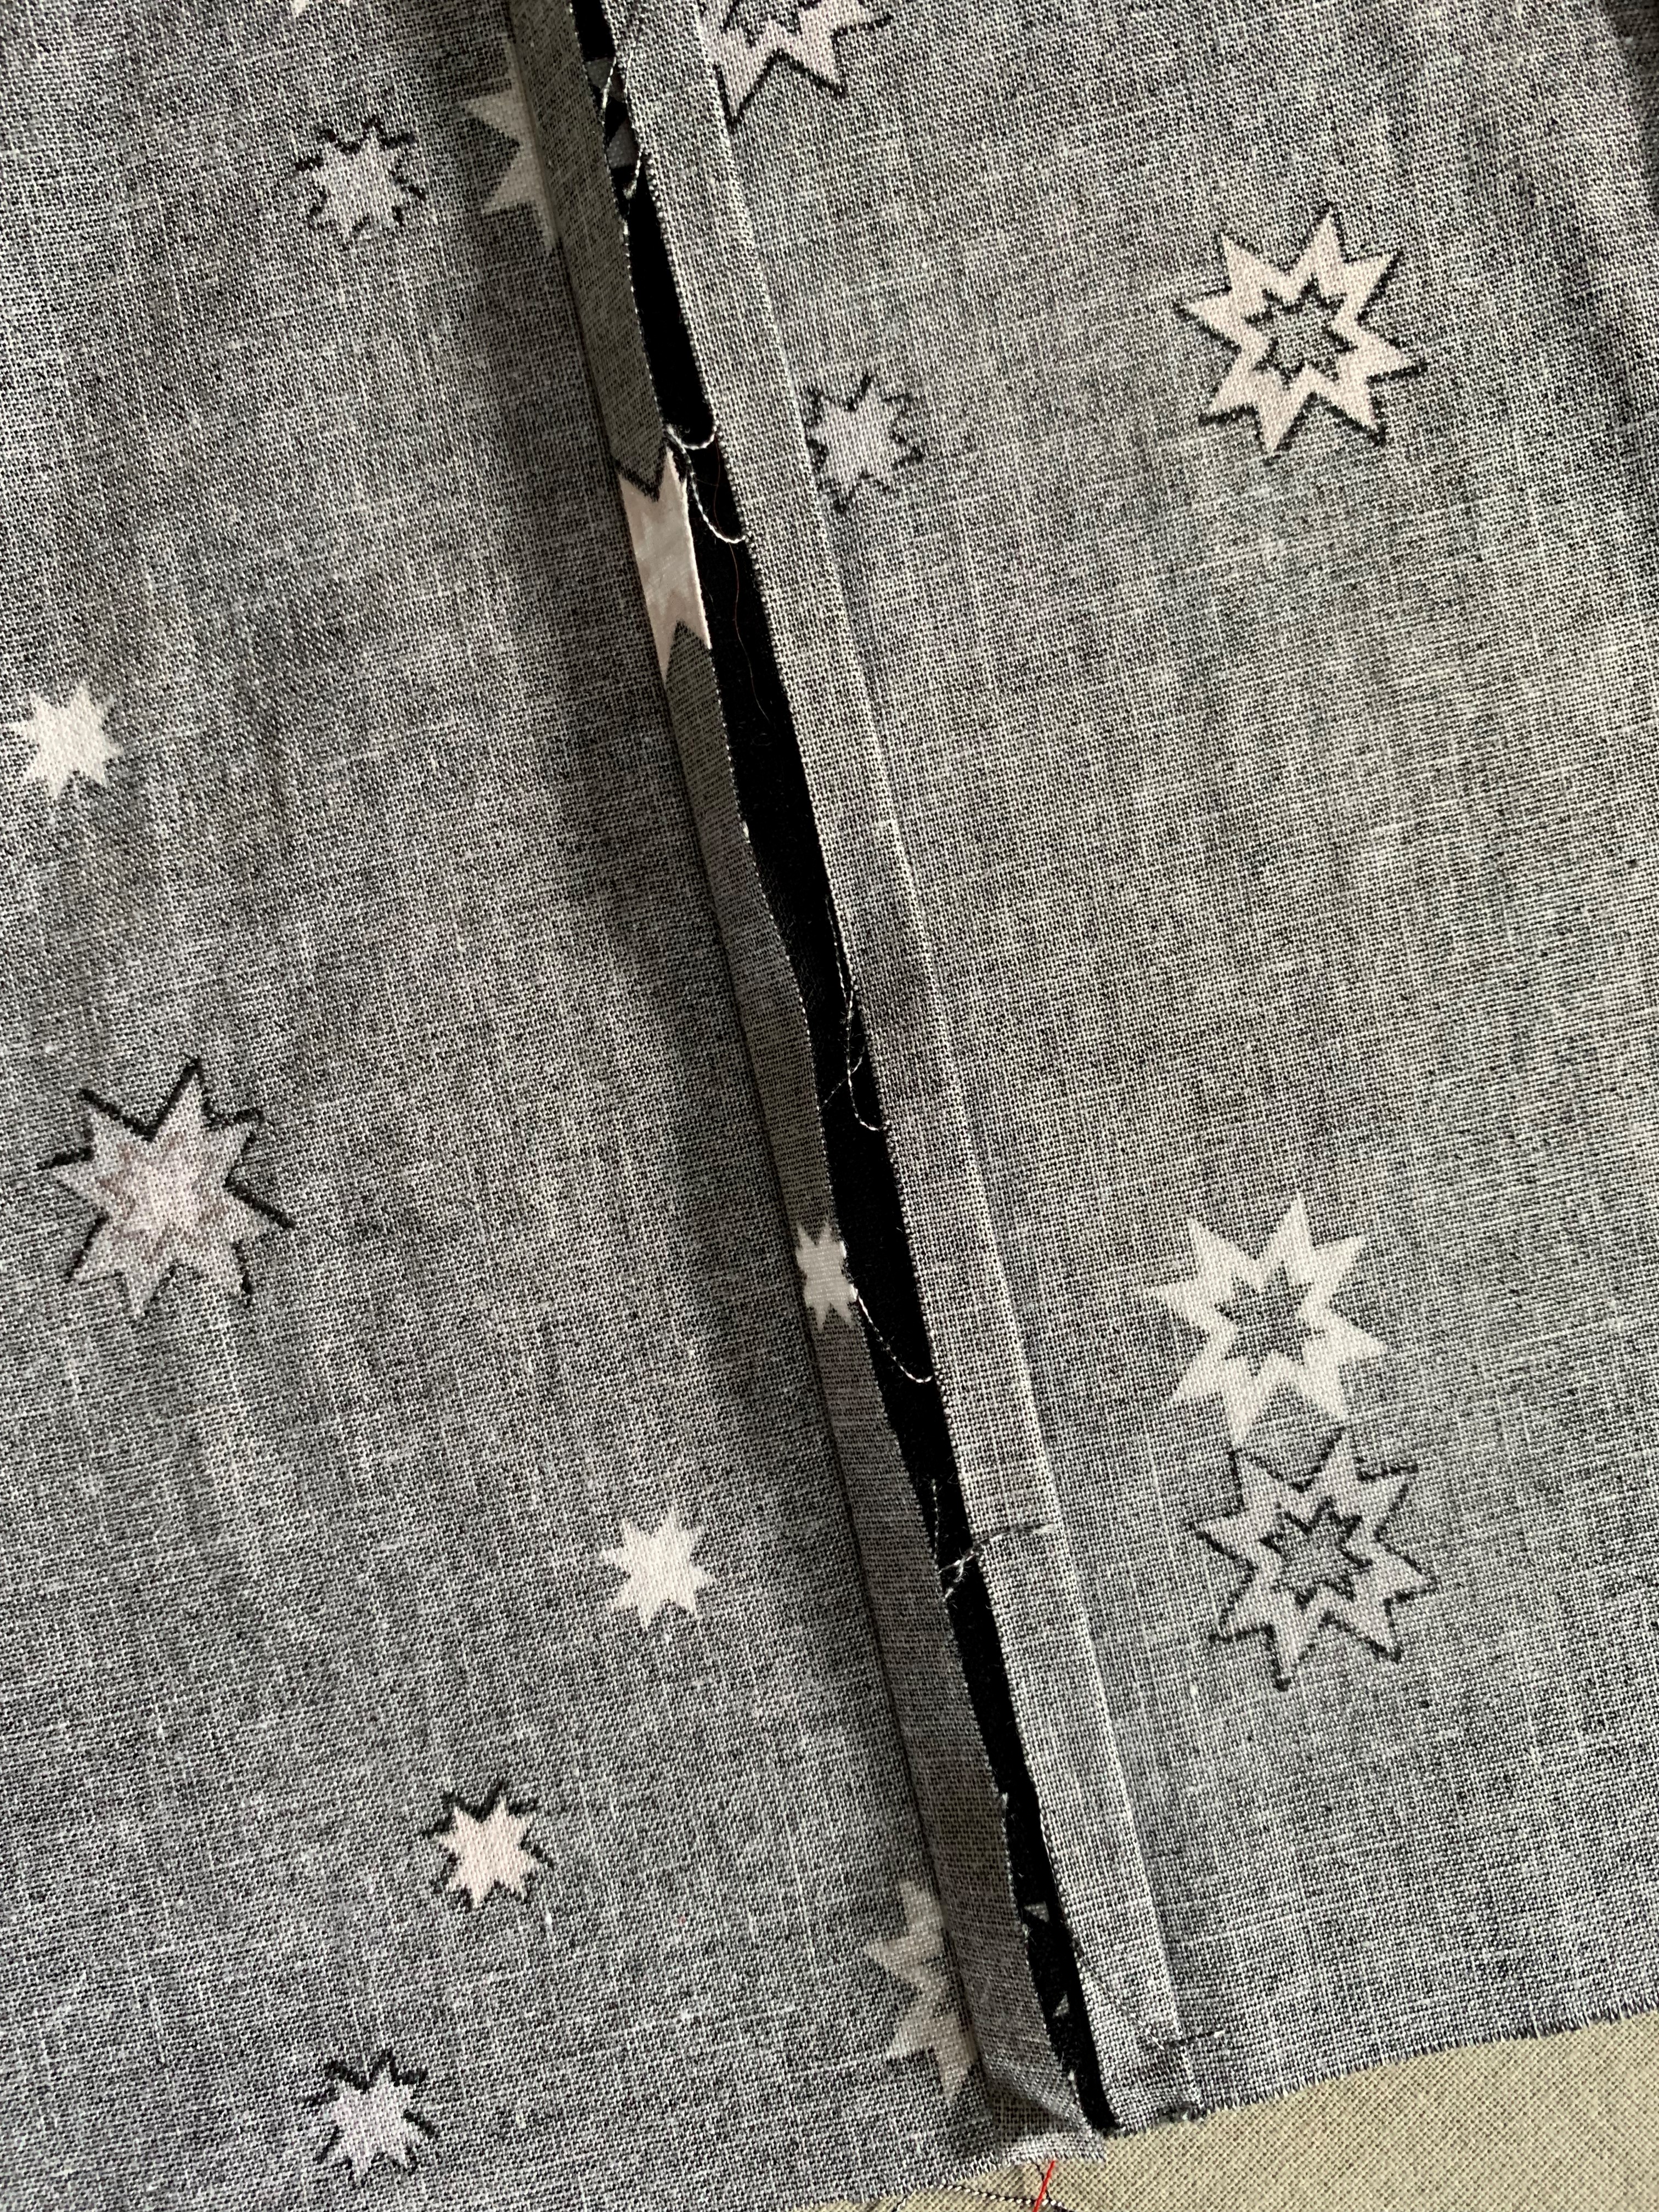
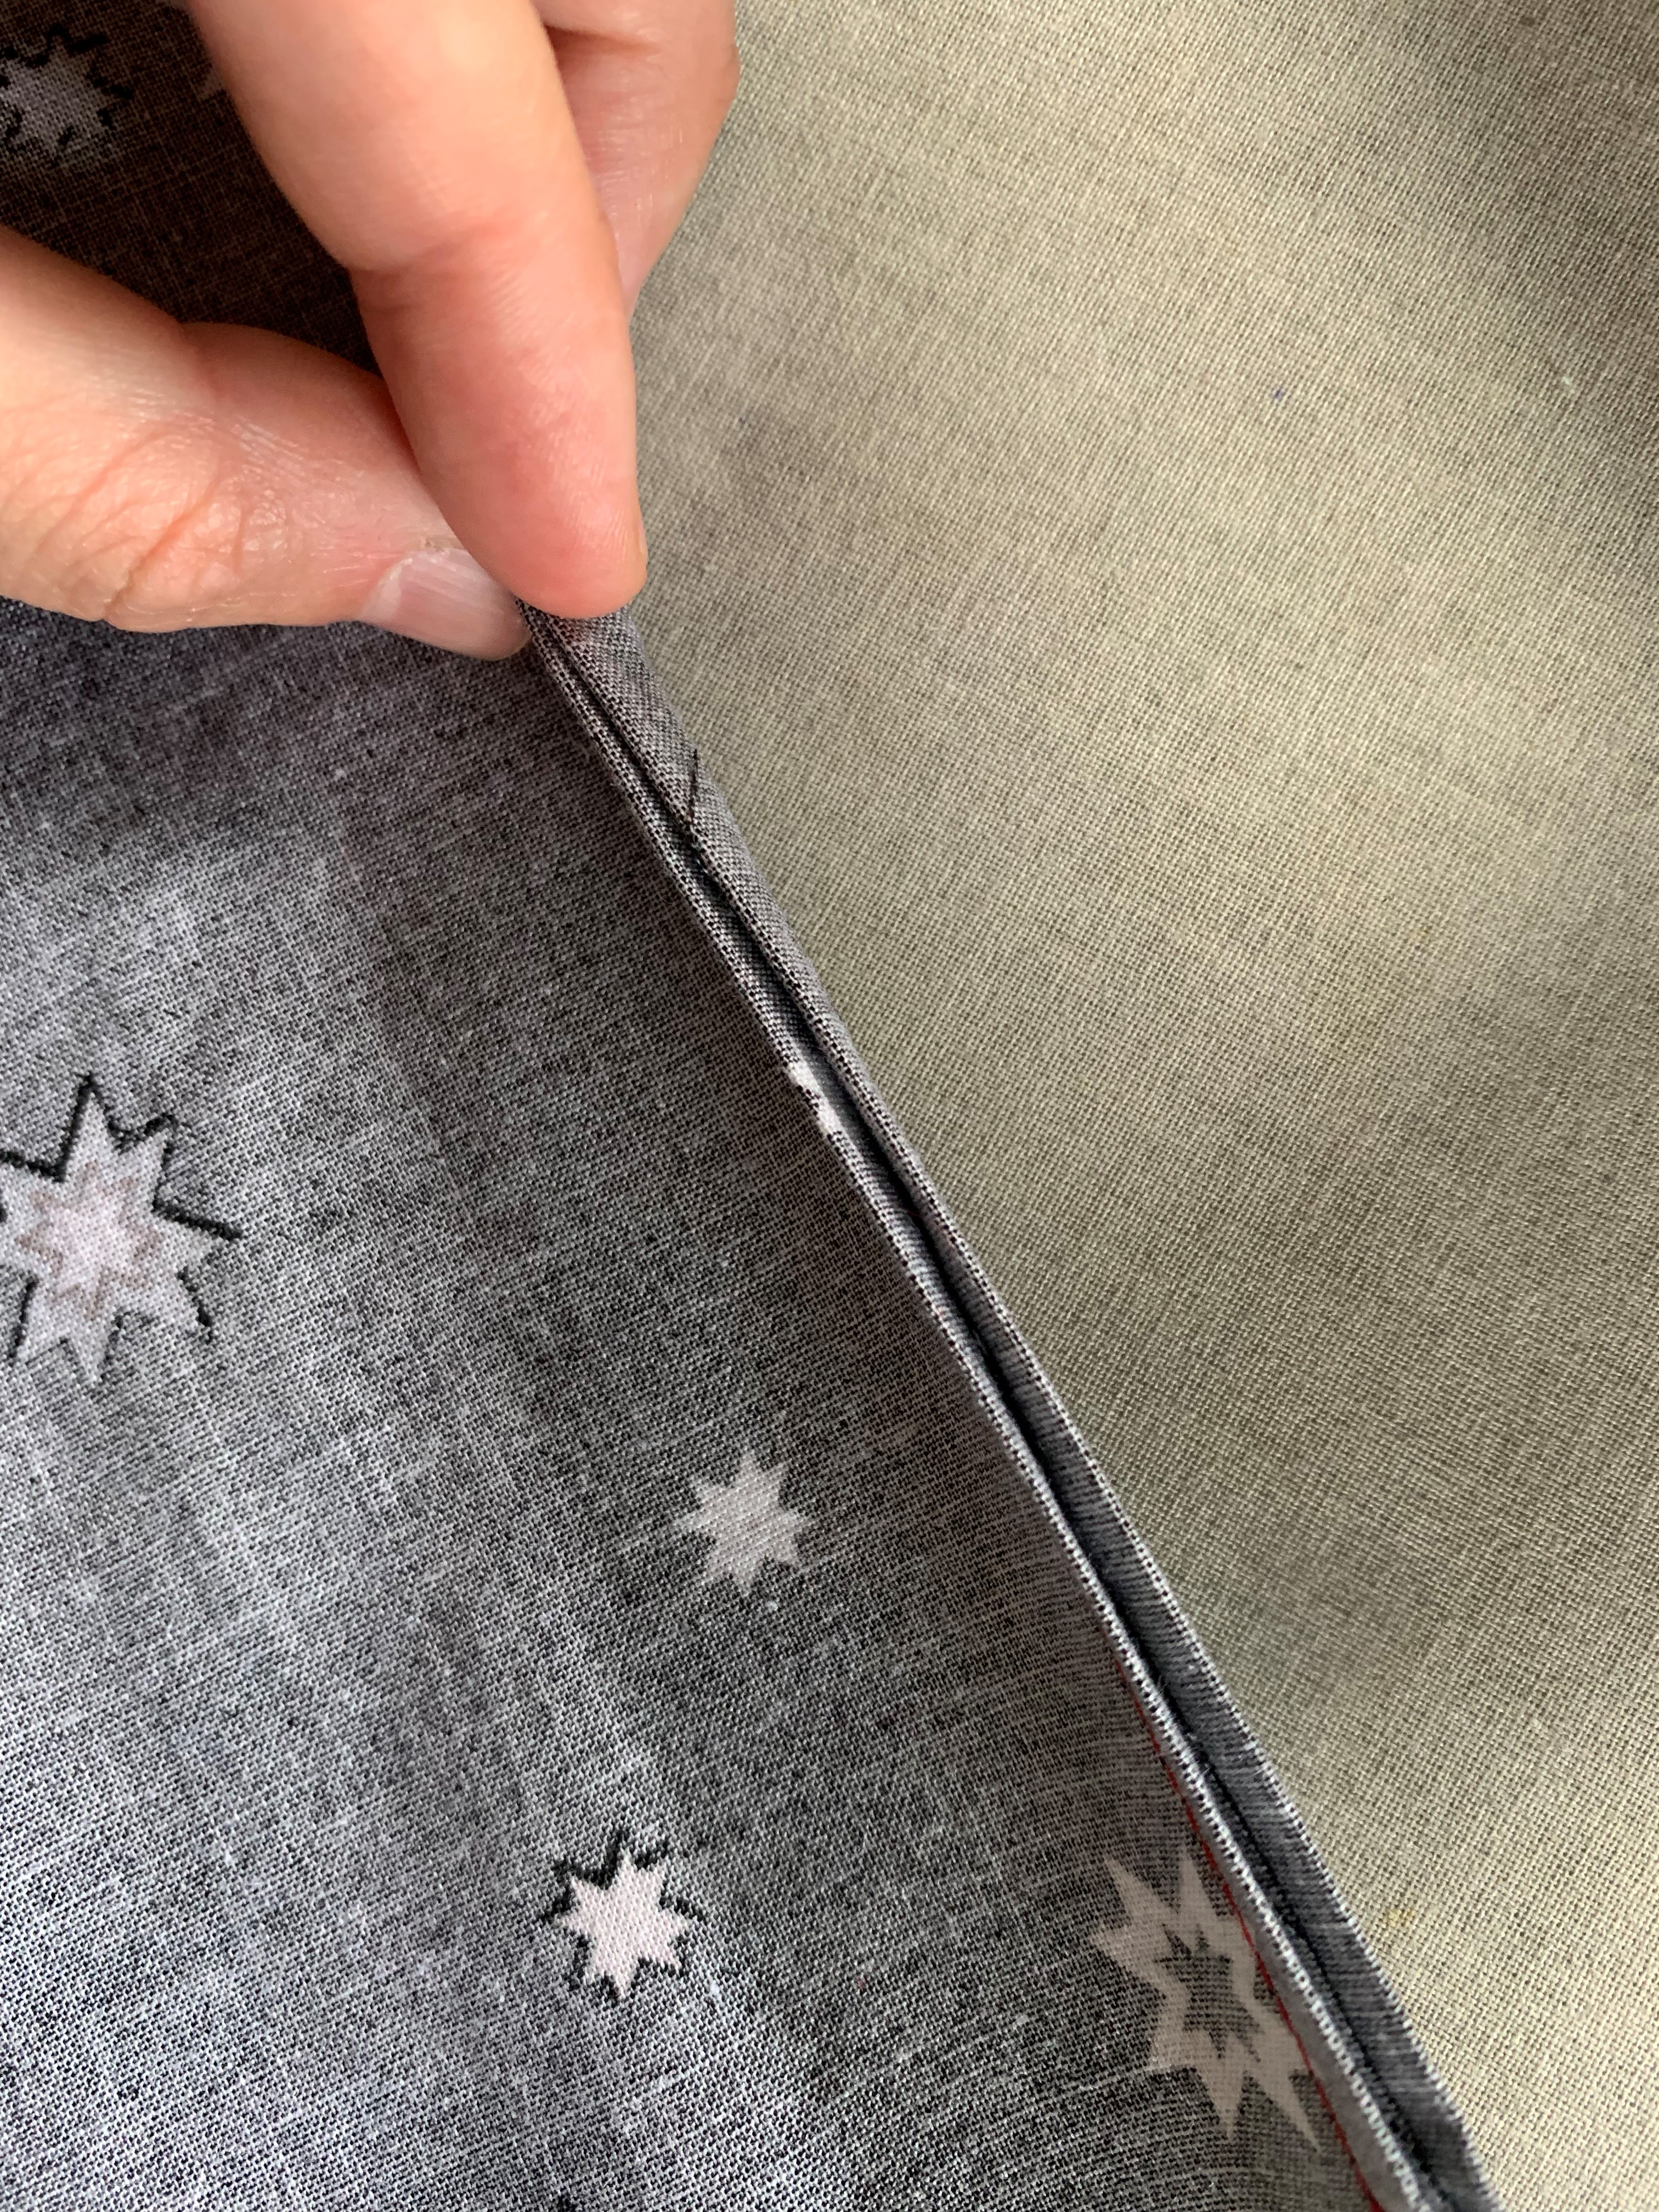
- Press to one side.

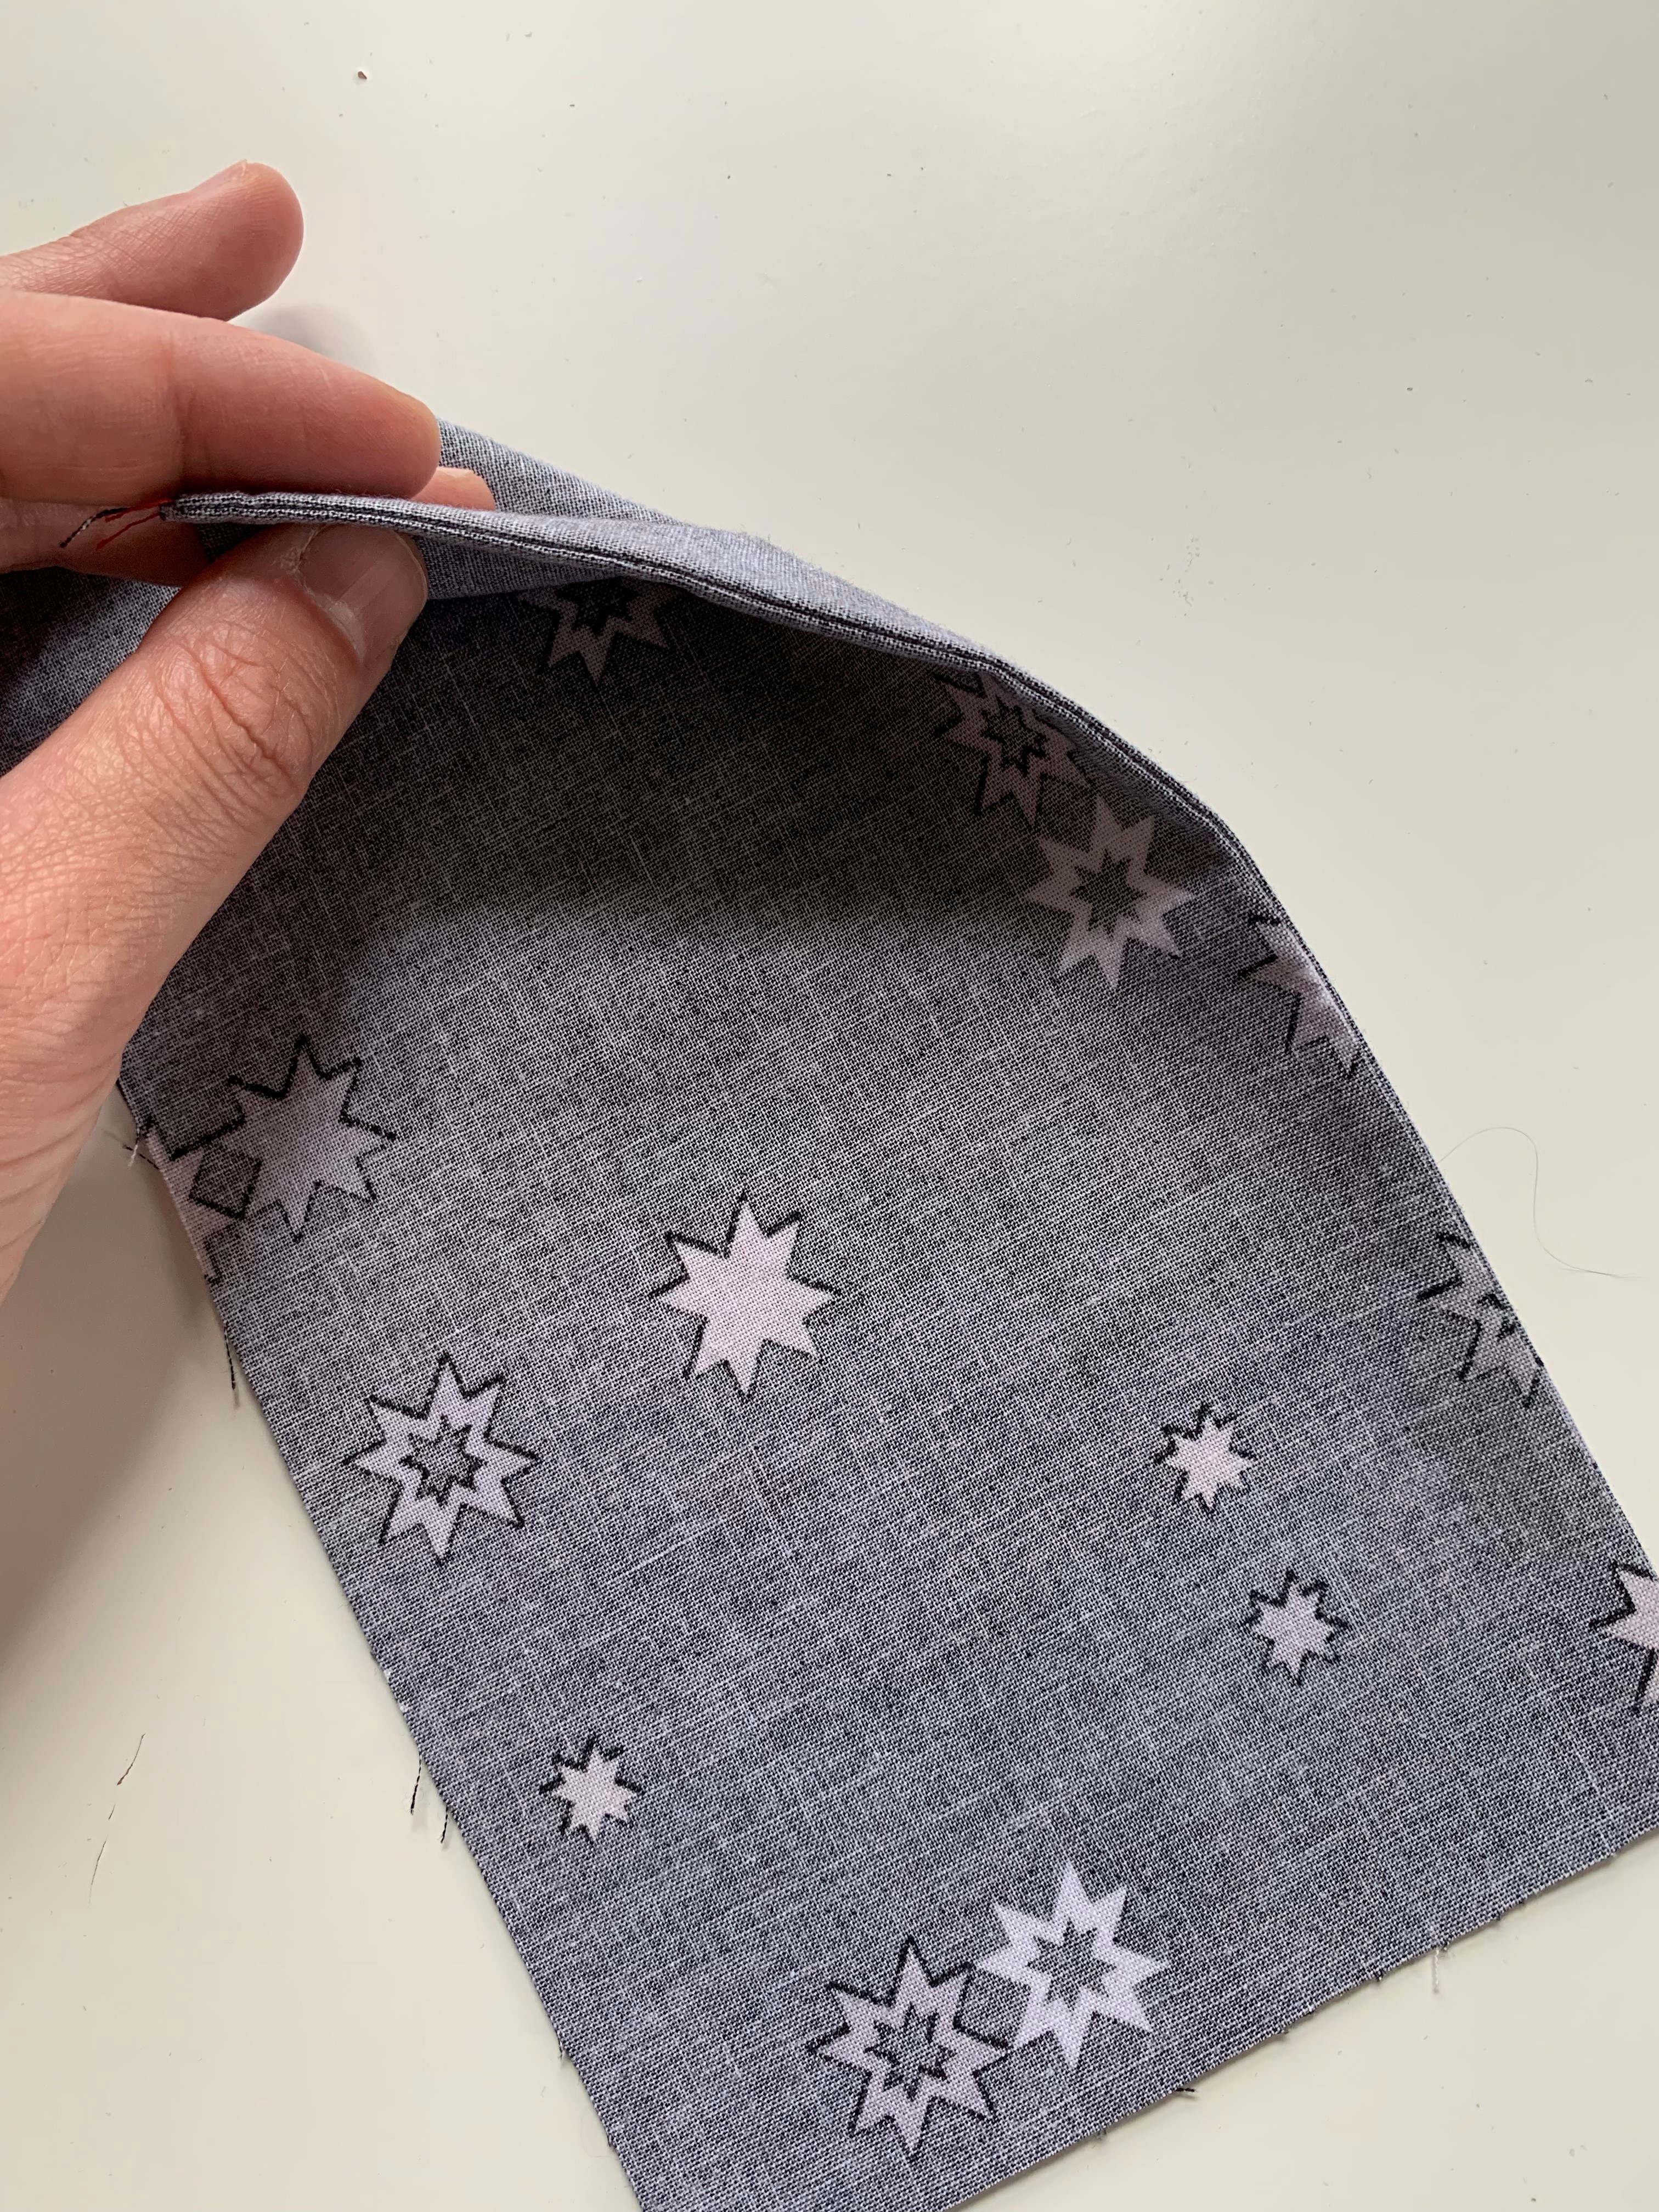

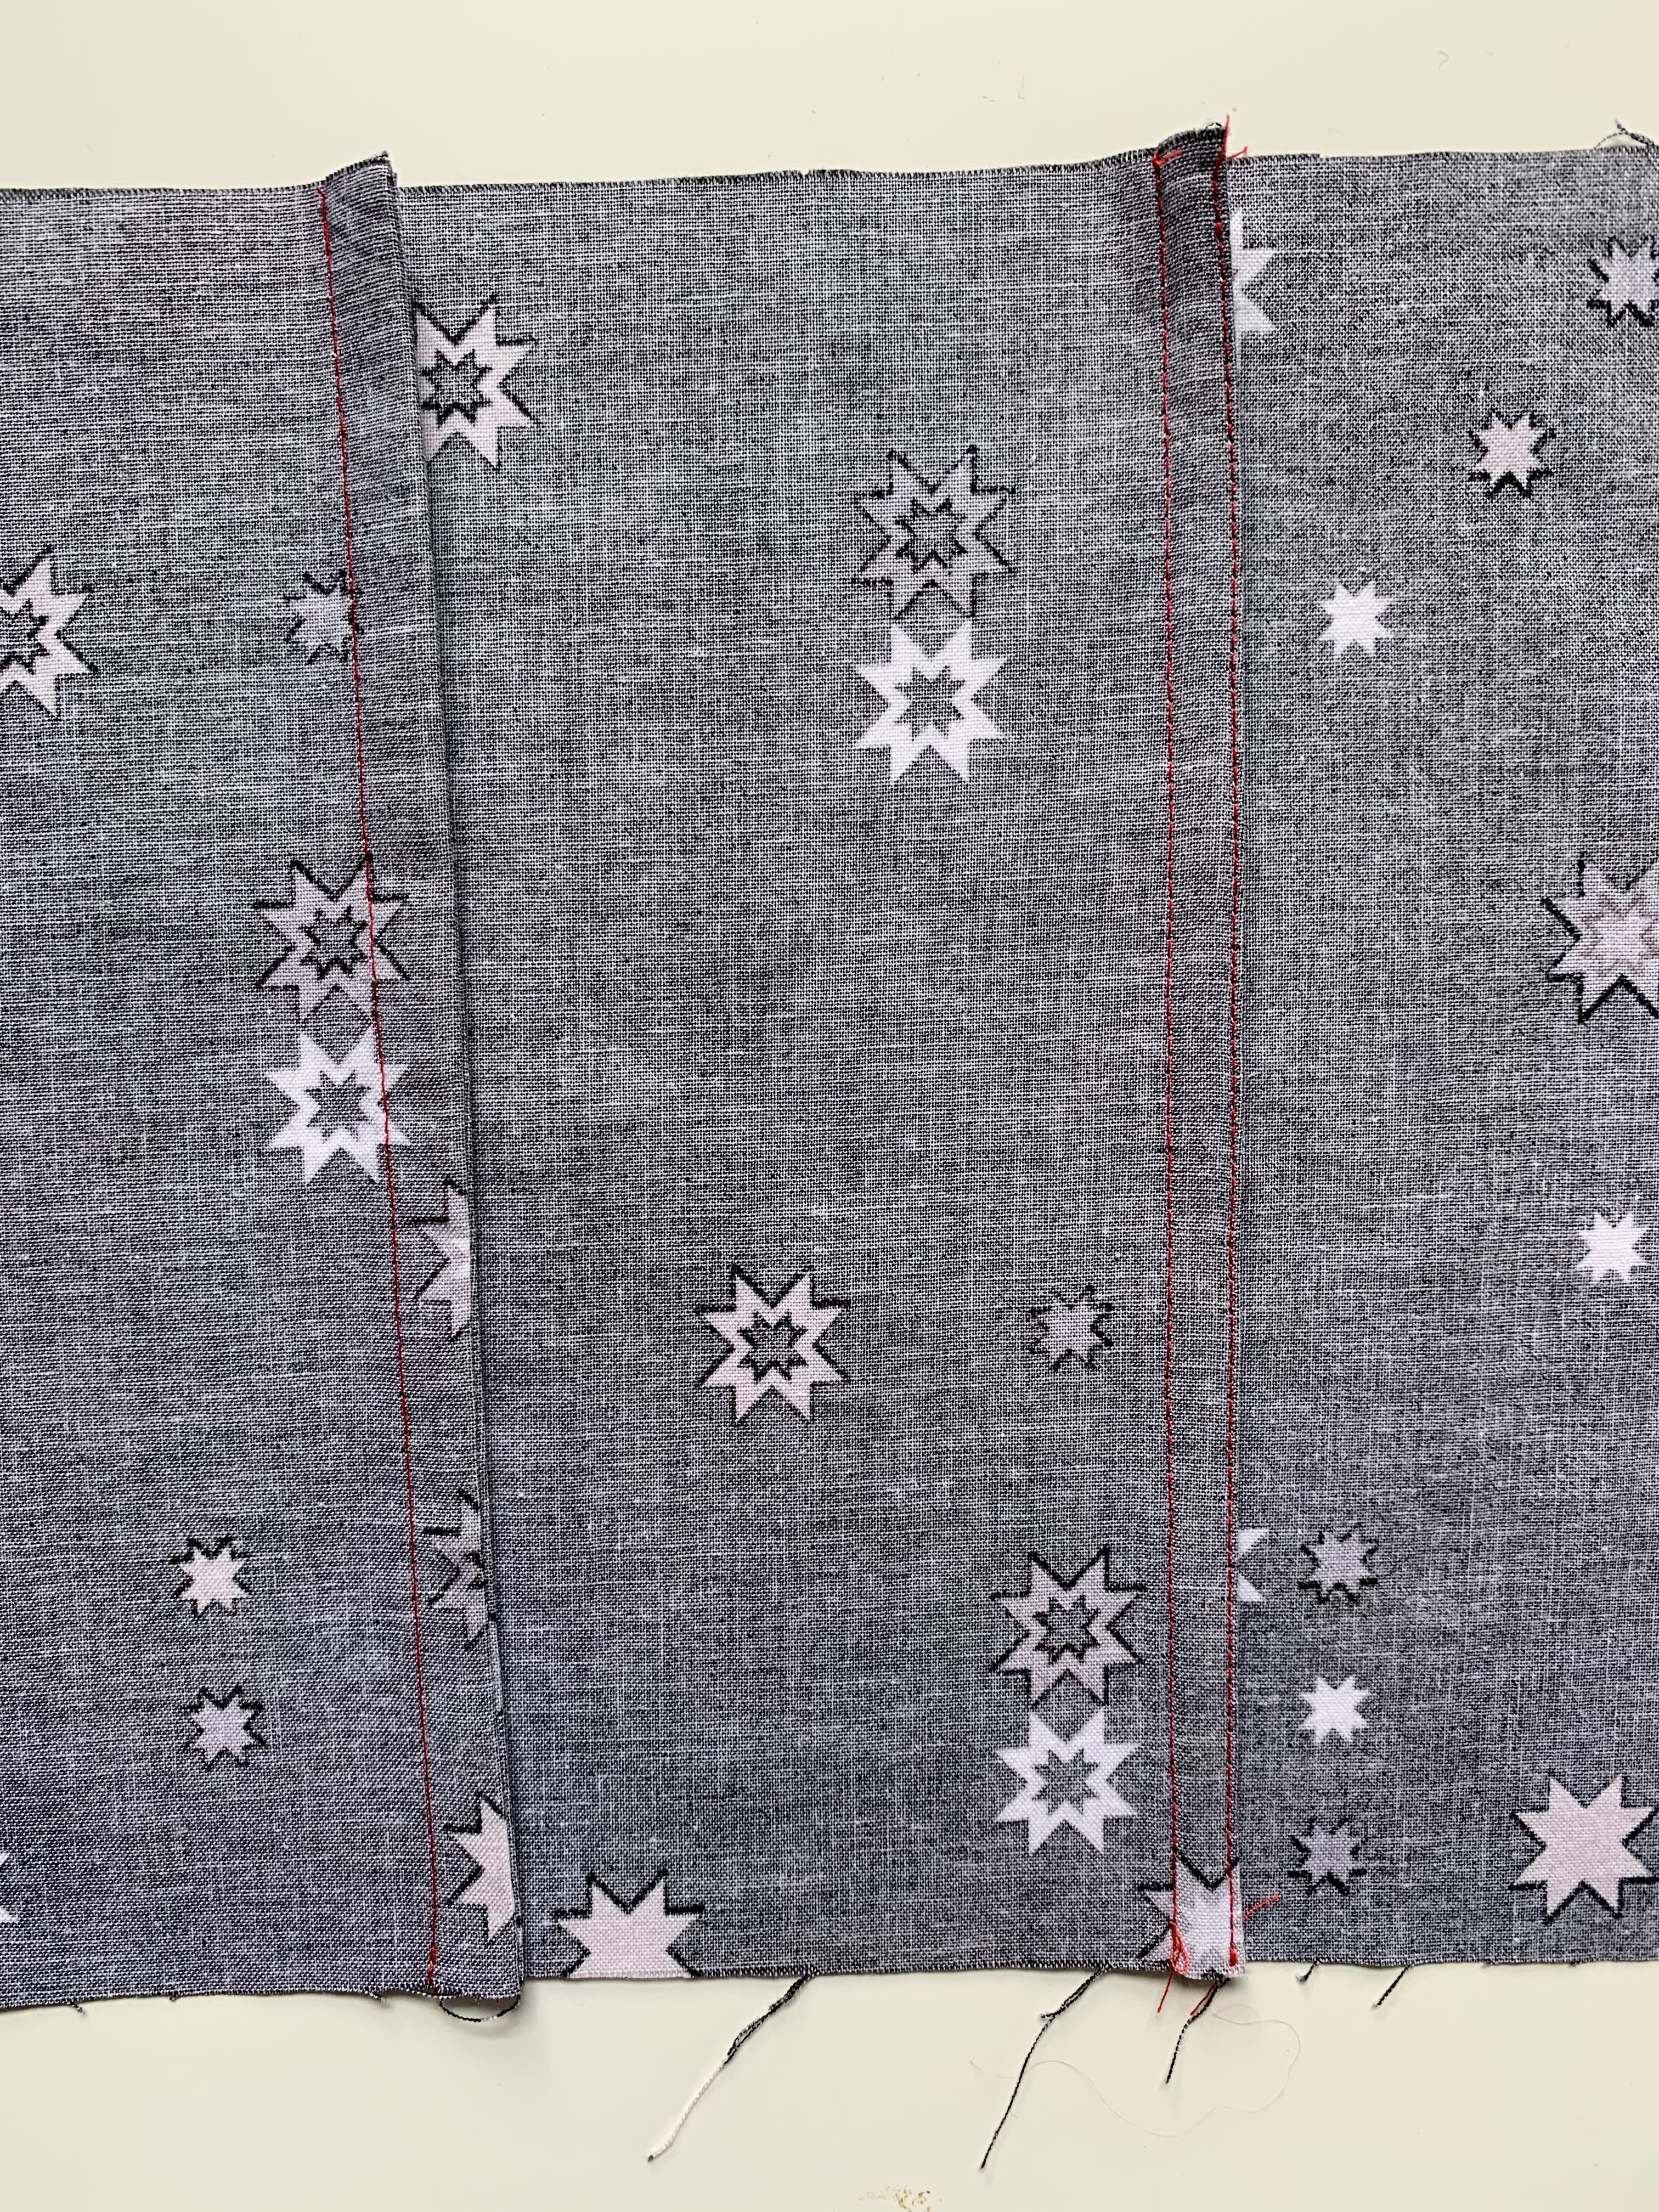
Now you have a beautifully finished seam on the wrong side with nothing visible from the right side of the fabric.

Seam Finish 2: Mock French Seam
Mock French Seam Overview
This is a seam finish that I saw in a vintage how to sew book. The applications are the same as a French seam where it’s best on light weight fabrics and the seams cannot be pressed open. The advantage here is not needing to think about the math or sewing with the wrong sides together initially. (I know that I’ve been mid project and sew my seam like usual, forgetting that I wanted to use a French seam.)
Sewing Mock French Seams
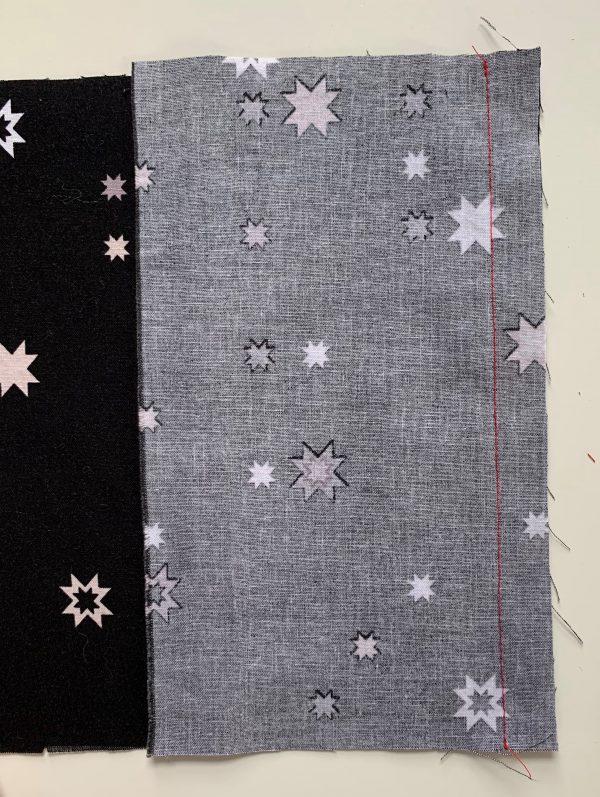
- With right sides together, line up the raw edge of a new fabric piece with one of the raw edges of your sampler, parallel to the French seam you already sewed.
- Sew this seam using a 5/8” seam allowance.
- Open your seam allowance and press the raw edges in toward the seam line. The right sides of your seam allowance will be together.

- Line up the two folded edges of the seam allowance and press flat.
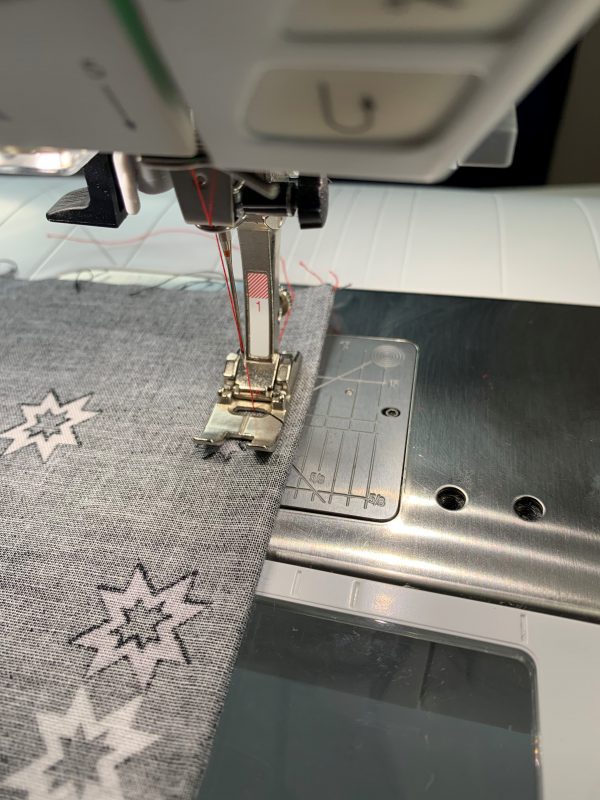
- Sew the folded edges together, through both seam allowances only. I like to use the BERNINA Edgestitch Foot #10 for this. It helps you keep a nice even line of stitching right at the edge of the fabric. To catch all the layers, I move my needle over three positions toward the side of the foot my fabric is on (in this case the left). When sewing, I keep the folded edge of my seam allowance against the center bar of the foot.

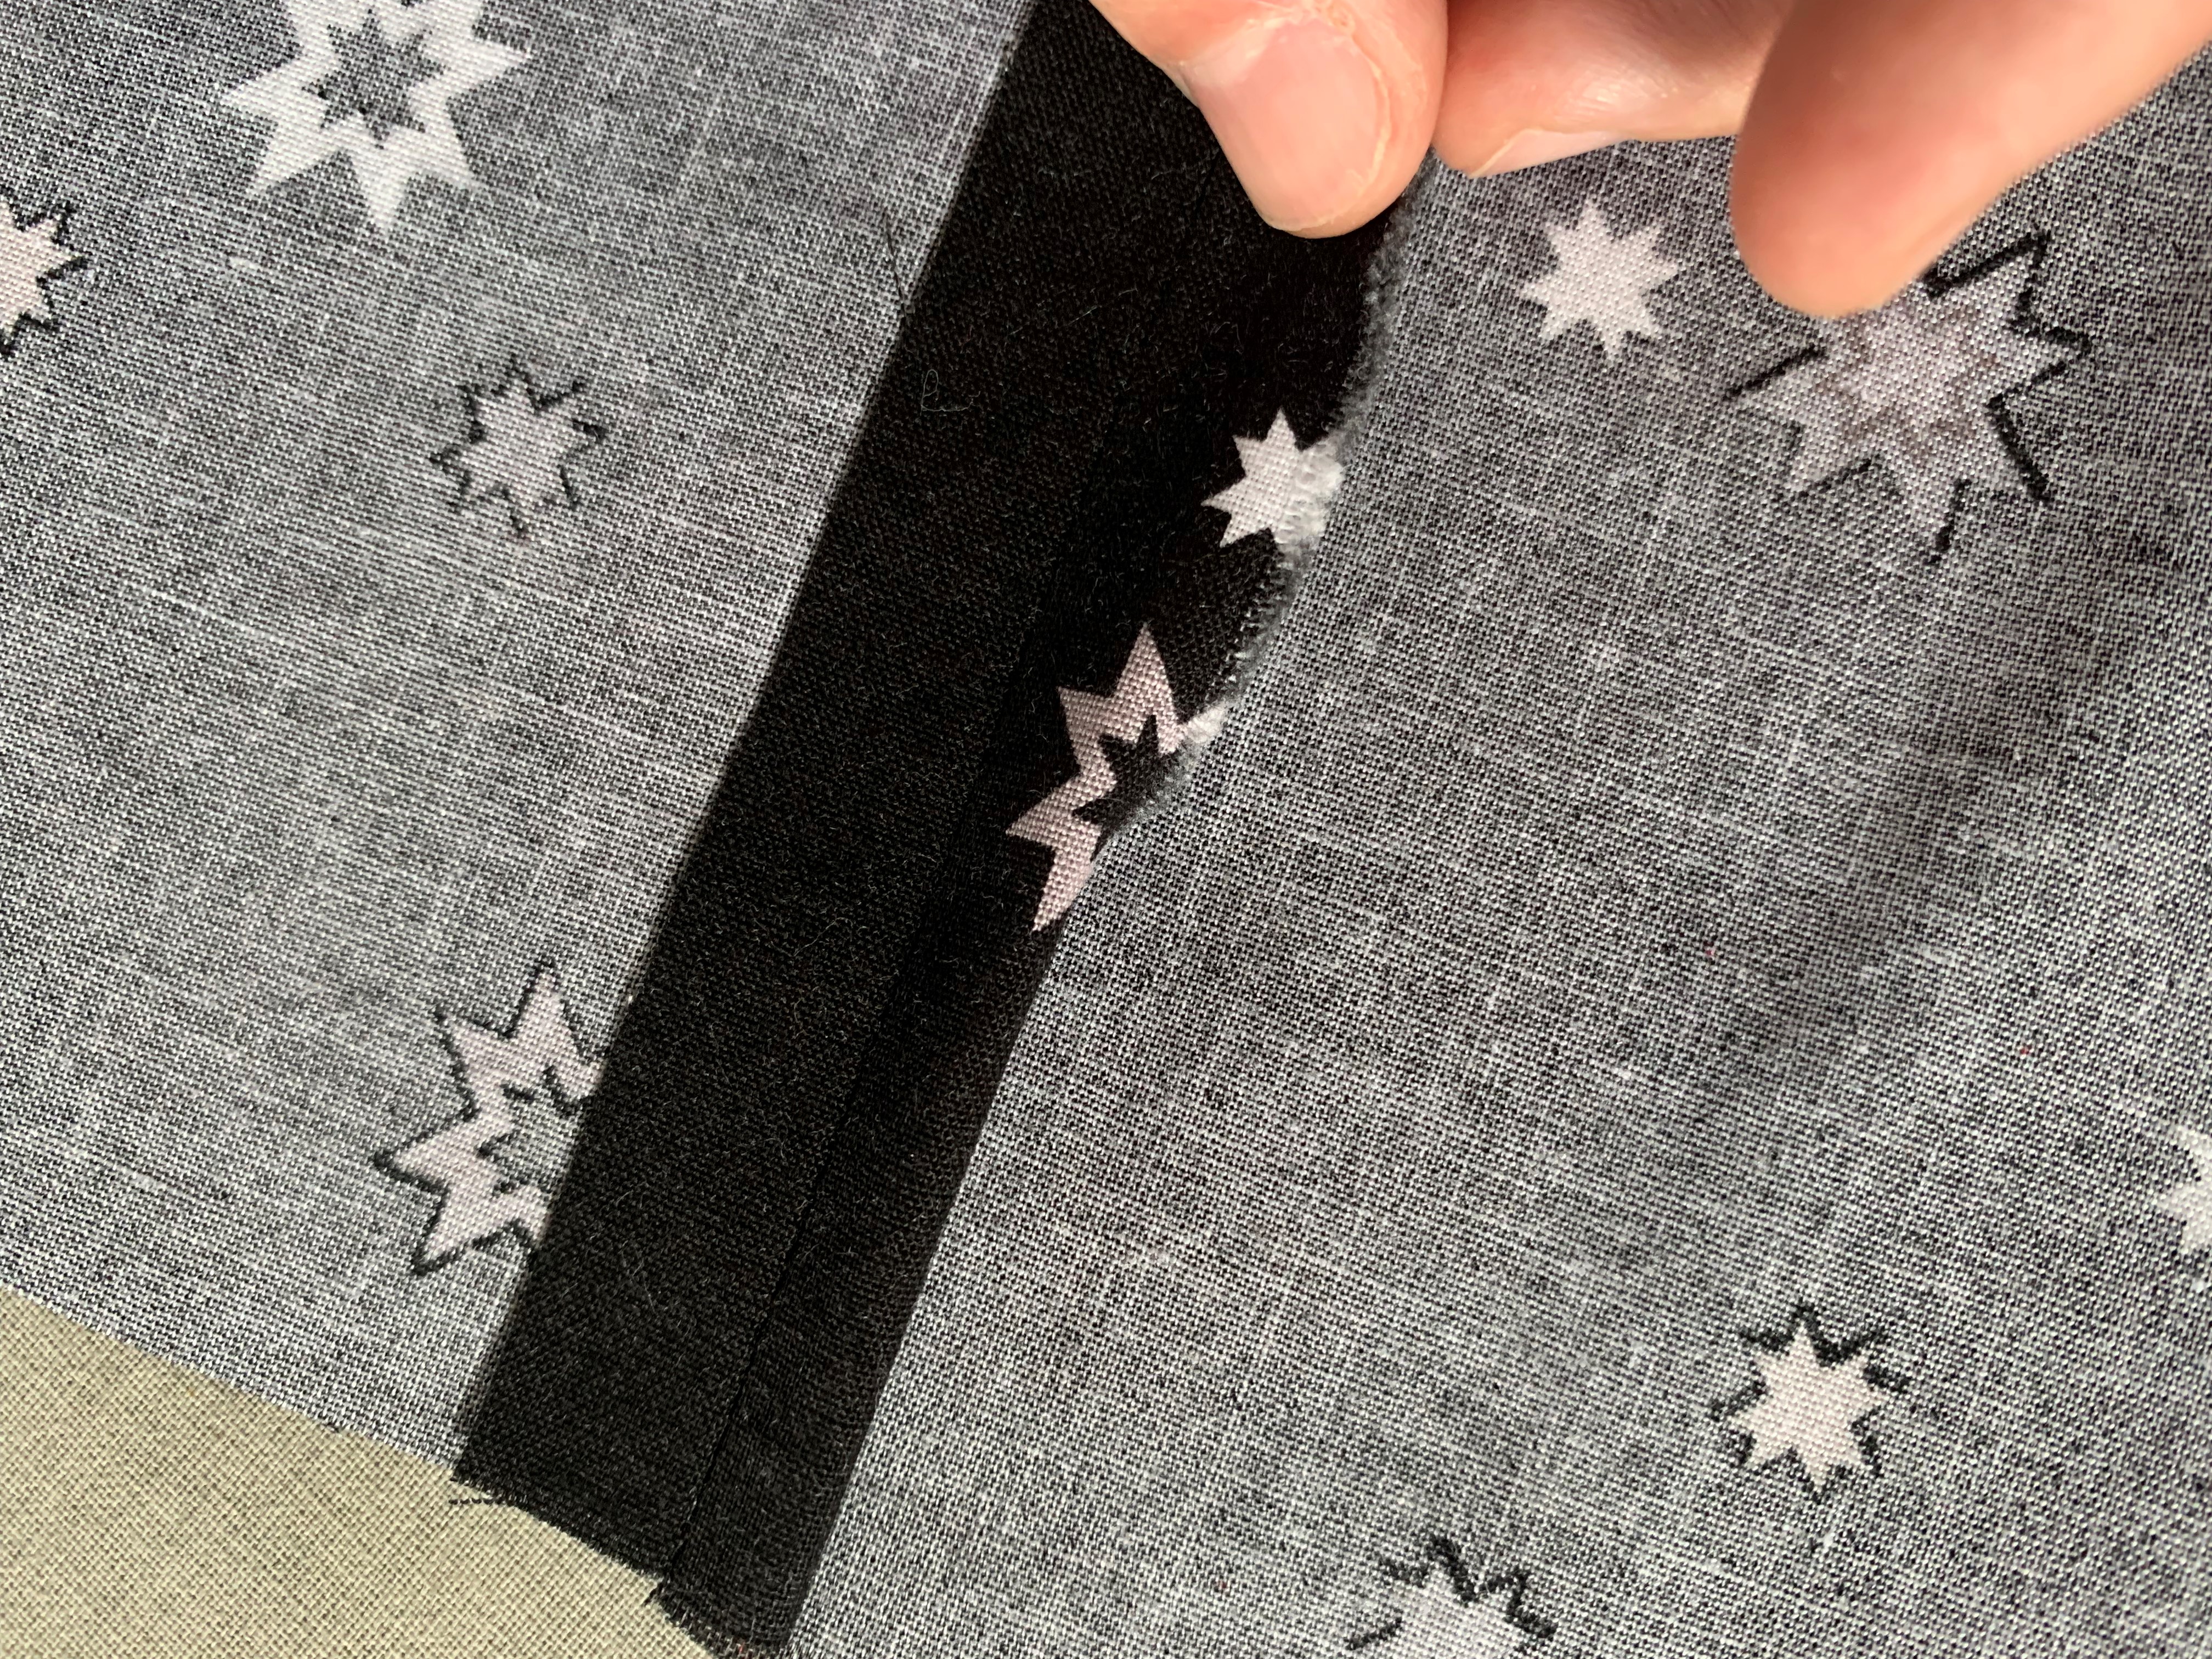
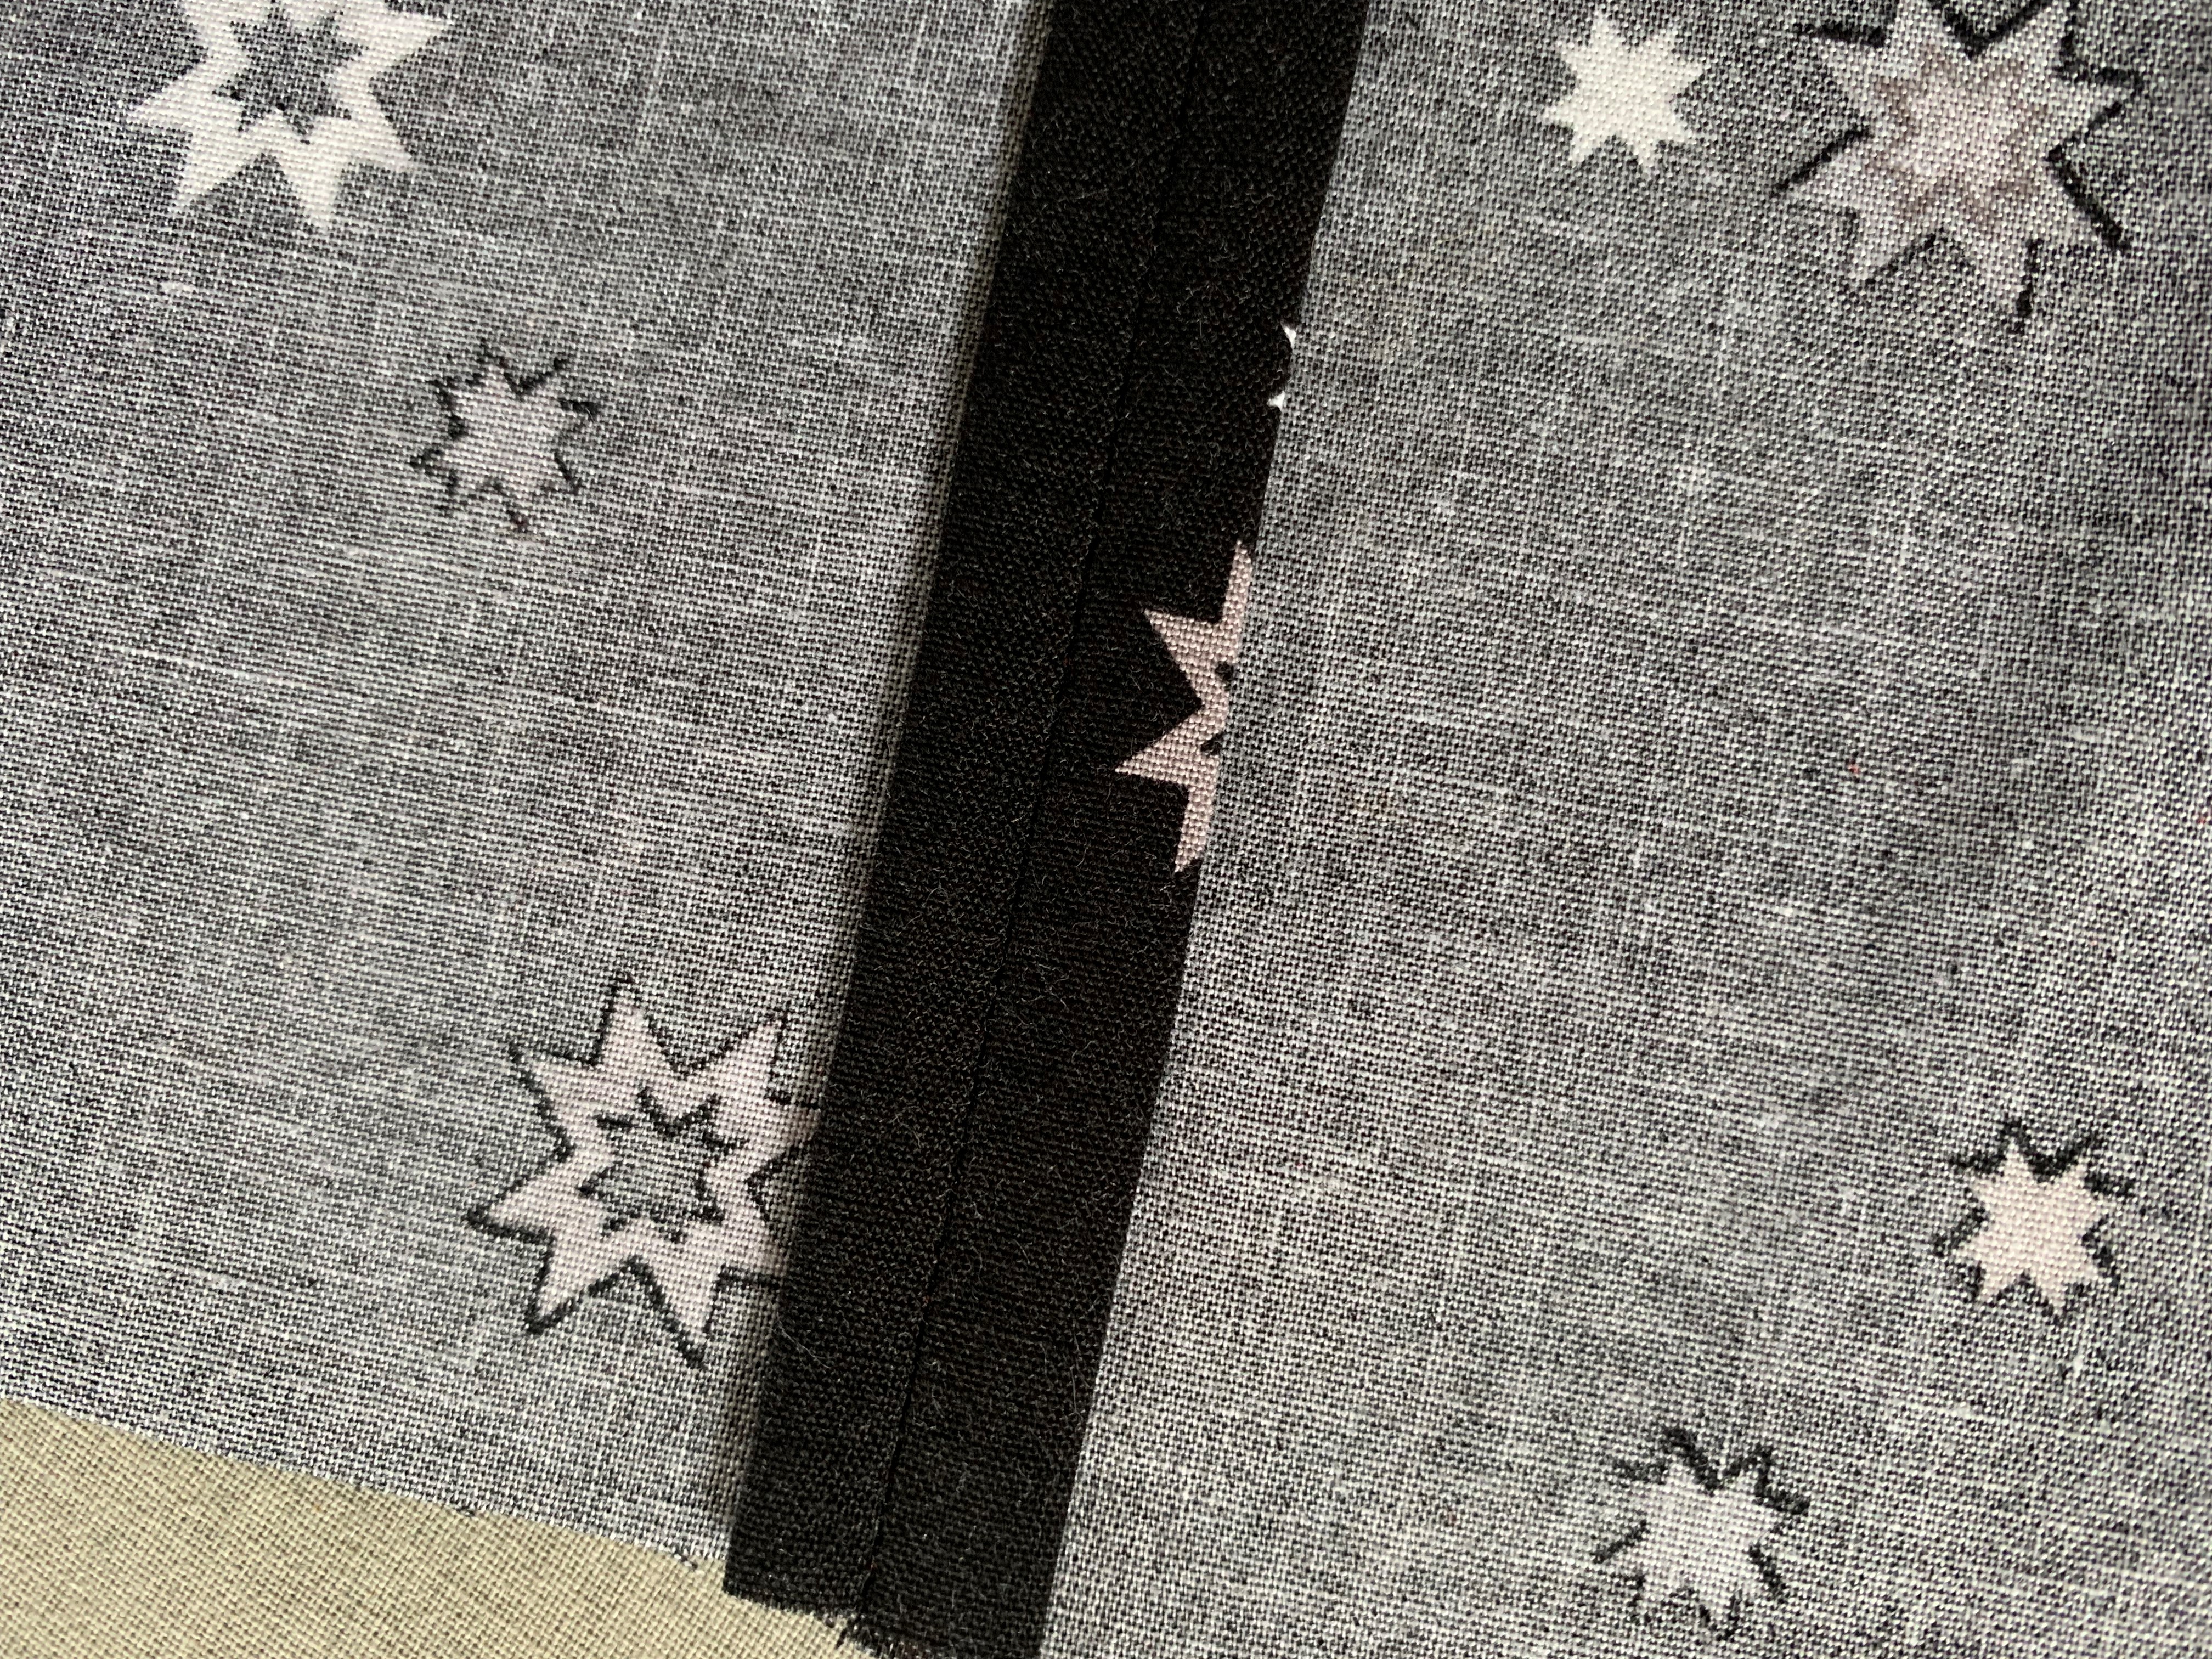
- Press to one side.

This seam will look similar to the French seam with nothing visible from the right side of the fabric. On the wrong side of the fabric, you’ll have two lines of visible stitching, the initial seam and the stitching within the seam allowance.
Seam Finish 3: Clean Finish Seams
Clean Finish Seams Overview
Clean finish seams (also called pressed and turned seams) are a great finish if you need your seam to be pressed open. They’ll work with a variety of fabrics because you won’t get a lot of bulk in one spot. I really like these seams when you need to insert a zipper or an inseam pocket.
Sewing Clean Finish Seams
- With right sides together, line the raw edge of a new fabric piece with one of the raw edges of your sampler.
- Sew this seam using a 5/8” seam allowance.
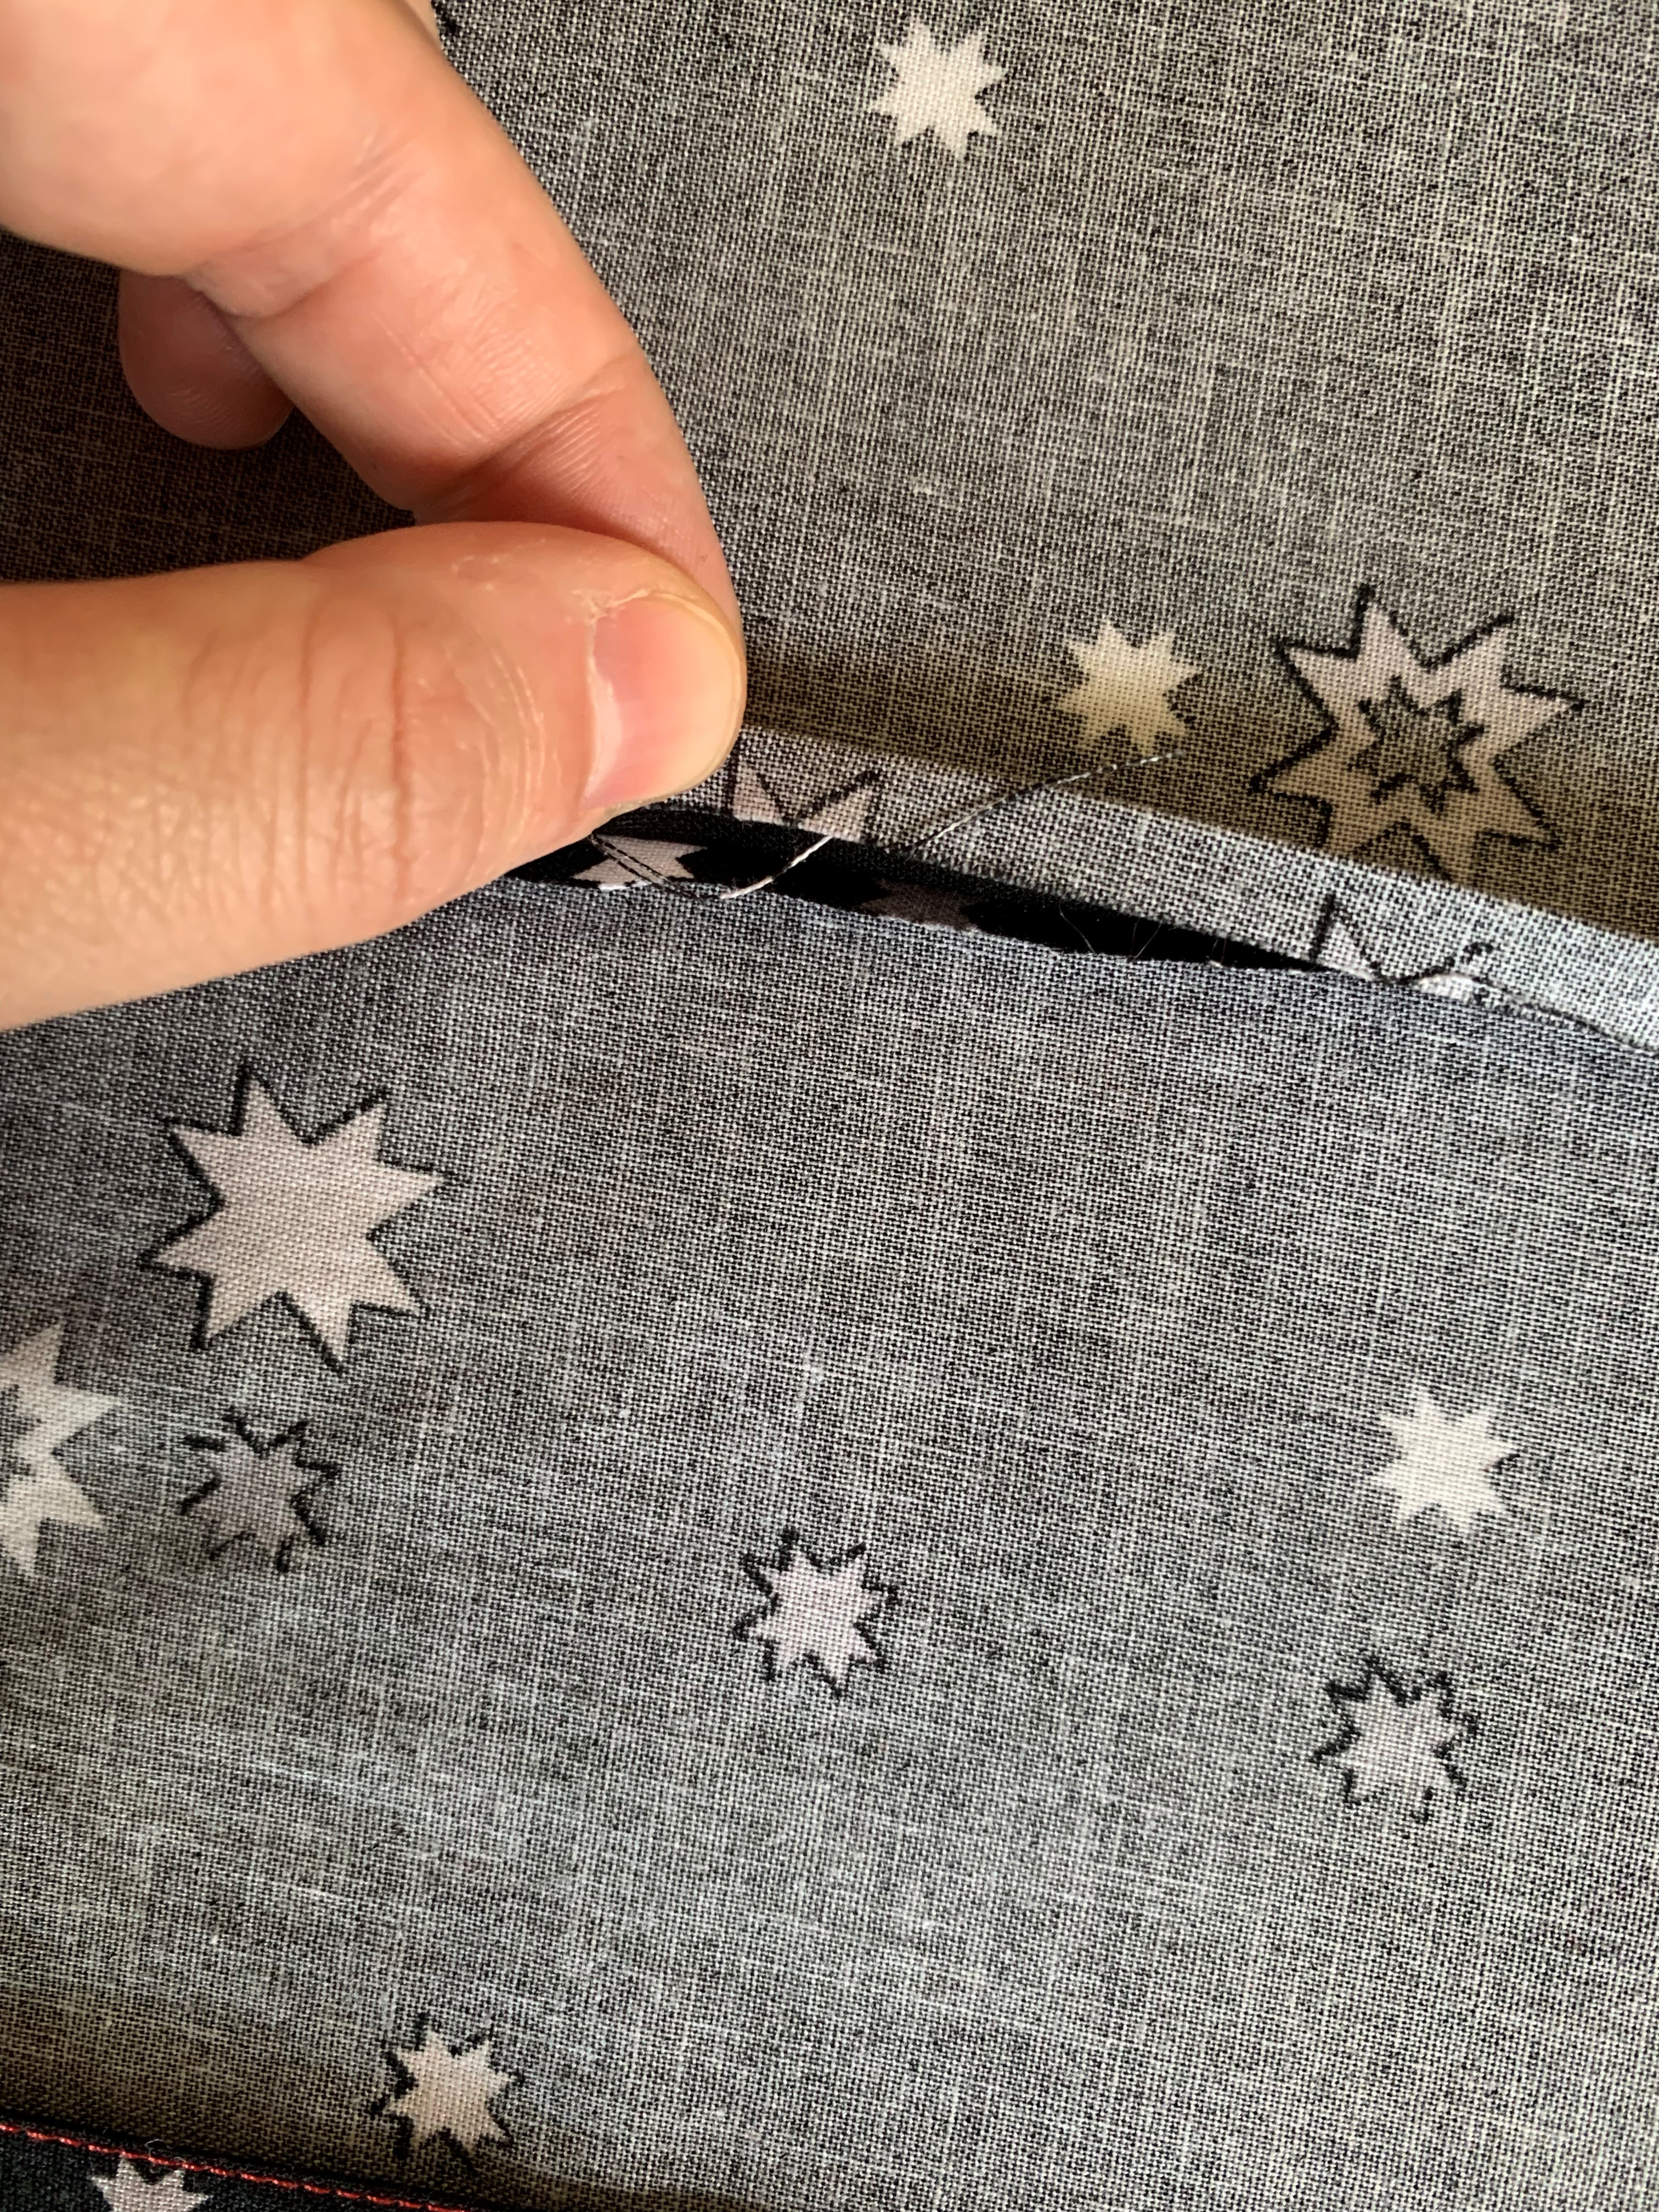
- Open your seam allowance and press the raw edges underneath the seam allowance, toward seam line. These raw edges are folded the opposite way they were with the mock French seams. The wrong sides of your seam allowance will be together.


- Sew along the folded edge of the seam allowance, through one side of the seam allowance only. (The BERNINA Edgestitch Foot #10 will work great for this too!)

- Repeat step 4 for the other side of the seam allowance.
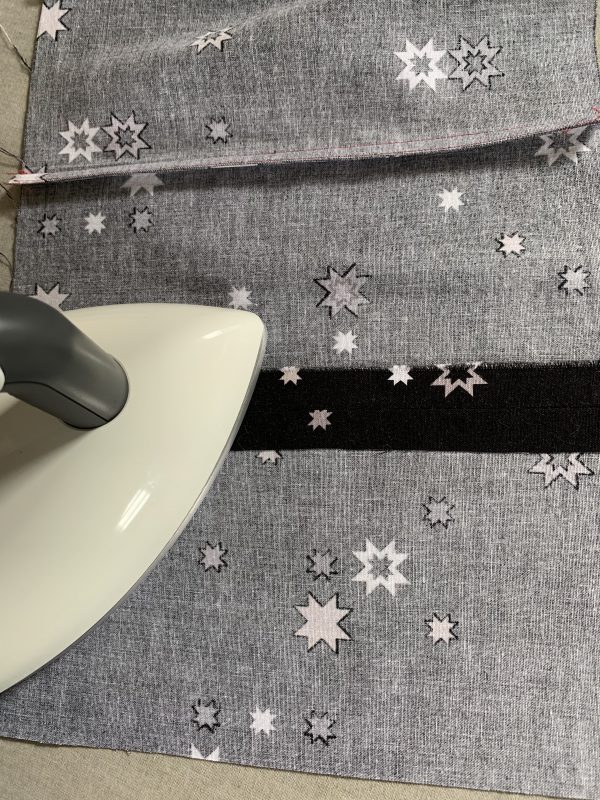
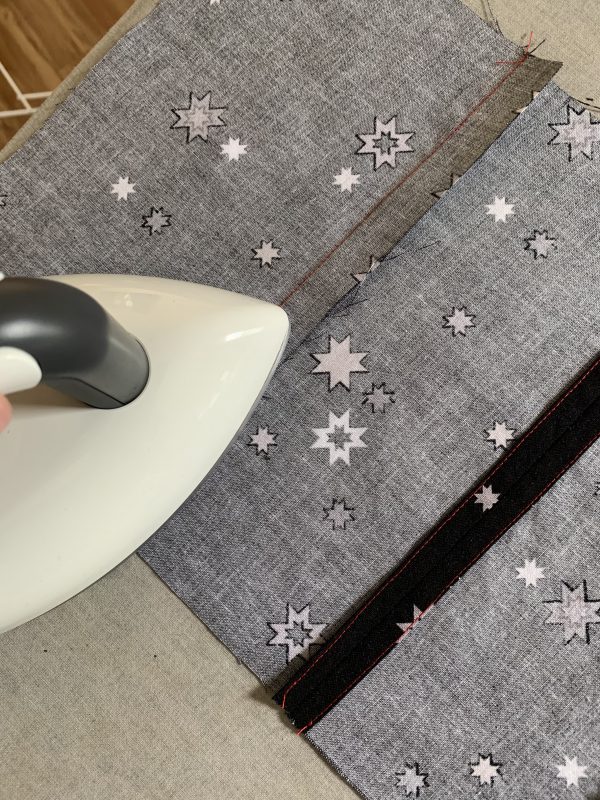
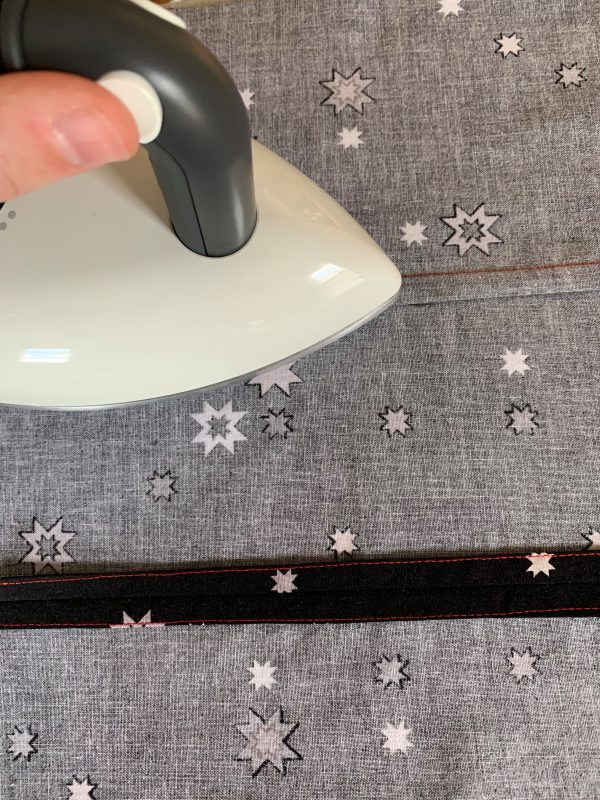
- Press the seam open.
This seam will give you a pressed open seam where the right sides of the fabric are visible in the seam allowances on the wrong side of your sampler. There will be a line of stitching right on the edge of the seam allowances, keeping the raw edge of the fabric cleanly tucked underneath. From the right side of the fabric, there won’t be anything visible, just like with the previous two seam finishes.
Seam Finish 4: Flat Felled Seams
Flat Felled Seam Overview
A flat felled seam is a really sturdy finish. You’ll add an extra set of stitching that can help strengthen seams that will be subject to a lot of wear and tear. This finish is really common with denim in jeans and denim jackets. It’s also really common to see this finish in a button-down shirt.
Sewing Flat Felled Seams
- With right sides together, line the raw edge of a new fabric piece with one of the raw edges of your sampler.
- Sew this seam using a 5/8” seam allowance.
- Grade the seam by trimming one side of the seam allowance but leaving the other long.
- Press the seam allowances toward the side you trimmed short, covering the shorter seam allowance with the longer one.
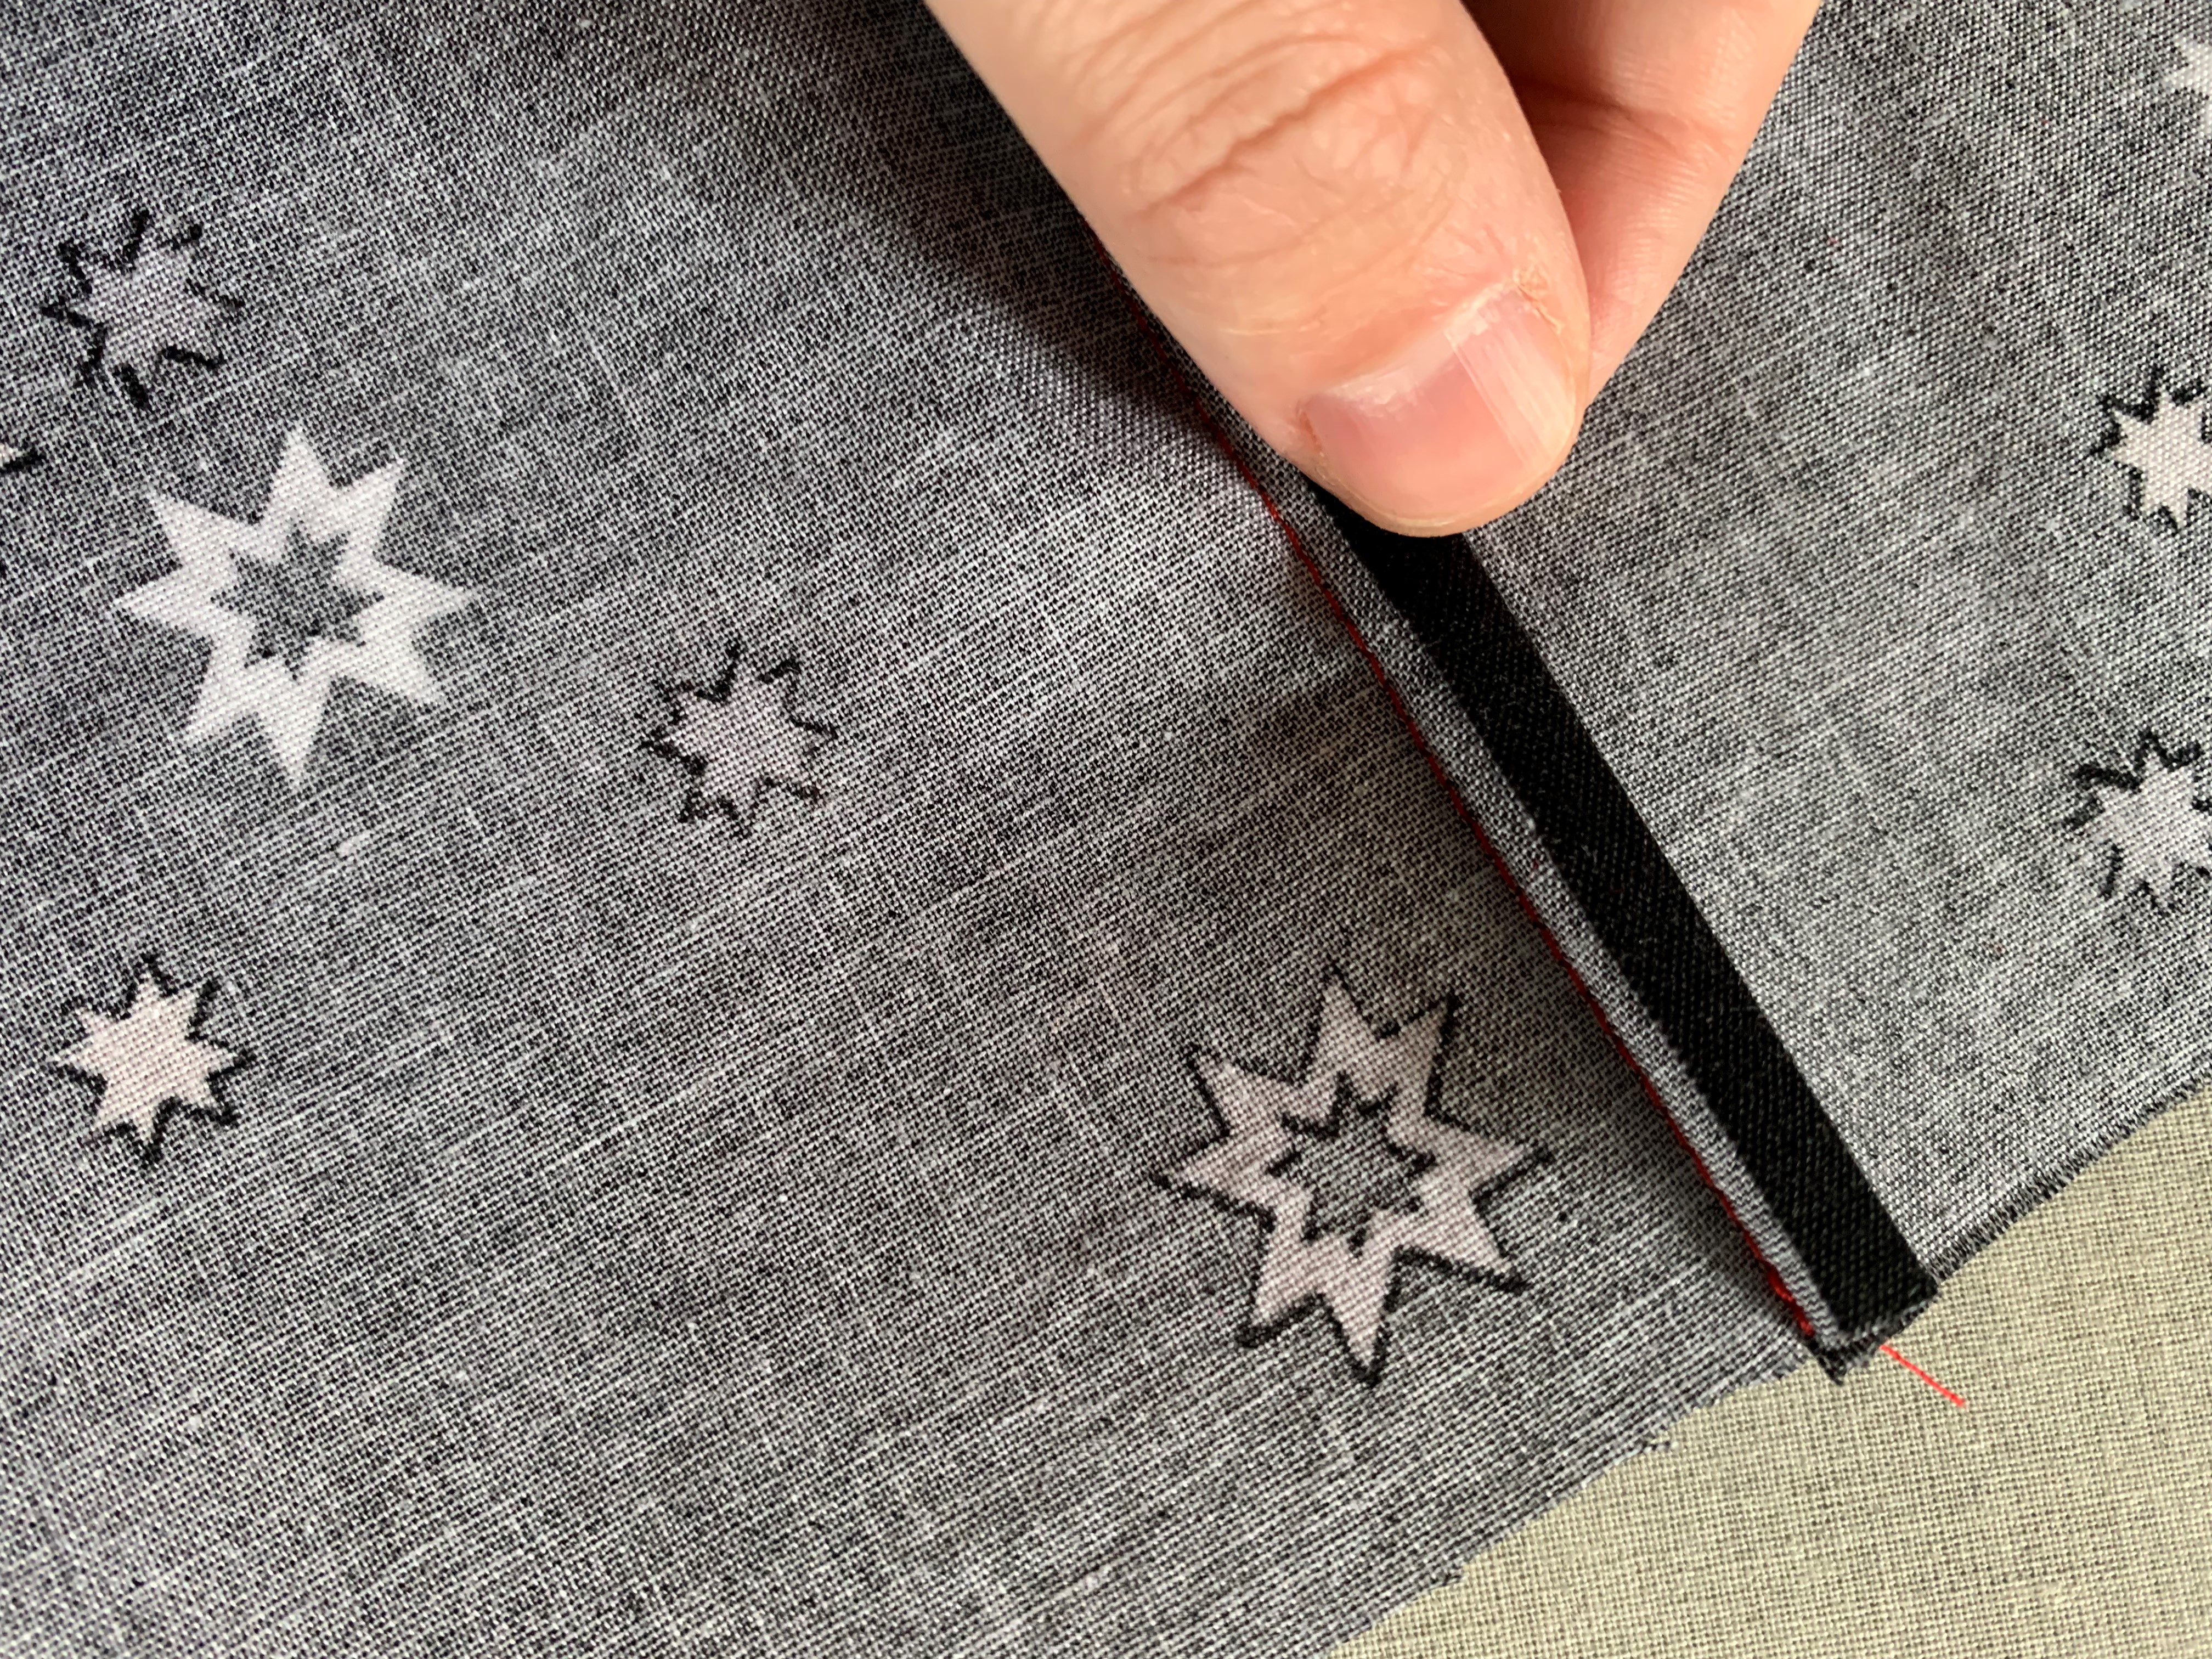
- Tuck the longer seam allowance in toward the seam allowance, similar to step 3 in the mock French seams. Press this flat, keeping the main fabric of the sampler open.

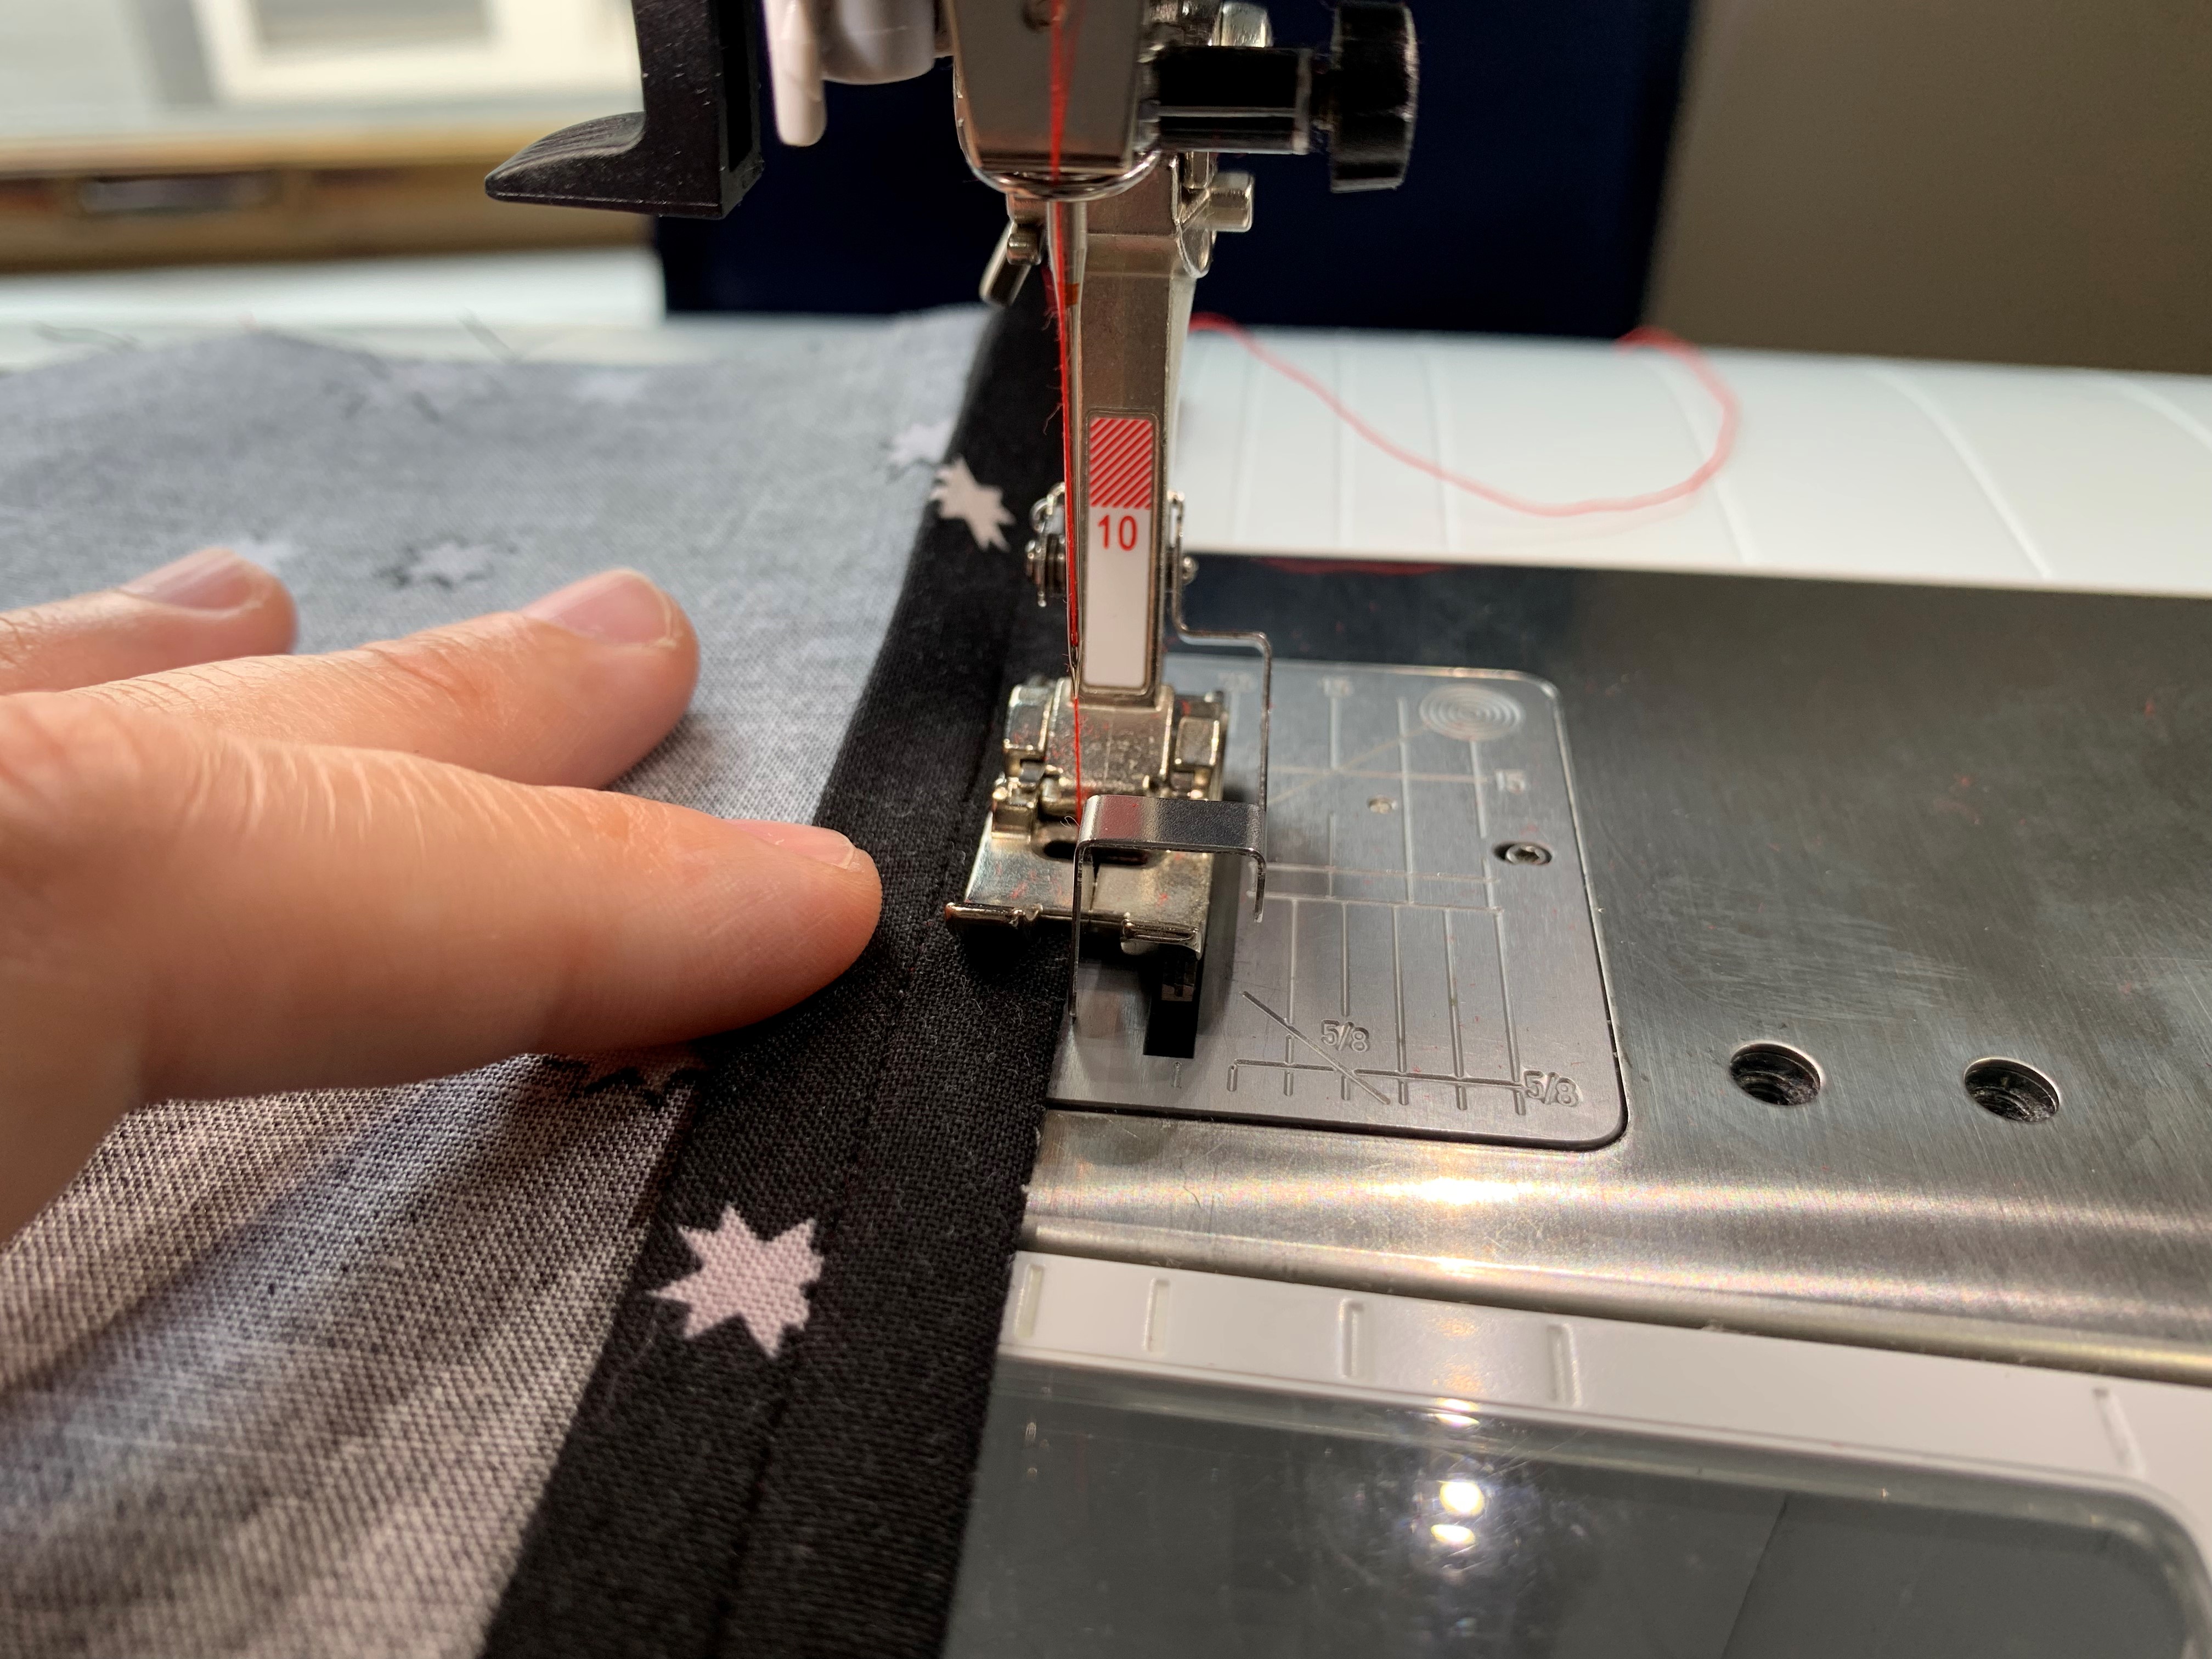
- Stitch along the folded edge of the seam allowance, through both the seam allowance and the main fabric. The BERNINA Edgestitch Foot #10 will help you keep the line of stitching nice and straight, which is important here because you will see it from the right side of the fabric. The way I sewed this seam, I needed to move my needle over toward the right to ensure I caught all the layers.


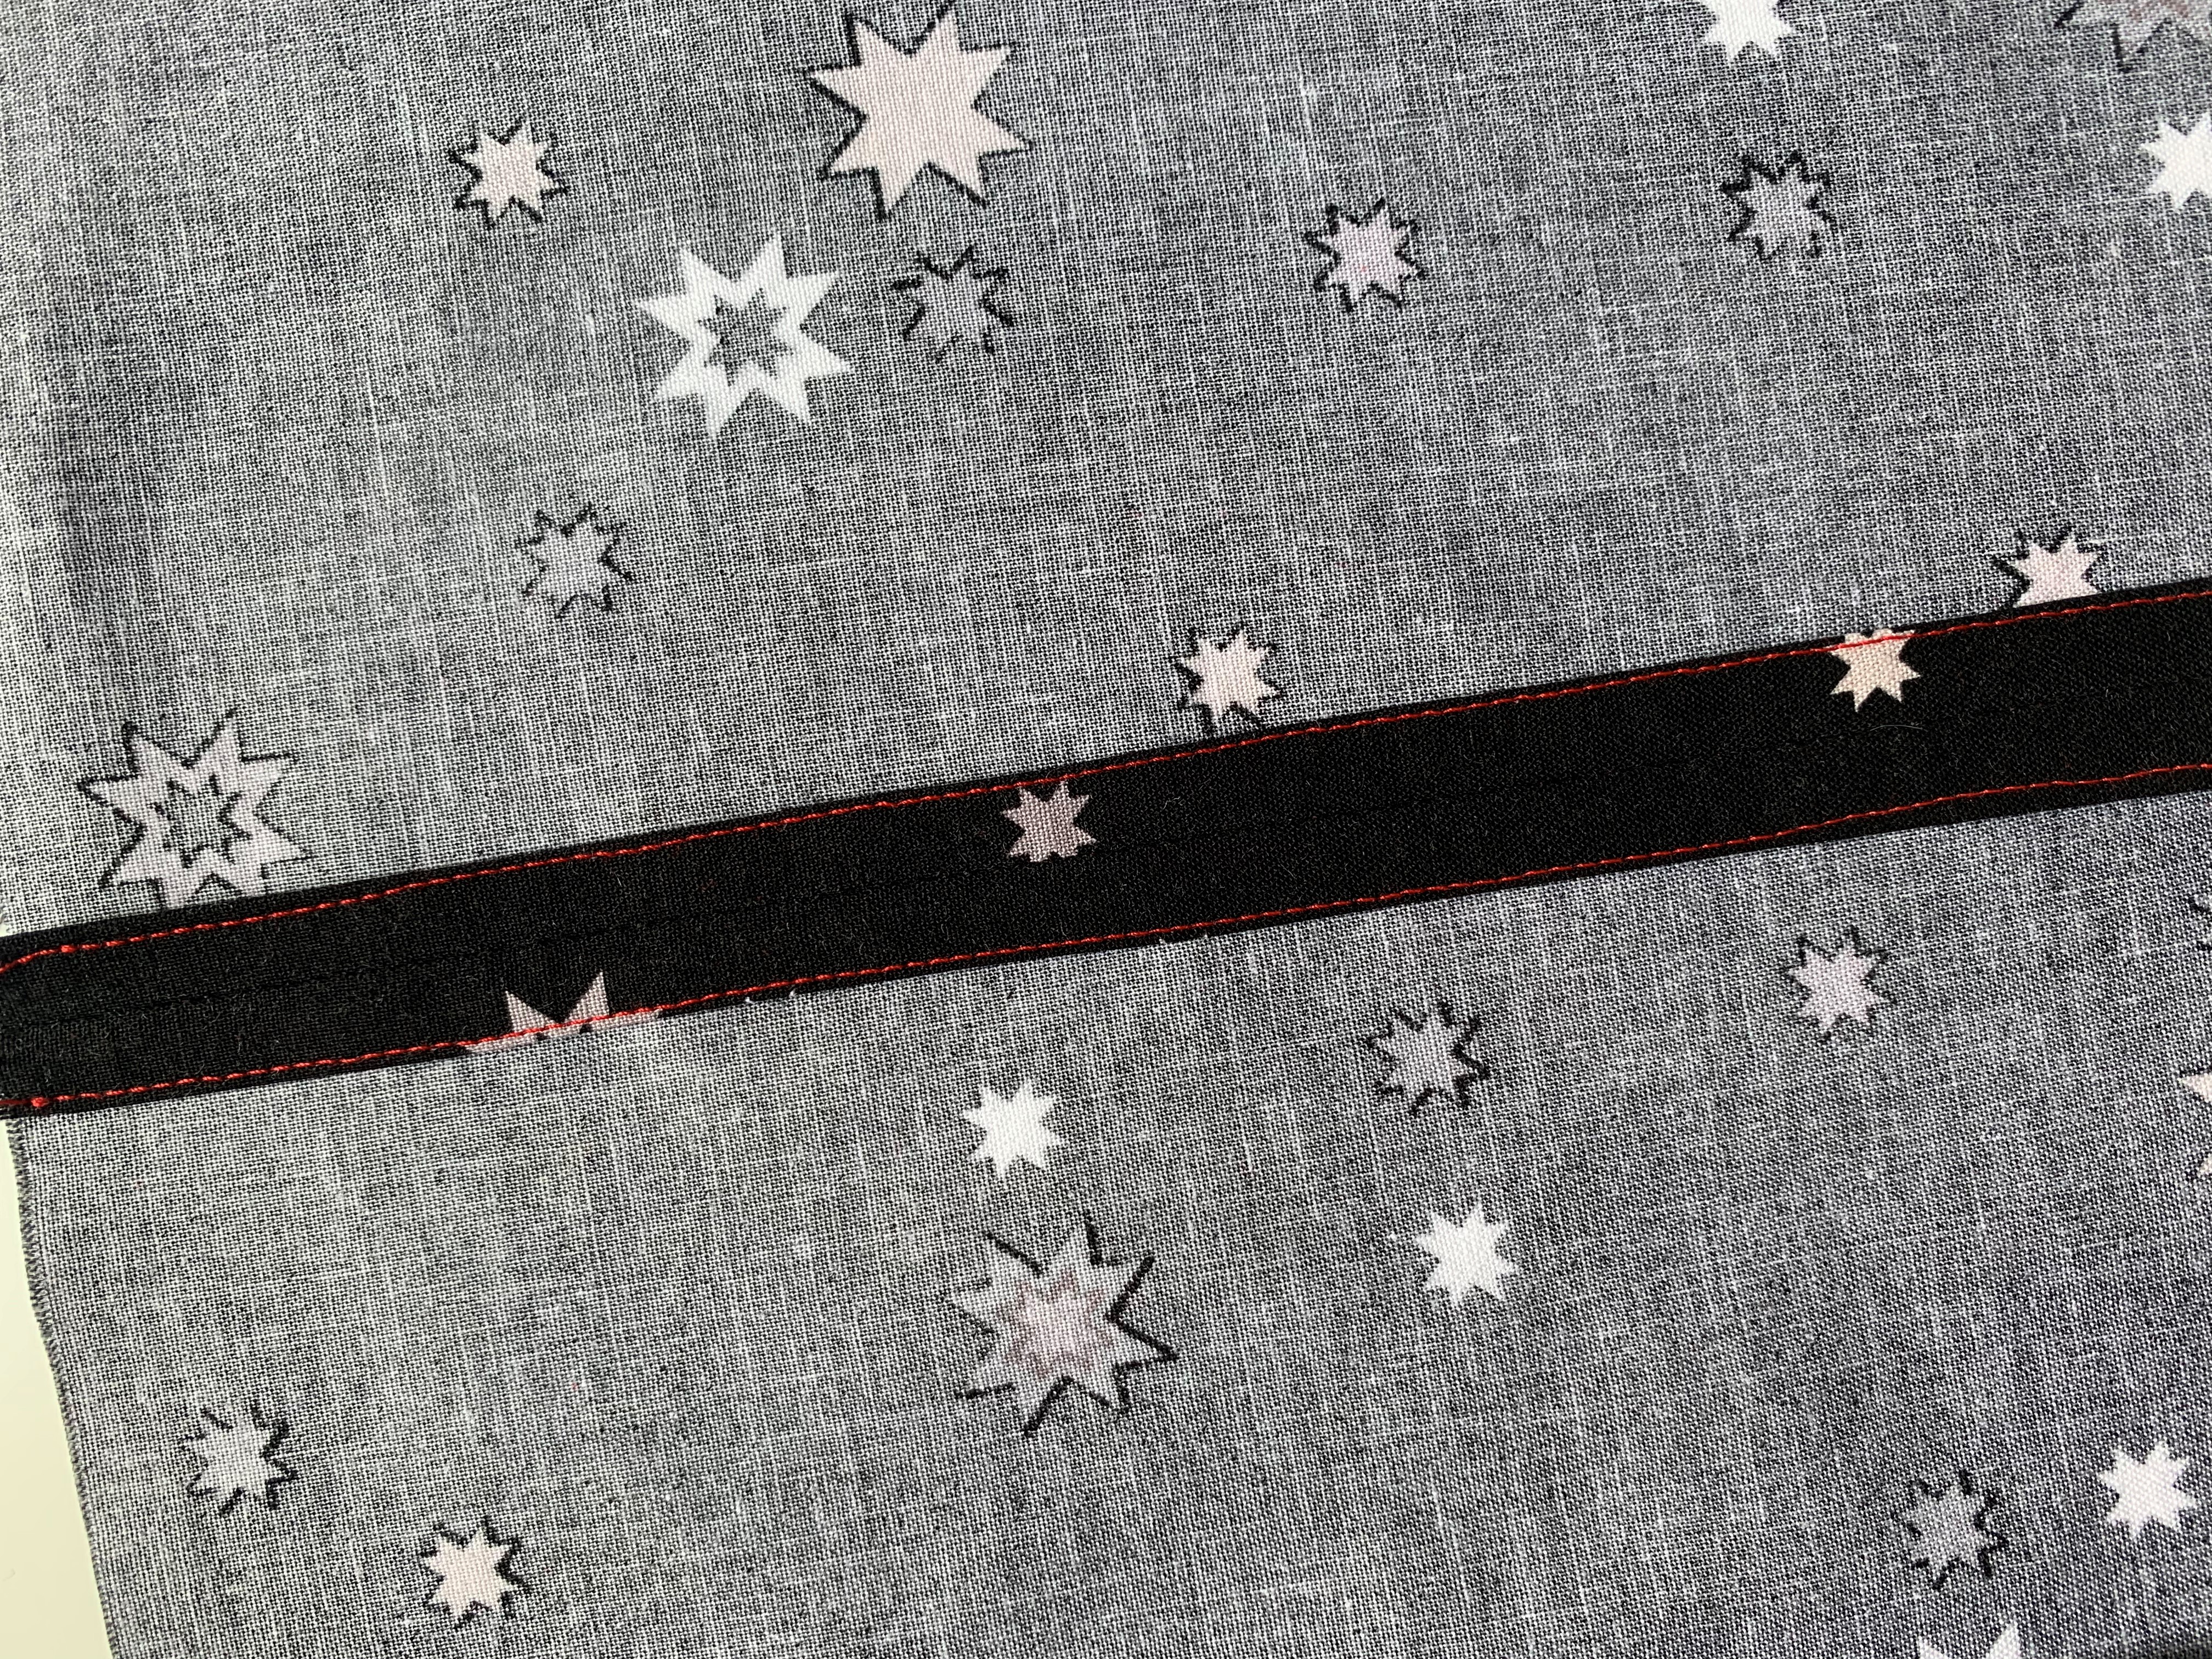
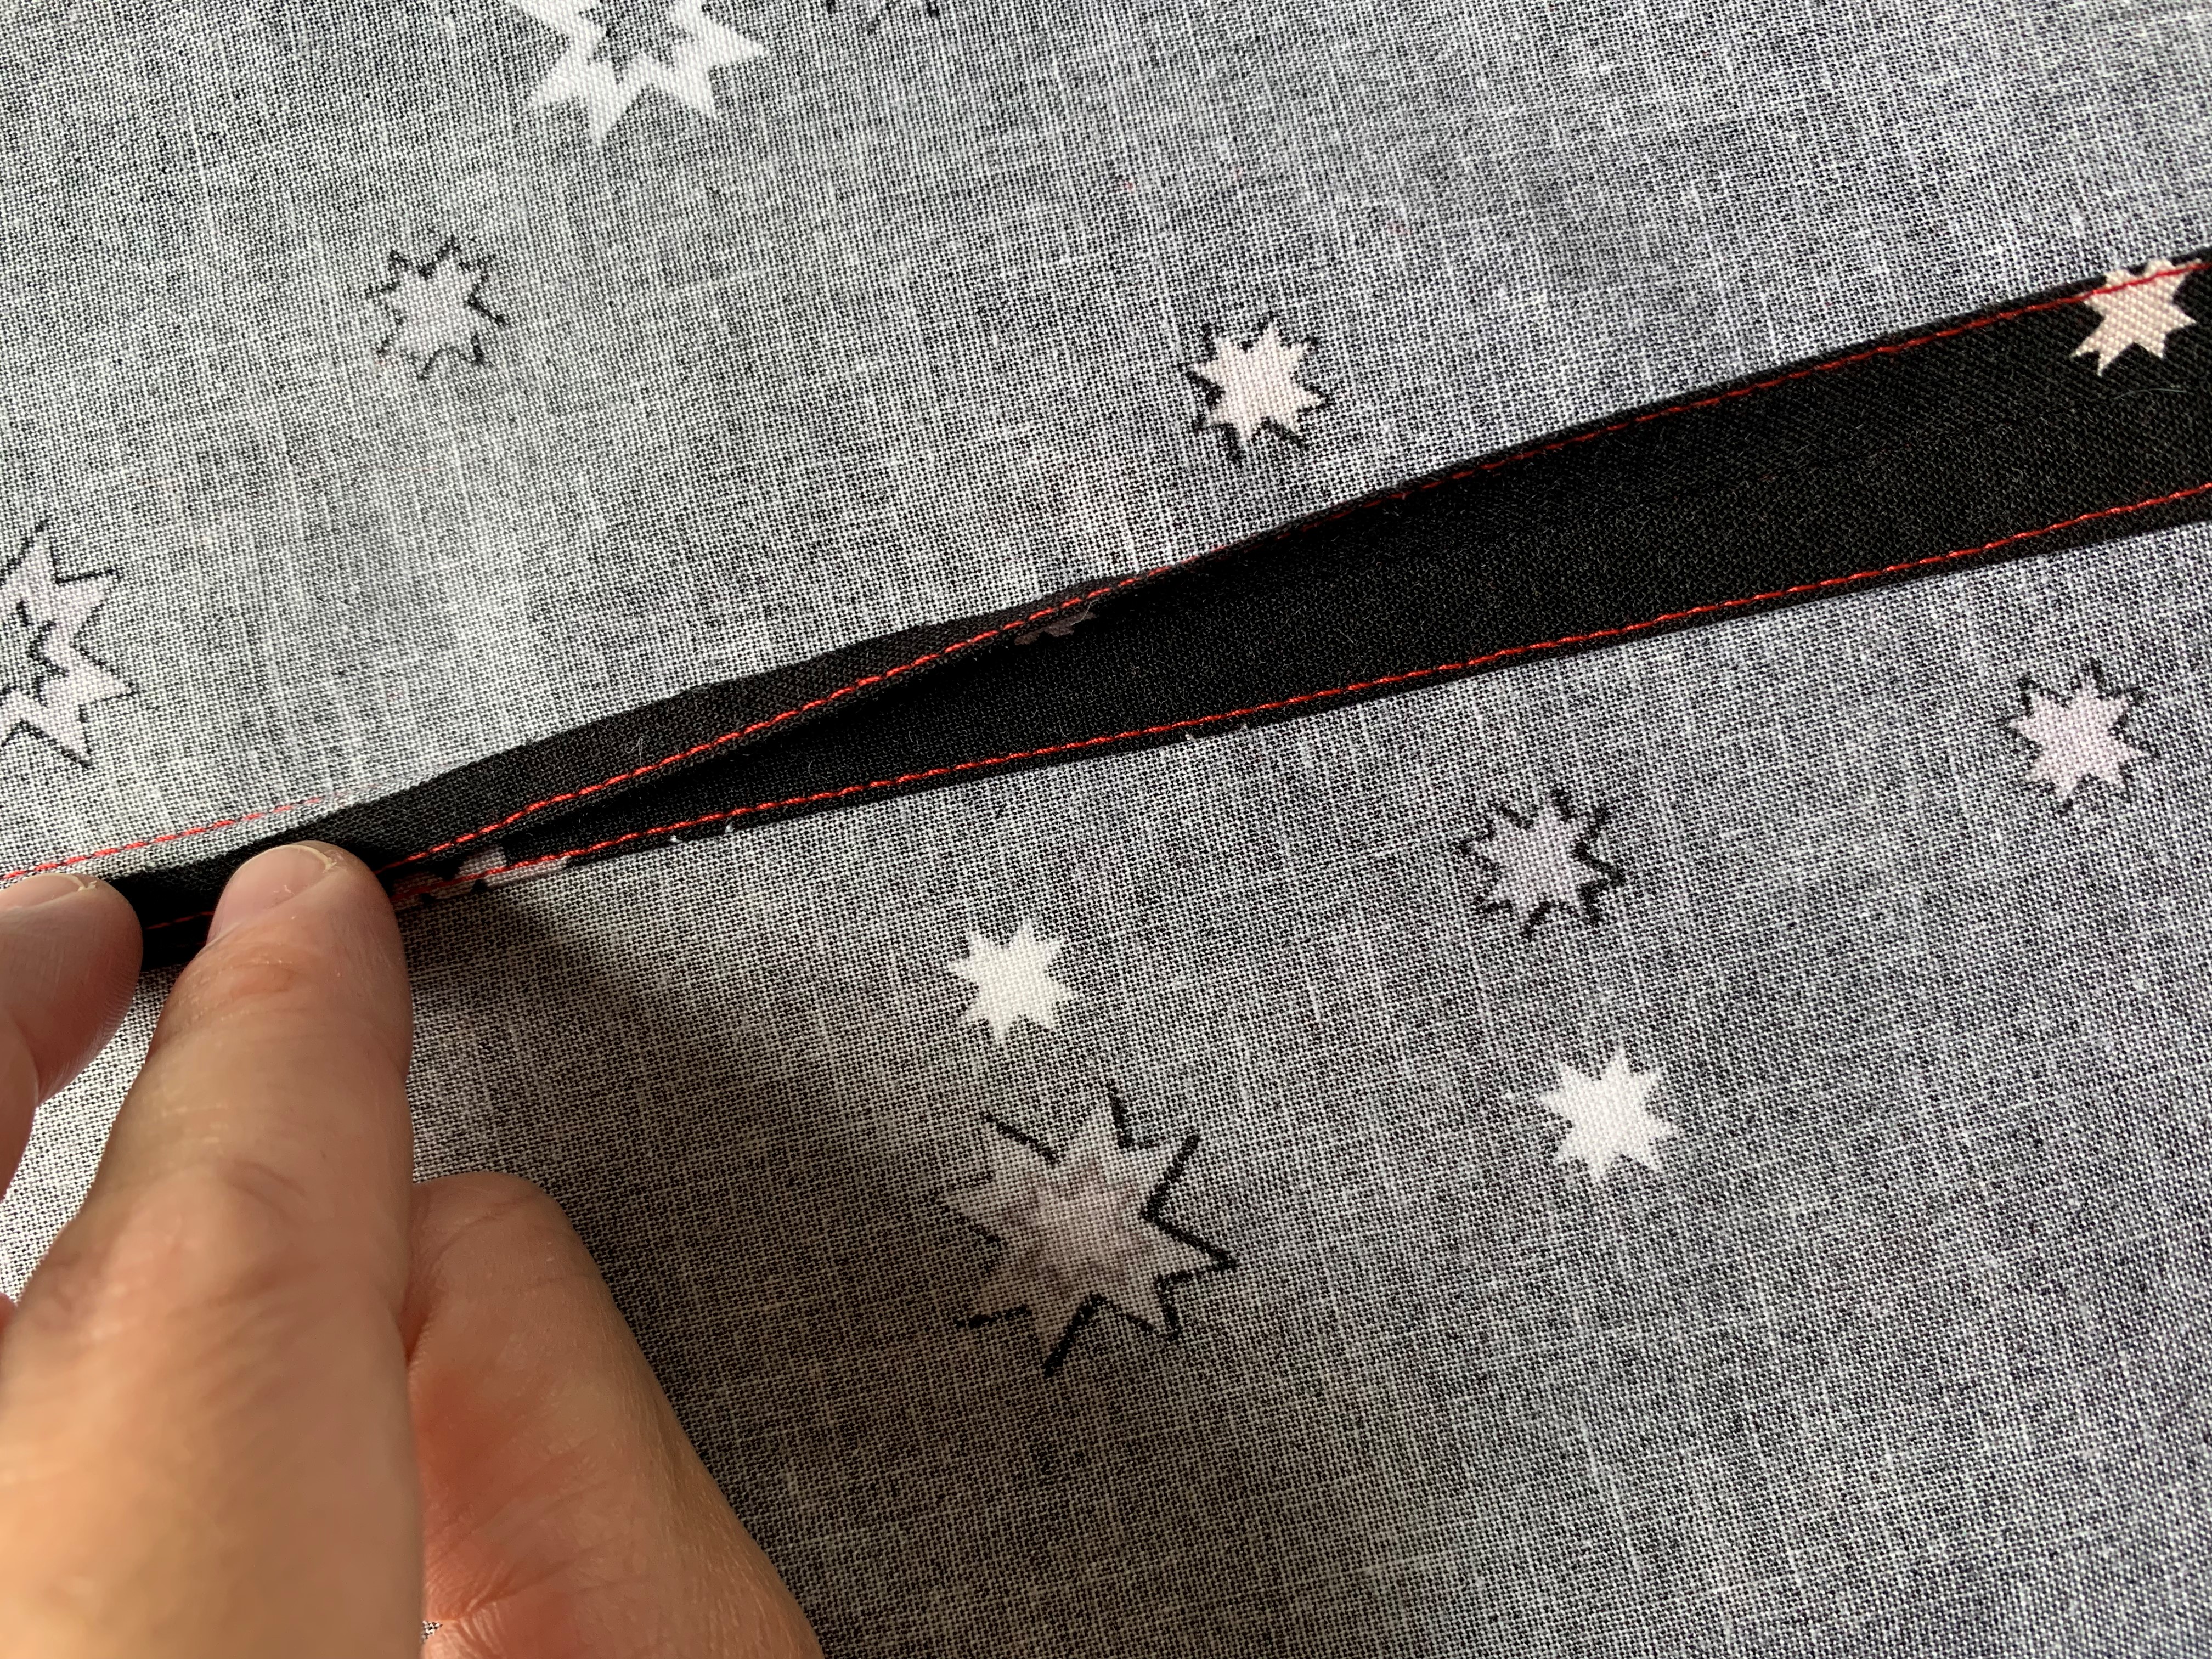
This seam finish will give you a completely flat seam with a visible line of stitching from the right side of the fabric. Keep in mind, that stitching a flat felled seam this way will show your bobbin thread from the right side of the fabric. I like this method because it is very beginner friendly. You don’t run the risk of missing catching your seam allowance underneath your stitching. If you’re using a different thread in your bobbin and want your top thread to show, you would complete step 6 with the right side of your fabric facing up – just make sure you’re catching your seam allowances underneath. When using this seam finish in a garment, keep in mind that the side of the seam you trim will be the side of the seam that will have top stitching visible.

Seam Finish 5: Zig-Zag and Decorative Stitching
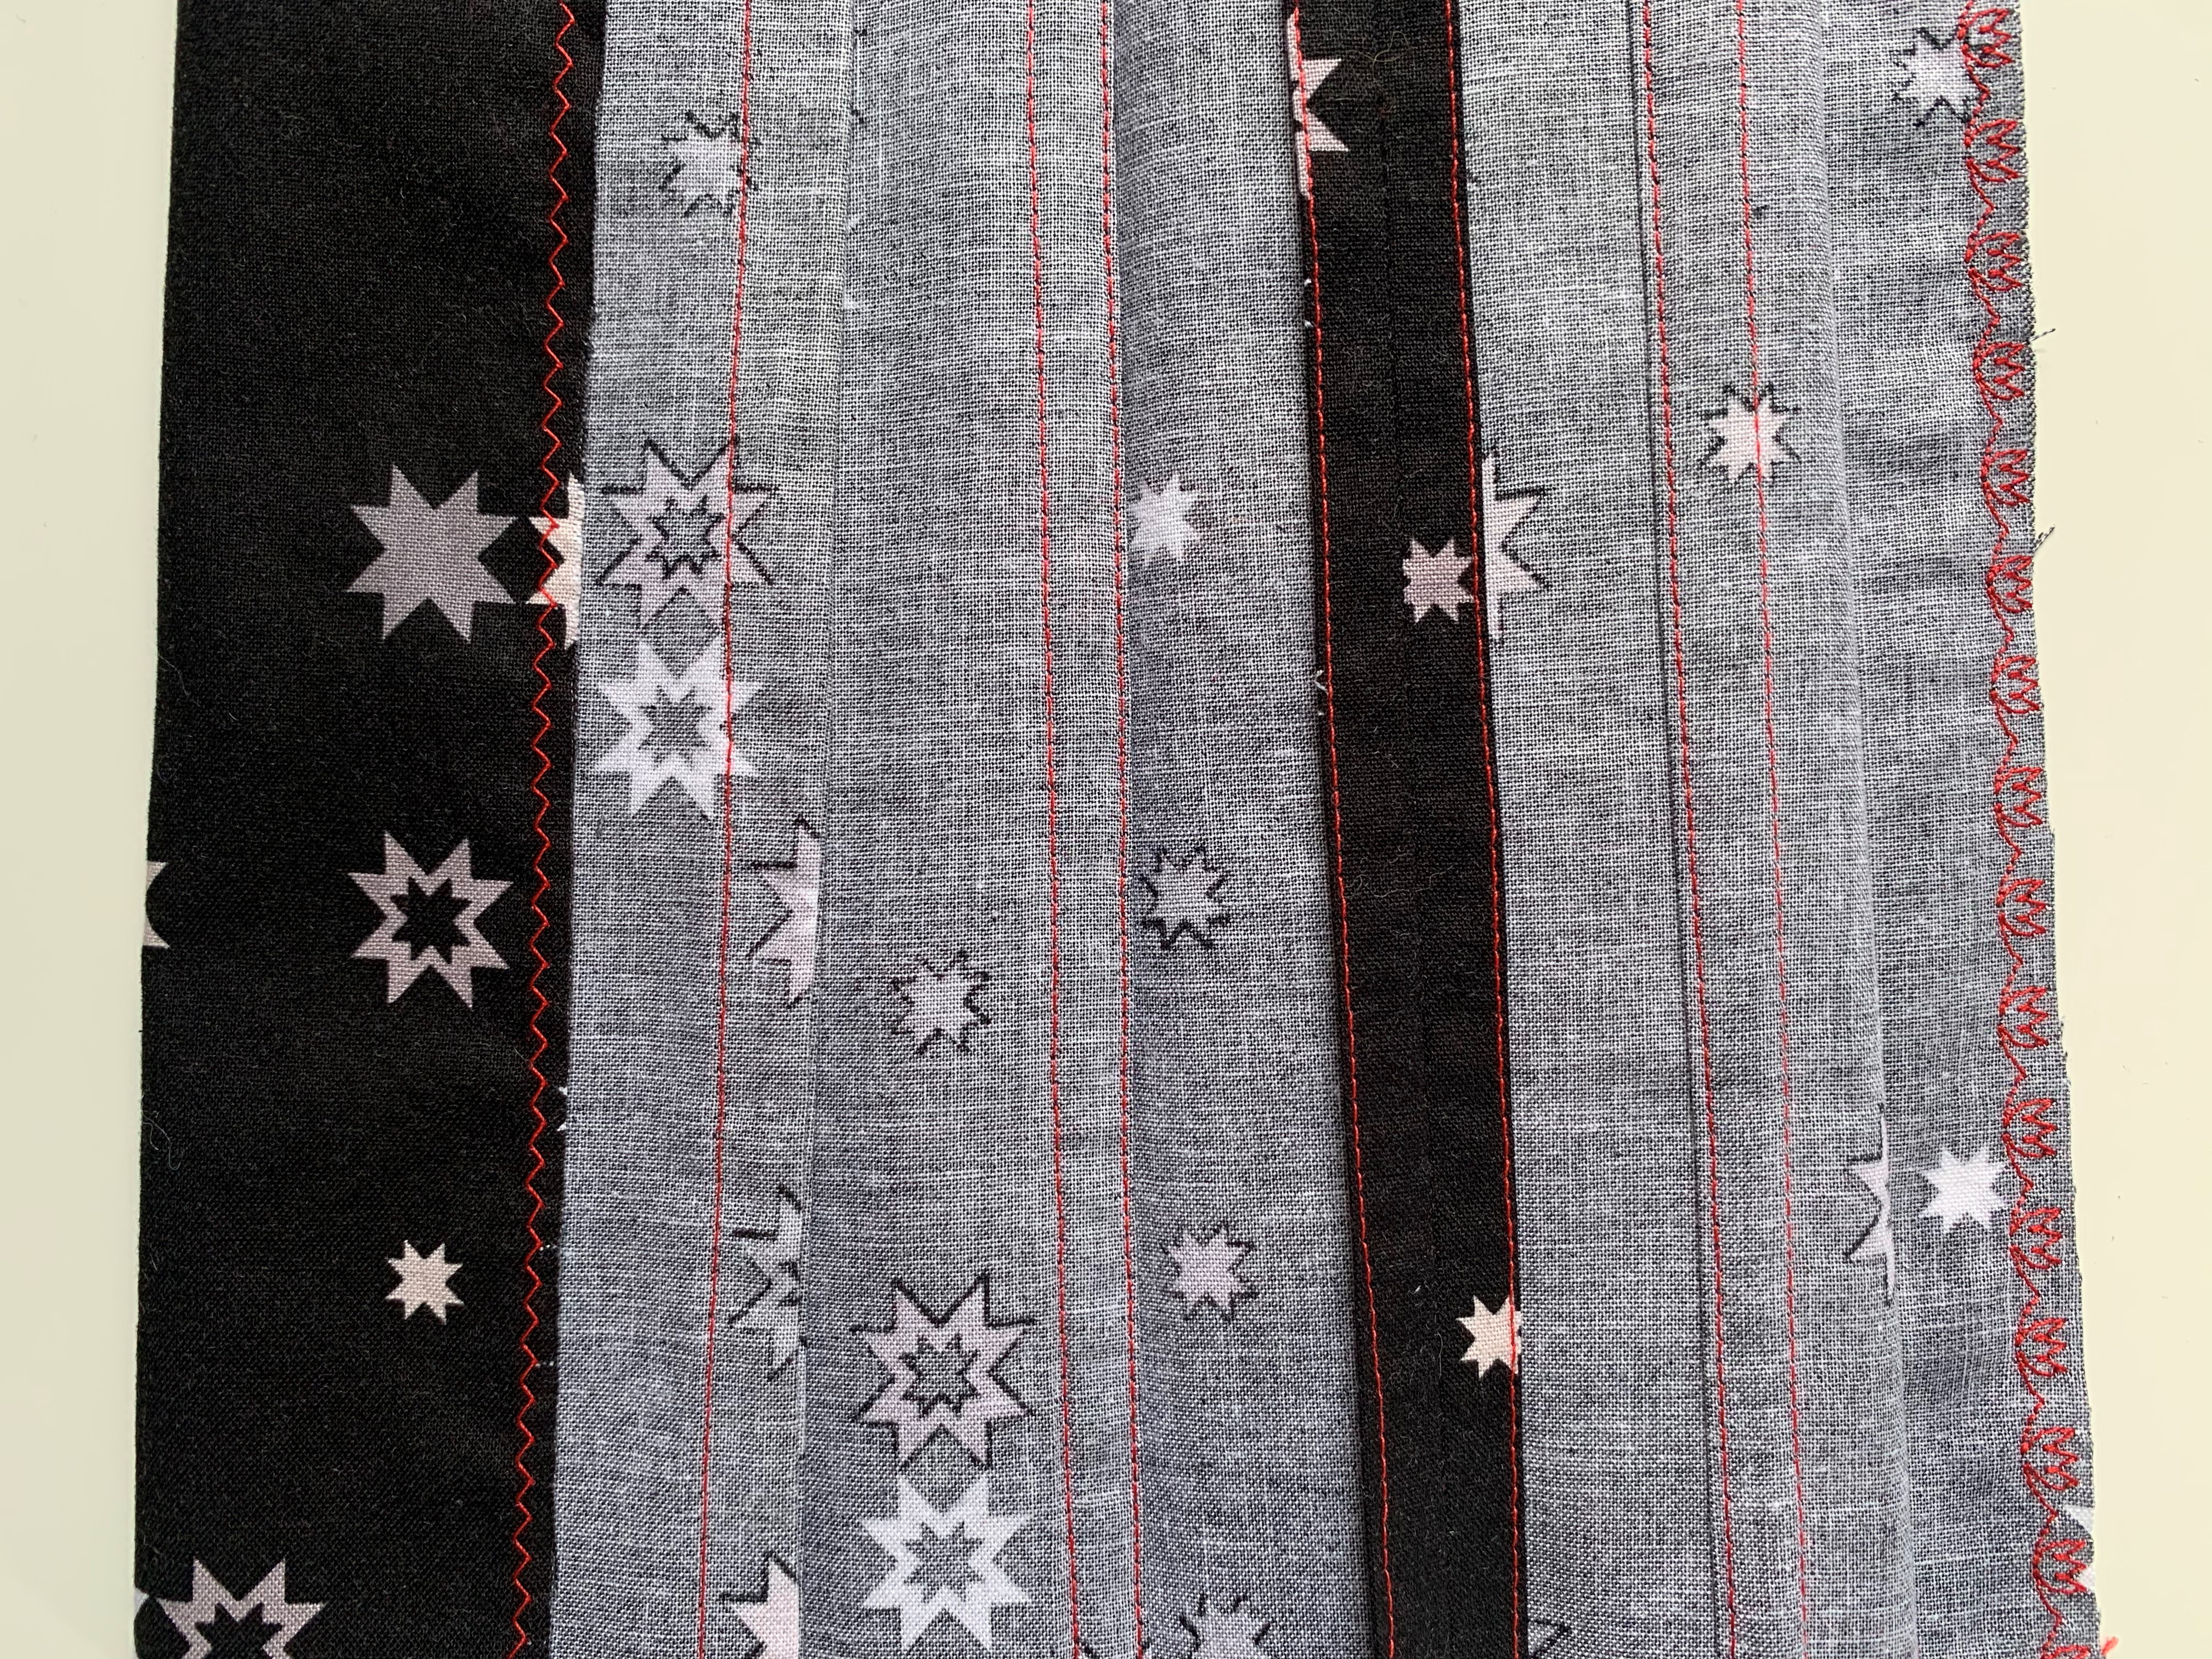
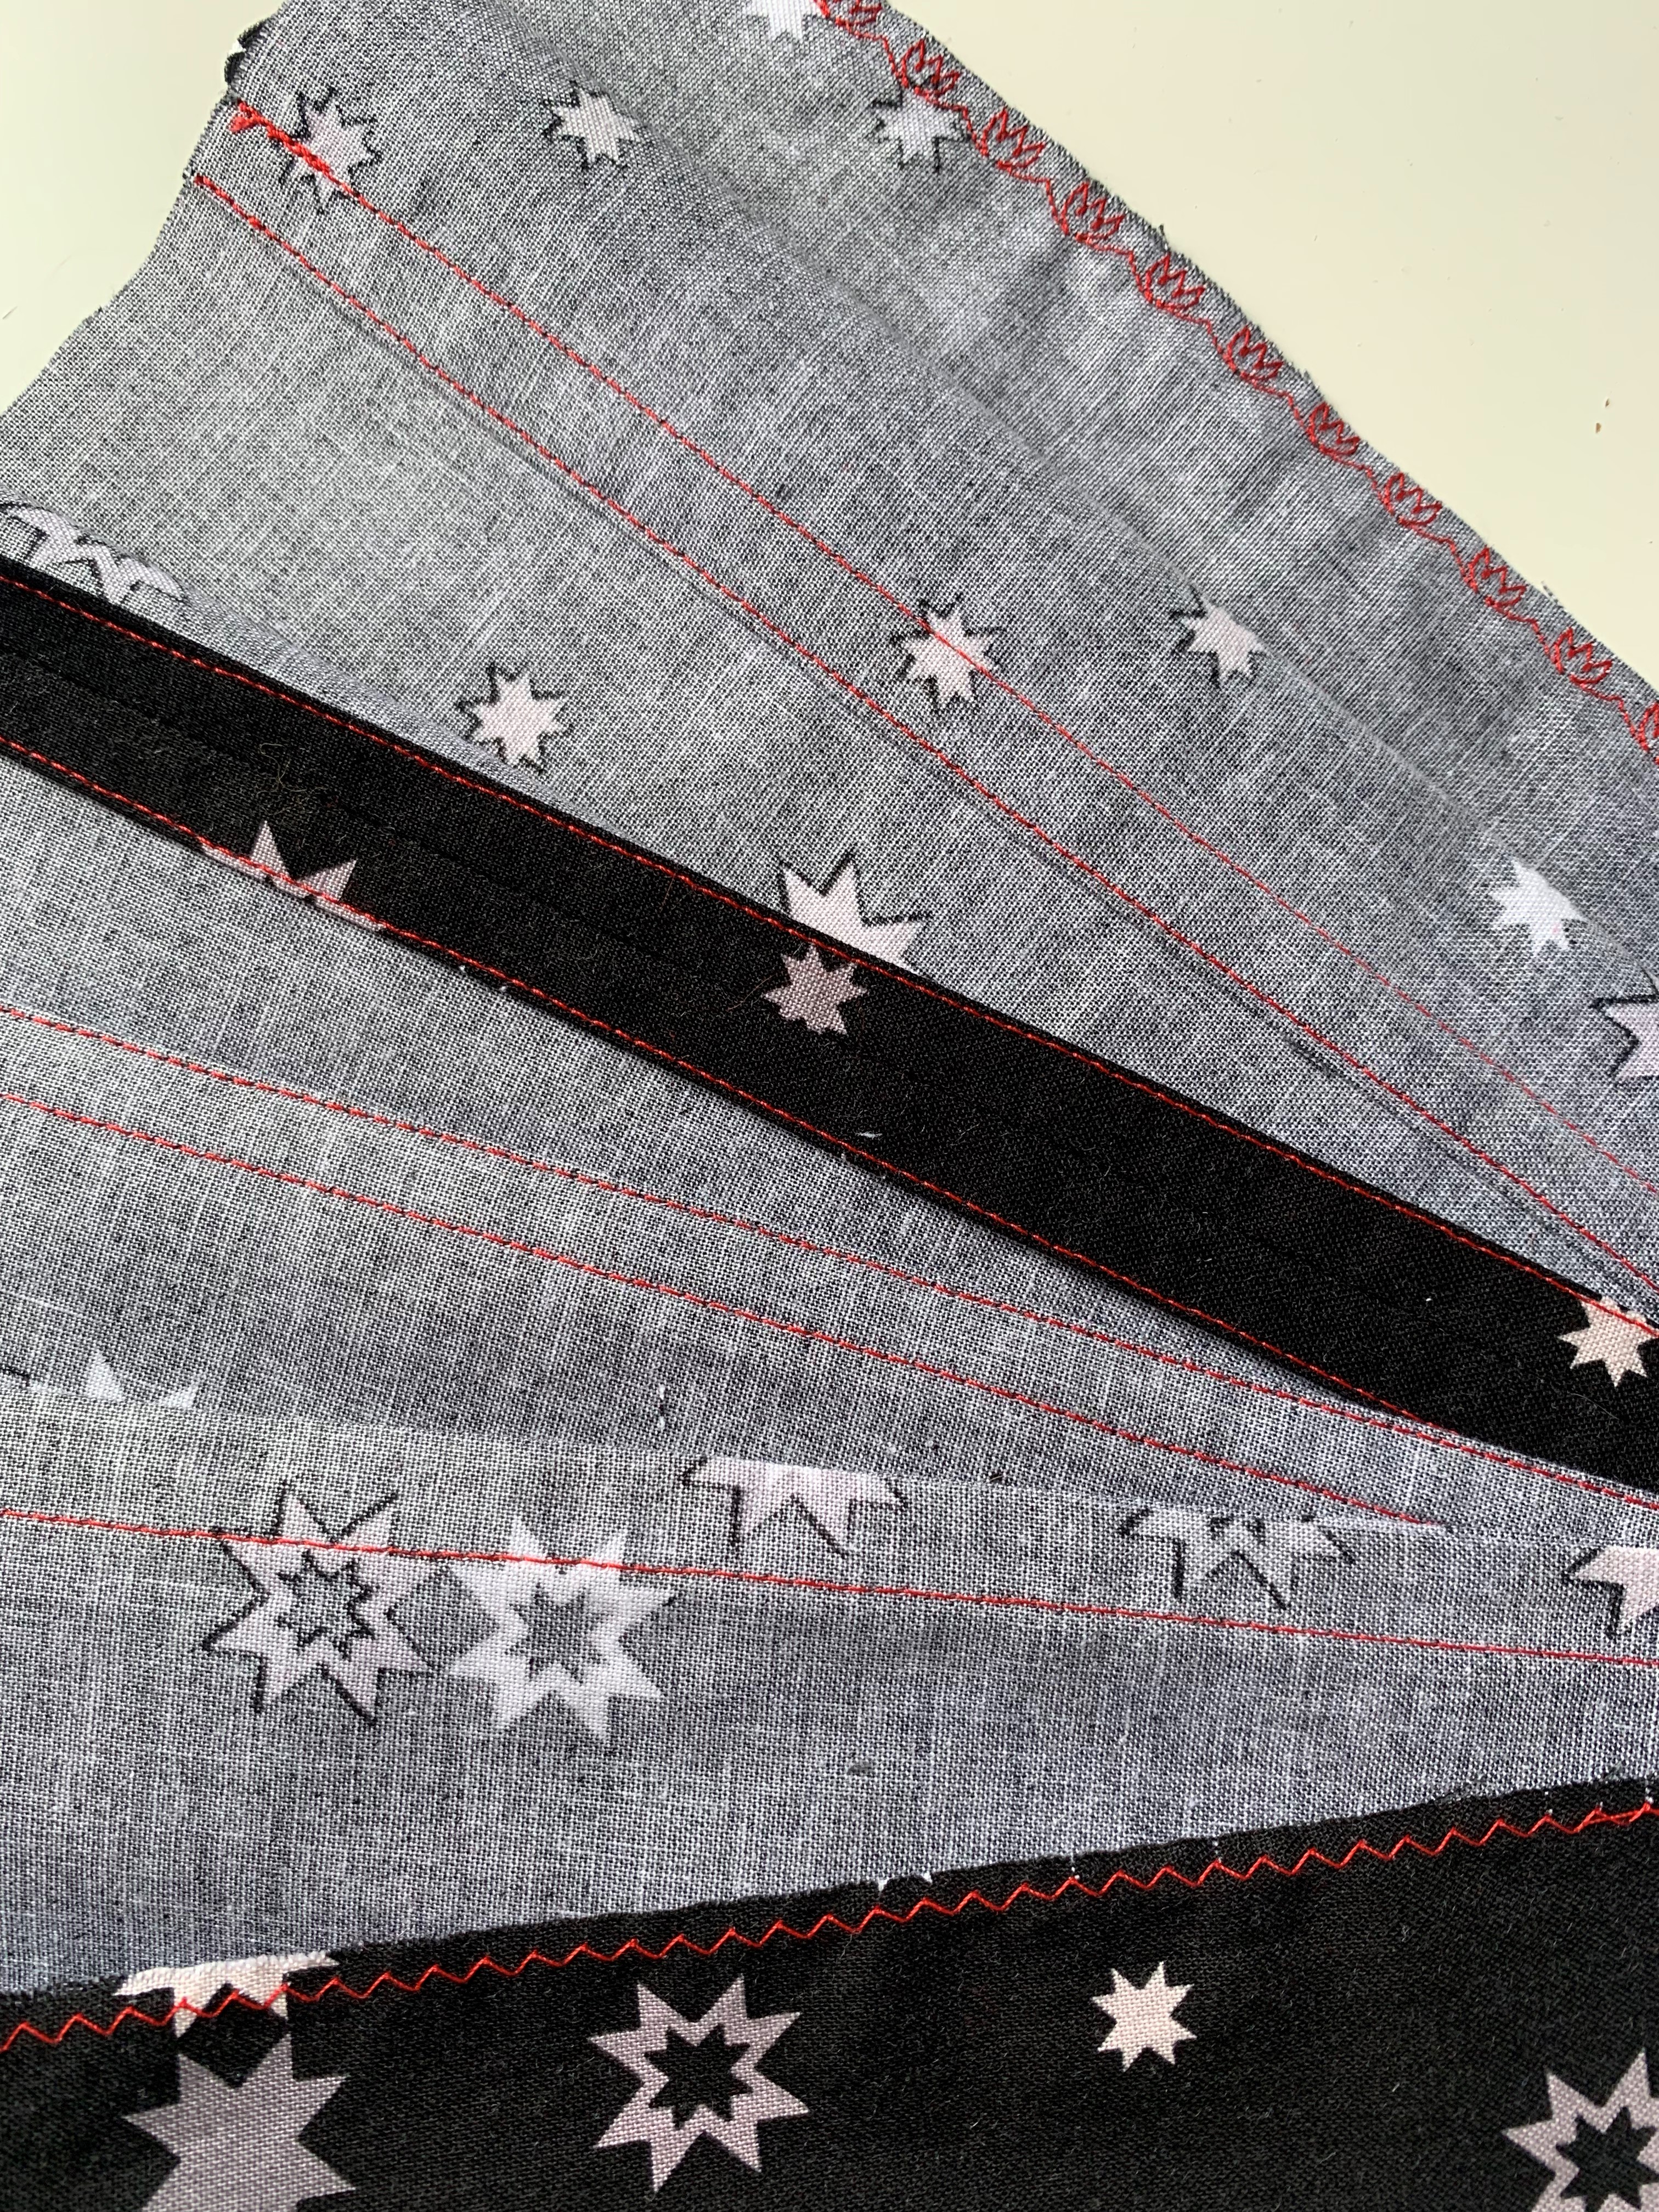
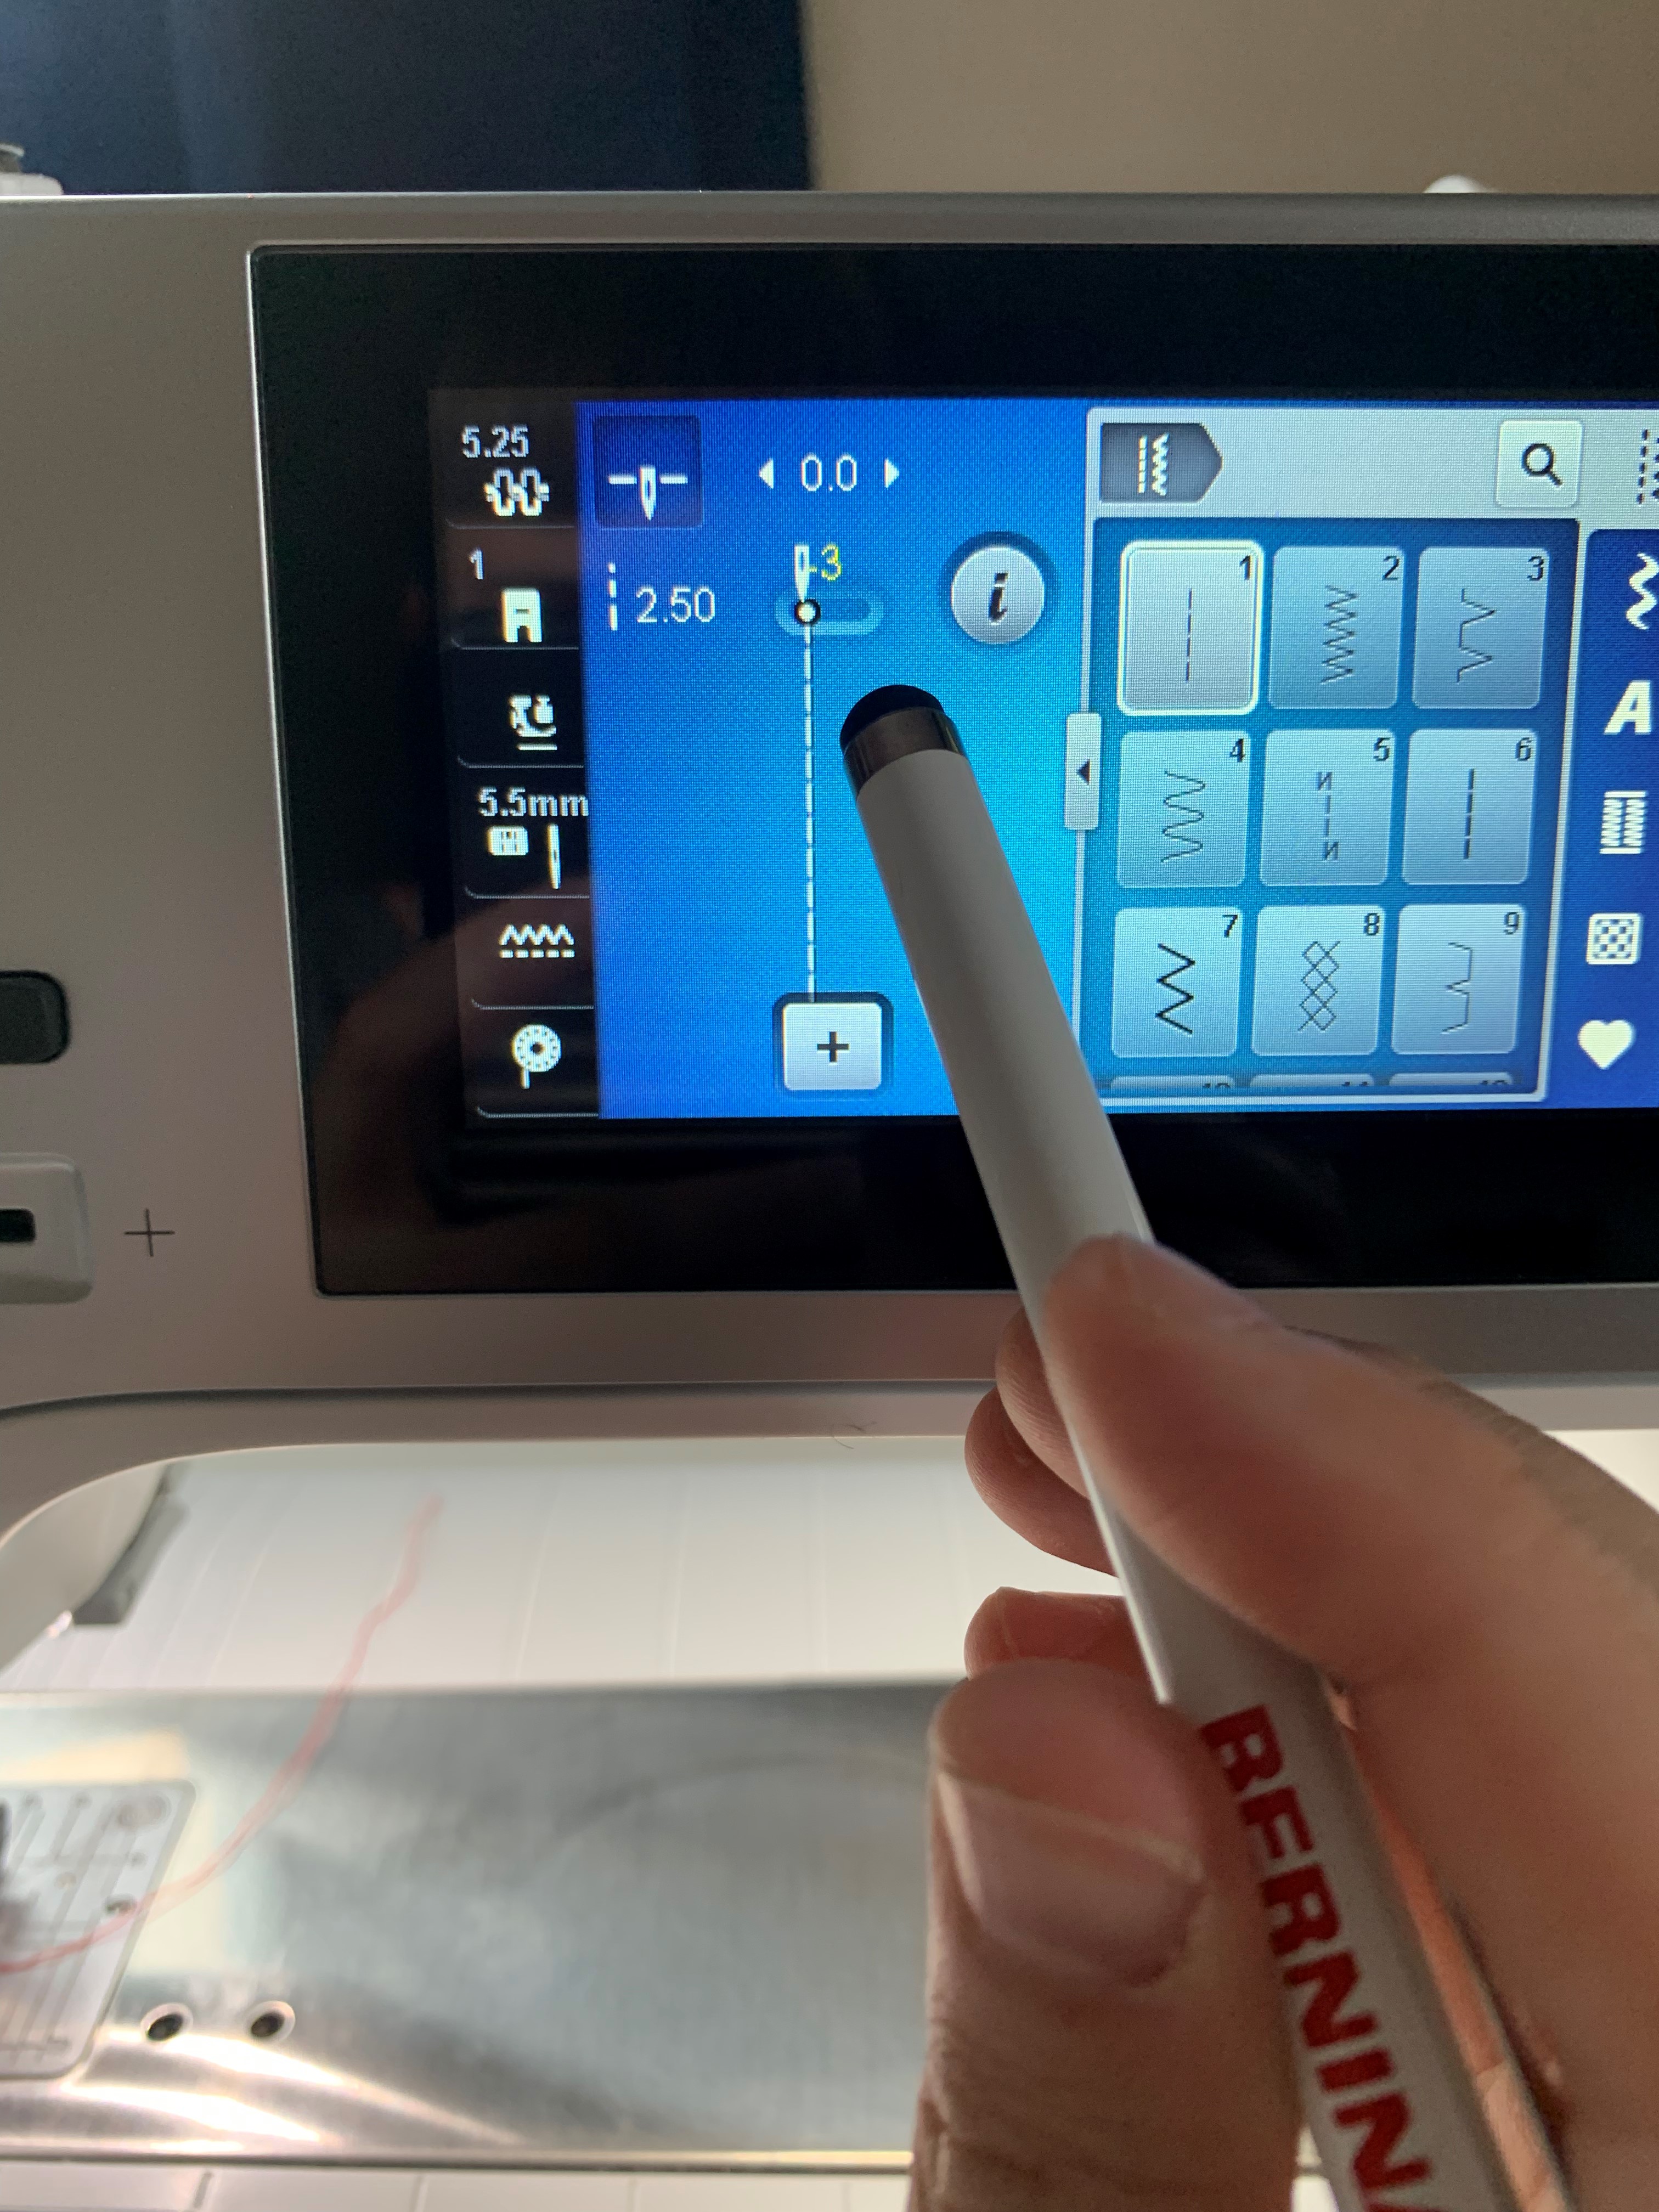
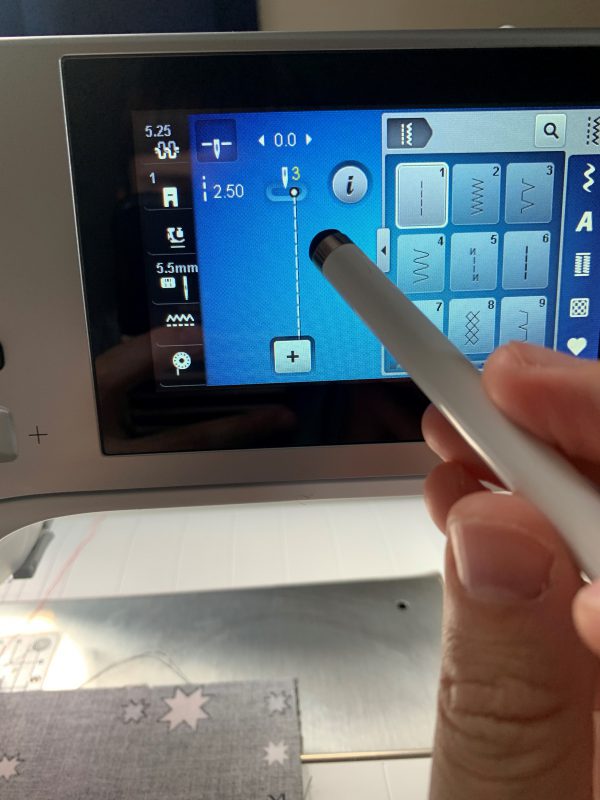
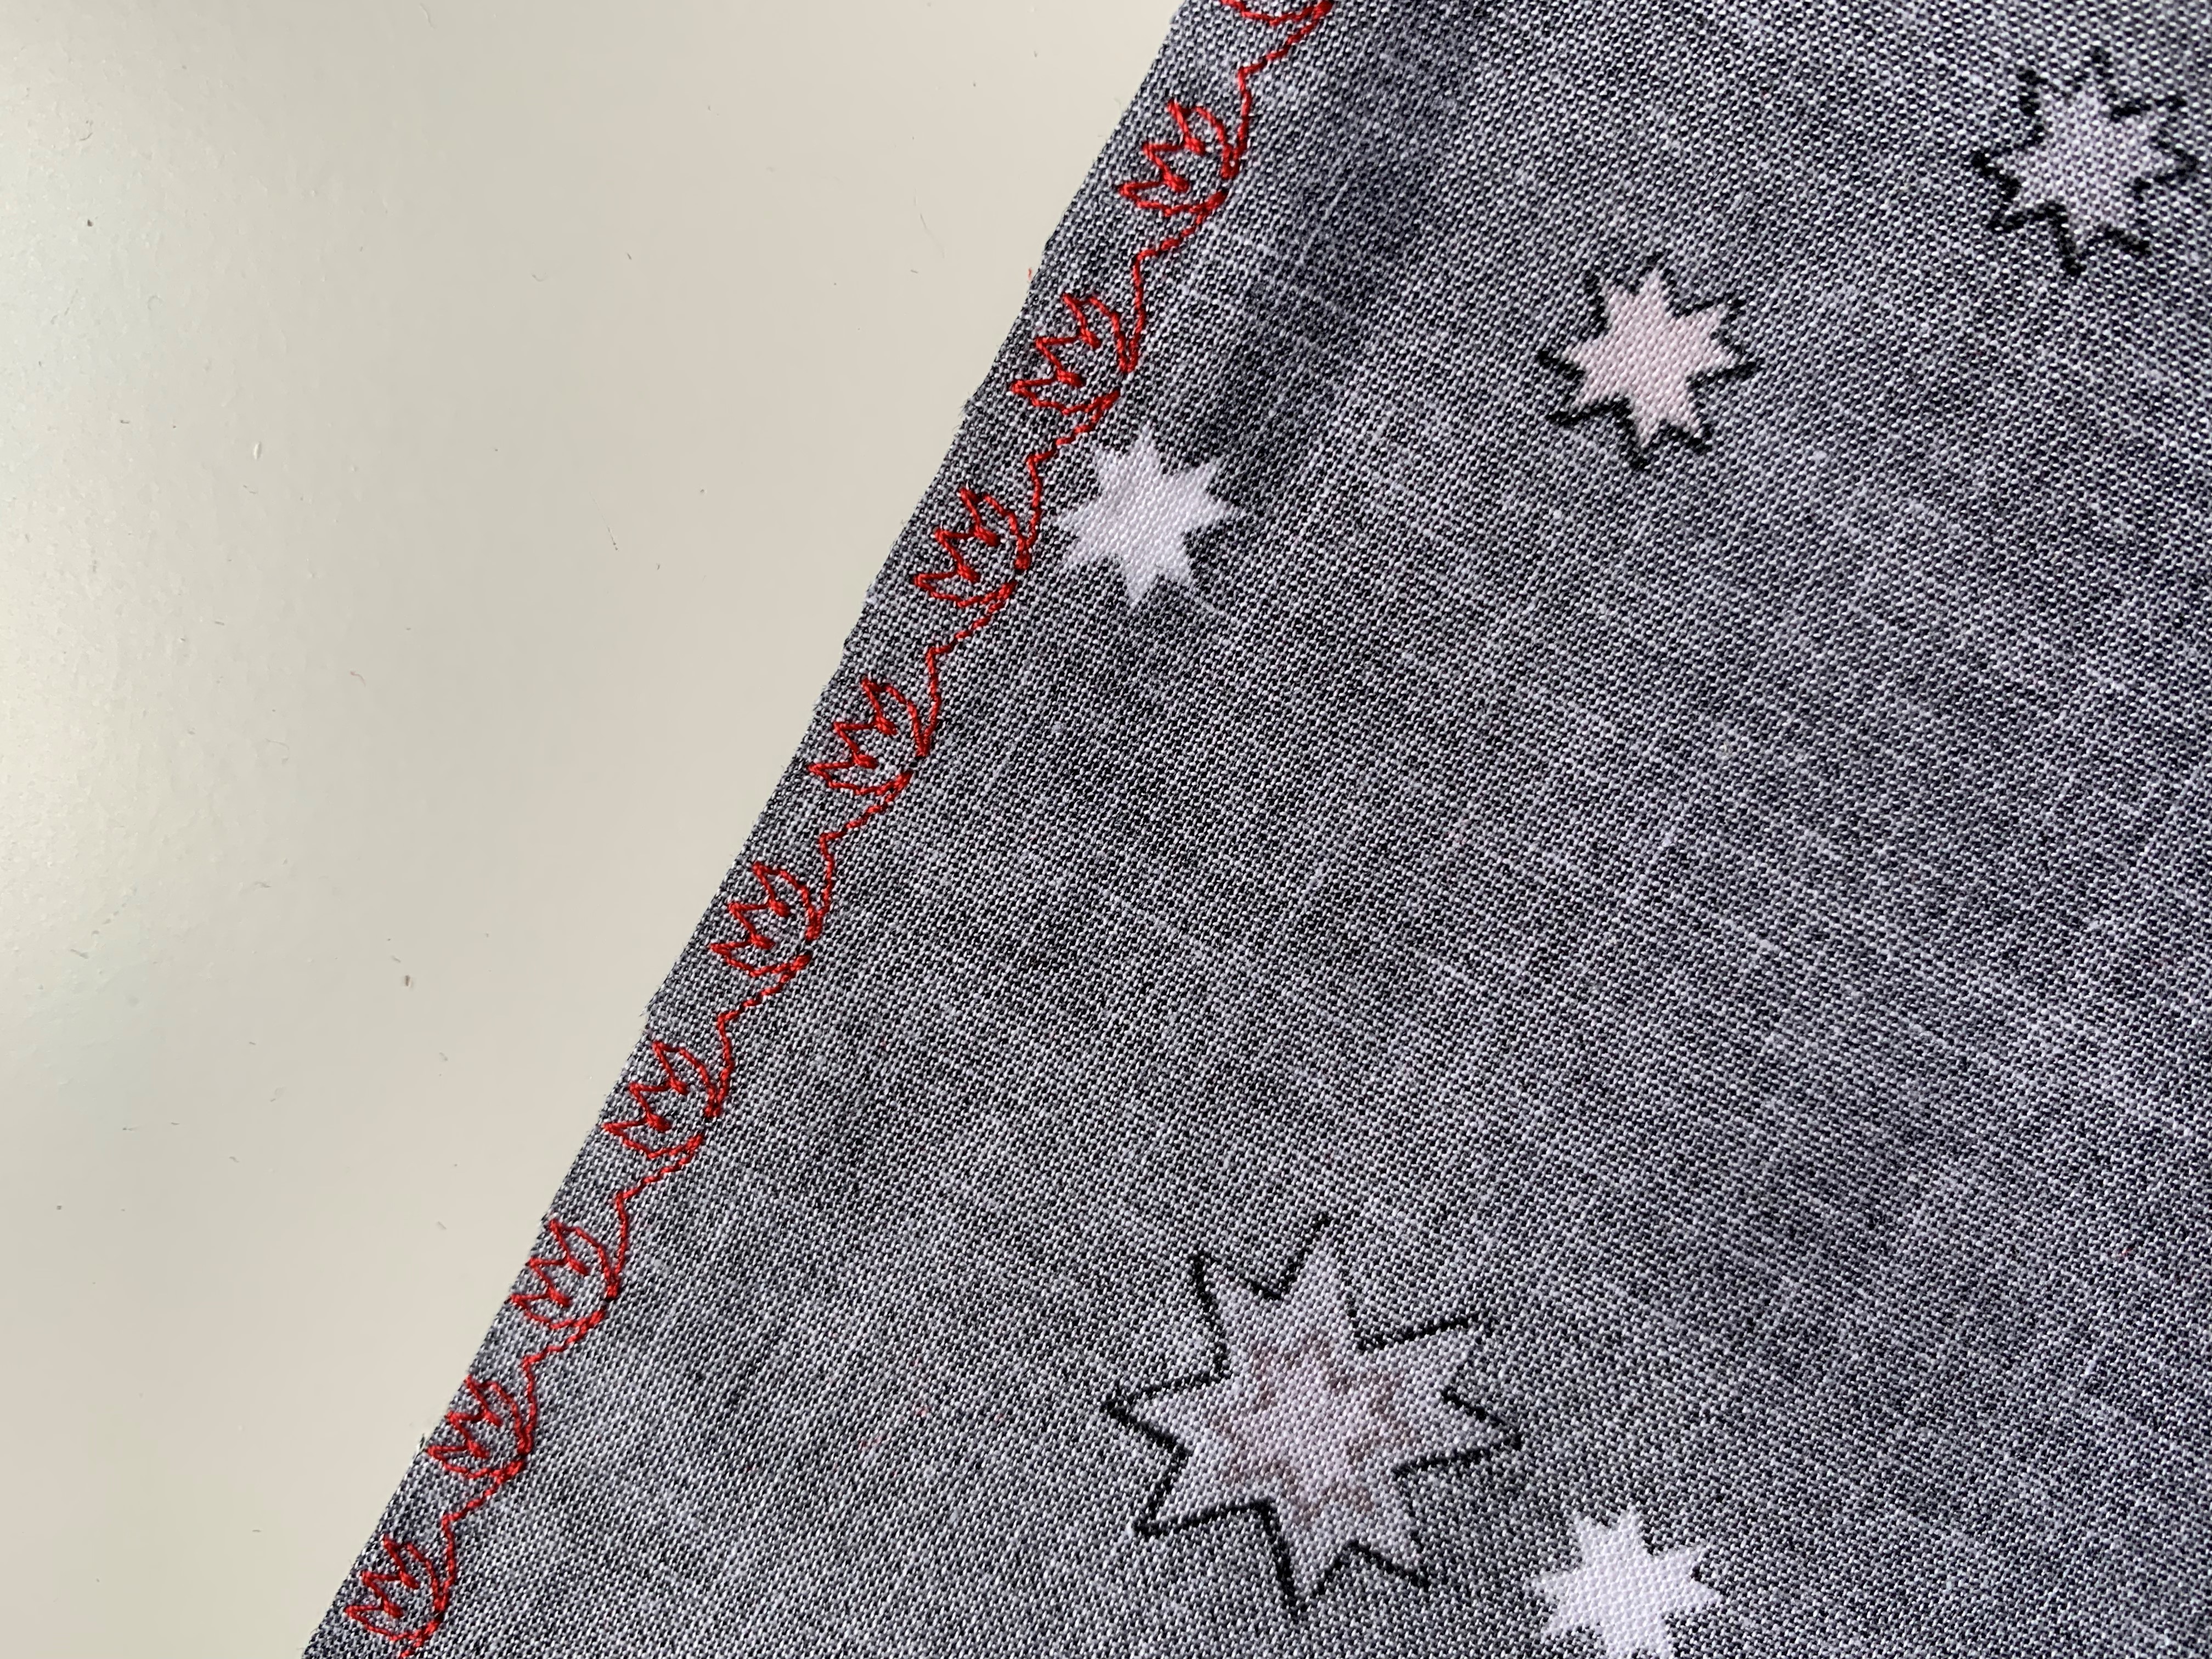
To finish the remaining raw edges of my sampler, I sewed a zig-zag stitch along the edge of the fabric. This will ensure that the fabric doesn’t fray any further than that zig-zag stitch line. I like to use a stitch length of 2.50 and a width of 2.20 for my zig-zag stitch, but you can experiment with what you like best with your machine and fabric. This is a quick and easy way to finish your seams.
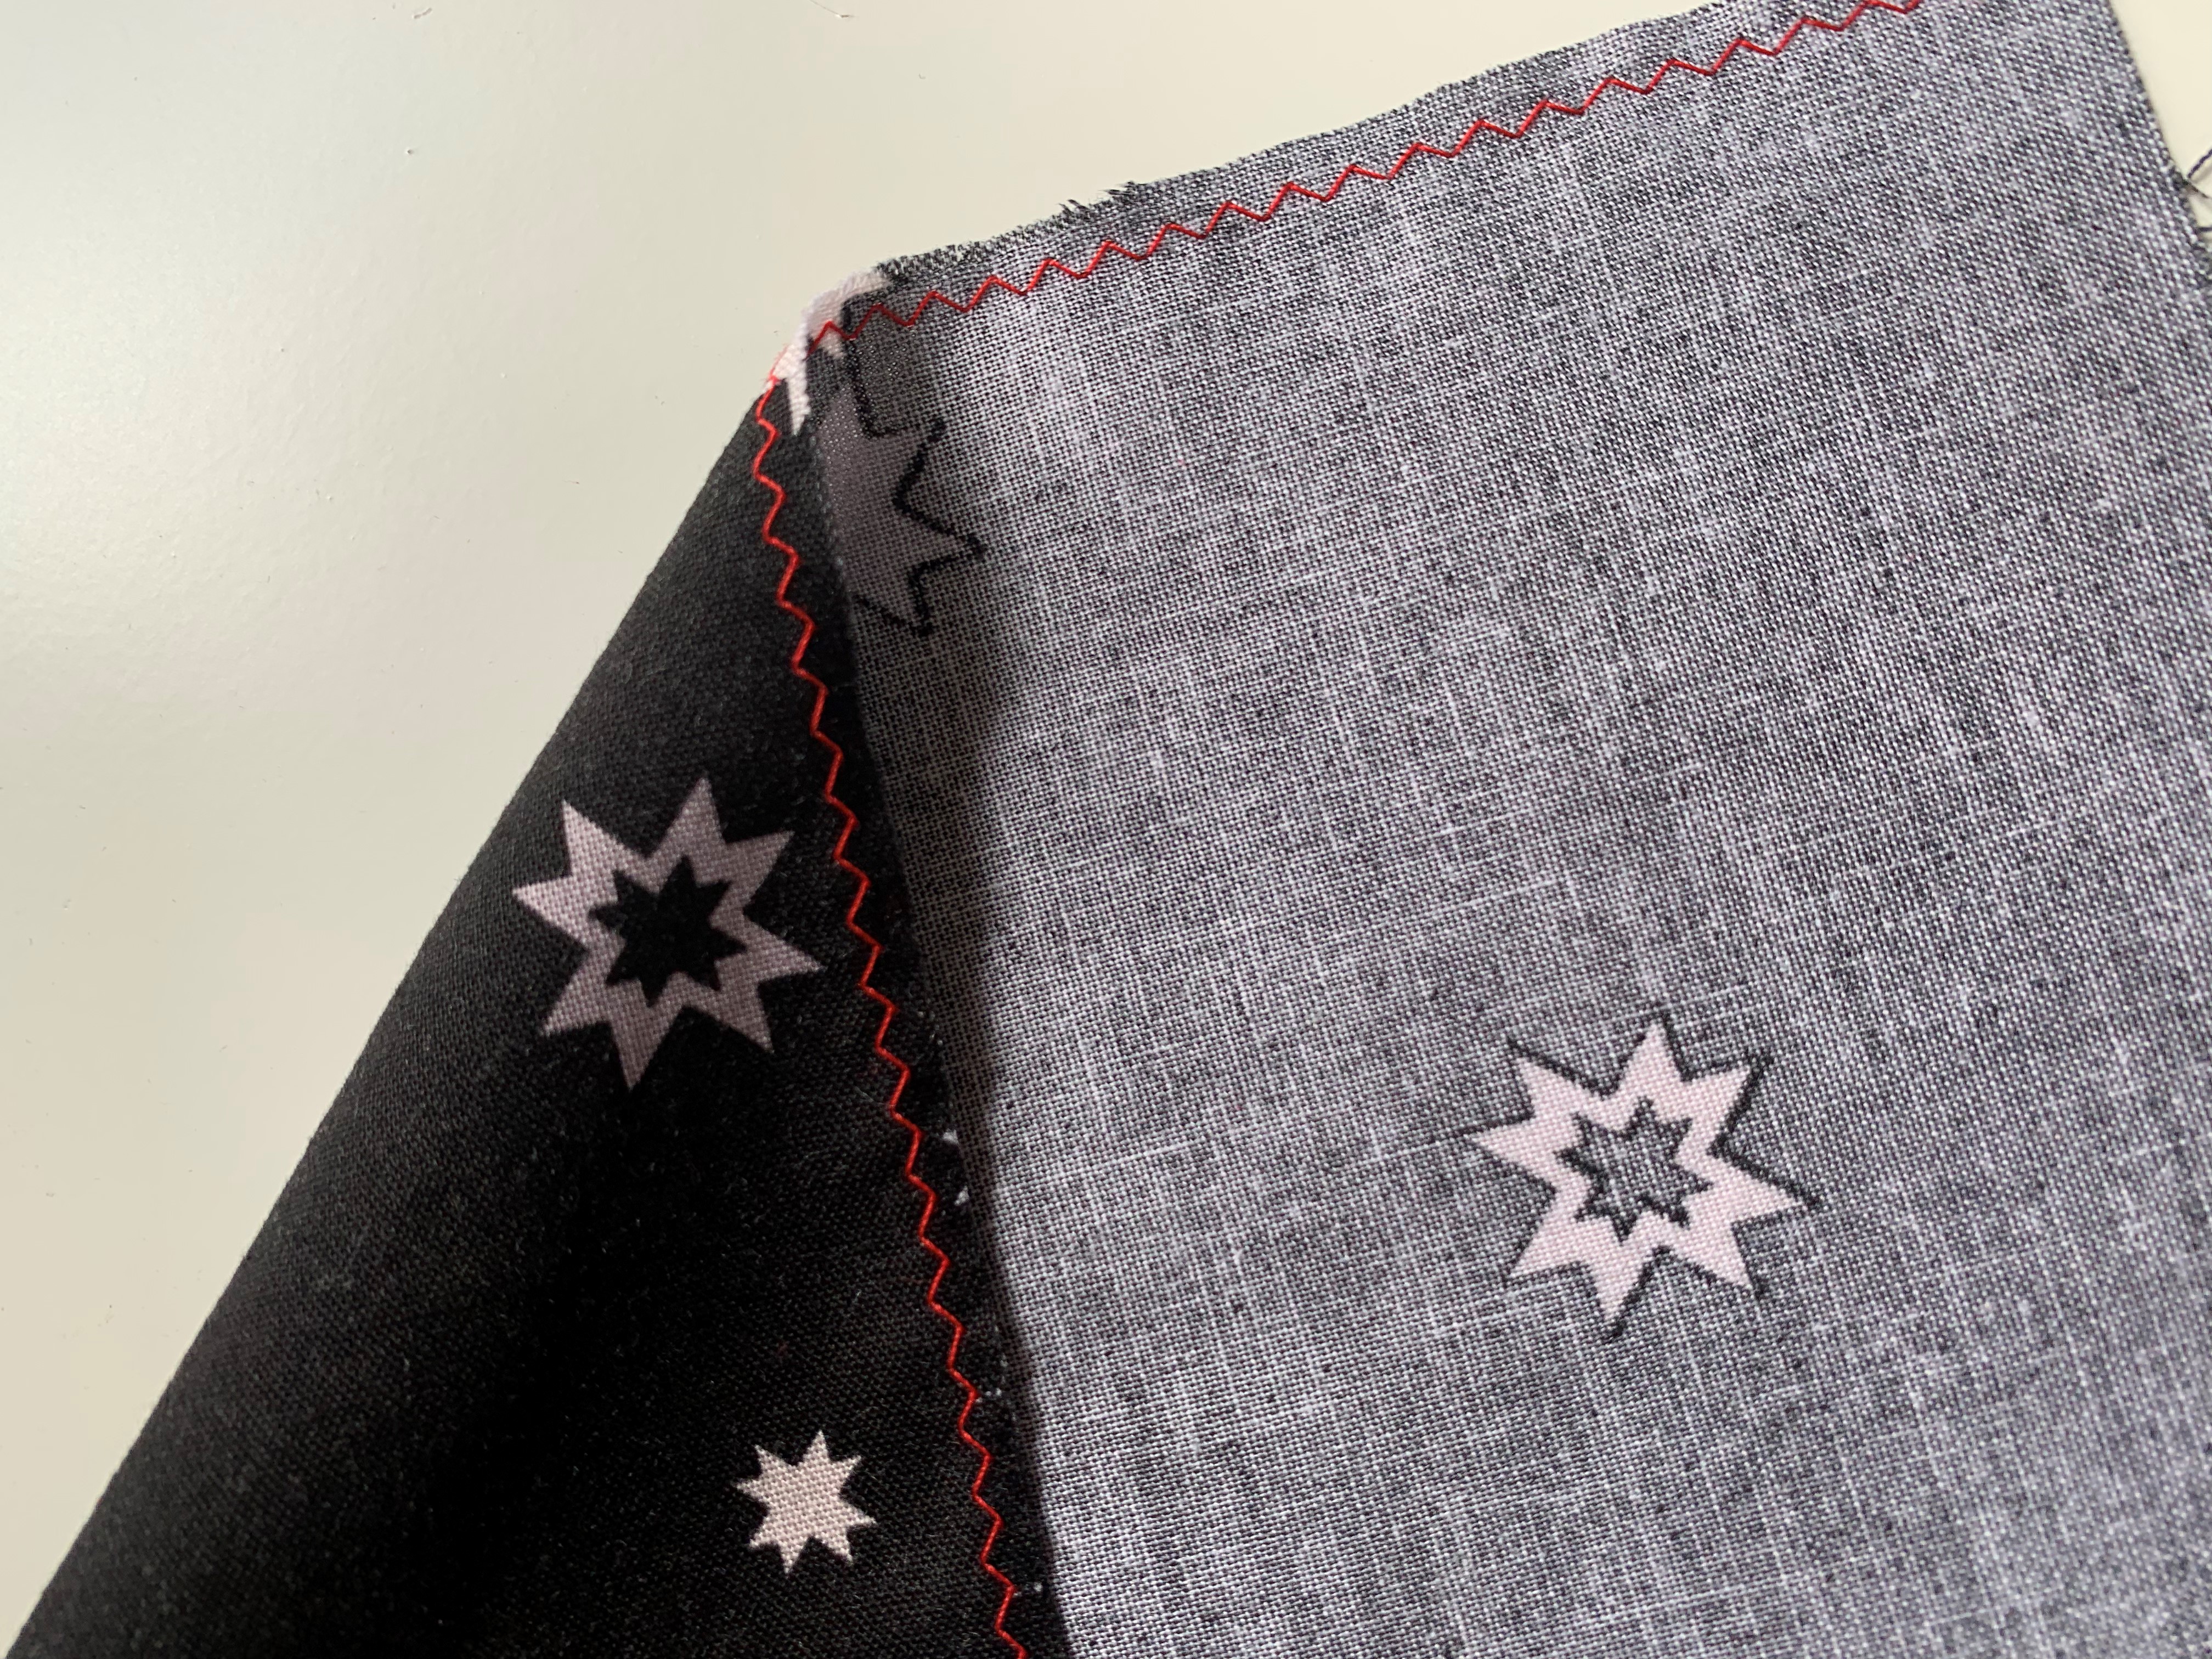
Want to spice up that zig-zag stitch a little? You can also play with decorative stitches on your machine to finish your edges! These will stop the fabric from fraying and add a little cuteness factor. Before trying a decorative stitch to finish the seam on a garment, just test the stich on a scrap of fabric first to make sure it isn’t too dense.
Now you have a sampler full of seam finishes to reference during your next project!