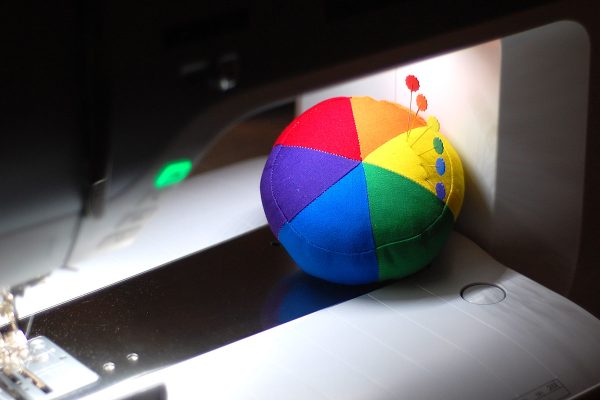
Color Wheel Pincushion Tutorial
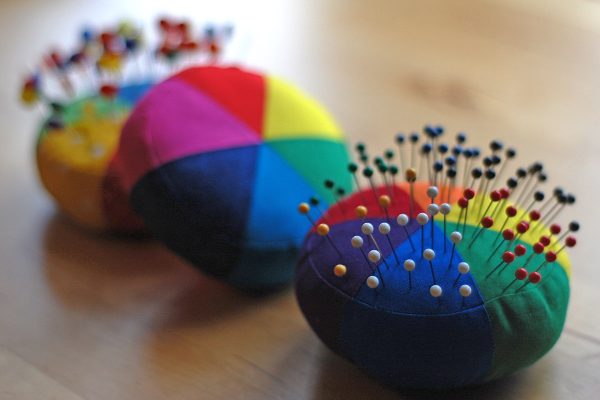
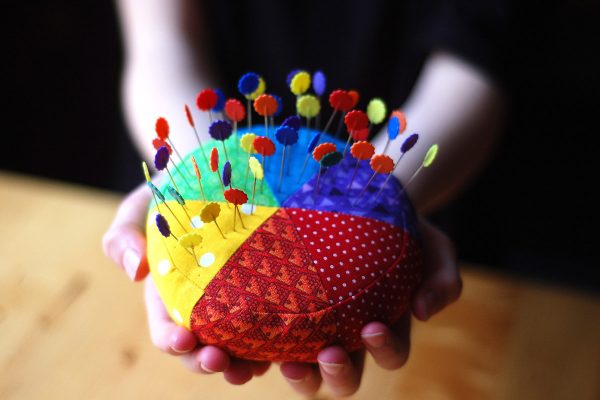
Make a fun little color wheel pincushion to brighten up your sewing space with this free paper pieced pattern and tutorial. Customize your color wheel colors to remind you of your favorite color system, or create your very own personal color wheel.
Materials to Make a Paper Pieced Color Wheel Pincushion
- Download the Paper Pieced Color Wheel Pincusion pattern
- Pen or marker and paper cutting or craft shears
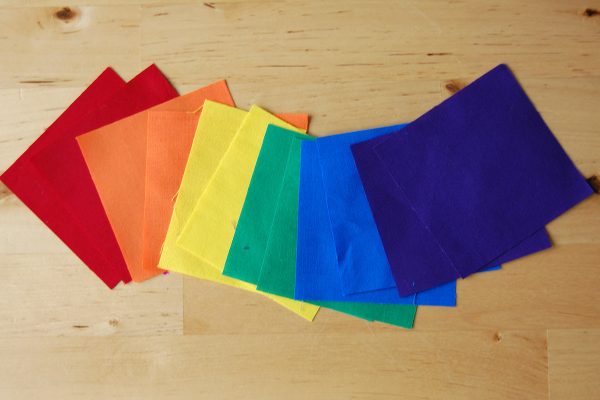
- 6 different colored fabrics cut into 2 squares 3 1/2″ x 3 1/2″ of each color (solid colors or small prints recommended, see below for color suggestions)
- 1 piece of fabric for pincushion bottom cut 5″ x 5″ square
- neutral colored sewing thread (I used white, cream or light gray will also work)
- Sewing machine (I sew on a BERNINA 770)
- Patchwork foot #97D (or use Patchwork foot #37/#37D or #97)
- Rotary cutter, small acrylic ruler, and cutting mat
- Ironing board or pressing surface and iron
- Sewing awl
- Fabric scissors and thread snips
- Chopstick or pencil with eraser
- Fiberfill batting (or your pincushion filler of choice)
About Paper Piecing the Color Wheel Pincushion Pattern
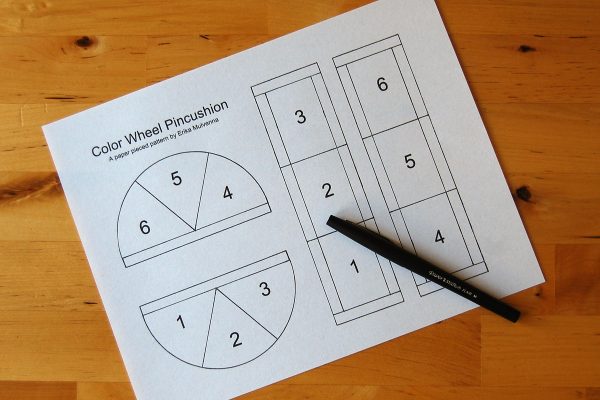
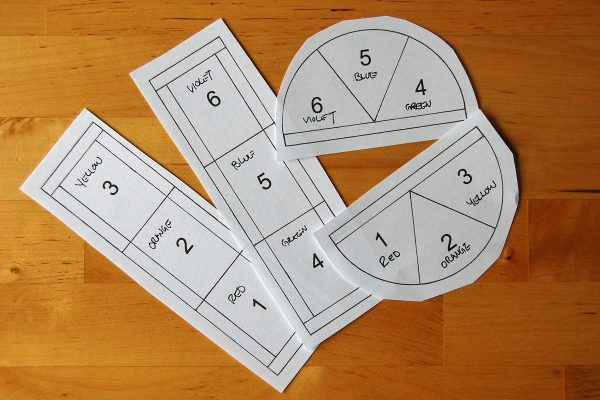
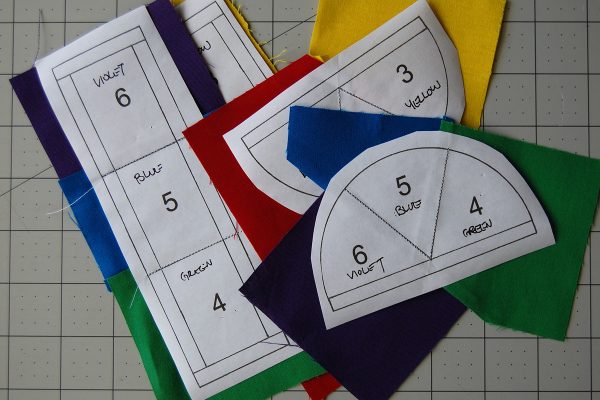
If you’re an experience paper piecer, skip on down to the instructions for preparing the pattern. If you’ve never paper pieced before or consider yourself a beginner, here are some tips. This technique uses a printed paper pattern that is used to sew directly on top of to create the finished pincushion. Using this paper pattern will give you exact results, and will help to create a color wheel with exactly matching points. Follow the directions carefully and read ahead to see what’s coming with the steps ahead. The pattern has 4 pieces; two half-circles for the top of the pincushion, and two rectangles for the sides of the pincushion. You will cut the bottom of the pincushion later in the tutorial. Here are some helpful tip posts:
- Read these basic tips from expert paper piecer Penny Layman.
- Check out quilter Lee Heinrich’s method for aligning the paper pattern to fabric, this is the method that I use.
- The pattern is numbered in the order you will piece it; begin with the #1 and continue on.
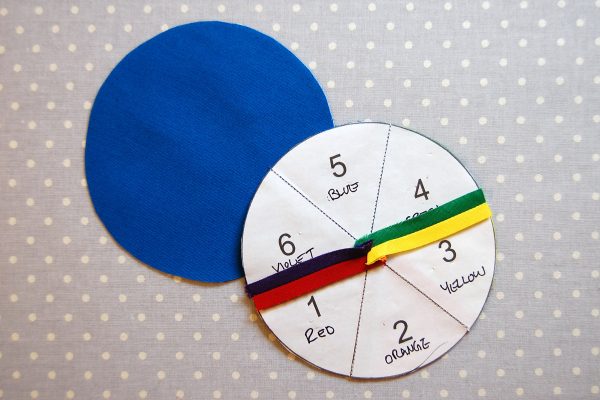
Prepare your color wheel pattern. First, print out the pattern at full size, making sure not to scale or shrink to fit the pattern to the paper. Grab a pen or marker to label the colors you want in your color wheel pattern.
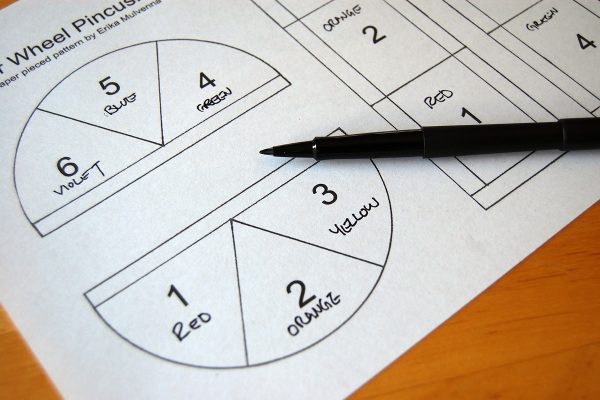
In my Color Wheel Basics post, I showed you the three most popular color wheels. You may choose to use one of these color wheels to make your pincushion or create color all your own. Here’s how to label your pieces if you’d like to make either a RYB (red/yellow/blue), CMY (cyan, magenta, yellow), or RGB (red/green/blue) color wheel. Or, if you’d like, create your own colors!
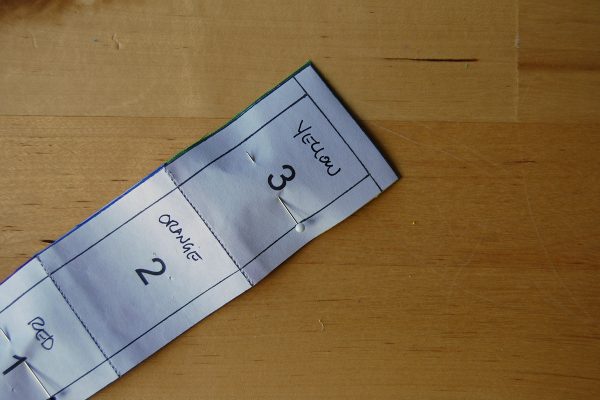
RYB Color Wheel: 1=red, 2=orange, 3=yellow, 4=green, 5=blue, 6=violet.
CMY Color Wheel: 1=cyan, 2=red, 3=yellow, 4=green, 5=cyan, 6=dark blue
RGB Color Wheel: 1=red, 2=yellow, 3=bright green, 4=cyan, 5=magenta, 6=blue
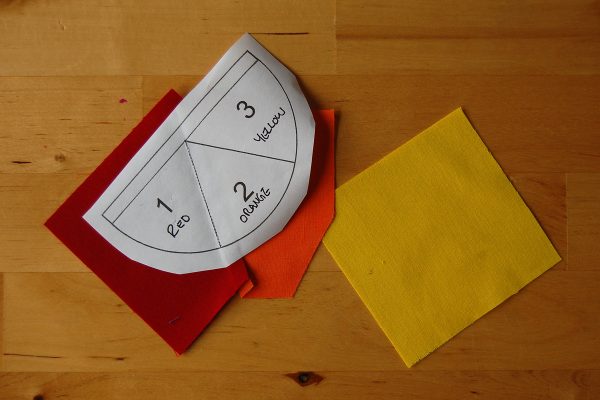
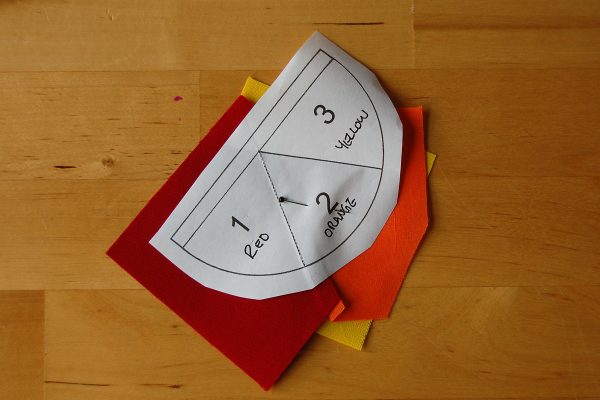
I labeled my pattern to make an RYB pincushion. Cut out the four main paper pattern pieces with craft or paper shears, leaving at least 1/4″ around each piece (we will trim down later).
Grab your fabrics to make the color wheel. You should have two 3 1/2″ x 3 1/2″ squares cut from each of 6 different colors. Pick one of the colors to use as the base of the pincushion, and cut an additional 5″ x 5″ square to set aside for later.
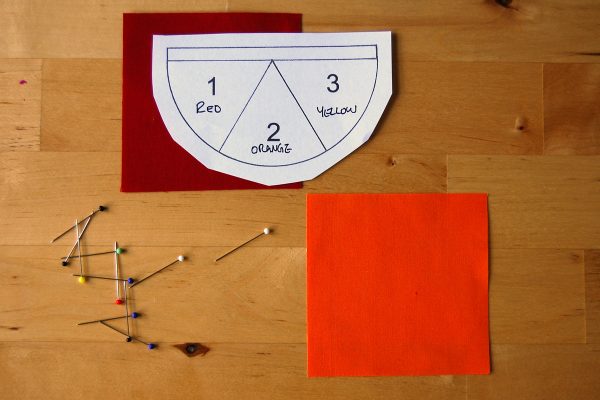
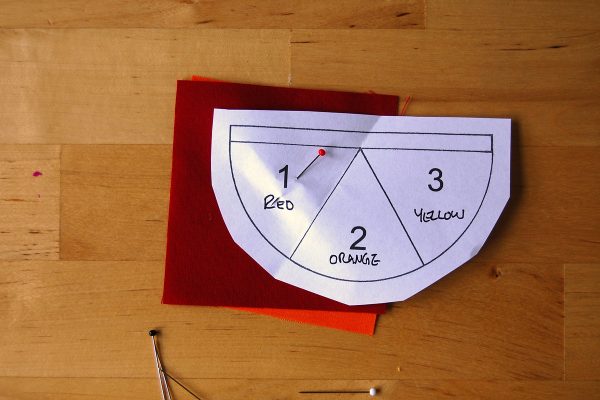
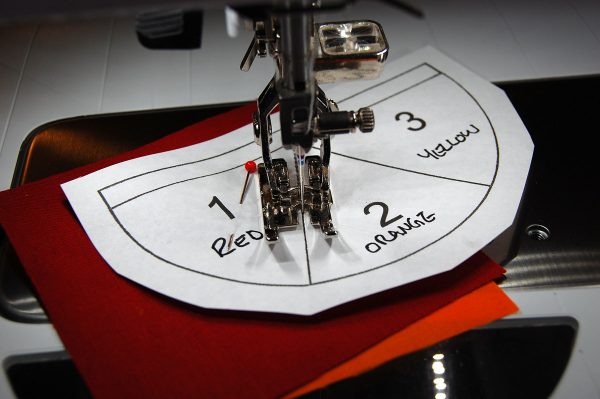
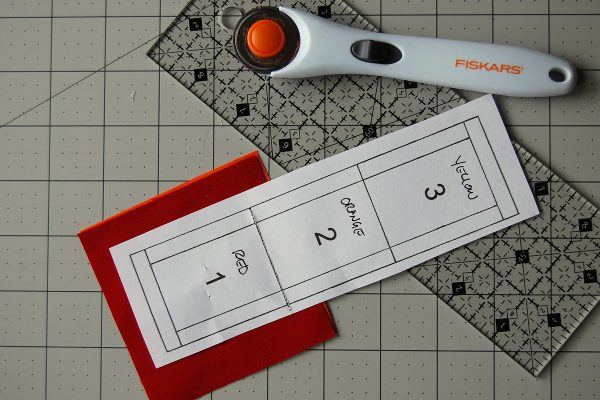
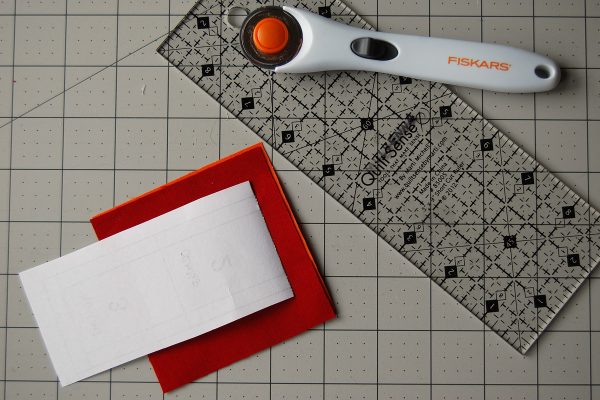
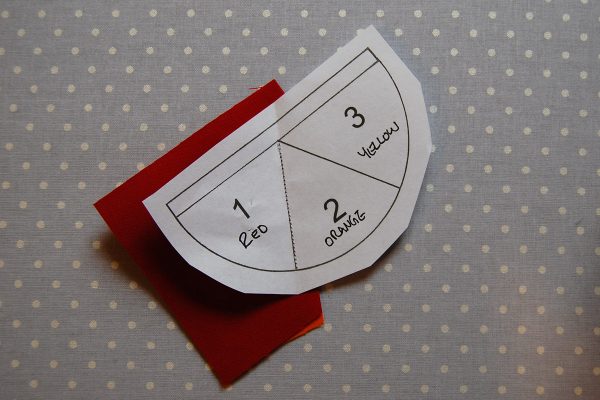
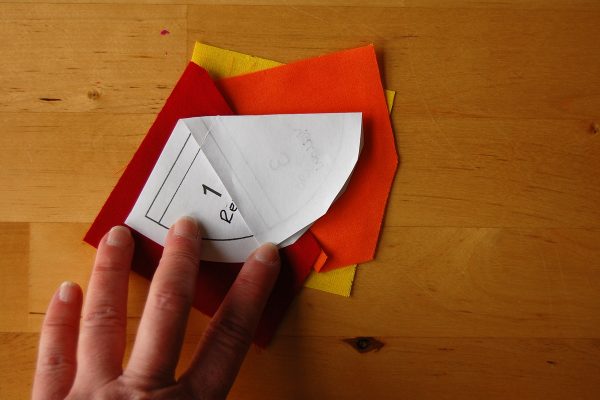
Begin with the half-circle pattern labeled with the #1. Read the color you have labeled for piece #1 and grab it (I need red for my RYB wheel), center the paper piece so that the fabric square goes beyond the pattern piece by at least 1/4″ on all sides. Next, grab the colored square you need for the next pattern piece #2 (orange for my pattern).
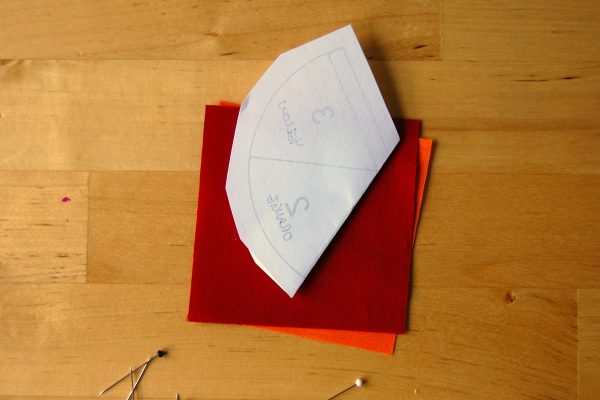
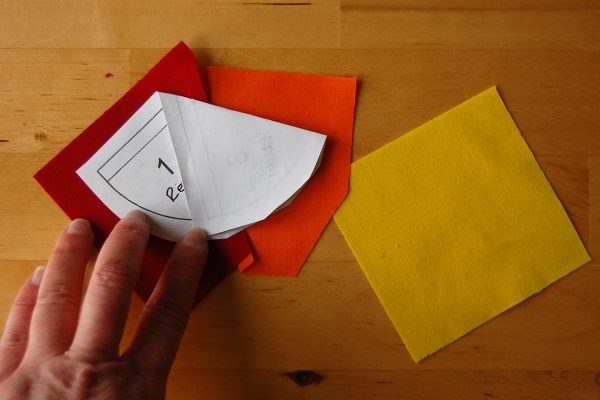
Fold the pattern on the line between #1 and #2, folding the paper pattern back over the #1 part of the pattern. You will pick up the pattern with the square of fabric to move both on top of the next fabric, making sure that the fabric square will completely cover the folded over #2 pattern piece (see this tutorial for more on this method).
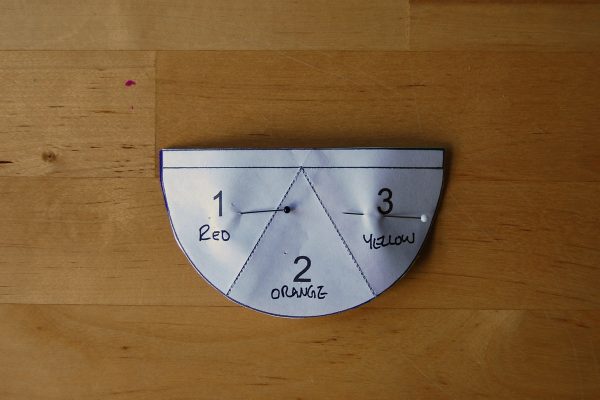
I like to use pins with the pattern to hold paper and fabrics together. Carefully unfold the pattern and pin through the #1 to hold the two pieces of fabric together. Set this aside while you prepare the next part of the pattern.
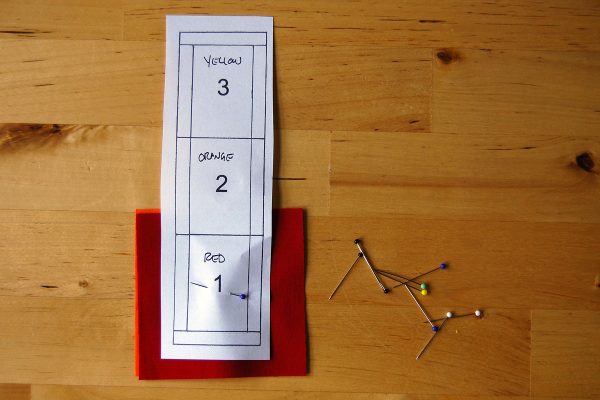
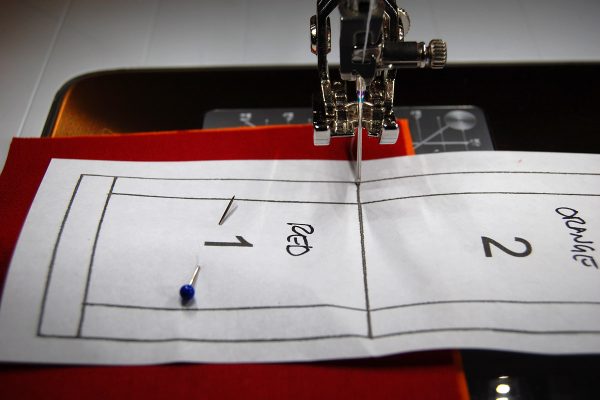
Now grab the first rectangular pattern piece labeled #1, and follow the same instructions above to prepare the first and second colored squares of fabric for the pattern.
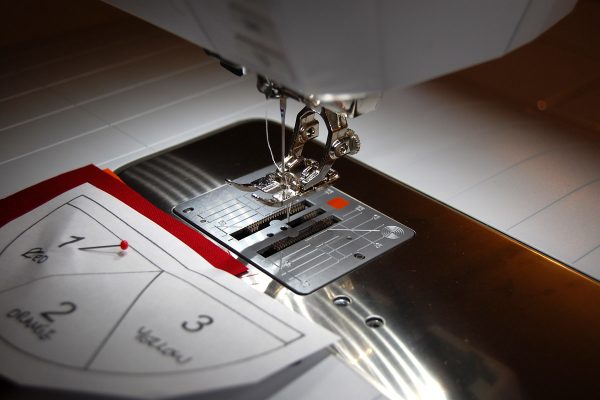
Set up your sewing machine to stitch the paper pieced patterns. I use a straight stitch plate with Patchwork foot #97D. Use a shortened stitch length to help perforate the paper pattern and make it easy to tear away later, I use a 1.7mm stitch.
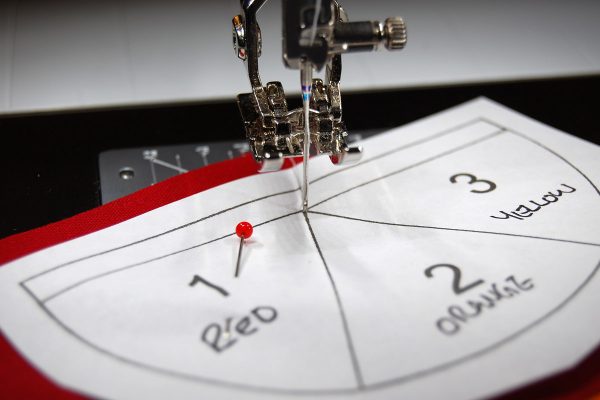
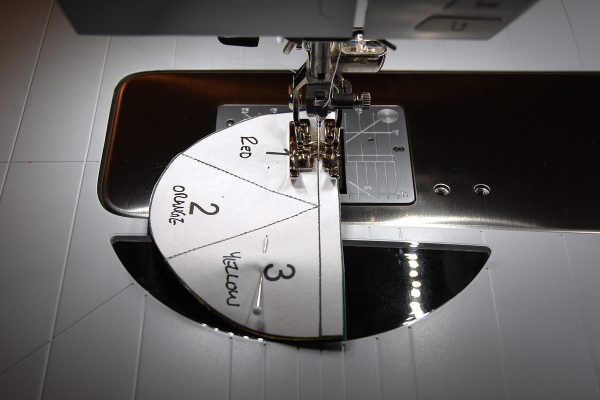
To begin stitching, grab the half circle pattern piece. You will be stitching on the line in between the #1 and #2, beginning exactly at the point and sewing on the printed line to the edge of the pattern. To start sewing exactly at the point, lower the tip of the needle into the point of the pattern with the hand wheel.
Back stitch the first 2-3 stitches, then continue sewing to the end of the line. Back stitch the last 2-3 stitches where the line ends.
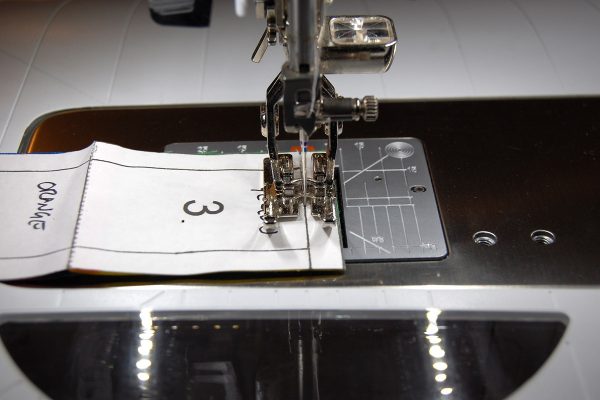
Next, grab the rectangular pattern piece to sew the first stitch on the line between #1 and #2. Start sewing exactly on the line, using the method above to lower the needle into the start point. Back stitch 2-3 stitches at the beginning and end of the line.
Take your stitched pattern pieces to the cutting table.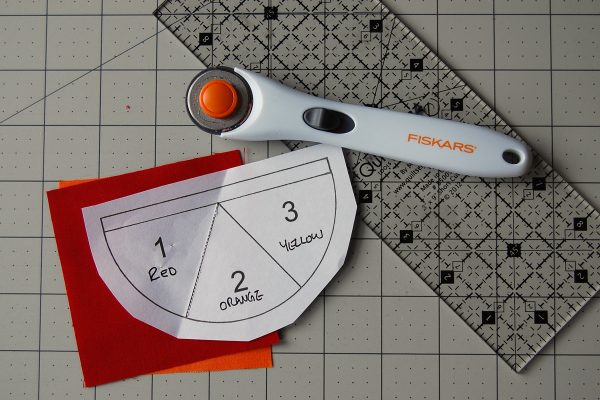
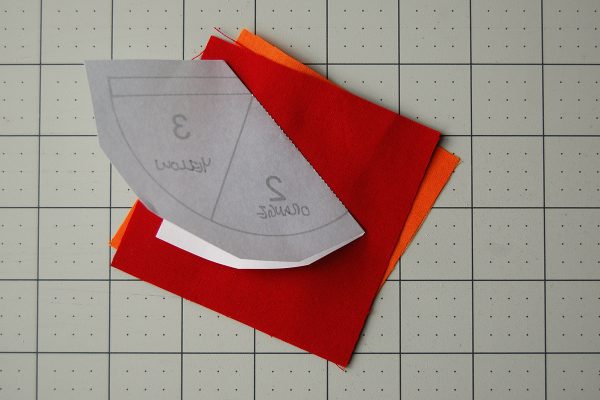
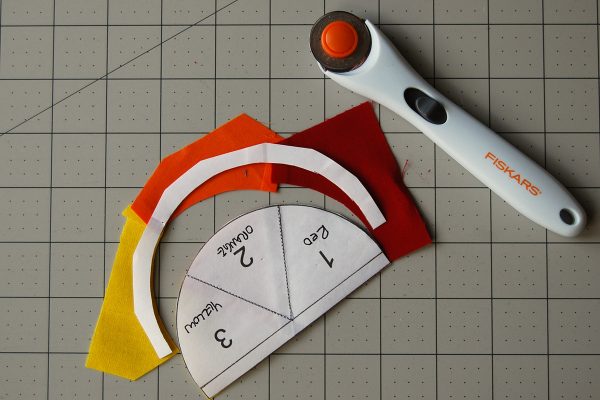
Fold back the paper pattern overlapping the #1.
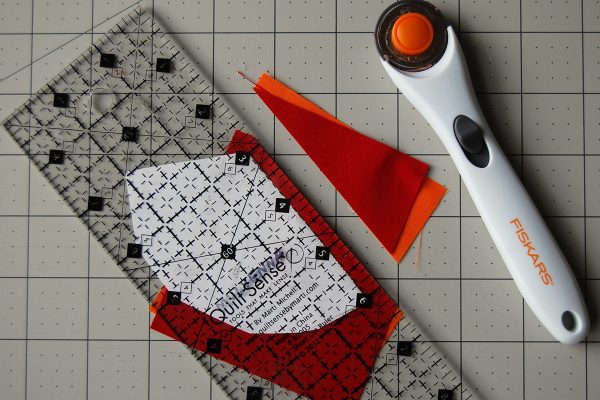
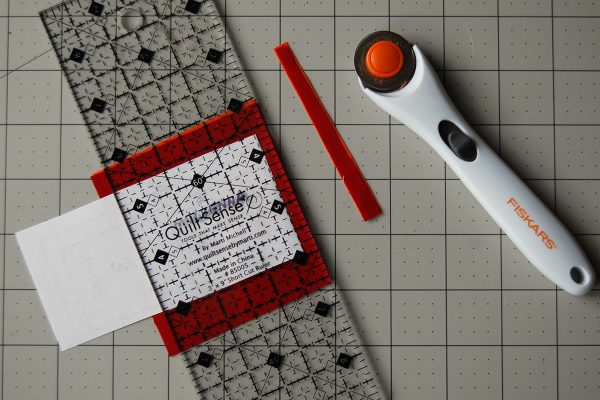
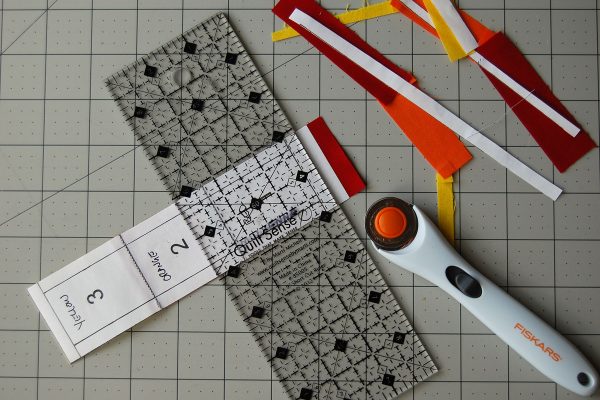
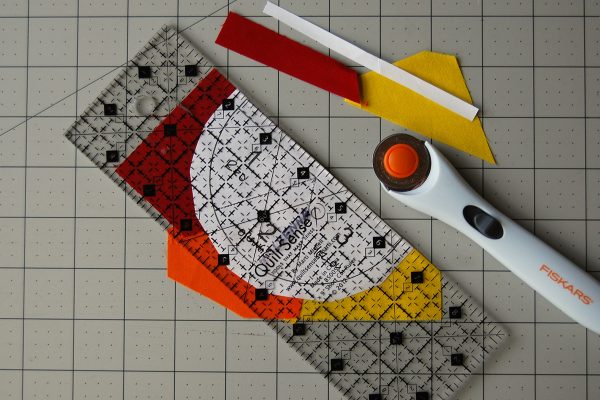
Align the edge of your acrylic ruler 1/4″ over the folded edge of the paper pieced pattern.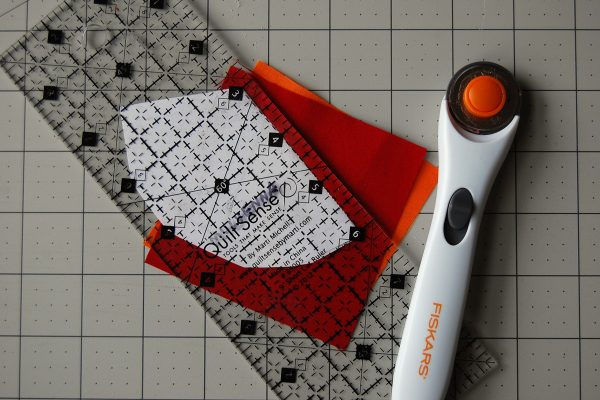
Cut the extra fabric to 1/4″ from the folded edge of the paper pieced pattern.
Follow the same directions for cutting the extra fabric to 1/4″ on the rectangular paper pieced pattern.
Fold back the paper.
Measure and cut.
Now take your trimmed paper pieced patterns to the ironing board.
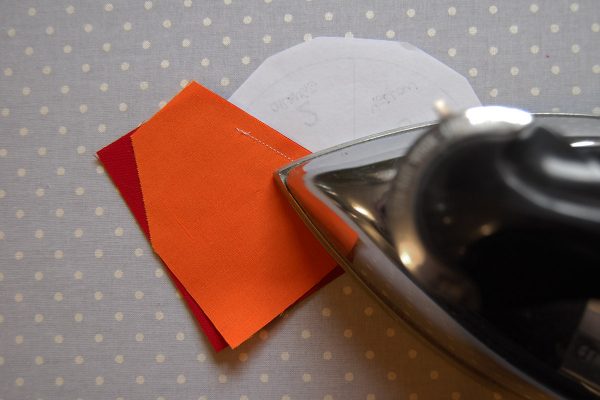
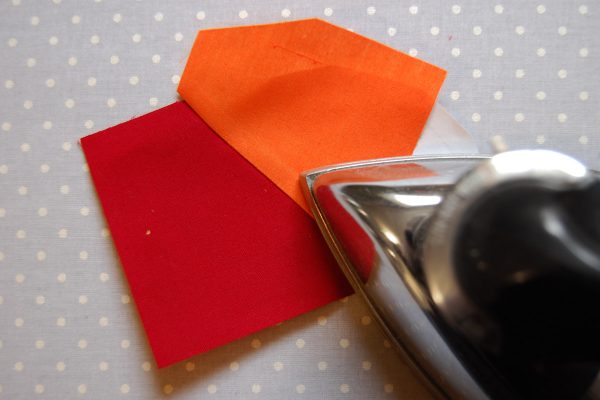
Flip over the paper pieced pattern so the paper is facing down, and press the stitched seam closed to set the seam.
Next, press the fabric piece open.
Complete the steps above for the rectangular pattern piece as well. Next, take both paper pieces back to your fabric squares.
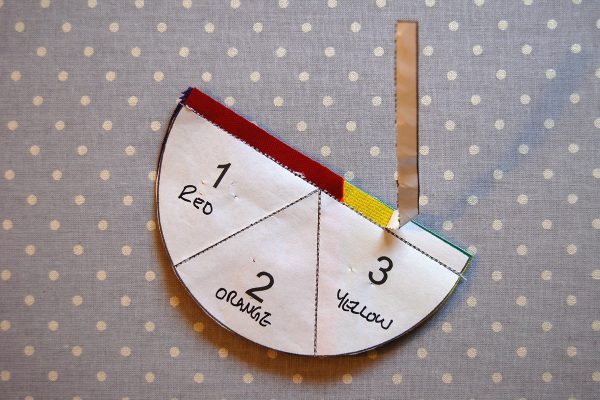
Get your next color ready for the #3 piece (yellow for me). Fold back the paper pattern on the line between #2 and #3.
And then center the new fabric square underneath the pattern so that it will completely cover the folded over piece on all edges by at least 1/4″.
Carefully open the paper pattern and pin through both layers of fabric through the #2 section.
Follow the steps above to sew, cut and press. Complete the rectangular pattern in the same way. Then move on to the second set of patterns to complete the last half circular and rectangular pattern pieces. When you have completed stitching all 4 pattern pieces, take them back to your cutting mat.
Using the small acrylic ruler and rotary cutter, trim down the pattern to the outside line of the patterns.
Grab the two trimmed half-circle pattern pieces.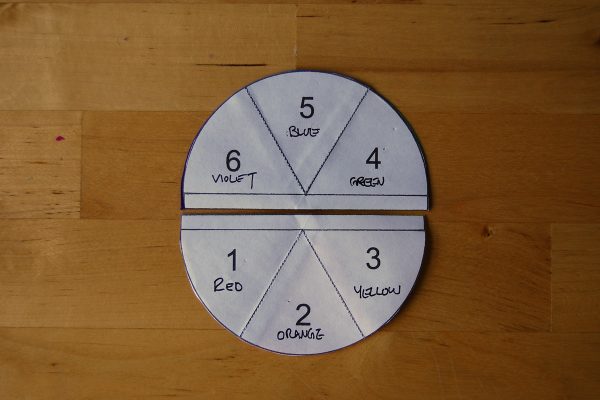
Place them right sides together, and pin to hold in place.
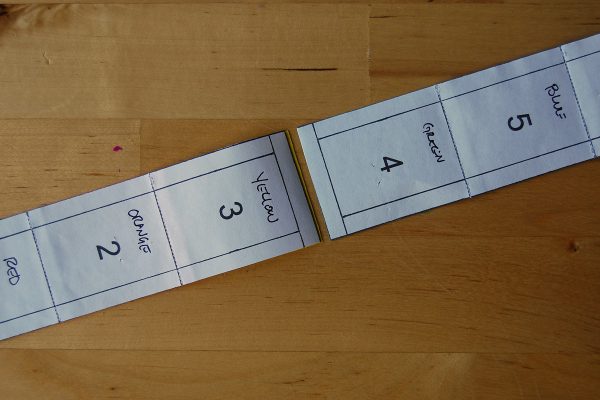
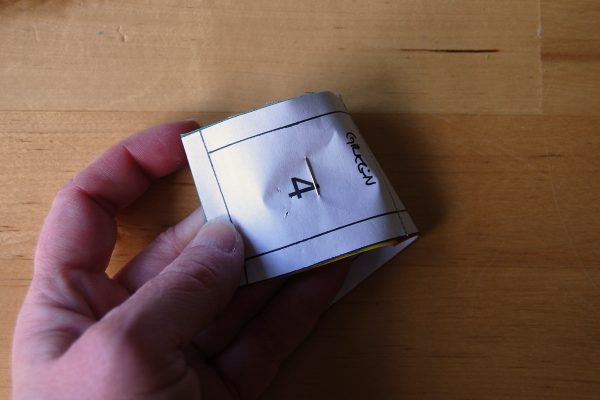
Lay out the two rectangular pieces in numerical order so that the #3 and #4 are next to each other.
Place these two pieces right sides together, and pin together. Make sure that the #3 on one side matches with the #4 on the other.
If you flip over the #3 pattern piece, you should see the #4. If not, un-pin and try again!
Take the pattern pieces back to the sewing machine. Stitch along the straight line to sew the two half-circles together, back stitching 2-3 stitches at each end.
Stitch together both ends of the rectangular pieces along the straight line, back stitching 2-3 stitches at each end.
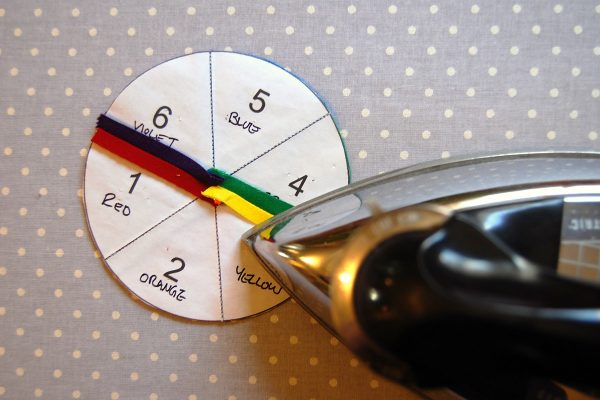
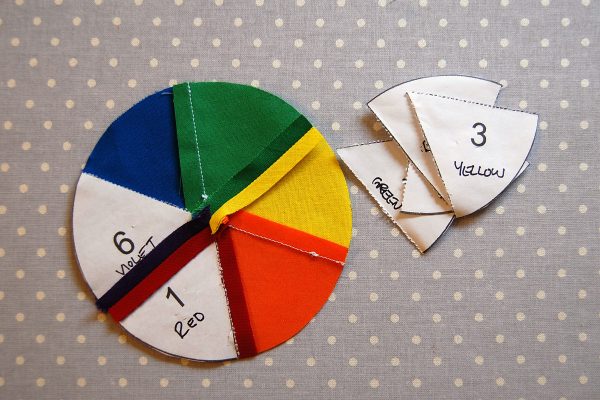
Grab the stitched circular pattern piece and bring it to your ironing board. Remove ONLY the small seam allowance at the edge of the two half-circles. Pull the paper away from the stitches very carefully.
Press the seam allowance open.
Flip over the circle and press again.
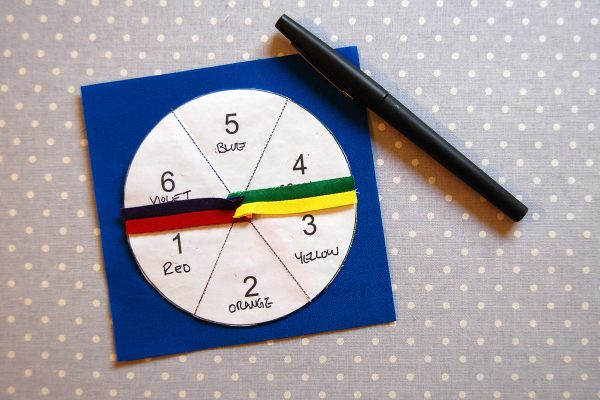
Now grab your 5″ x 5″ square of fabric for the base of the pincushion, place the pressed circle on top, and trace with a pen or marker.
Carefully cut out the round base of the pincushion with fabric shears.
Now, you can carefully remove the remaining paper pieces from the top of the pincushion.
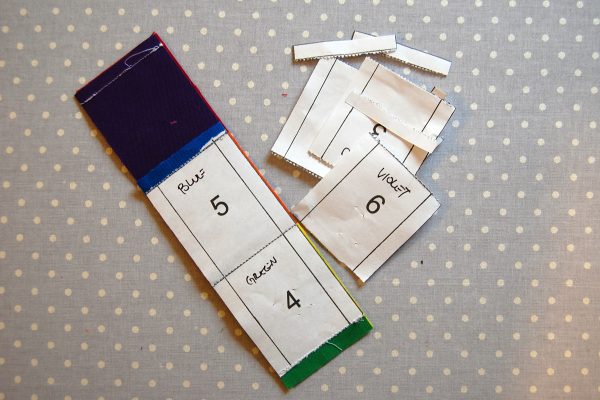
Remove all paper from the stitched sides of the pincushion. Don’t worry if a bit of paper remains in the seams, it won’t cause any problems with the pincushion.
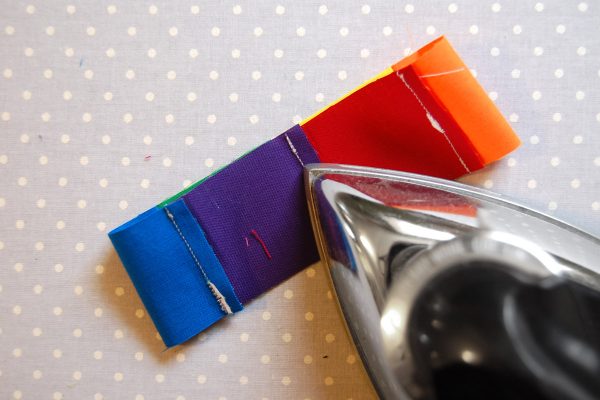
Carefully press the seam allowances to one side.
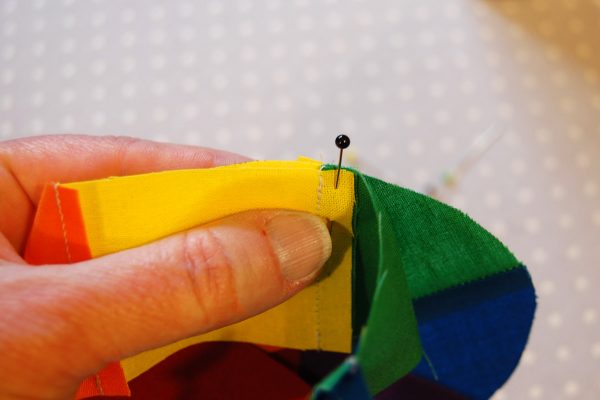
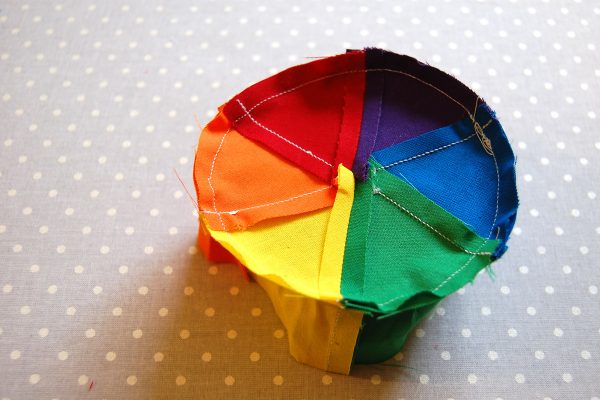
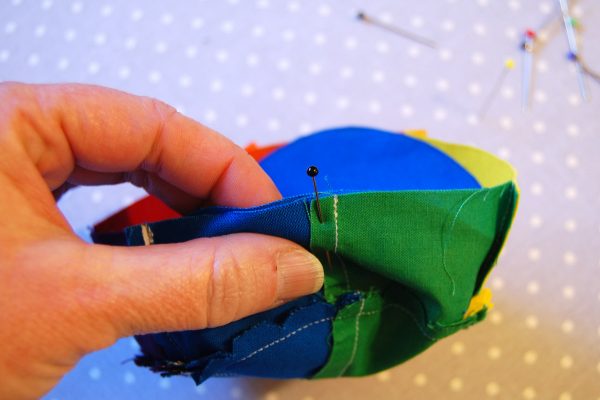
Pin the top to the sides. Begin by matching the right sides together, making sure to pair like colors together. Take a quick look to make sure the colors are going to match all the way around, if not flip the side piece over and try again.
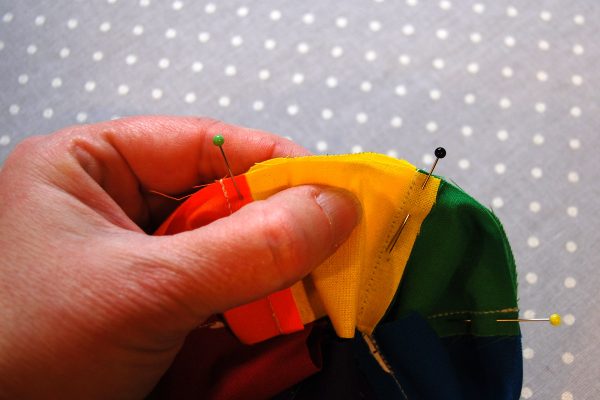
Begin placing one pin to match seams, making sure colors are matching. Pins should be in the side piece, and not in the top.
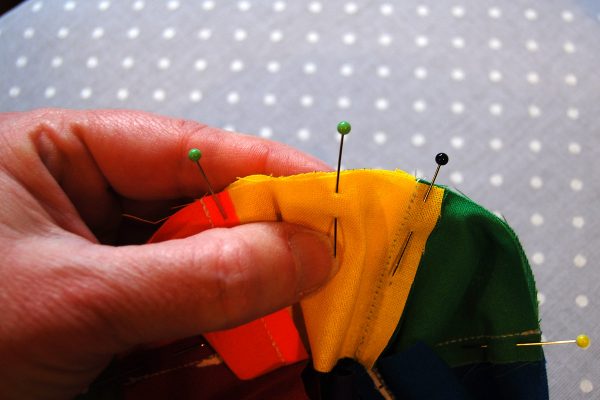
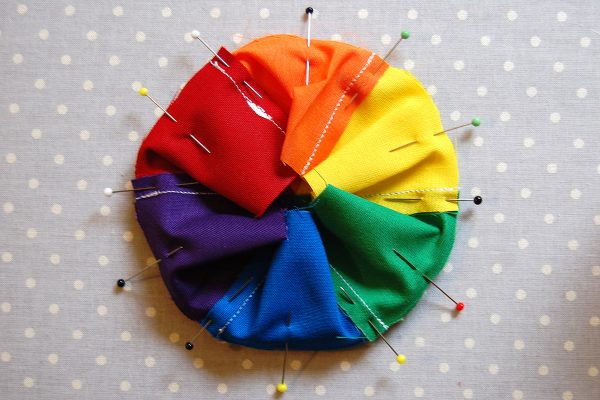
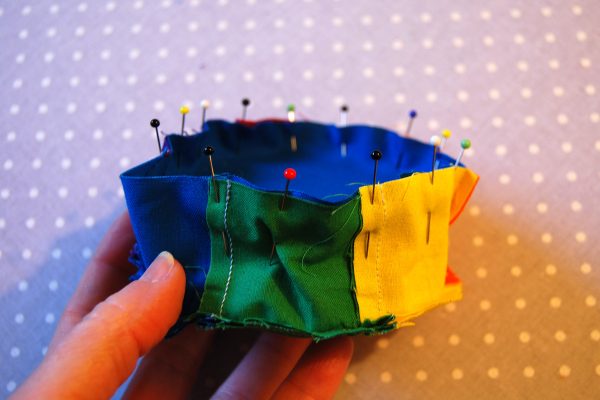
Work around the pincushion top, placing one pin to match all seams together. Next, match the middle of the colors together and hold in place with another pin.
When finished pinning, you’ll have a puffy looking pinned wheel.
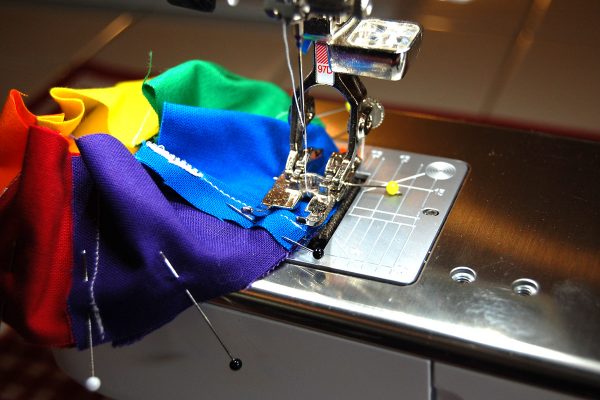
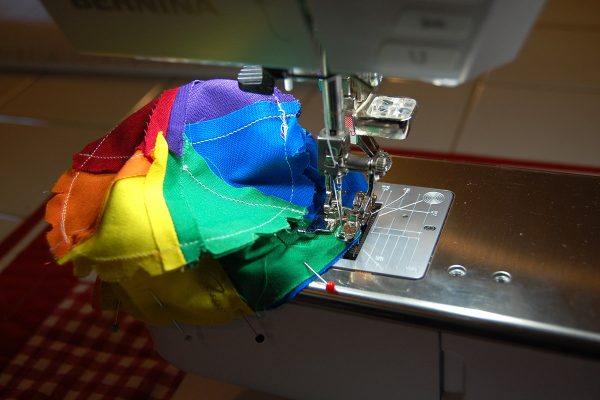
Set up your sewing machine to stitch the pincushion together. Remove your slide-on tray to let the pincushion curve around the end of the free arm. Grab your sewing awl or a sharp pointed item to help move the fabric through the foot without getting your fingers in the way of the needle.
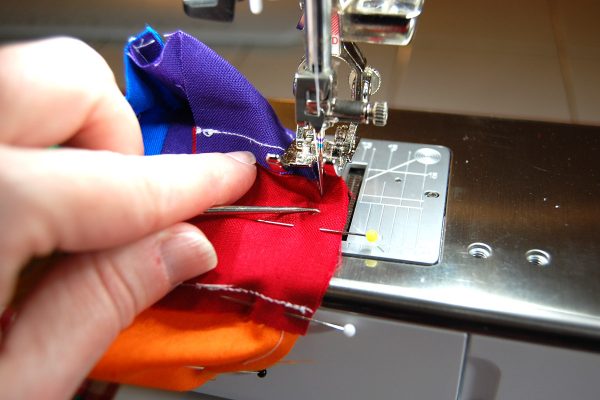
To begin sewing, align the Patchwork foot with the very edge of the pincushion to assure a perfect 1/4″ seam. Backstitch a few stitches at the beginning and end of the seam. When you start to sew around the circle, keep an eye on the right edge of the foot to make sure the fabric stays even while stitching.
If the fabric looks like it is going to pucker or tuck under the needle, lower your needle and raise the presser foot. Use your awl to help smooth out the fabric in front of the needle, and then continue sewing. Use this method whenever you see a pucker or tuck forming before the needle.
When finished sewing, take a look at the stitches. If you have any large puckers or crooked stitches, now is the time to rip and resew.
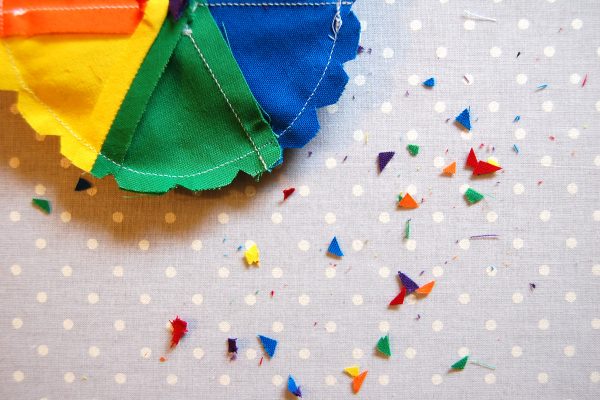
Since the outer edge of the pincushion will be turned inside, we’re going to cut some notches along the edge to ease the fabric when it is turned right side out.
Snip with sharp shears close to the stitching, being careful not to clip into the stitching. After clipping the curves, grab the base of the pincushion.
Pin the sides to the base in the same way the top was pinned to sew. Work your way around the edge of the pincushion, pinning as you go. Remember, when pinning the base of the pincushion on to leave an opening about 2-3″ wide to turn the pincushion right side out. I marked my opening between two pins.
Stitch the base to the sides following the directions above, using the awl to help smooth out any puckers or tucks before they reach the needle. Backstitch when you start sewing at one side of the opening, and when you stop sewing at the other end of the opening.
Carefully clip the curve in the base of the pincushion as above for the top of the pincushion. Then turn the pincushion right side out through the opening, using a chopstick or eraser end of a pencil to carefully push out the curves.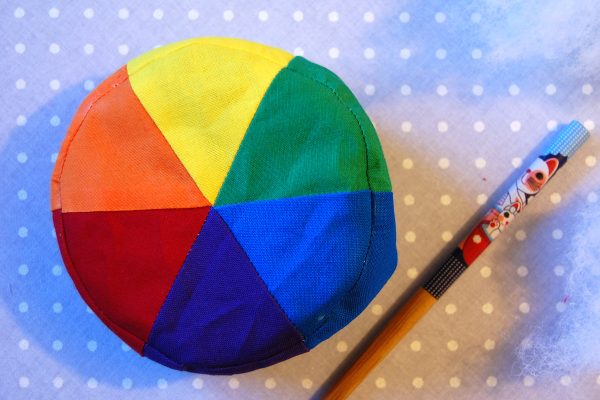
Stuff with fiberfill or your pincushion stuffing of choice.
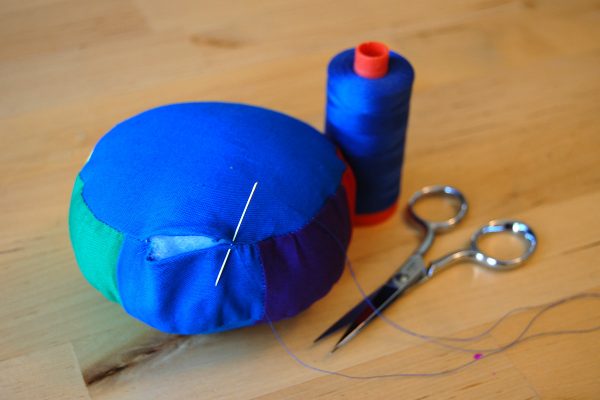
Hand-sew the opening closed.
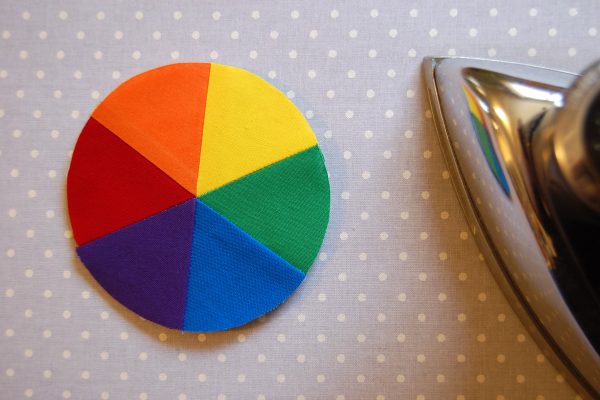
And enjoy your little slice of the rainbow!


