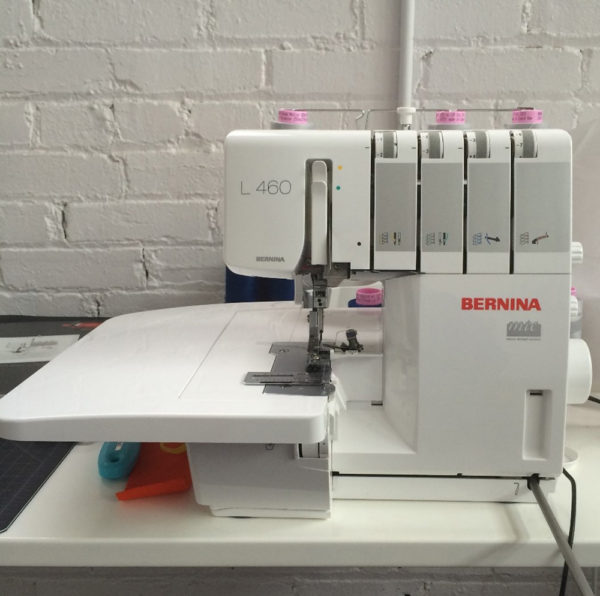
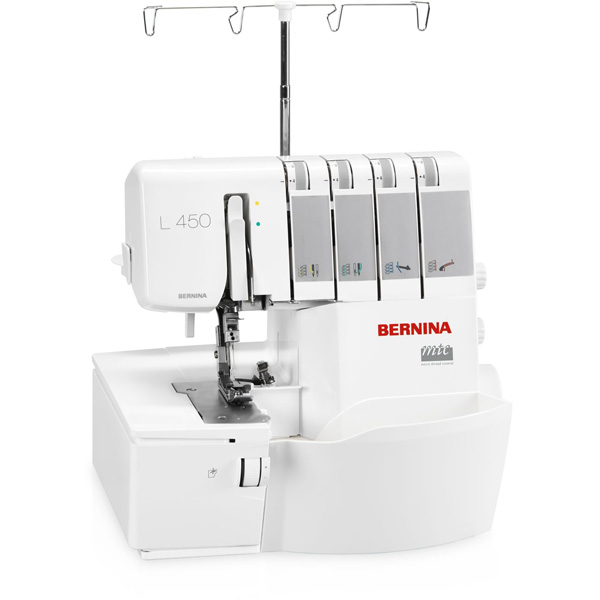
As we’ve journeyed through the past 125 years of BERNINA, it begs the question what will be next? Innovations and exploration of the Overlocker segment is currently in development, and we are excited to have recently launched the L Series Overlockers, beginning with two models: the BERNINA L 450 and the BERNINA L 460.
The L 460 model is the first BERNINA overlocker to have a DC motor. This motor allows for a strong piercing power and speed, while also allowing for the comfort of stitch-by-stitch sewing control that we are familiar with from our sewing machines. This machine also uses the same foot control and power cord as our sewing machines, including the back kick option for needle up/down.
Another great feature on the L 460 is the addition of the BERNINA Free Hand System to raise and lower the presser foot. The machine has a removable extension table and high quality LED lighting. Usability and comfort are at the forefront of our minds as we develop future models to complete the family of BERNINA Overlockers.
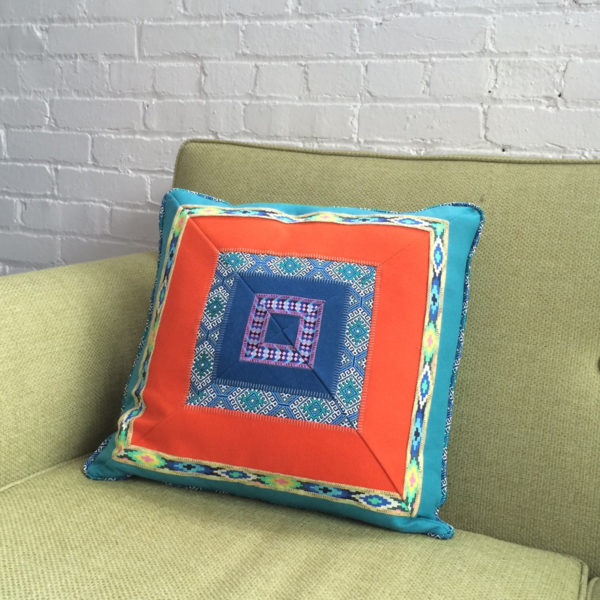
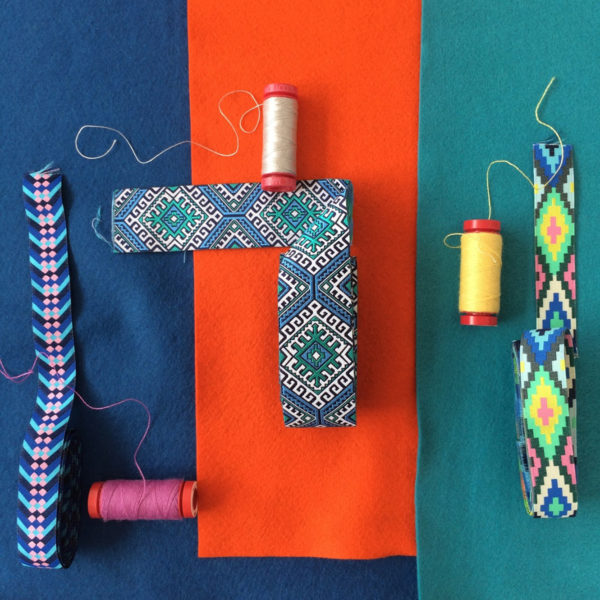
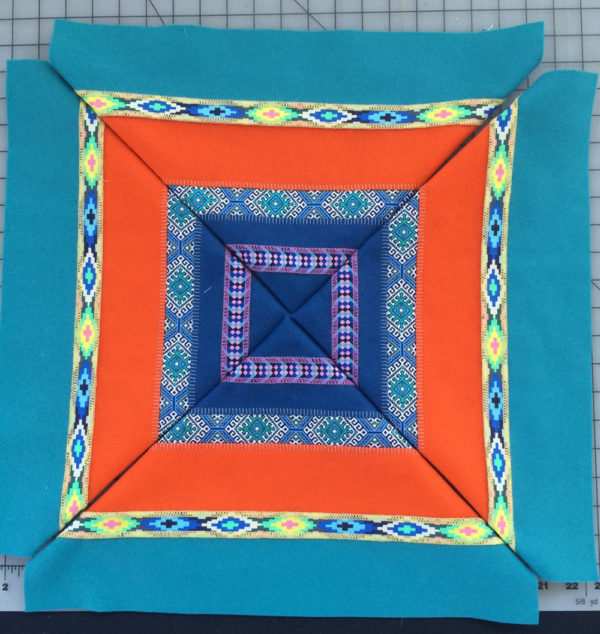
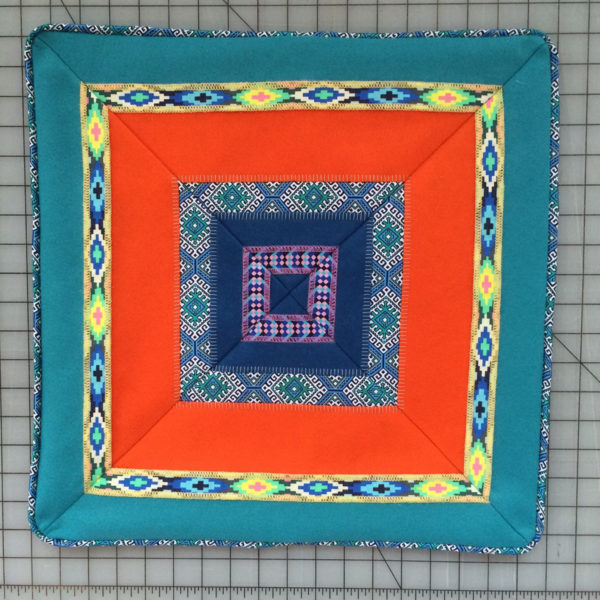
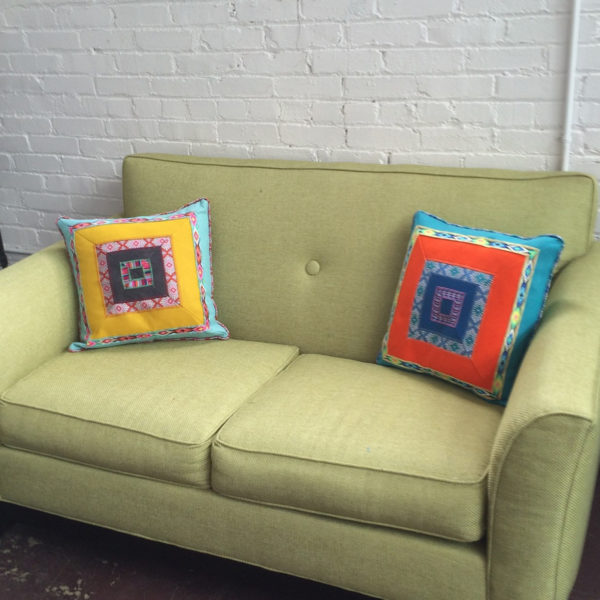
This ribbon pillow uses a classic piecing technique, but I used decorative Renaissance ribbon, Aurifil wool thread and wool felt to create my pillow top.
Flatlock Fancy Pillow Project
Materials to Create Flatlock Fancy Pillow
- Pillow Wedge Pattern Download
- 12” x 18 1/2″ wool felt (3 colors)
- Ribbon 3/4″-1 1/2″ (2 1/4 yards each)
- Mettler Seracor Serger Thread (3 spools)
- Aurifil 12wt. (wool or cotton) decorative thread
- 22” polyester zipper
- 1/2 yard (or fat quarter) fabric for pillow back (cut two 18 1/2” x 10” pieces)
- 18” pillow form
- Optional: 1/4″ cording for piping (2 1/4 yards)
Steps to Create Flatlock Fancy Pillow
Step 1. Create the ribbon/felt “fabric” using a flatlock stitch
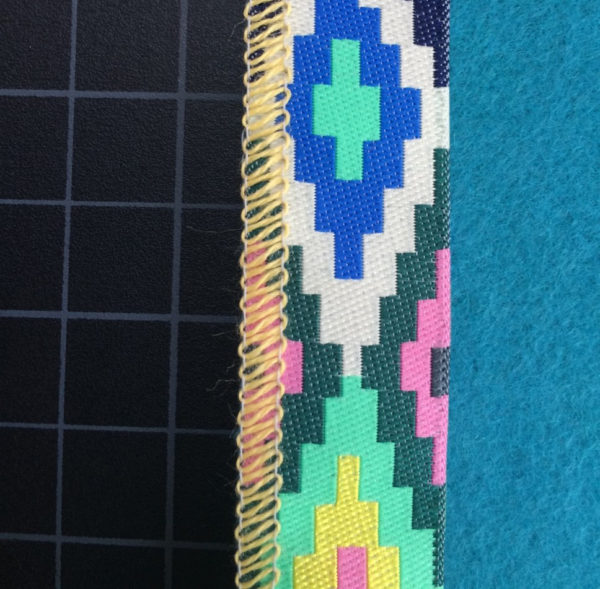
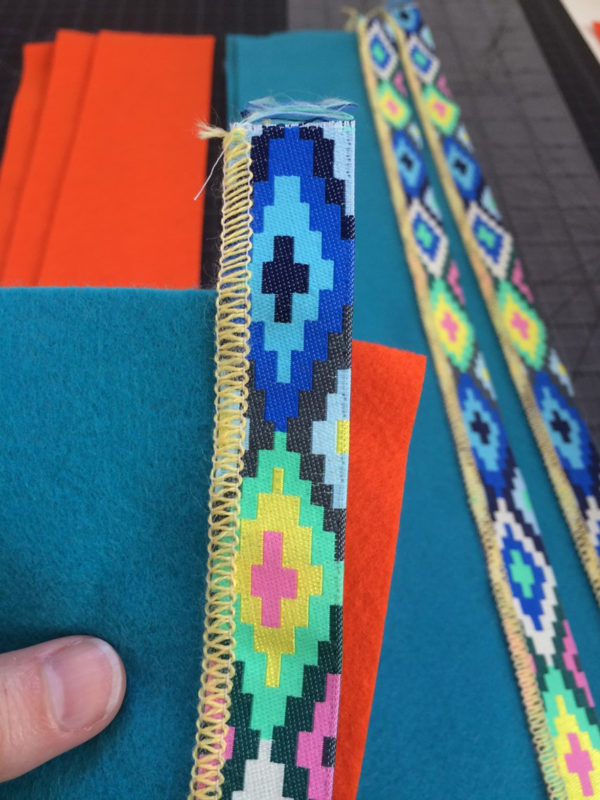
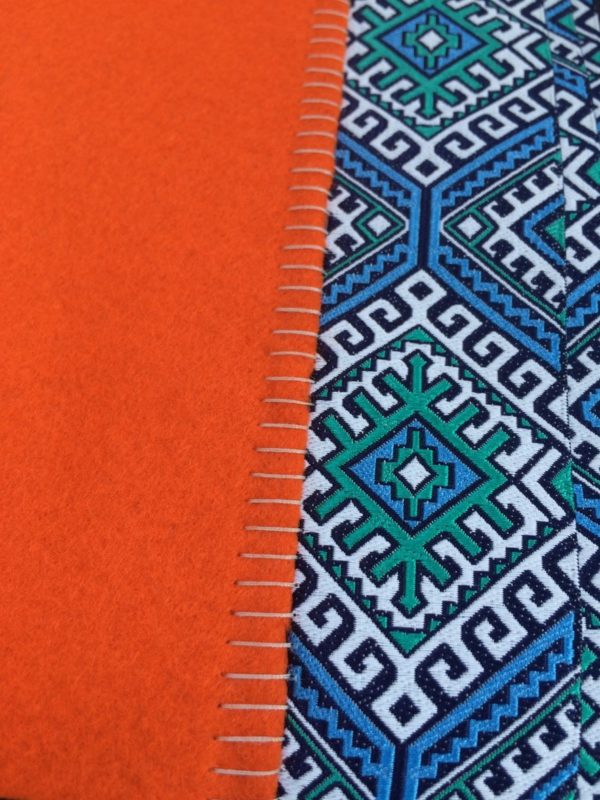
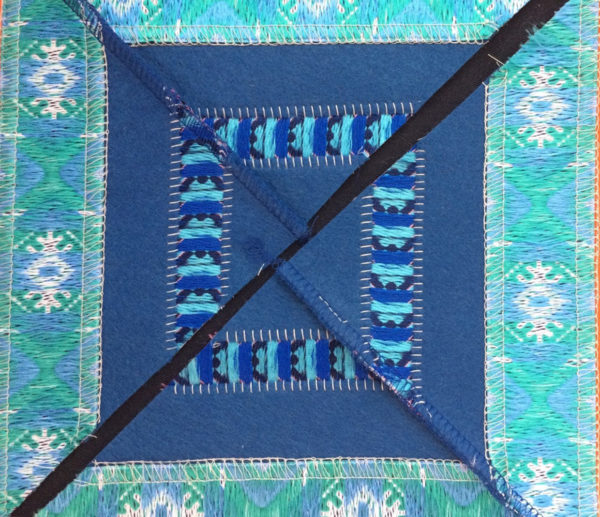
A flatlock stitch is a functional yet decorative stitch that can be created using an overlocker. This stitch has a lot of fun possibilities, as it has two distinctive looking sides. The “right” side of the stitch looks like loops (imagine a row of cursive “L’s”) and the “back” side looks like ladders (this is the needle thread showing). I love to use decorative threads in the looper when making flatlock stitches. It is also a good time to experiment with stitch length. I recommend playing around with the many stitch possibilities before beginning to sew the ribbon to the felt for this project.
- Cut the ribbon into 18” long strips.
- Cut the 18” long felt strips in varying widths of 1-3”.
- Create your own ribbon/felt fabric until the piece is 10” tall, make sure that the outside pieces are felt. (See below for flatlock stitch possibilities.)
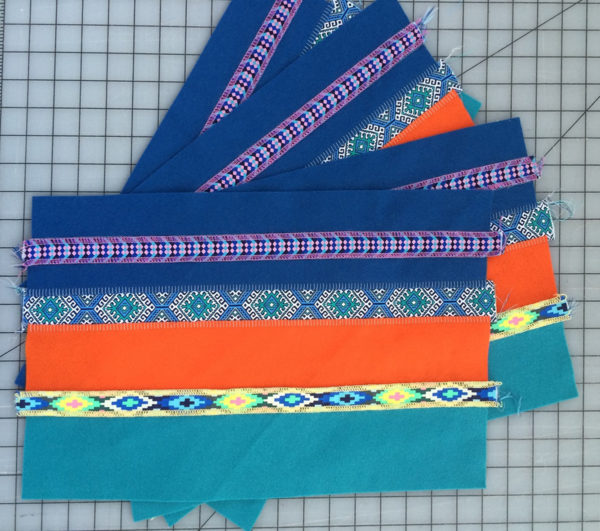
- Sew four identical sets of ribbon/felt fabric, one for each section of the pillow top. The ribbon/felt fabric will be cut into triangle shapes to create the pillow top in Step 2.
How to Create Flatlock Stitches
Machine Set-up: 3-thread Flatlock (Narrow), loop side visible, recommended for narrow ribbon
- Right Needle: thread with with Seracor.
- Upper Looper: thread with decorative thread.
- Lower Looper: thread with Seracor.
- Disengage the cutting knife.
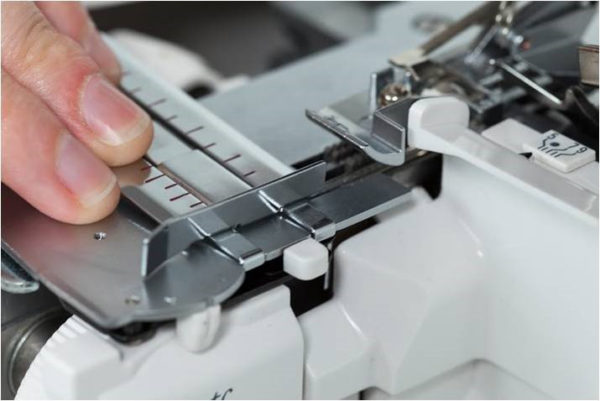
- Install the seam guide.
- Set MTC (Micro Thread Control) toward the “+” for easy flattening.
- For loop side, sew with wrong sides together.
- Set tensions as shown here.
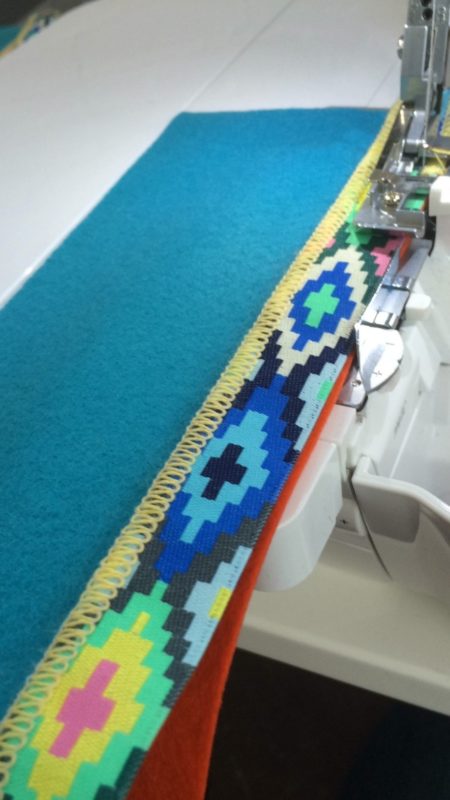
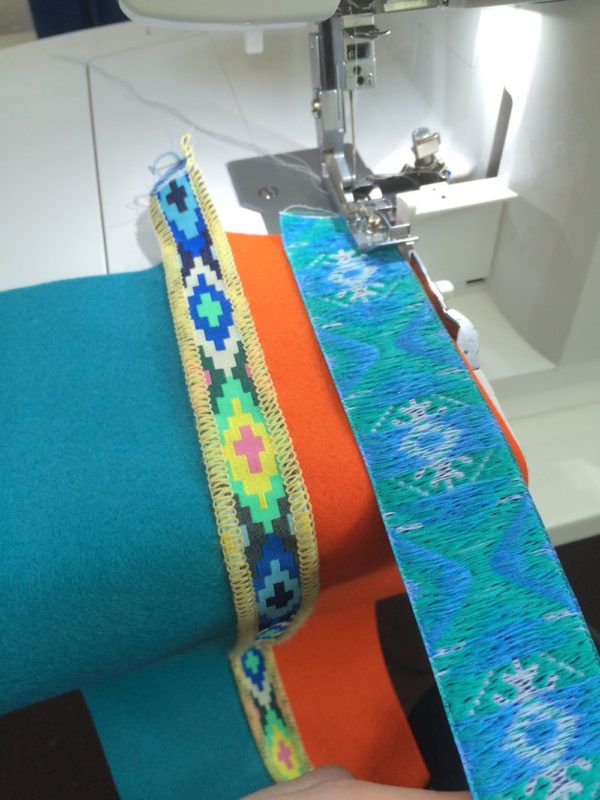
Sew an 18” length of ribbon and a strip of felt together with wrong sides facing, using the narrow flatlock stitch. After stitching, pull the ribbon and felt apart to flatten the stitch revealing the loops on top of the ribbon.
Tip: Disengaging the cutting knife will keep your lovely ribbon intact. Adding the seam guide will ensure that your material moves into the stitch evenly and away from the looper action, creating the perfect flatlock for ribbon.
Machine Set-up: 3-thread Flatlock (Wide), ladder side visible, recommended for wide ribbon
- Left Needle: thread with Seracor.
- Upper and Lower Loopers: thread with Seracor.
- Disengage the cutting knife.
- Install the seam guide.
- Set cutting width to 8.
- Set MTC toward the “+” for easy flattening.
- For ladder side, sew with right sides together.
- Set tensions as shown here.
Sew another 18” length of ribbon and strip of felt together, this time with right sides facing, and a wide flatlock stitch. Pull them apart to reveal the ladder side of the stitch showing on top of the ribbon.
Continue joining ribbon and felt together along the 18” length using your favorite flatlock stitch settings. Remember to create four identical sets if making the pillow as shown.
Step 2. Cut the ribbon/felt fabric into triangles and assemble into pillow top.
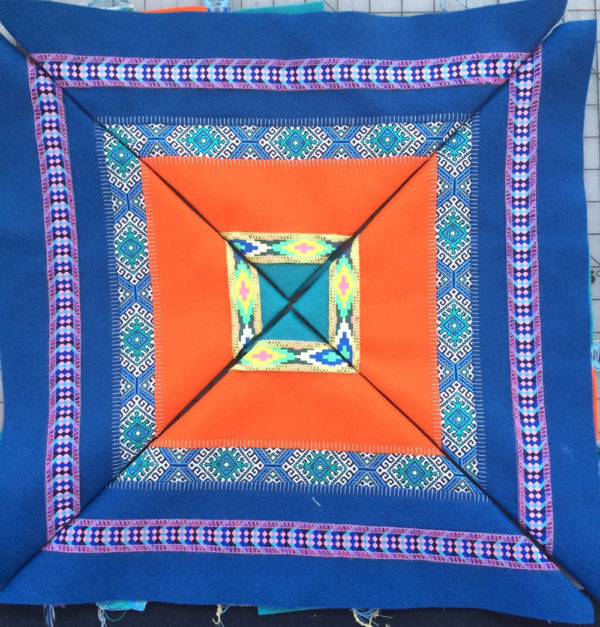
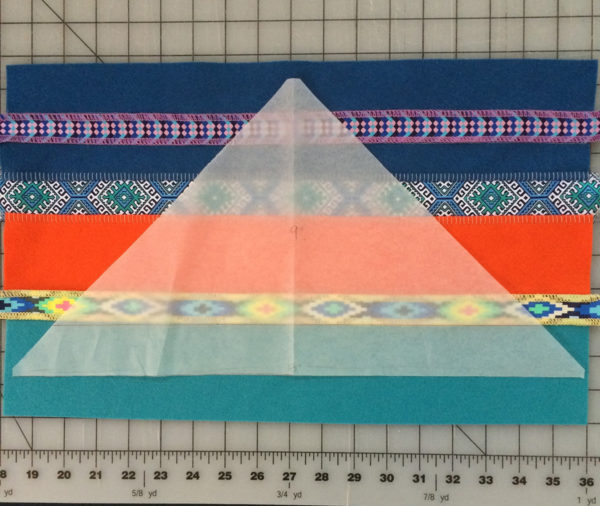
Download and print the template for the triangular sections (18” pillow size). Before cutting, audition the ribbon/felt fabric to determine your final design by folding fabric triangles. The two pictures below use the same fabrics as shown in the earlier picture, but by placing the tip of the triangle in different places, you get an entirely different look!
Carefully cut the triangle shape from the four sets of ribbon/felt fabric. It may be helpful to draw some reference lines onto your pattern template to make sure that your ribbon rows will align when sewn together.
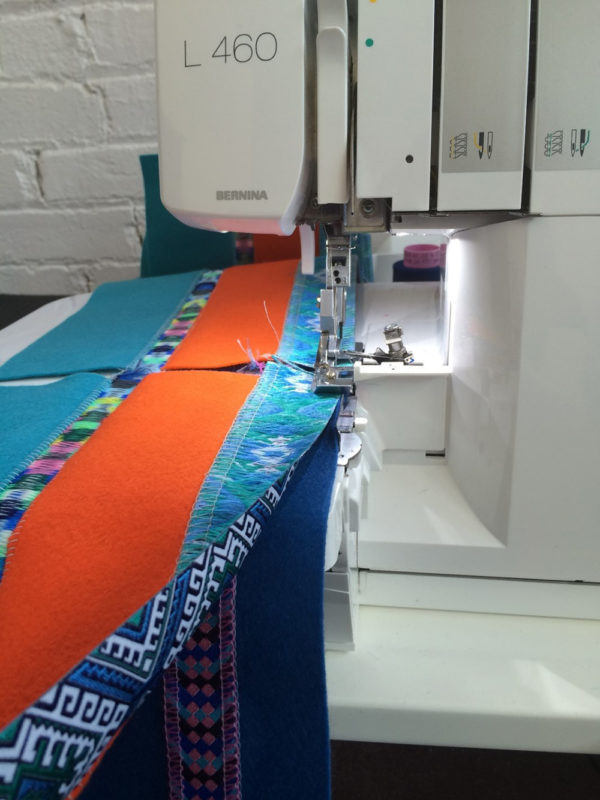
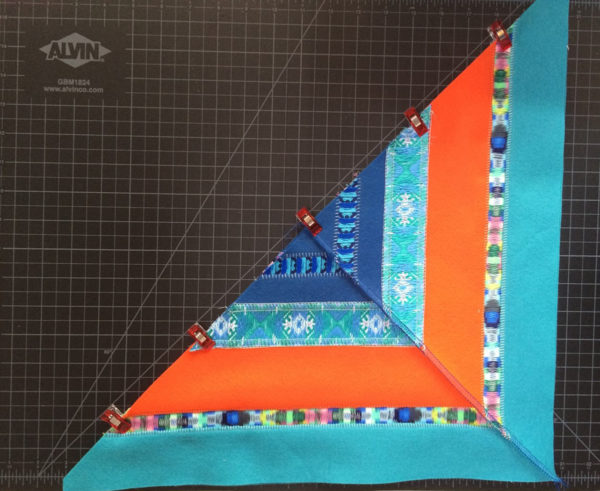
Using a 3-thread overlock stitch, sew two triangles together with right sides facing and then repeat for the second pair.
3-Thread Overlock Settings
Adjust settings as shown here.
Press seams of the pairs in opposite directions in order to nest the seam allowances together.
Now join the pairs, with right sides facing and seams nested, along the long center seam.
Press and set aside; your pillow top is complete!
Step 3. Use the Multi-Purpose Foot to install a zipper into fabric for pillow back
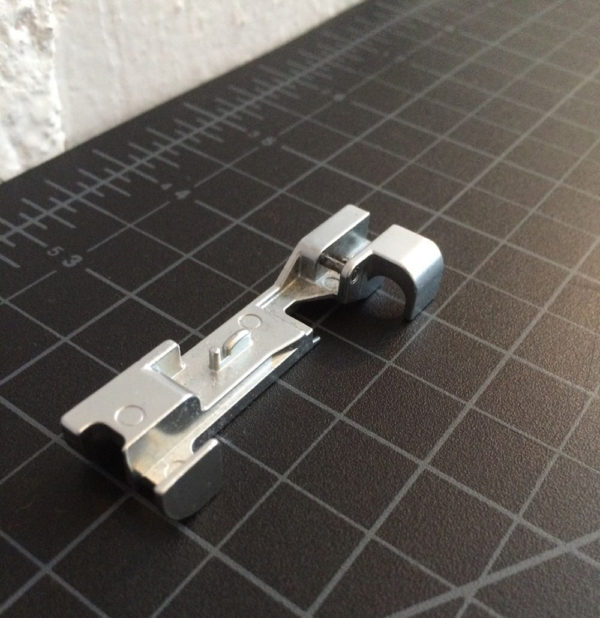
The Multi-purpose Foot is a great additional presser foot for your overlocker. As the name implies, this foot can be used in a variety of ways to enhance your overlocker applications and techniques. Installing a zipper with this foot is a great application.
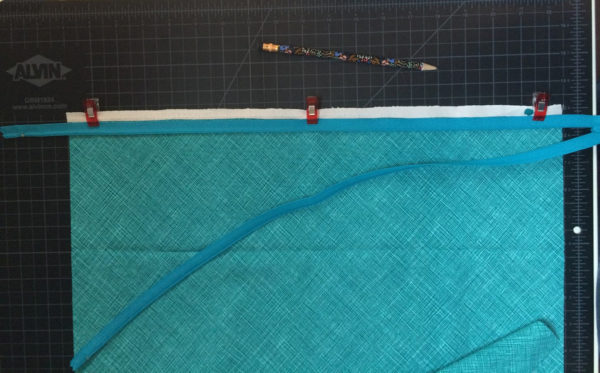
Open the zipper. The zipper will be placed along the 18 1/2” length of the 18 1/2” x 10″ pillow back fabric. Offset the zipper 1/4″ from the fabric edge. You will notice in the picture below that I aligned the tape just below the selvage edge. That way I can cut away the selvage at the same time as I stitch the zipper.
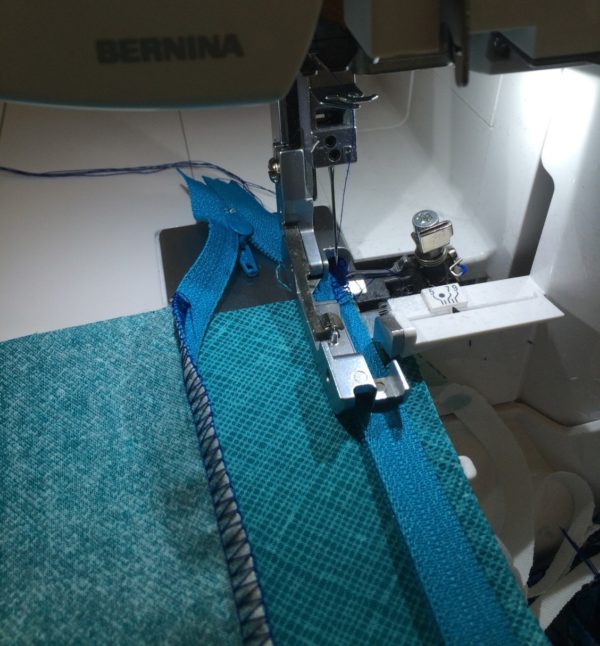
Begin with a zipper tail extending past the fabric by approximately 2” and clip to the fabric right side down. To stitch, position the zipper teeth under the groove on the left side of the presser foot and sew together with an overlock stitch.
Repeat for the second side of the pillow top back fabric, aligning the fabric from side to side before sewing. I typically offset the zipper from the fabric edge 1/4” to allow the overlocker to trim the fabric edge neatly as it joins the zipper tape.
Move the zipper pull into the center of the pillow back and trim excess zipper tape and fabric to create an 18 1/2” square with the zipper centered.
Tip: When installing a zipper with an overlocker, purchase a polyester zipper that is longer than the seam you need by 4-6”.
Step 4. (optional) Create ribbon piping with the Multi-purpose Foot
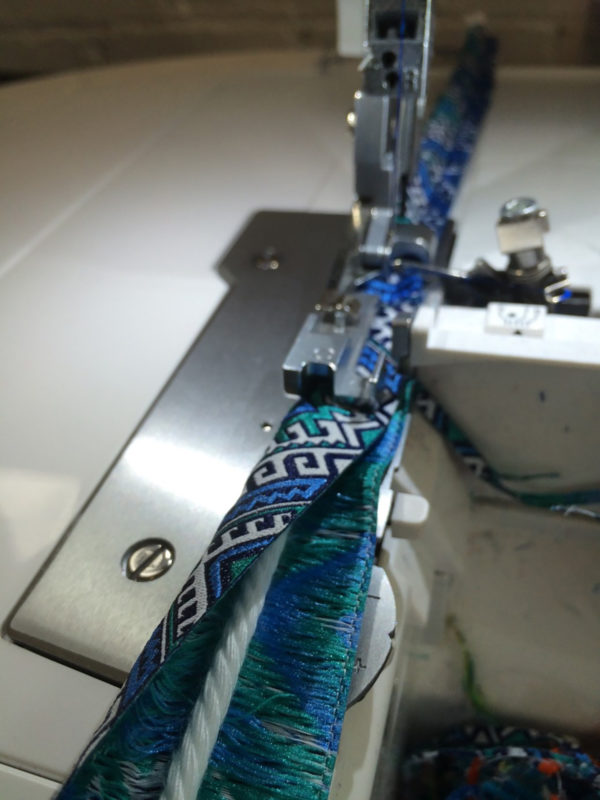
Another great way to use the Multi-purpose Foot is for making piping. This foot is great for piping that is ¼” or smaller.
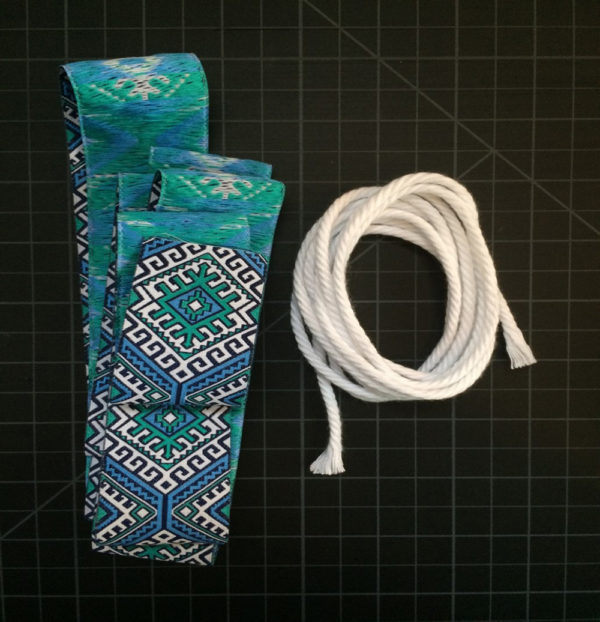
For my pillow, I had enough ribbon to make piping for the perimeter of my pillow. It will take a bit more than 2 yards to do this. I cut a 2” piece of ribbon and set it aside to use for covering the joined section of my piping.
Fold the ribbon over the cord and clip in place, begin with approximately 2” of cord extending beyond the ribbon. Position the cord under the groove on the left side of the foot and sew with an overlock stitch. For this application, I allowed the knife to trim the ribbon edge.
Step 5. Join the pillow front and back (with piping)
Now you are ready to assemble the pillow front and back together.
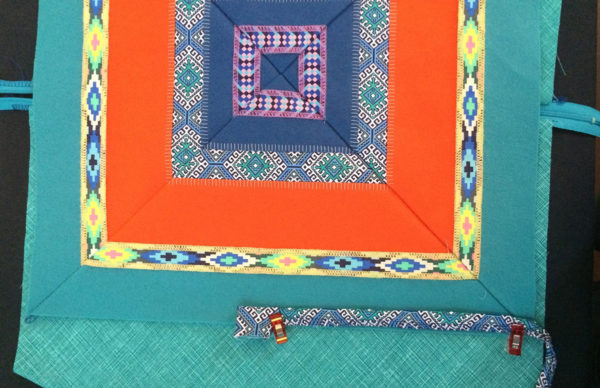
If you are adding the piping, I find it helpful to first position the piping around the perimeter of the pillow top. To begin, find the center of the bottom side of pillow and clip the 2” ribbon here. Then trim your piping end and place it at the center on top of the ribbon. Use clips to hold the sewn side of the piping to the edge of the pillow and move around the perimeter.
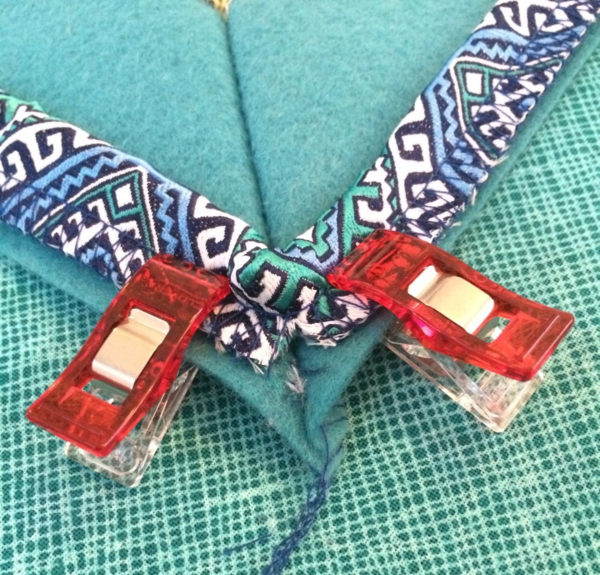
When you come to a corner, make a small snip into the piping 1/4″ from the edge to allow for a nice turned corner.
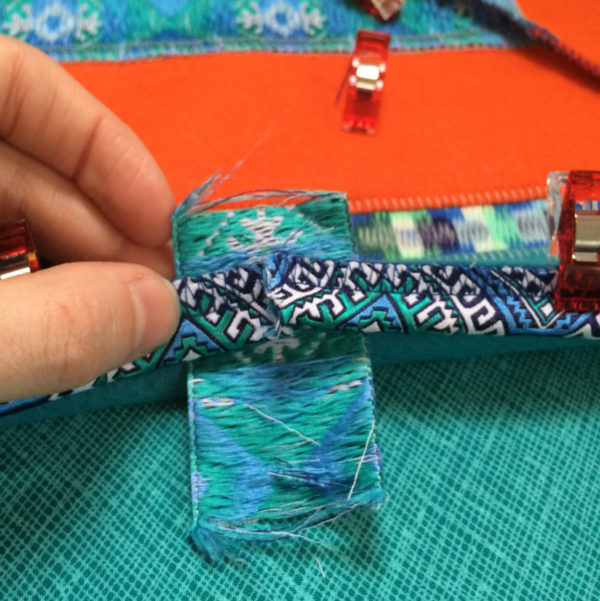
Once you are all the way around, trim the piping to meet the beginning and pull the 2” ribbon around the joined seam to cover securely.
Carefully add the pillow back to the front with right sides together. Make sure that your zipper pull is in the center of the pillow back so that you can turn the pillow right side out.
Sew all the layers together using an overlock stitch. If you are adding piping, you might find the multipurpose foot helpful here; be sure to realign the piped edge when you turn a corner.
Turn the pillow right sides out and insert your 18” pillow form.
And look at that—you made a flatlock fancy stitched pillow. Hooray!
To view a video on using the Multi-Purpose Foot to make and attach piping and to stitch a zipper, CLICK HERE.


