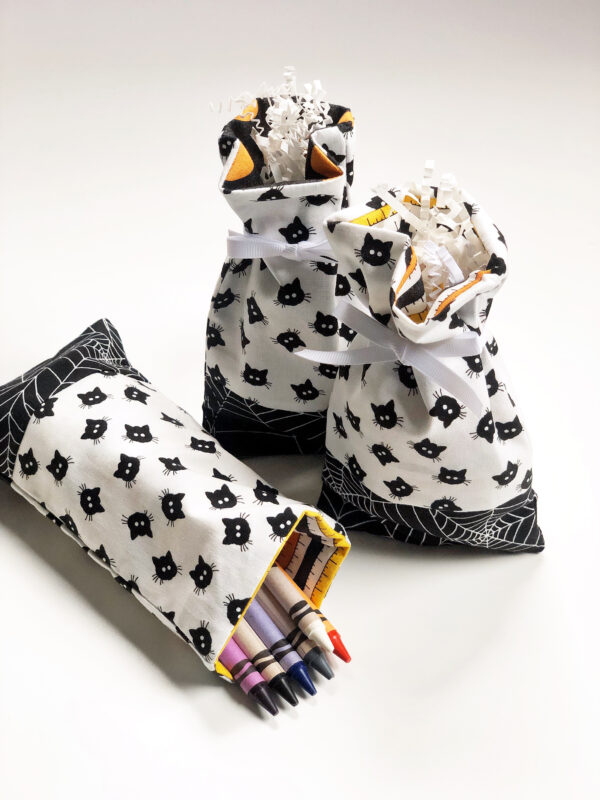
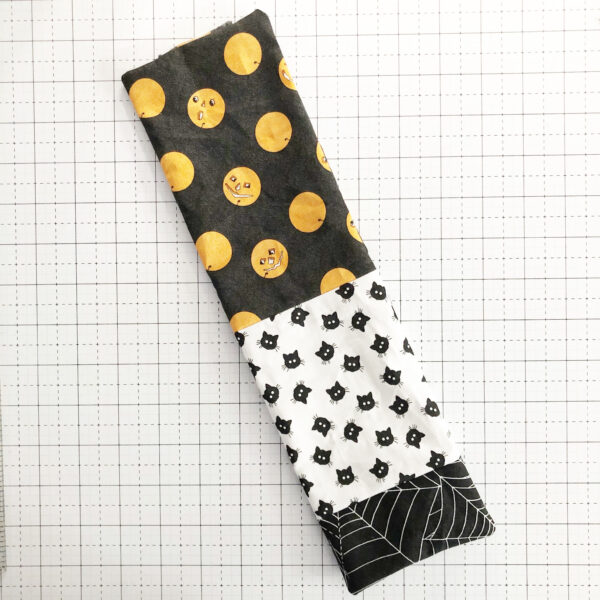
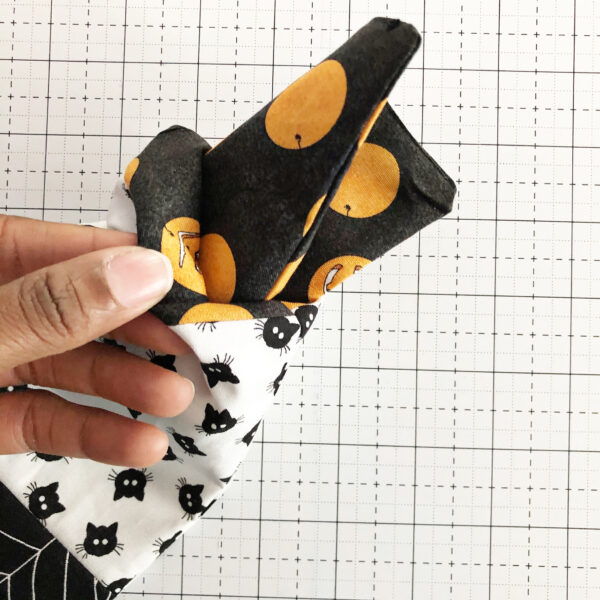
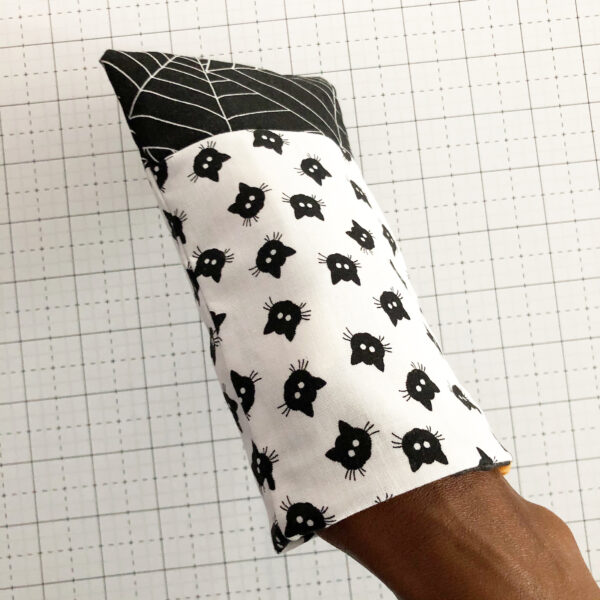
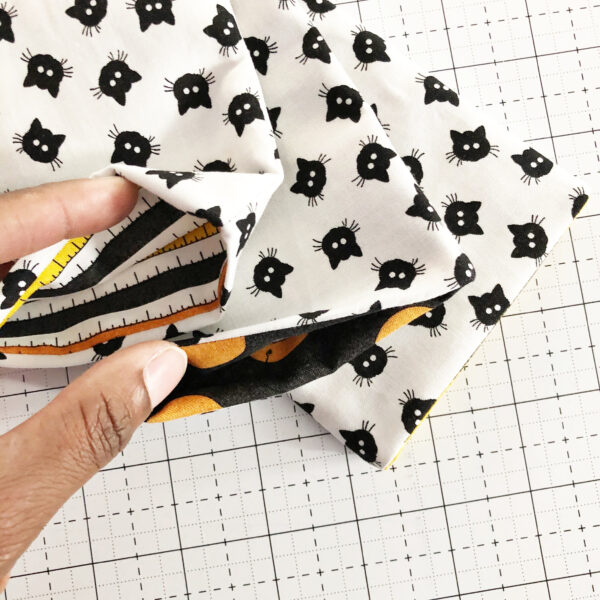
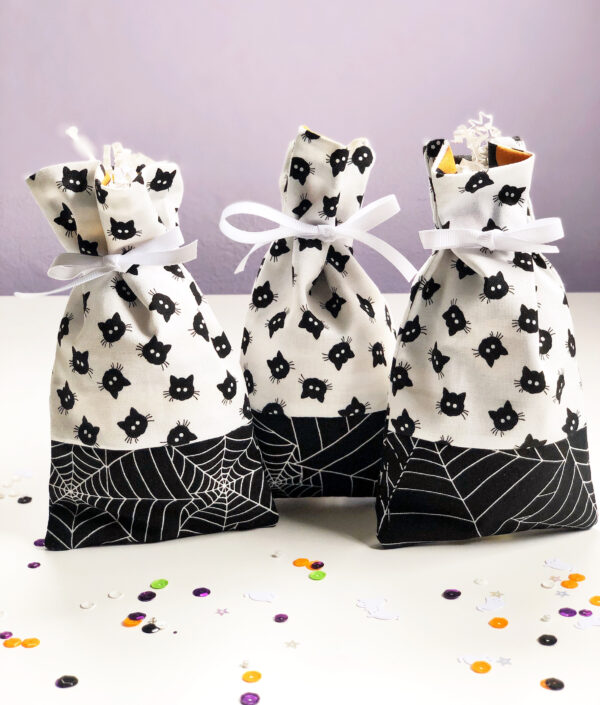
Hello everyone!! Kymona here with a Halloween mini treat bag to share with you. Now that my daughter is in high school, I don’t have anyone to make school gifts for. Then a light bulb went off, and I remembered my two-year-old niece just started daycare. I can make her and her classmate’s gifts for every holiday. Yayyyy!
Finished mini treat bag size: 6.75 inches x 3.75 inches
Materials to Create a Halloween Mini Treat Bag
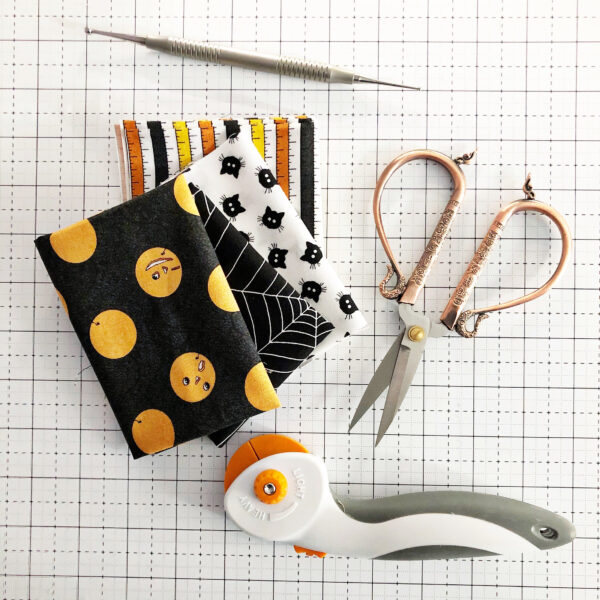
Fabric and Notions
- 3-4 Fat Quarters (Costume Makers Ball Fabric by J. Wecker Frisch)
- Black Thread
- Embroidery Scissors
- Point Turner
- Iron
- Ruler
- Pins/Clips
- Ribbon
Step 1 – Cut the fabric
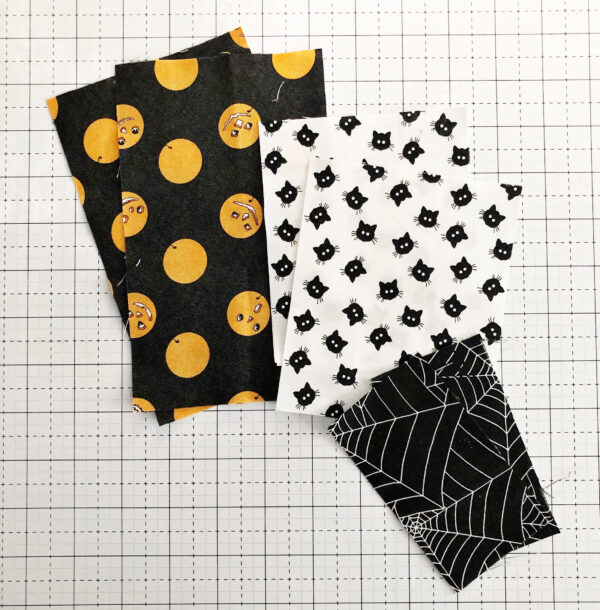
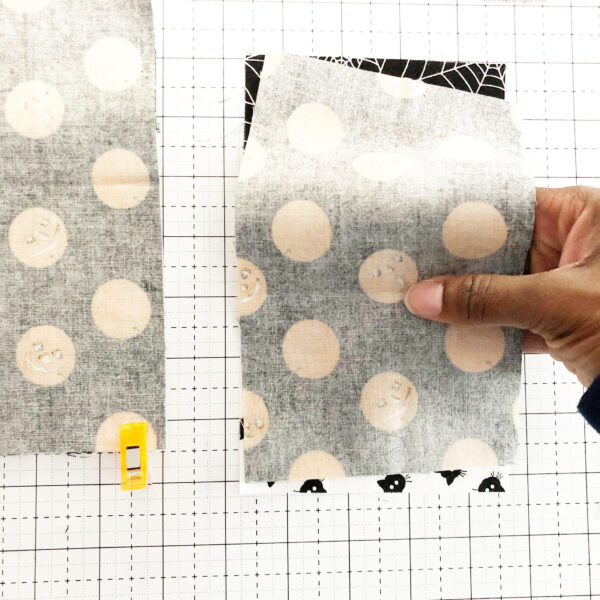
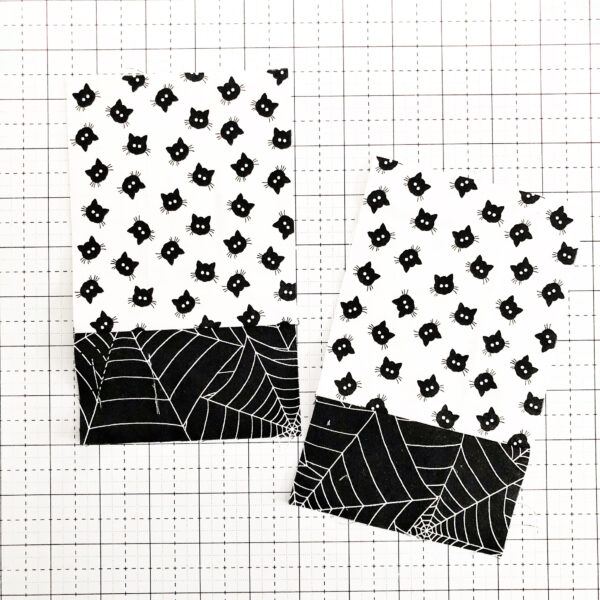
Cut (2) pieces of one of the fat quarter to 2.50 inches x 4.50 inches for the exterior.
Trim (2) pieces of one of the fat quarter to 5.50 inches x 4.50 inches for the exterior.
Cut (2) pieces of one of the fat quarter to 4.50 inches x 7.50 inches for the lining.
Note: All seam are sewn at 1/4 inch unless otherwise noted.
Step 2 – Prepare the fabric for sewing
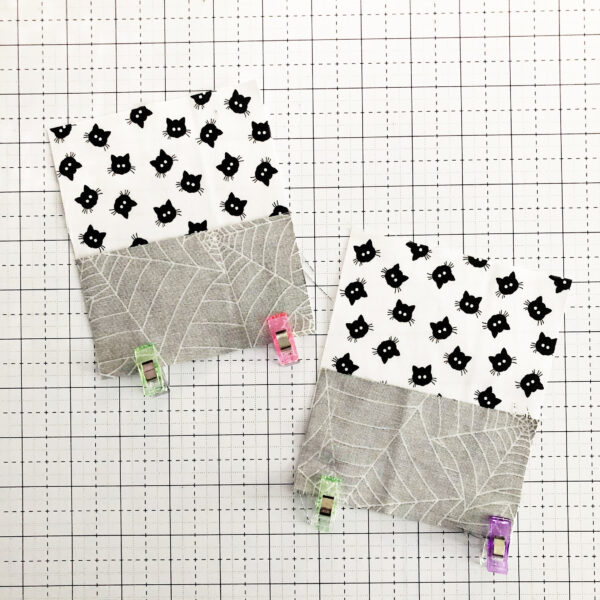
Pin/clip the two pieces of the exterior fabric right sides together at one of the short ends.
Repeat with the second set.
Step 3 – Sew the top and bottom together
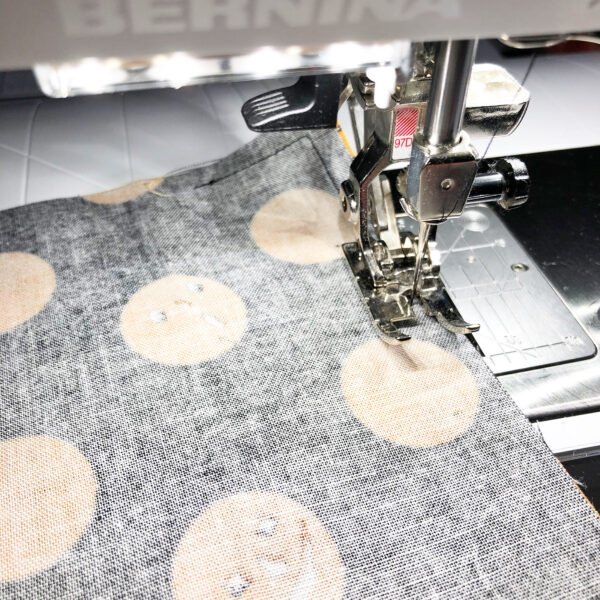
Attach Patchwork foot #97D foot to the machine. Sew straight down the bottom of the fabric. Repeat with the second set.
Step 4 – Sew the lining to the exterior fabric
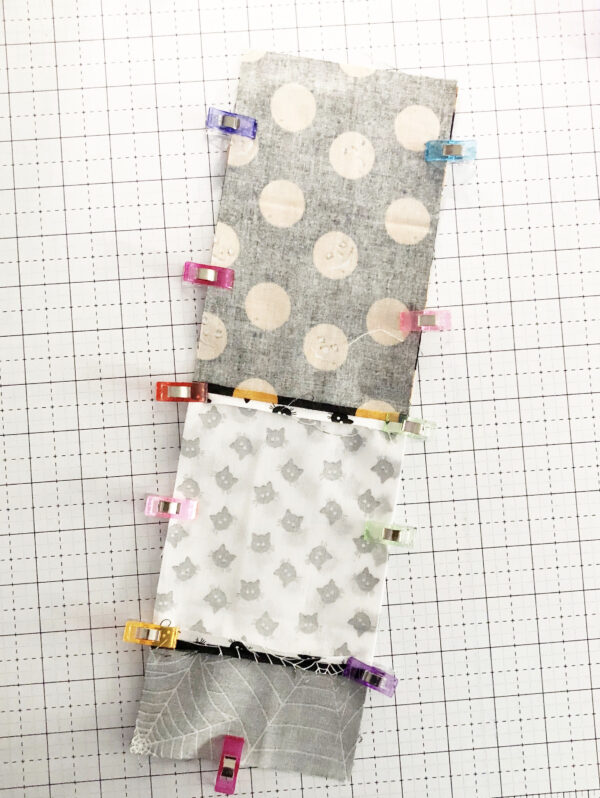
Pin/clip the lining fabric to the outer fabric, right sides together, on the opposite side of the first stitched side.
Sew straight down.
Repeat with the second set.
Step 5 – Ironing
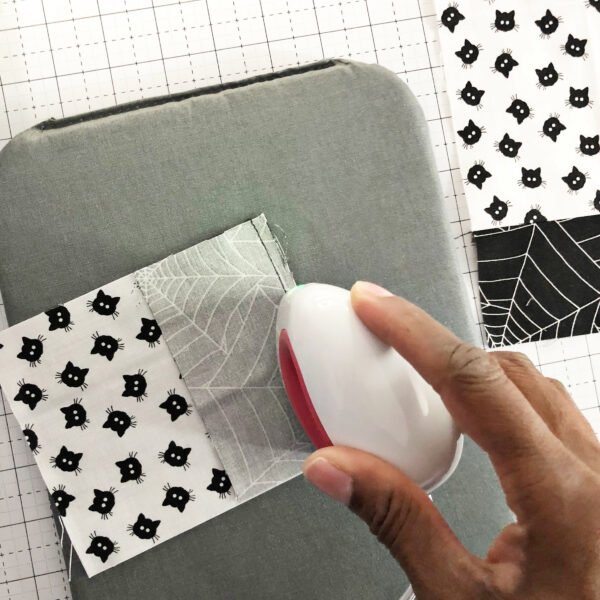
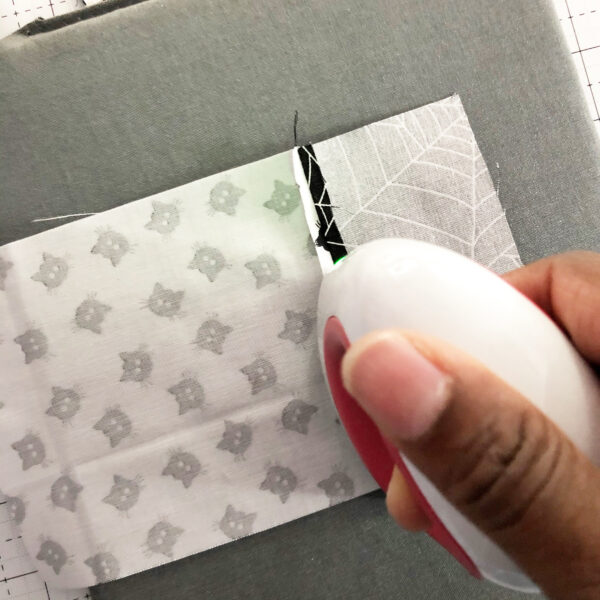
Iron all of the stitches to set them in place.
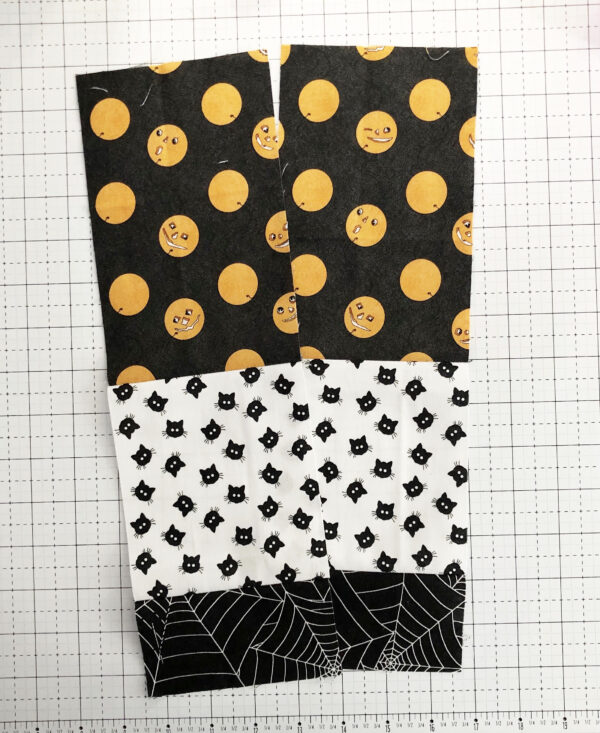
Iron the seams open.
Repeat with the second set.
Step 6 – Sewing the front and back together
Pin/clip the front and back, right-sides together.
Start sewing on the lining fabric, leaving a 2.50-inch hole for turning.
Sew around the entire piece stopping right before the 2.50 hole. Remember to back-stitch at the beginning and the end.
Step 7 – Iron, Clip the Corners and Turn
Iron the entire piece, setting the stitches.
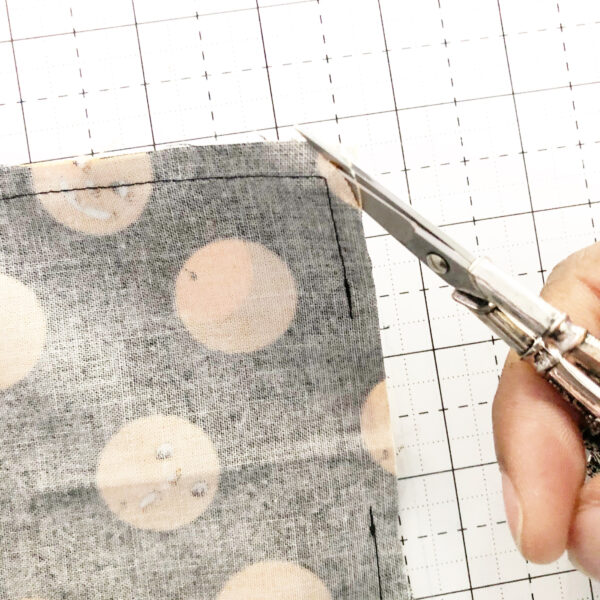
Clip the corners to remove the bulk.
Turn the entire piece inside out through the hole that was left open. Use a point turner to push out the corners and the sides. Iron the piece again, and turn in the raw edges of the hole.
Step 8 – Stitch the hole closed
Attach the BERNINA Edgestitch foot #10D and set the needle position to -2. Stitch the hole closed.
Step 9 – Push the lining inside the mini treat bag
Push the lining inside the mini treat bag and smooth the inside out with your hands.
Step 10 – Finish up the Halloween mini treat bag
Fill the bag with goodies and tie the opening with a ribbon.
How cute are these Halloween mini treat bags? You can make these for any holiday or anytime you need to give a gift to someone. You can use up all of your scrap pieces on this project.


