Hello WeAllSew readers,
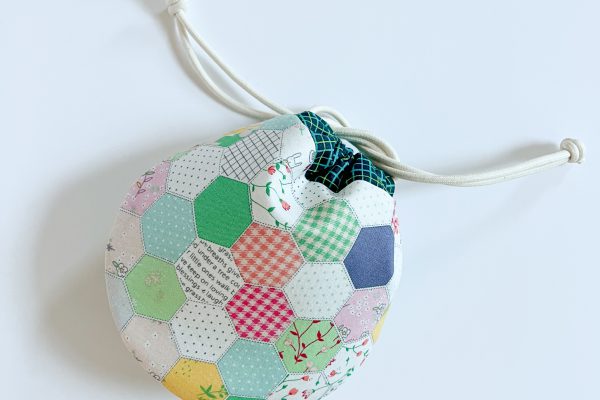
It’s Minki Kim, and you can find me on Instagram @zeriano and MinkiKim.com. I also design fabric for Riley Blake Designs and I have my own line of sewing patterns. I am excited to share this round drawstring bag tutorial today.
Finished size: 7” x 7”
Materials to Sew a Round Drawstring Bag
- Bag exterior: (2) 10” x 10”
- Bag lining: (2) 10” x 10”
- Bag casing: (2) 8 1/4” x 3”
- Woven fusible interfacing: (2) 10” x 10”
- String: (2) 24”
- Basic sewing kit, safety pin
- Round Drawstring Bag template
Notes:
- Seam allowances are 1/4″ unless otherwise noted
- RST = right sides together
- Fabrics used: Liberty Season’s Greeting collection
Steps to Sew a Round Drawstring Bag
1. Download the round drawstring bag template above.
2. Fuse the interfacing on the wrong side of the exterior fabrics.
3. Trace the pouch pattern on both exterior and lining panels. Trim the excess fabric.
4. With the wrong sides together, fold both 1/2” ends of pouch casing fabric and press. Fold again and press. Stitch along the folded edges. With wrong sides together, fold in half lengthwise and press. Repeat for the remaining casing.
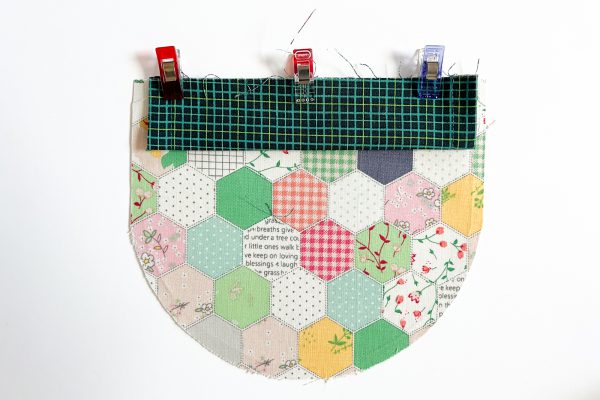
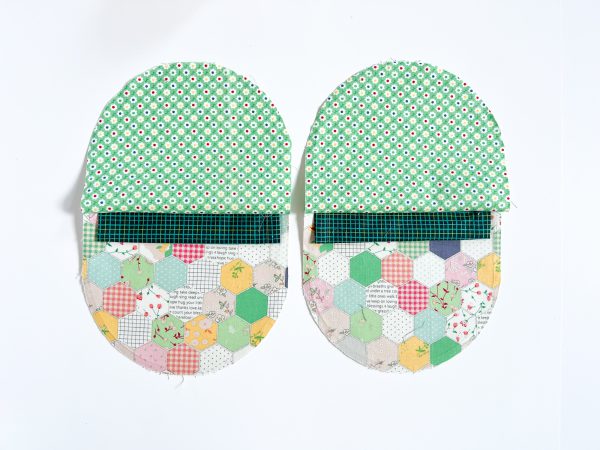
5. With the right side up, place the exterior panel on your table. Center and pin the casing along the top raw edges.
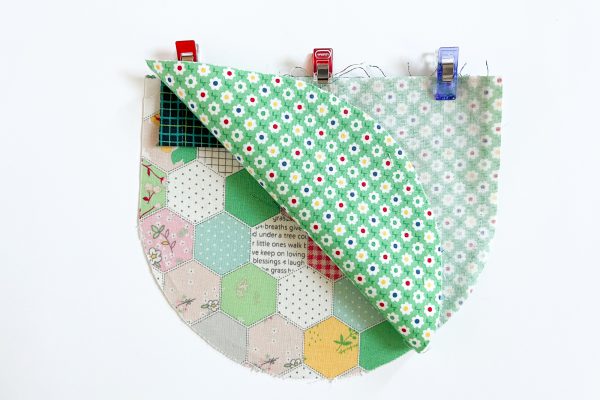
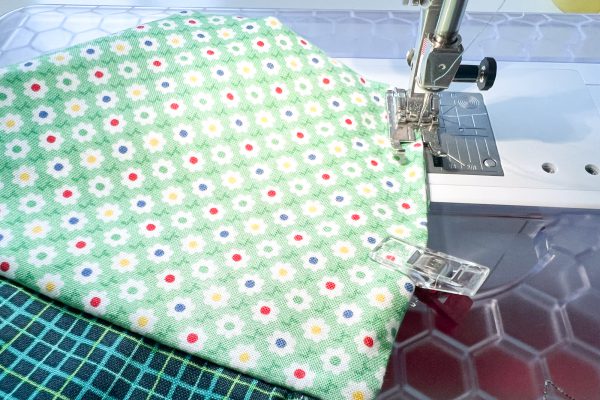
6. With right sides together, place the lining panel on top and re-pin all the layers. Stitch along the pinned edges, backstitching at the beginning and end. Repeat and make two.
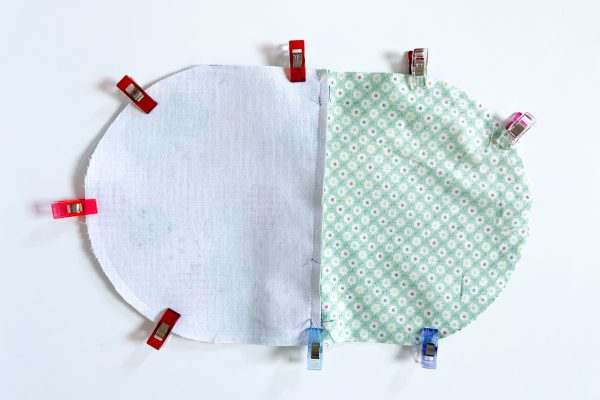
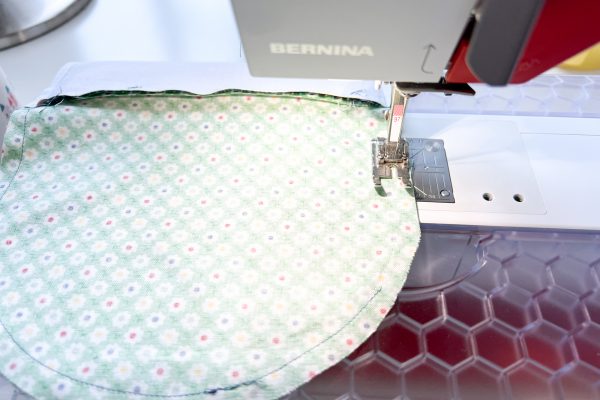
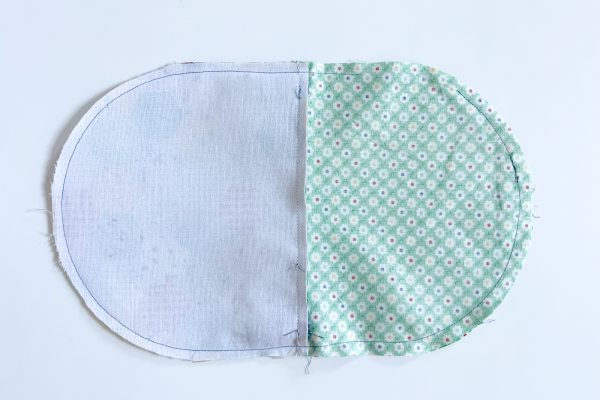
7. With right sides together, place the assembled panels together and pin in place. Stitch all the way around, leaving an opening on the lining.
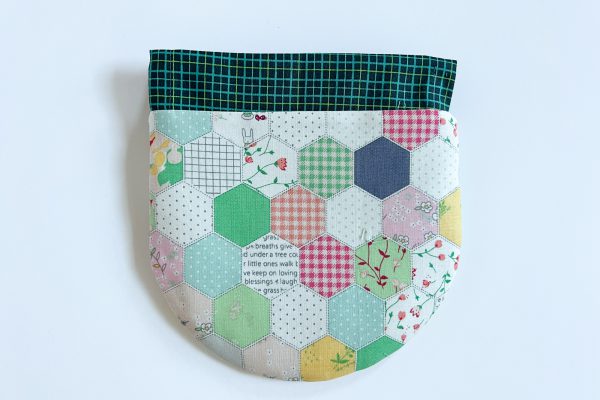
8. Turn the pouch right side out and machine topstitch the gap closed.
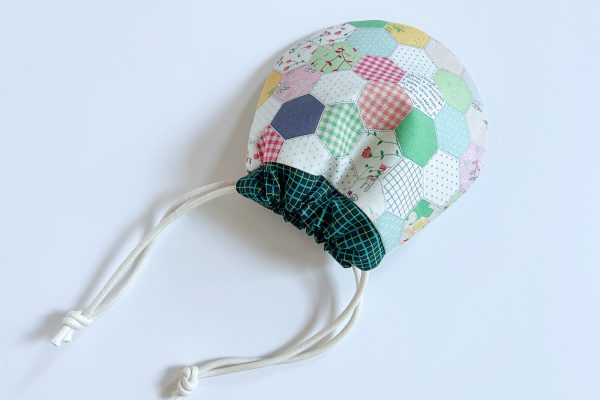
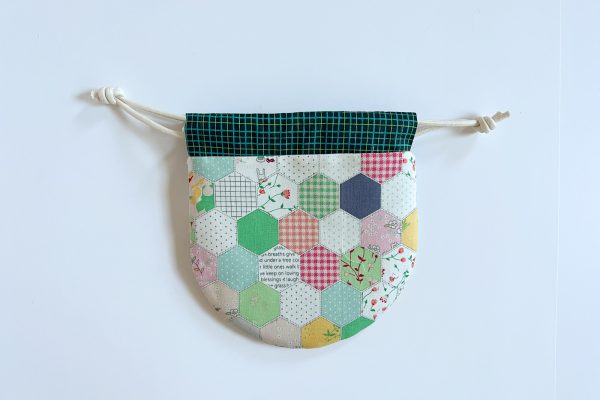
9. Feed two strings through the casing going in opposite directions, using a safety pin.
10. Tie the ends of the ribbon into a knot on both sides.


