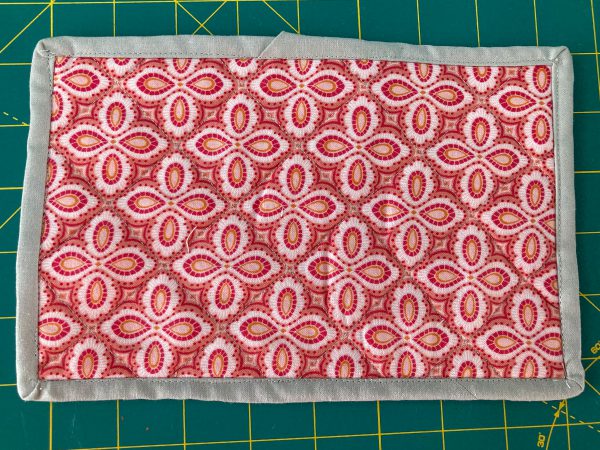
Hello WeAllSew Readers. It’s Macy. You can find me on Instagram @macy_quilts. This little Mug Rug is the perfect project to help practice your binding skills with the BERNINA #71 lap-seam foot. This pattern works with any fabric and could also be pieced. These make great gifts and look adorable sitting under a warm cup of your choice. Practice makes perfect, however, perfection is not required!
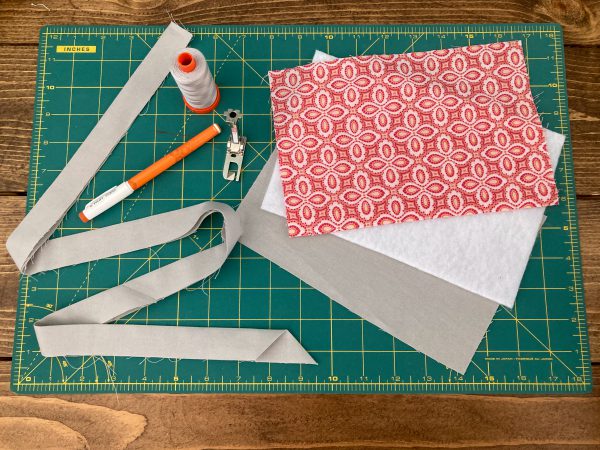
Materials to Sew a Mug Rug:
- 2 fabrics 9 inches by 6 inches
- BERNINA Lap-seam foot #71
- 1 piece of batting 9 inches by 6 inches
- 2-inch strip of fabric for binding, approx. 29 inches long
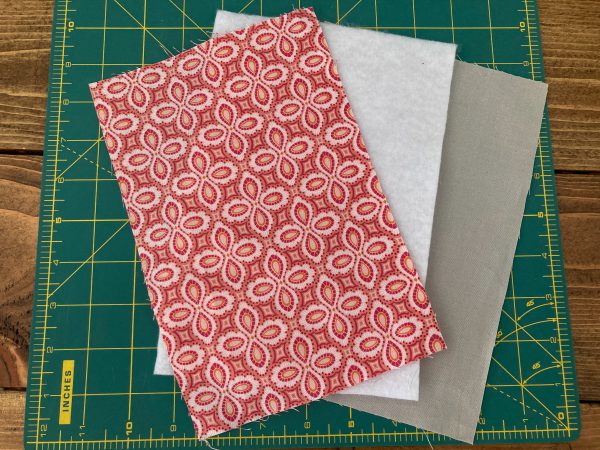
Now that you have your supplies, let’s jump right in and get started. Once you have your fabrics cut, place them in a sandwich. The order will be, backing fabric right side down, batting, and your top piece of fabric face up.
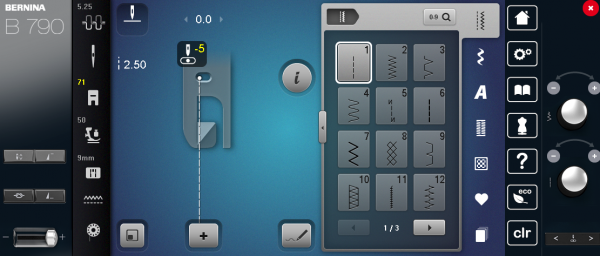
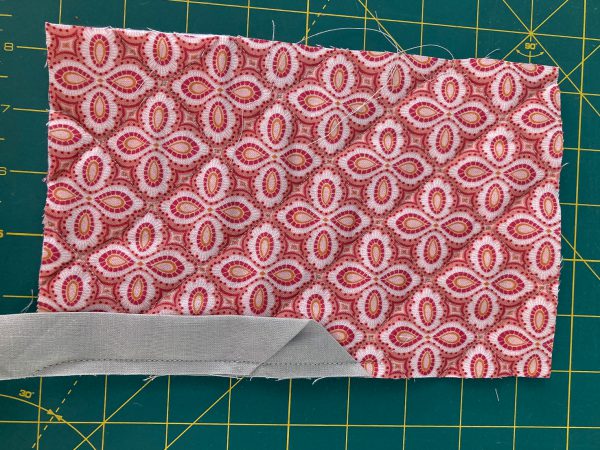
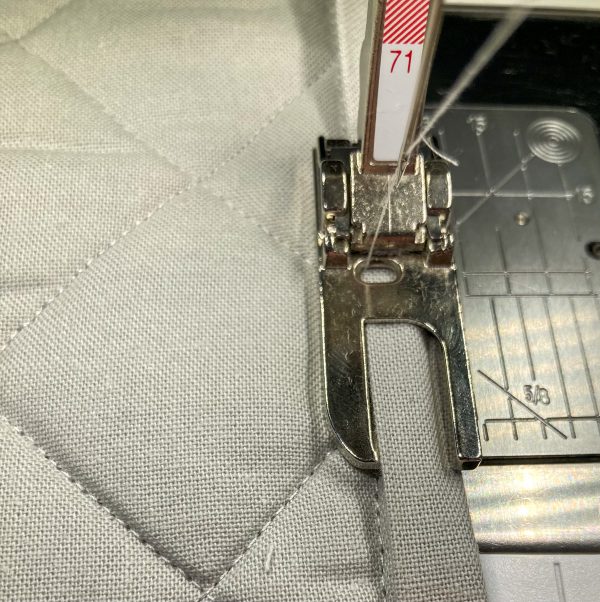
It is now time to quilt it. I just tried to follow the pattern of the fabric. You will want to trim it up so that everything is even. Next, you will take your 2-inch strip for the binding and iron it in half, wrong sides together. We will start the binding next. You will want to bind it with the BERNINA #71 foot. The first thing that you will do is move the needle all the way to the left. It should be at -5 as shown below.
Sew all the way around all four edges following the inside of the right toe. Turn the corners as you normally would. I sew at an angle to the corner for the last 1 inch or so.
When you get back around to where you started you will attach the 2 ends of binding. I use the pocket method for mine.
Here I just sew down the top layer and then it is all attached.
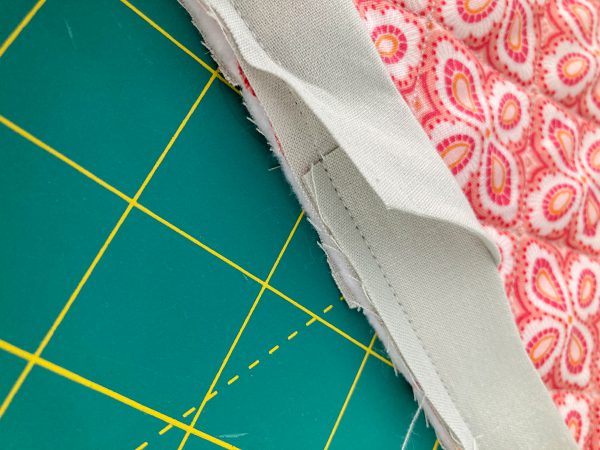
Once you have the binding sewn on you will iron the binding out flat as you can see below.
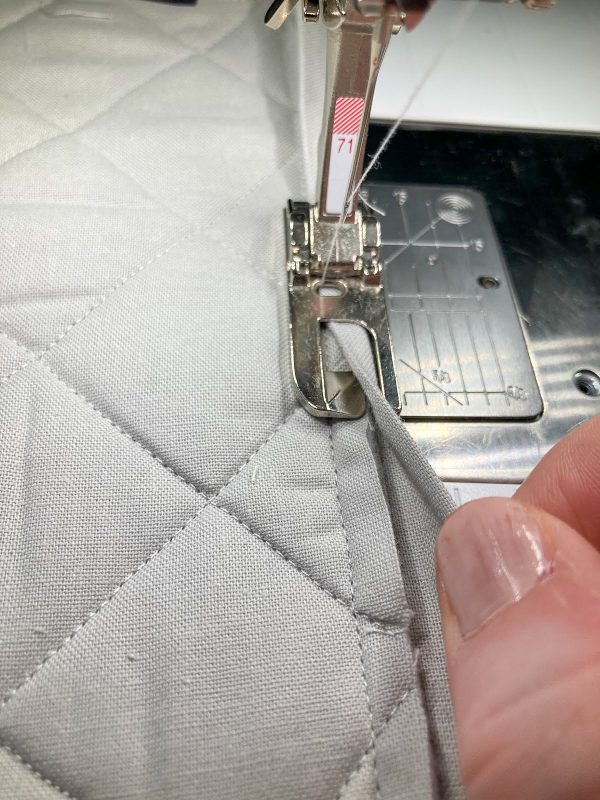
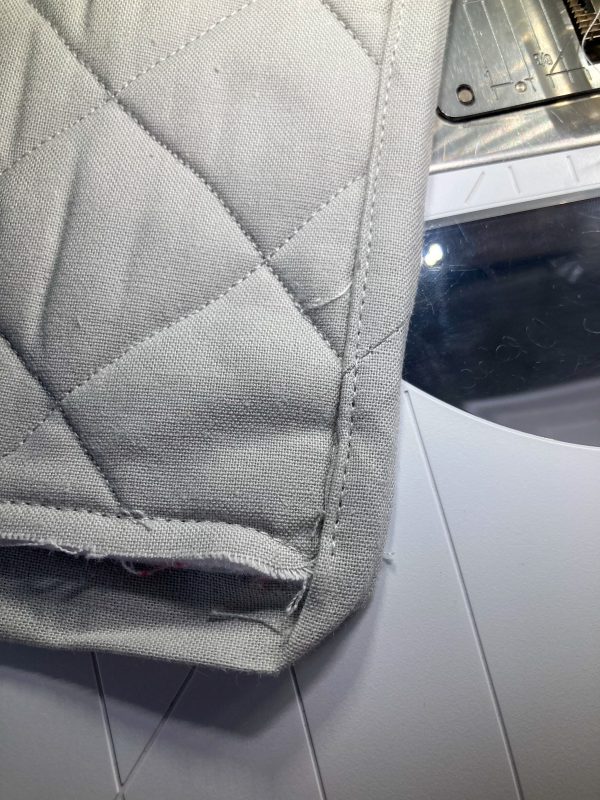
Now is the time to attach the binding to the back of the mug rug. Make sure that the needle is still set to -5 as mentioned above. Put the presser foot down with the binding standing up.
Now you will fold the binding into the left toe, as shown below.
Sew all the way around the edges. When I get to a corner I just sew to the edge, turn to the next side and fold that corner in to make a miter. You may also turn the corner in any way you prefer.
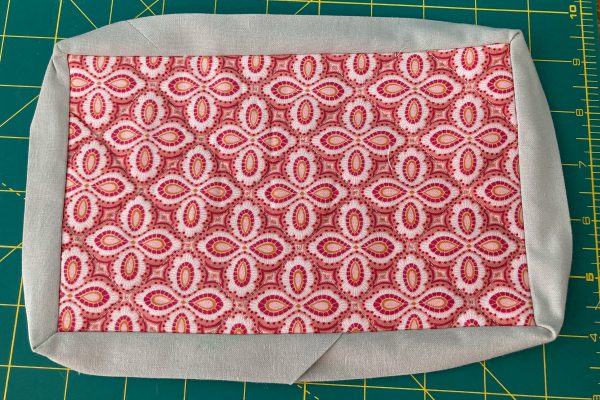
I found this to be a super quick project and was a really great way to learn how to use the #71 lap-seam foot for attaching binding. This is what my final project looked like. Hope you all have as much fun making this project as I did.


